Anteo Harbour Tug. Panart

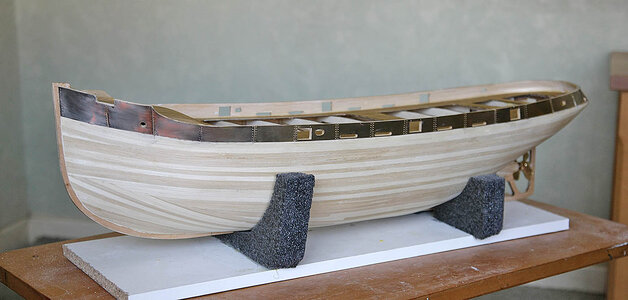
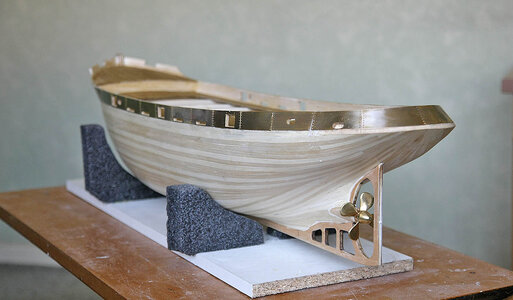
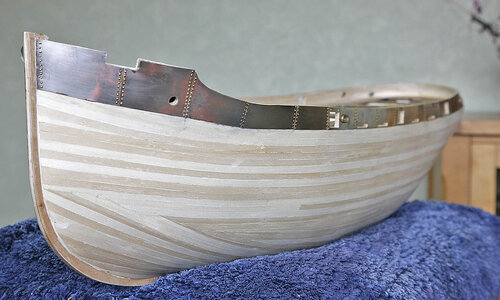
Hi, A small progress update. I have now completed the first layer of planks, quite a lot of them and so far so good. The bulbous shape of the hull and the unusual stern meant that I couldn’t follow a conventional pattern, it was just a matter of filling the gap with planks and hoping for the best. I used filler and a lot of sanding but in the end I think it was successful. Now onto the second layer.


View attachment 439407

View attachment 439408

View attachment 439409

View attachment 439410

View attachment 439411

And after filling and sanding.

View attachment 439412

View attachment 439413

View attachment 439414

View attachment 439415

View attachment 439416
Hi Ken
Very nice hull
 
Hi Ken,
Great looking model, and with your building experience and the large scale it will allow you to add extra detail if desired.
Jim
Hi Jim, Thanks for your confidence in my ability. Not having done this type of build before I’m not sure yet where I’ll be going with the detailing. I’ve not yet decided wether to show it as a pristine display model or give it a working tug look, perhaps members can advise me on which would look best.
 
Very good planking my friend -> BRAVO
Hi Ewe. Thanks. Although it looks a bit patchwork it is much smoother than its appearance suggests, I think when painted it won’t look like it’s made from planks. At first I thought that it wasn’t a very good quality kit but I have since changed my opinion, my only criticism now is that some of the planks weren’t up to scratch. I’ve found that the keel and bulkheads gave me a perfect hull shape, no high or hollow areas and a very flat level surface for the deck, the basics are right and I’m surprised just how much I’m enjoying the build, just good old world basic modelling
 
Very nice result Ken. Patience always pays off.

Happy modeling.

Dirk
Hi Dirk, Thanks, patience is what we should have but but sometimes lack, in this case it wasn’t needed as it was quite therapeutic sanding away, I was almost sorry when I finished.
 
Hello, welcome back to my build and many thanks for your kind comments and likes.

I’ve been a bit remiss about photographing the individual stages of my progress, I’ve just been ploughing ahead with the build and I’m really enjoying it.

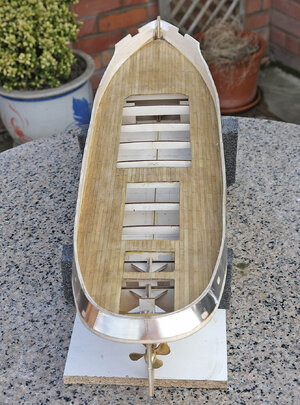
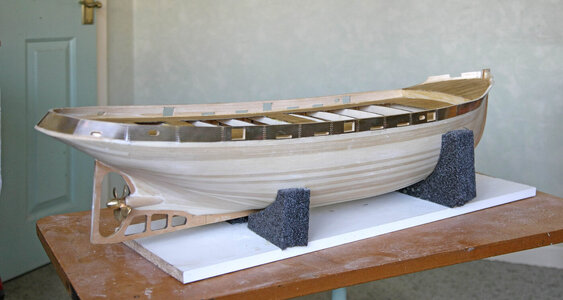
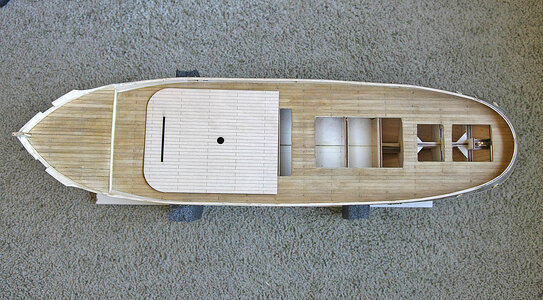
I’ve now nearly finished the hull, only some detailing left for later. I really disliked the laser etched deck so I planked over it using a white wood prior to fitting into place, I then stained them using a light oak. I made up and fitted the fore deck and again planked. I gave the decks a coat of sealer, sanded them and added treenails I’ve left them a natural wood finish.

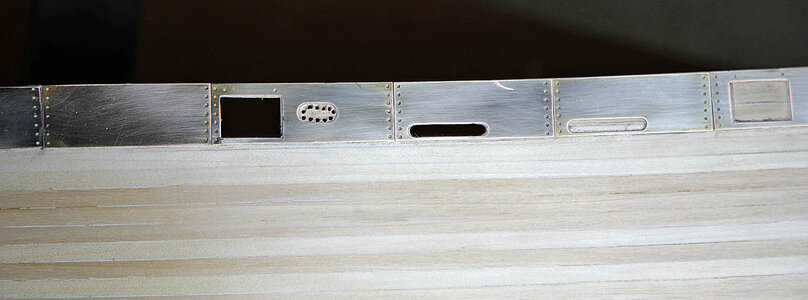
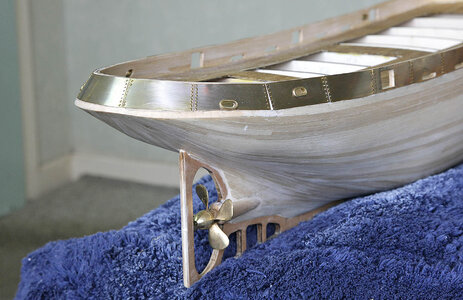
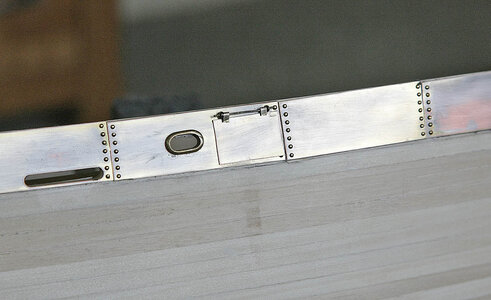
The upper part of the hull is sheathed in a brass effect sheet, I buffed off a lacquer coating to give the eventual coat of paint a bit of a key. I cut the sheets to size and glued them to the hull using cyno. This part was quite tricky, the metal used was like a firm spring and wouldn’t anneal to make it flexible so was difficult to conform to the hull. I drilled the hull for fixing the rivets, I used dome headed pins from Caldercraft, 450 of them to give a rivet appearance.

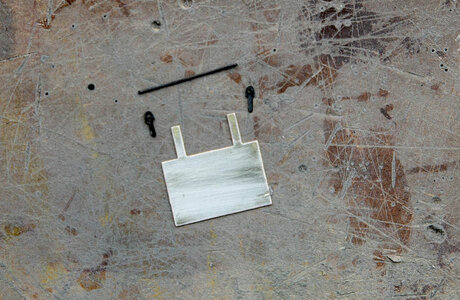
I planked the inner walls then cut the top of the hull to its final shape. There are several cut outs, scupper type and flaps, I’ve cut them all out and fitted the supplied mouldings as well as making up and fitting the hinged water gates.

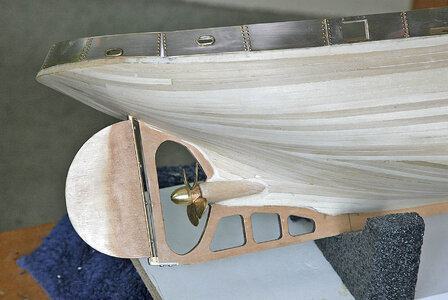
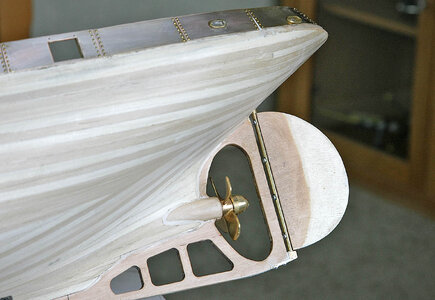
I fitted the prop shaft now as once the rudder is fitted it wouldn’t be easily done, The propeller can be removed for when I paint the hull.

There we have it, great progress on what is turning out to be an unexpectedly enjoyable build.
043.jpg


042.jpg

This shows the etched deck which looked too perfect, toy like.
049.jpg


044.jpg


045.jpg046.jpg


047.jpg


051.jpg


052.jpg


055.jpg


056.jpg
 
Hello, Thanks Paul and Grant for your comments and likes. I realised that on my last post I’d left the build get too far without posting my progress along the way, realising this I’ll try and post much earlier, hopefully soon after parts have been completed of fitted.

Today’s’ post is showing the completed rudder, being designed as a working RC. it’s very robust, it’s screwed and bolted into place, a good design that works well. Now I can move on to the upper deck stuff.

053.jpg


054.jpg
 
Hello, Thanks Paul and Grant for your comments and likes. I realised that on my last post I’d left the build get too far without posting my progress along the way, realising this I’ll try and post much earlier, hopefully soon after parts have been completed of fitted.

Today’s’ post is showing the completed rudder, being designed as a working RC. it’s very robust, it’s screwed and bolted into place, a good design that works well. Now I can move on to the upper deck stuff.

View attachment 441744


View attachment 441745
This is a great looking build! And Your metal work is fantastic!
 
Hello, Thanks Paul and Grant for your comments and likes. I realised that on my last post I’d left the build get too far without posting my progress along the way, realising this I’ll try and post much earlier, hopefully soon after parts have been completed of fitted.

Today’s’ post is showing the completed rudder, being designed as a working RC. it’s very robust, it’s screwed and bolted into place, a good design that works well. Now I can move on to the upper deck stuff.

View attachment 441744


View attachment 441745
Good evening Ken. That is coming together wonderfully. Kudos. Cheers Grant
 
Back
Top