If you had not told us about the problem with the paint bleeding into unwanted areas we never would have known. Beautiful recovery job.
Jim
Jim

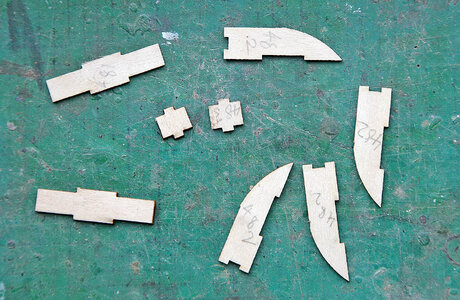
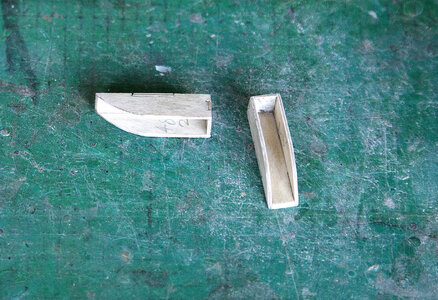
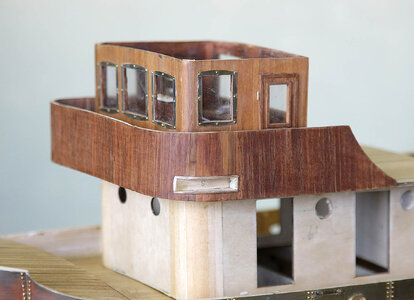
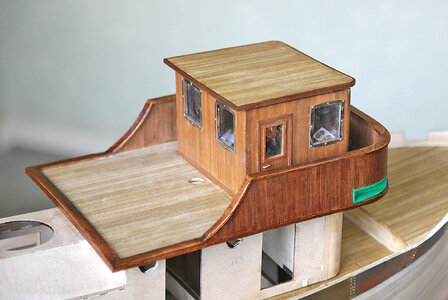
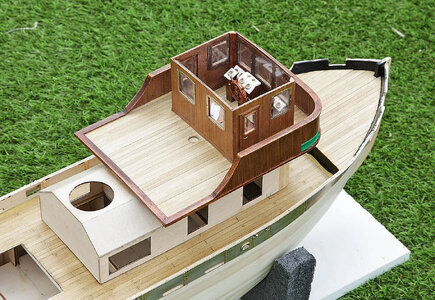
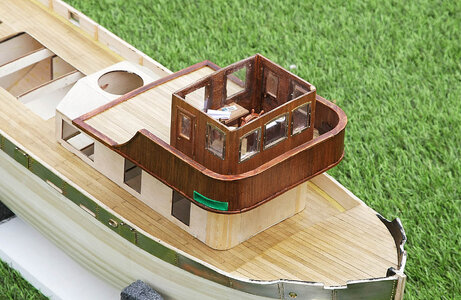
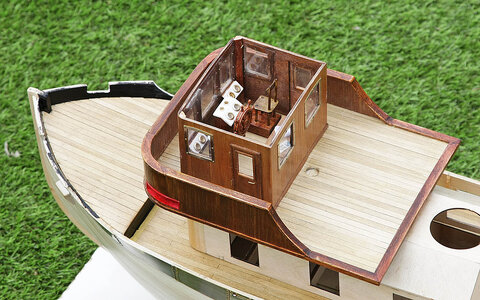

Hi Jim, Thanks, I think that modellers are their own worst critics, we are so close to the model during a build, that we see every imperfection, imperfections that nobody else would notice but we magnify their importance in our own minds and aren’t happy unless we do our best to rectify them, I think that’s the nature of our hobbyIf you had not told us about the problem with the paint bleeding into unwanted areas we never would have known. Beautiful recovery job.
Jim

Hi Adry, Welcome to my build, good to have you along. Yes the brass sheet came with the kit but it was not as it appeared. It wasn't brass, it was coated steel with a shiny coloured laquer finish. I wasn't going to use it as such but when I started to sand it with very fine grit to give it a key for painting it started to give the appearance of brass which gave me the idea of the type of colour scheme Brass/Mahogany that I would use. If you look at some of the sheathing you'll see a copper colour starting to show through, I had to be very careful with sanding to not go through to this coat. It's usually cold in the UK so the captain keeps his jacket on. When the roof is on you can hardly see any interior detailing so I did it with just the basic needed not to look empty.Hello, following your wonderful construction, I see that you have put some brass frames on the outside of the bridge windows that I assume came with the kit, that's right, right? In the same way as the exterior metal coating of the bows, gunwales and transom.
The level of detail in the bridge is great, I love it, you just need to hang a jacket from the pilot's chair... (it`s only an idea,)
Thank you for sharing.
