- Joined
- Oct 1, 2023
- Messages
- 427
- Points
- 168


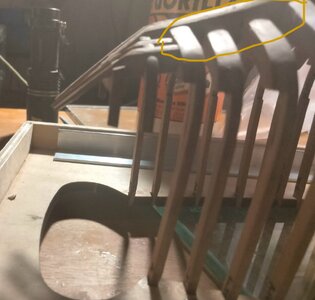
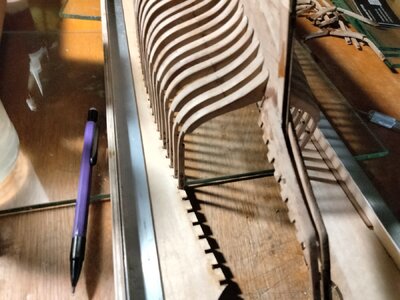
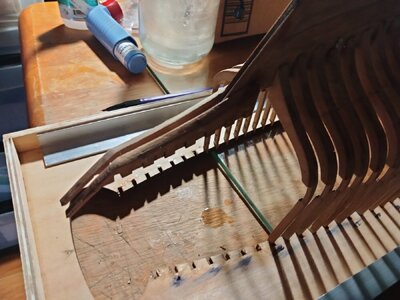
Hi Ted. About your last picture: try to get the frames in line:I have all the frames installed and glued. The transom assembly is in place but not glued. Do you guys see anything out of place before I glue it.
Ted View attachment 442699View attachment 442700View attachment 442701


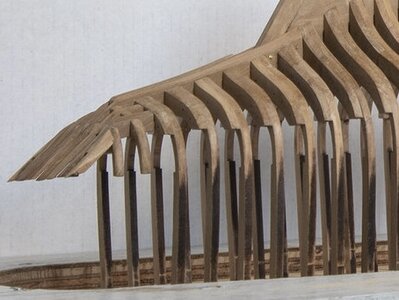
Yes ,will do the corner legs next. And move up the last three frames before the transom assembly.Hi Ted. About your last picture: try to get the frames in line:View attachment 442706
See the ‘lower’ 2 in the oval.
Like this:
View attachment 442707
Have in mind that the hull planks must have a smooth transition over the frames.
You will install the 2 corner ‘legs’ later?
Regards, Peter


Since the treenails connect the keelsons to the frames and keel, I used the frames as reference and eyeballed the positions of the treenails.How do you do the layout for the treenails on the keelson and keep them so perfectly spaced

I'm not cutting it in half, unless you consider the constant remodeling to correct mistakes. I still feel compelled to install the treenails.Since the treenails connect the keelsons to the frames and keel, I used the frames as reference and eyeballed the positions of the treenails.
(In hindsight, none of the treenails in the keelsons are visible on the completed model, unless you'd cut your model in half, as some of us do...)


Your shipyard, your decision... ;-)I still feel compelled to install the treenails.
That looks better, Ted. Always keep the later flow of the hull planks in mind.Thank you my friend. I have reinstalled frame 49 and both frame halves of 50.
Photos attached to get some feedback as to proper positioning.View attachment 443026View attachment 443027View attachment 443028

Thank you. I'll continue.That looks better, Ted. Always keep the later flow of the hull planks in mind.
When I installed a frame I had a hull plank nearby to lay it dry fit on the frames the check the overall flow. Imperfections are no problem. You can adjust that later with the sanding.
Regards, Peter


It's essentially up to you. If you feel comfortable with pre-drilling those holes, fine, but make sure the treenails line up with the frames.I scribed a centerline on the three keelson parts. Should I pre drill the holes for the treenails. It seems it would be easier to keep the spacing even while on the worktop.

Well, I qualify for the beginner part. I'm not rushing. I found a few other frames further up the hull that probably need some attention. I will be back and check every frame and post phone as needed.It's essentially up to you. If you feel comfortable with pre-drilling those holes, fine, but make sure the treenails line up with the frames.
You're making a lot of progress, yet bear in mind that one side will be fully planked, which means the frames must provide a smooth, continuous foundation for these planks. On this side shimming is permissable/possible. The other side will partially show the frames, so they should preferable show an appeasing view. This requires accuracy, a lot of sanding and a lot of patience. Don't move to the next part or step before being utterly satisfied with the current part or step.
While this kit is marked by YQ for the advanced beginner, I am of the opinion that that's rather underrated.


Firstly you could dry fit the transom closure piece, to check how that matches with the other transom parts. Luckily for us, these spider legs don't show on the finished model, so you have some wiggling room. From what I distinguish from your pictures it looks as if you've been rather enthusiastic in your char removal efforts. In order to save the day, you could cut thin strips of scrap wood and bond that to the transom pieces at the required locations. A little sanding and order might have been restored.I have the transom in place but not glued. After reinstalling the frames forward again the two starboard projections are slightly low. Should I disassemble the transom again or is this in tolerance.

Ted, please check the drawing and see that you have that total step of 3mm.Bow filler glued up.View attachment 443216I'm

