Le Rochefort 1/36 by Splinter

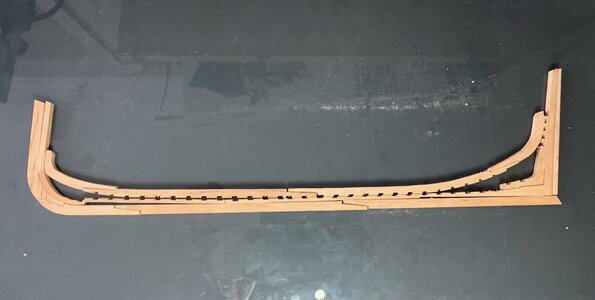
Just an update, Everything you see is dry-fit and not (yet) glued.


04AD9661-151C-48F9-88DB-E3A716B10C49.jpeg


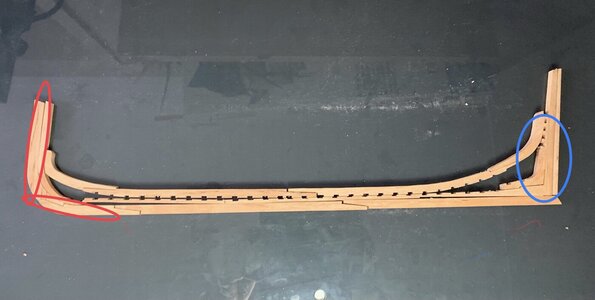
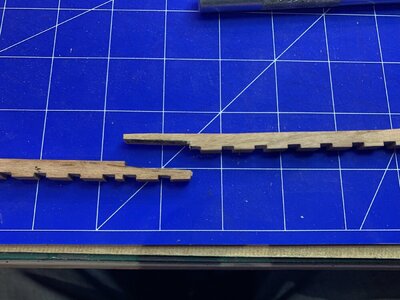
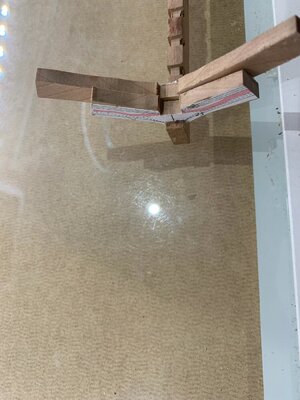
I'm about to chamfer the keel beam, mill a groove in the stern and chamfer the keel. How do I do this is the question for me (lack of experience)

4C95BC8D-47A6-4D45-ADC2-ECCDB210C1F0.jpeg
 
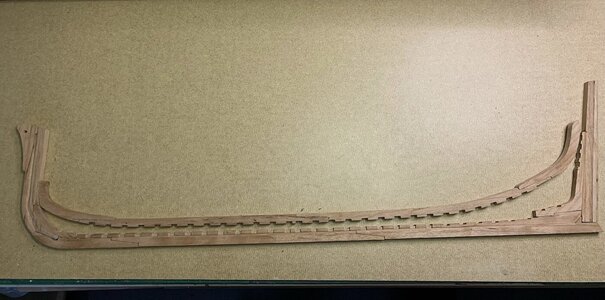
The work on the keel is now complete, everything is now glued and fits.

B6ED3034-2E21-4B50-864F-077E86E11443.jpeg

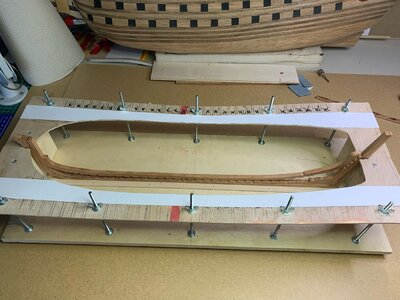
I modified the jig (I had it from the first attempt). And the keel fits perfectly in the jig. Fine adjustment of the curvature is still a thing, follow the waterline or not, but that will come. Let's move on to the next step first.

9CC35A8A-68ED-4010-B5F0-9A43389F9819.jpeg
 
This looks very good. The only thing I would not have done yet is to glue the keelson in the middle. Sorry for bringing this to your attention only now. From La Palme's experience I had to do some touch ups, be it on the notches or the length etc. It is easier to handle when they have two parts.
 
This looks very good. The only thing I would not have done yet is to glue the keelson in the middle. Sorry for bringing this to your attention only now. From La Palme's experience I had to do some touch ups, be it on the notches or the length etc. It is easier to handle when they have two parts.
Thank you, Tobias. You don't have to say sorry;) I'm happy with your advice and tips. As you say, that a fully glued keelson can lead to problems, I understand, (didn't think of it) I have now adjusted the keelson again in two parts.
F1C59760-DCDA-4D10-B740-4577D0DCC993.jpeg
 
Thank you, Tobias. You don't have to say sorry;) I'm happy with your advice and tips. As you say, that a fully glued keelson can lead to problems, I understand, (didn't think of it) I have now adjusted the keelson again in two parts.
View attachment 350222
Hi Spliter it is only a tip whether it is right or wrong I can not say, I have just made it much easier.
 
First of all a warm welcome here in the group - I am happy that you started the building log of your Rochefort

Have a lot of fun with the build
 
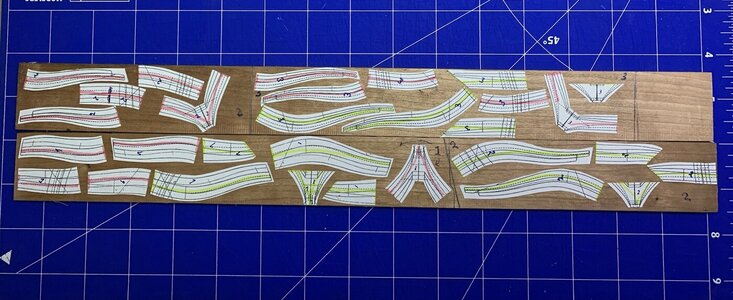
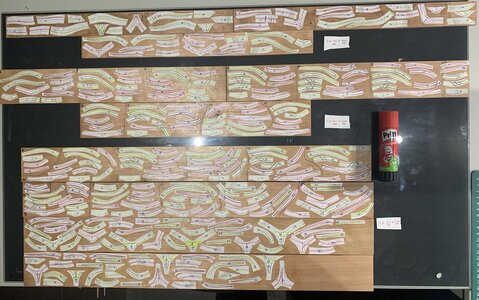
Cutting and pasting of the cut copies is now done, frames 1 to 32 carefully cut out with a small overlap.

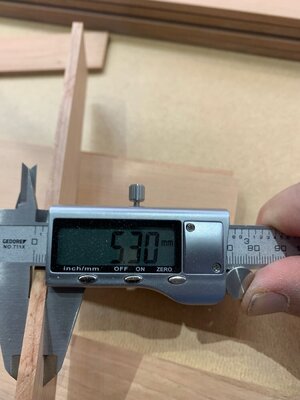
For this I used the planks made to thickness (53mm thick),

4 / 60mm. x 600mm.
3 / 60mm. x 400mm.
3. / 40mm x 400mm.

And 1 ½ (big) Pritt marker

5E13A3CC-F57D-4529-ACC6-B894F47E8D83.jpeg
 
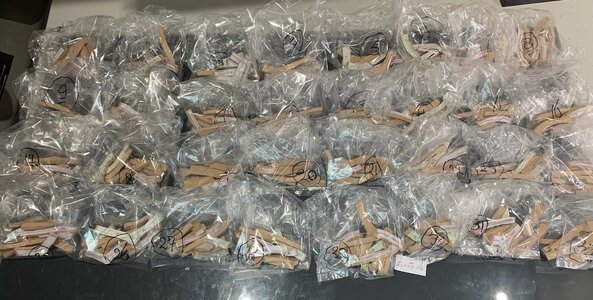
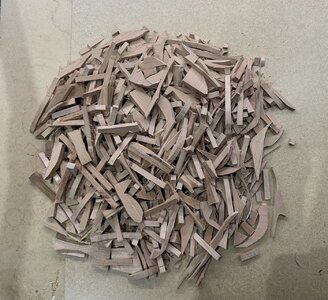
The sawing of all 32 ribs parts is now done, and the saw dust has settled;).

All ribs individually wrapped and numbered. And so I can do the next job. I still have to figure out how I'm going to do that, I don't know exactly what the best way is to join / glue all parts together. I will first have to make sure that all crosscuts are sanded squarely before I can join / glue them together and mill out all the recesses that need to be milled out.

I think milling will have to be done before gluing. Tips and advice are welcome

CB84BC27-AB4A-43F0-8EBE-12F38F66EA34.jpeg

these are the remnants of the sawing work
87103CBF-D14C-4B3B-A459-A1F252826A68.jpeg
 
Good morning Splitter, fantastic progress. I can only tell you how I do it.
First milling then sanding with the disc sander and then gluing and taking the plan to measure the upper width of the frames. For frame 15 - 21 it was 11.9 -12.2 cm clear width. What I also do is take a small piece of wood and put a notch in it like the keel has to fix the two halves.
 
Good progress
First of all the hint by Tobias is often very helpful
Mabye you show us with one frame as an example how you prepared the single parts of a frame.
With this knowledge it would be much easier to give further hints and tipps of the different working steps of fixing frames
 
Good progress
First of all the hint by Tobias is often very helpful
Mabye you show us with one frame as an example how you prepared the single parts of a frame.
With this knowledge it would be much easier to give further hints and tipps of the different working steps of fixing frames
I will bring illustrated examples tonight, thanks for the hint @Uwek , unfortunately I am not yet as good at these things as you and tend to forget once in a while. Your examples and instructions are always top.
 
Good morning Splitter, fantastic progress. I can only tell you how I do it.
First milling then sanding with the disc sander and then gluing and taking the plan to measure the upper width of the frames. For frame 15 - 21 it was 11.9 -12.2 cm clear width. What I also do is take a small piece of wood and put a notch in it like the keel has to fix the two halves.
Thank you Tobias, I will give it a try

Good progress
First of all the hint by Tobias is often very helpful
Mabye you show us with one frame as an example how you prepared the single parts of a frame.
With this knowledge it would be much easier to give further hints and tipps of the different working steps of fixing frames
Thank you Uwe, Yes indeed, Tobias is a great Help.
I’ll give a example how I prepare.
I will bring illustrated examples tonight, thanks for the hint @Uwek , unfortunately I am not yet as good at these things as you and tend to forget once in a while. Your examples and instructions are always top.
would be nice, I think many of us will be happy with it
 
Great progress. Cutting and assembling those frames is why I went with the Hahn method.
Thank you Tony, I had never heard of the Hahn method, which is why I chose this method. Maybe I should give this a try in the future.
 
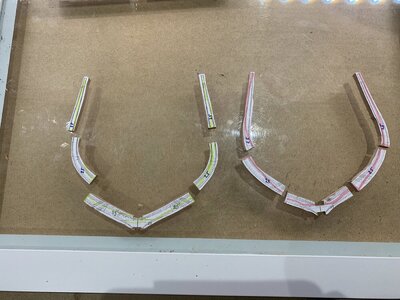
Uwe, as promised here is the method as I would do it.

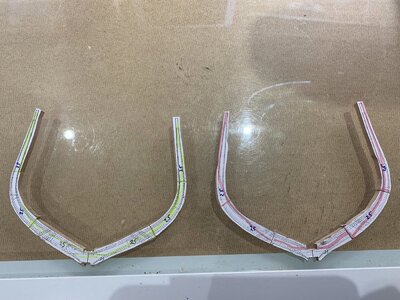
First I milled the necessary cut-outs, then I sanded the ends perfectly square and fitted them to a jig (keel). To glue the parts together I use a glass plate, so the parts lie flat and can be glued properly. When the glue has dried, I will glue the ribs together. To glue these two parts together properly, I will again use the previously mentioned template. When the two ribs glued together are dry then,my next step will be to sand everything to size ( following the indicated lines ).

Next, pieces need to be chamfered, following the dotted lines indicated. However, the question is to do this right away or later when the ribs are in place

Vertaald met DeepL (https://www.deepl.com/app/?utm_source=ios&utm_medium=app&utm_campaign=share-translation

683FAF2E-FA83-4F6A-80C8-019399B6AB04.jpeg409C5C3D-F7E0-4D78-A04D-72AFA8CD6FB3.jpeg58537C30-BE24-4EB8-AD40-87974208A603.jpeg
 
Back
Top