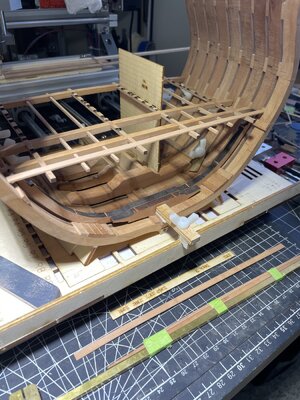
Yuri's USS Bonhomme Richard - POF - Cross Section in Pear - 1:48

Unicorn Models are the manufacturer of the kit
ZHL is the distributor of the kit

Be careful
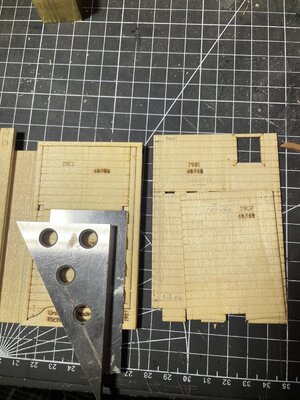
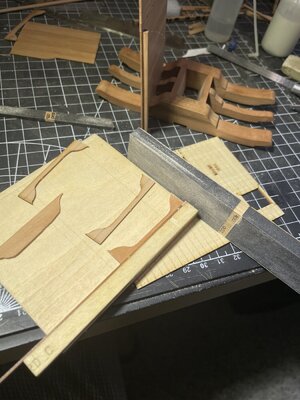
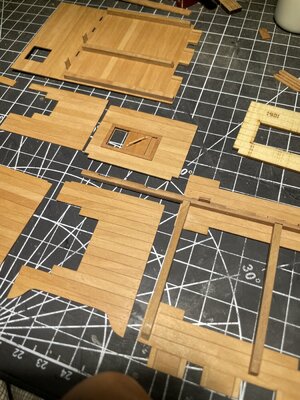
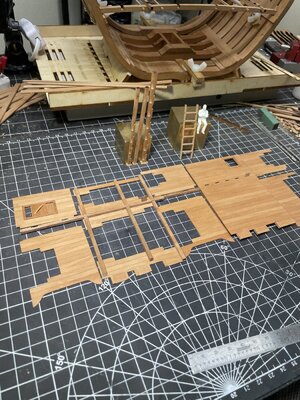
the shown elements of the inner walls are only templates - based on these sheets you have to make the wall planking

View attachment 405042

I personally made it wrong at this time and glued on top of these templates the boards - the result was ok, but now I would do it differently


Our member @Signet made it differently in a better way


your framing is looking very good - clean accurate -> BRAVO
Thanks Uwe, I saw about templates and studied your logs. Do you remember if your templates had 90 degree angle between side(vertical) line and plank lines? All 5 templates i've got are skewed, just a little bit but definitely will catch my eye and WILL drive me nuts if i don't do something about it..

All the best,
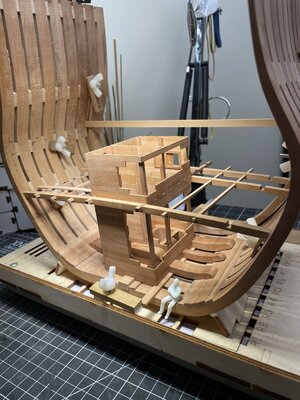
I do not remember, but anyhow I did not carry about this - because of the overlapping of the real boards it was not important.
Also using these sheets only as templates for the size, it will be not important, because you have to take care only on the correct alignment of the final boards.
In moment I can not understand the problem you have with this - but maybe you show the problem with a close up photo, so we could understand better the situation and can give a hint or comment....
 
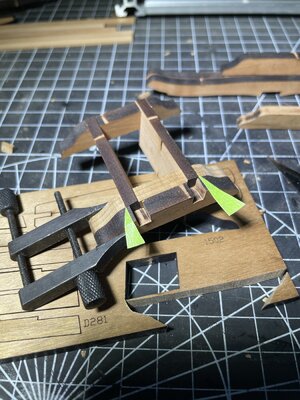
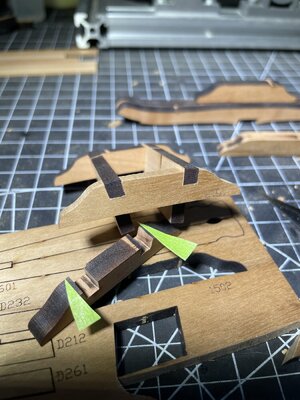
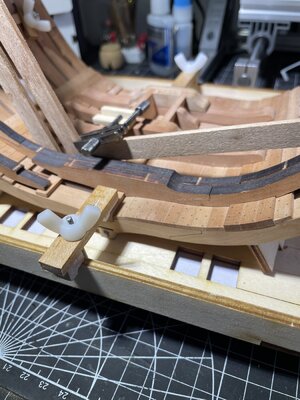
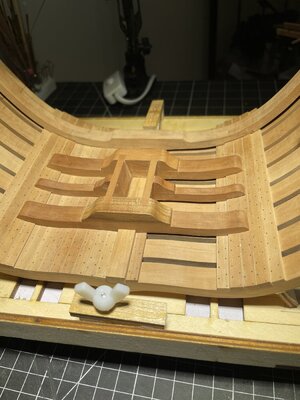
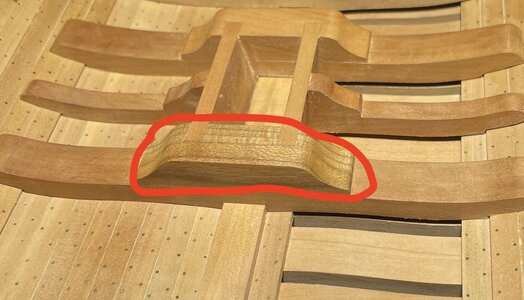
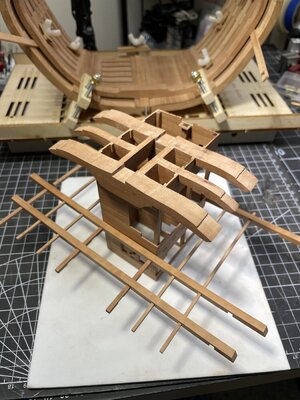
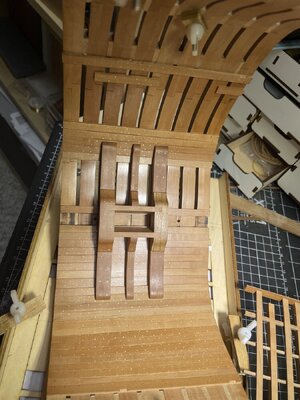
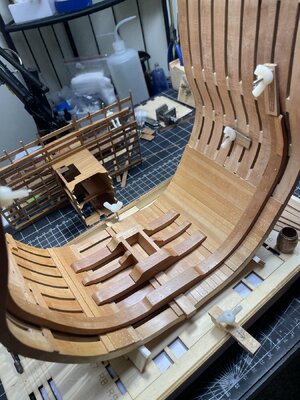
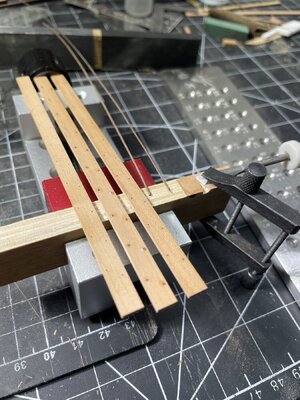
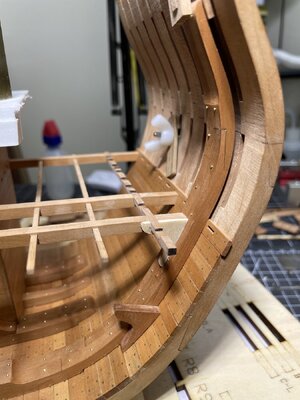
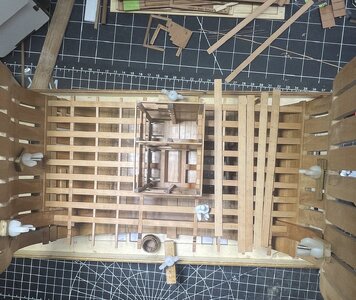
Another setback, I've made completely new part as the one provided was completely out of whack. Following the drawings, new peace fits right and all "square". First picture shows difference between good and bad part

IMG_2443.JPGIMG_2444.JPGIMG_2463.JPG

Finishing and fitting:

IMG_2469.JPGIMG_2470.JPGIMG_2598.JPG

Looks like not all materials are pear wood, or its a weird cut. I'm not going to bother as its not going show up much in the end
IMG_2598 copy.JPG


Thank you for following,
 
Last edited:
Looks like not all materials are pear wood, or its a weird cut. I'm not going to bother as its not going show up much in the end
I understood, that you changed this part by a scratch wood, because the angle was not correct?

But definitely it is looking very good -

- and in addition - this part will be later on completely covered by the interior walls, so not visible any more

IMG_5385.JPG
image from my building log
 
Hello,

Good thing I checked, I don't understand how in CNC manufacture they've managed to make not right angles. If not caught in time it would result with unpleasant gaps and frustration.


IMG_2491.JPG

IMG_2548.JPG


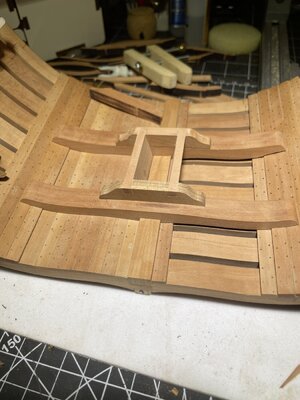
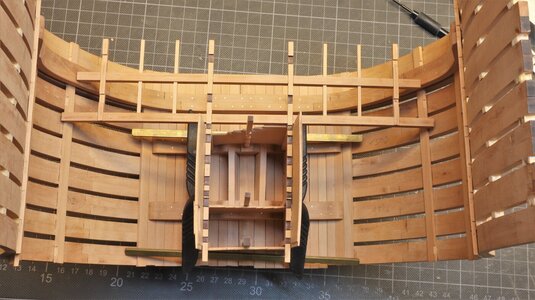
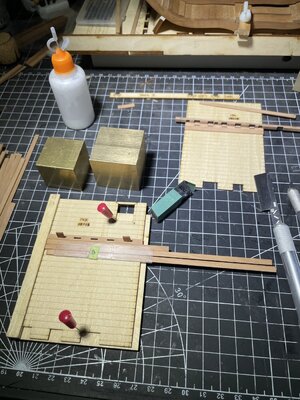
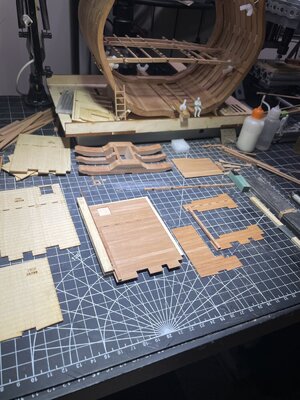
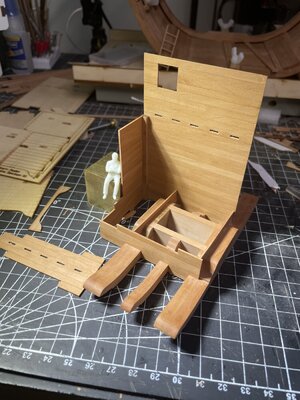
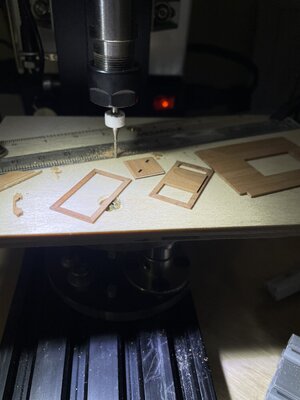
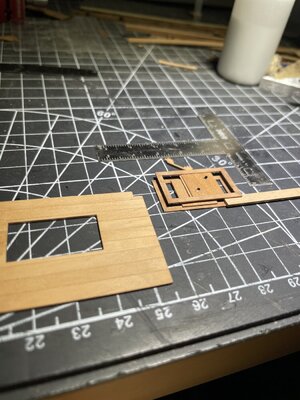
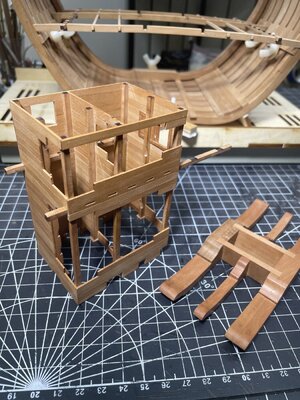
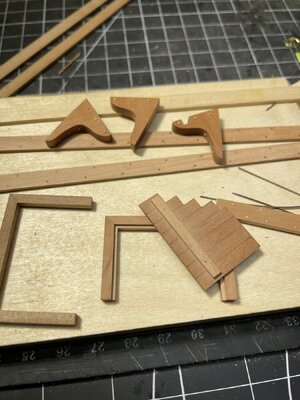
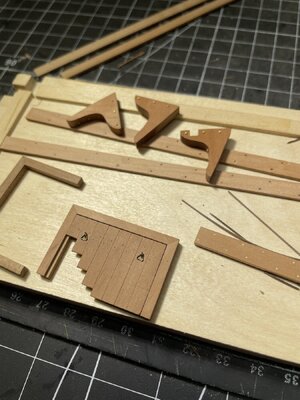
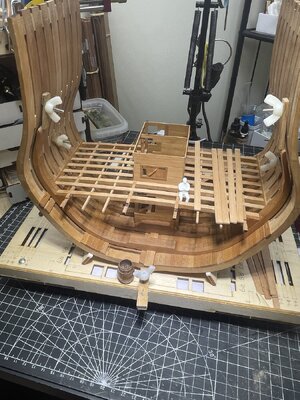
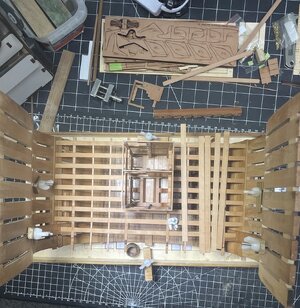
Gluing plank to plank, watching the right angle, re-making supplied parts with new. Again, drawings don't agree with templates/parts:

IMG_2526.JPGIMG_2539.JPGIMG_2540.JPGIMG_2542.JPG


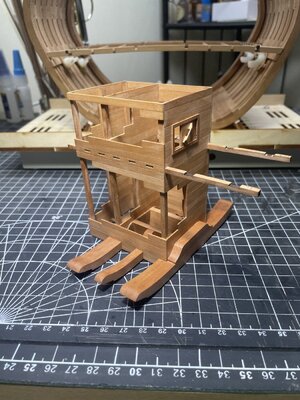
Here is me going a bit crazy to make it fit and functional (yes, can be opened and closed)

IMG_2566.JPG

IMG_2567.JPG


Building...

IMG_2568.JPG

IMG_2576.JPG
IMG_2577.JPG
IMG_2578.JPG

IMG_2593.JPG

ALMOST THERE:

IMG_2605.JPG


Thank you for following,
 
Very good work - much better than mine on my section model
BRAVO
 
ex
Hello,

Good thing I checked, I don't understand how in CNC manufacture they've managed to make not right angles. If not caught in time it would result with unpleasant gaps and frustration.


View attachment 412773

View attachment 412772


Gluing plank to plank, watching the right angle, re-making supplied parts with new. Again, drawings don't agree with templates/parts:

View attachment 412774View attachment 412775View attachment 412776View attachment 412777


Here is me going a bit crazy to make it fit and functional (yes, can be opened and closed)

View attachment 412790

View attachment 412791


Building...

View attachment 412792

View attachment 412793
View attachment 412794
View attachment 412795

View attachment 412798

ALMOST THERE:

View attachment 412800


Thank you for following,
excellent work, well done
 
Yuri,

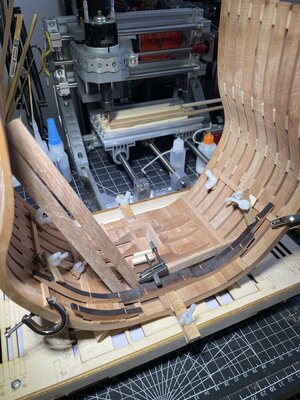
Have these additional spacers you inserted between frames caused any issues?

I will begin sanding soon and was wondering if you feel they are necessary to keep the hull stiff while sanding?

Your build and Uwe's are offering invaluable advice as I proceed with my build.
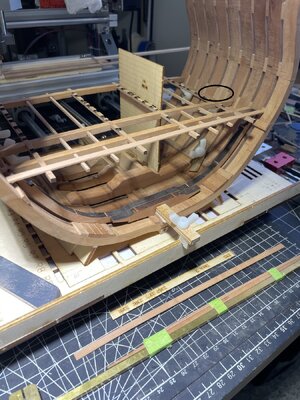
Yuri build.JPG
 
Yuri,

Have these additional spacers you inserted between frames caused any issues?

I will begin sanding soon and was wondering if you feel they are necessary to keep the hull stiff while sanding?

Your build and Uwe's are offering invaluable advice as I proceed with my build.
View attachment 426492
I would install these spacers before sanding - only with them the section is stiff and you can take it out of the jig
 
Yuri,

Have these additional spacers you inserted between frames caused any issues?

I will begin sanding soon and was wondering if you feel they are necessary to keep the hull stiff while sanding?

Your build and Uwe's are offering invaluable advice as I proceed with my build.
Hi Brad, No issues at all. Like Uwe said in previous post, spacers will keep ribs in place during sending. My approach was to have spacers where roughly decks are going to be.
 
Hello,

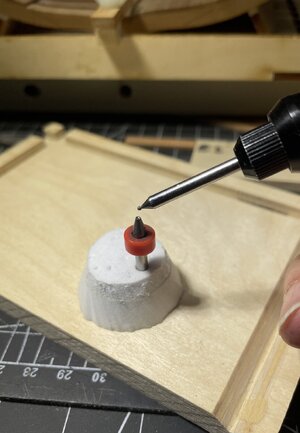
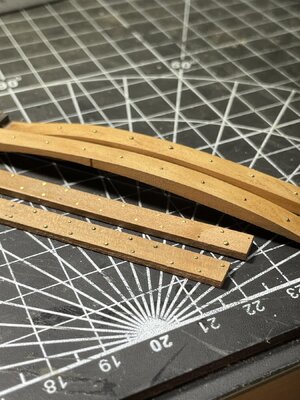
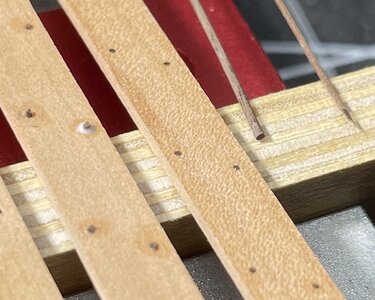
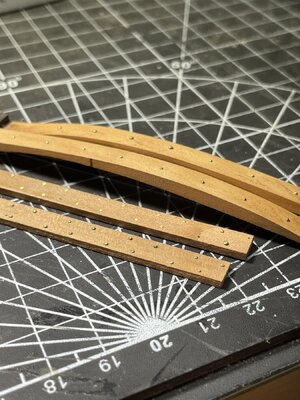
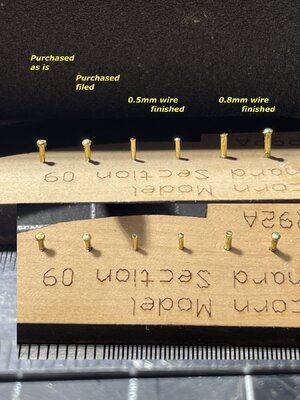
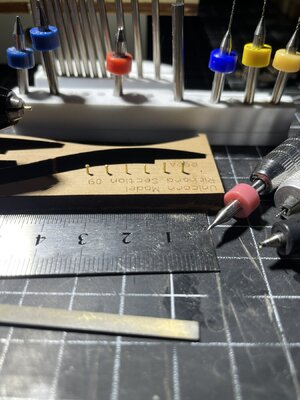
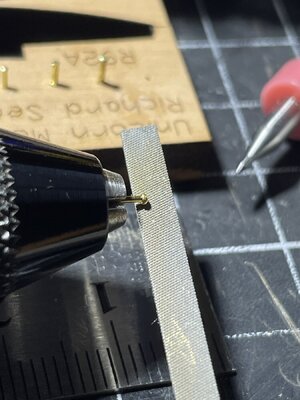
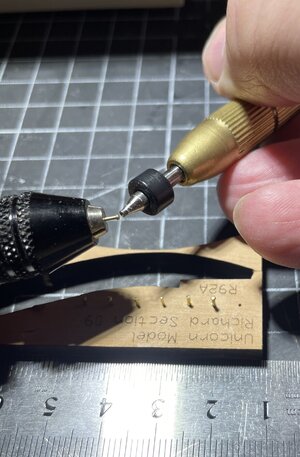
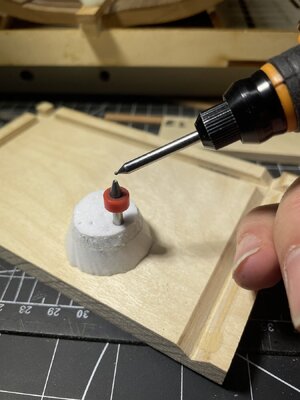
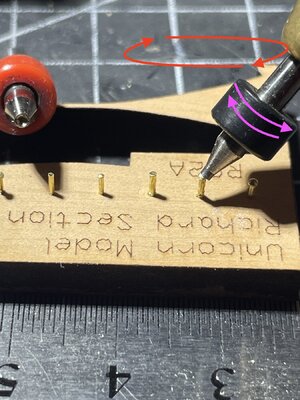
About nailing hull, deck other parts with brass and wood plugs. So, I've tried verity technics making brass nails from 0.5 and 0.8 wire. Also, i'm using nails from DryDock but I had to file heads to make them round on all purchased nails. Nails made from wire i was finishing with the help of broken drill bit.

IMG_E2637.JPG
IMG_2714.JPGIMG_2822.JPGIMG_2823.JPG

Here is how i made 0.5 and 0.8 wood plugs from thin black walnut planks.
IMG_2810.JPG

IMG_2804 copy.JPG
IMG_2804.JPGIMG_E2825.JPG


So far i decided NOT to fix any pre-made parts below deck3 until I have them all made: barrows, pumps, rock "pads", etc.
IMG_2782.JPGIMG_2808.JPGIMG_2809.JPGIMG_2824.JPGIMG_E2826.JPG

Thank you for watching and following...
 
Last edited:
Hi Kurt,

Nope, no English. I bought my kit through eBay because description looked different and better than from ZHL. Little i know that ZHL and Unicorn are the same folks. I'm using GoogleTranslate on my phone, just point the camera and Chinese is substituted with the different language. Instruction i have is a bit frustrated and lack some details. My advise (and Uwe's) examine the drawing, translate short instructions, inspect ALL boards (parts are spread out in different boards/sections :)


https://shipsofscale.com/sosforums/...-pear-version-scale-1-48-unicorn-models.3693/

https://shipsofscale.com/sosforums/...d-pof-cross-section-in-pear-1-48-by-uwe.3734/
https://shipsofscale.com/sosforums/...e-richard-cross-section-completed-build.8920/


Y
Please note: ZHL and Unicorn are NOT the same. Unicorn is a Chinese model manufacturer and ZHL is merely a vendor who sells a variety of different kits from different manufacturers. Some of the more prominent Chinese model manufacturers are: Unicorn, Shicheng, Luhaiqingkong, Snail and YuanQing. Lately other manufacturers like Trident, CAF, Sail and Sail, and Modelship Dockyard have also come to the fore with more modern construction methods.

Unicorn is regarded as a high-quality manufacturer and their Swiss Pear is particularly good. I am sure that you will enjoy this kit very much. Your results so far are excellent. Well done.
 
Yuri,
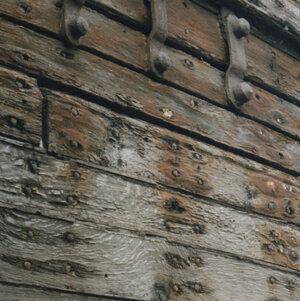
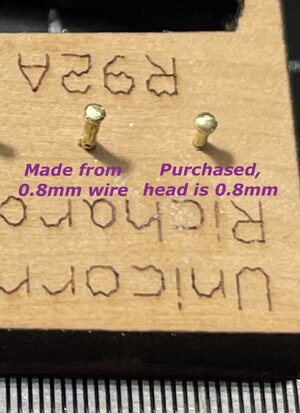
Can you explain or show how you make these bolt heads that fit above the wood, instead of flush (like treenails end up)?

Thanks so much. Your work is incredible!!
real spikes3.jpg

Hello Brad,

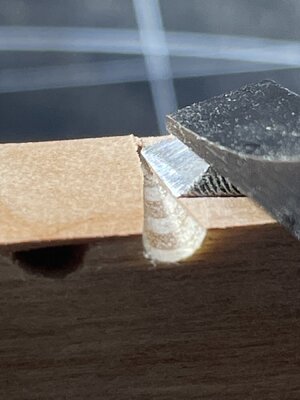
Depend on my mood and supply :cool: I'm using store purchased tiny nails (from DryDock) or make them from soft brass wire. If wire is stiff/hard, i would run it through fire, torch.
IMG_2831 copy.JPGIMG_2829.JPG

Here is quick steps to re-shape store purchased nails. Takes about an hour to do bag of nails (q-ty 200):
IMG_2832.JPGIMG_2835 copy.JPG


To make head relatively same size, i use thicker wire. Using pin vise I'll drop it on hard surface or nock a few times with hammer (just like you would do to make rivets). Then I'll finish with the bit made from broken drill bits. Also, I use this bit to do a final "push and twist" :)

IMG_2637.JPGIMG_2833 copy.JPGIMG_2834 copy.JPG

Here is useful links if you haven't stumble upon them yet:


https://modelshipworld.com/topic/11204-tiny-fake-nailsnail-heads/

https://drydockmodelsandparts.com/collections/tiny-nails
https://www.modelerscentral.com/fittings/nails/


Best,
Yuri
 
Last edited:
Back
Top