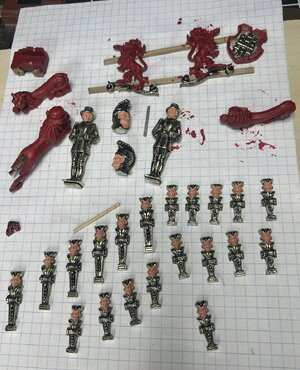
Wappen von Hamburg - Corel - Scale 1:50 by RolfP Build Log

Joined
Jan 6, 2024
Messages
14
Points
48

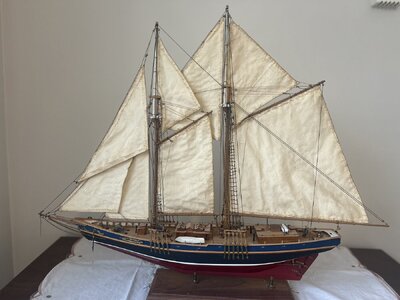
Well I better get this log started, I started the build last winter. So I have a little catching up to do. First just a little history, I finish the Bluenose II.
IMG_0157.jpeg
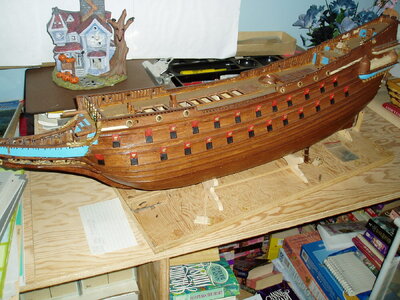
She lock better today after having aged 30+ years, a little battle damage from my 2 Main Coon Cats. After the Bluenose my Boss at work gave me the Wasa, he bought it form himself and never got started. I finish the hull and maybe after 11 years working on model ships I need a break also the Wasa kit was very cheap not a lot of information and the finishing pieces where all made out of pure quality plastic, so I put her out at the curb then we sold the house and somebody pick her up.
Wasa.jpeg
sorry what is the only picture I can find.
I promised myself I would buy a good quality Model for my Retirement. Fast forward 20 years, I purchased the Wappen van Hamburg 2 years ago when I found a kit on Sale. I Never know Germany had Sailing Warships.
After a quick inspection, the package was slightly damaged I could not find anything wrong and wanted to start right away, but
we bought a house in New Brunswick to Retire ,in so get ready to move and away we went.
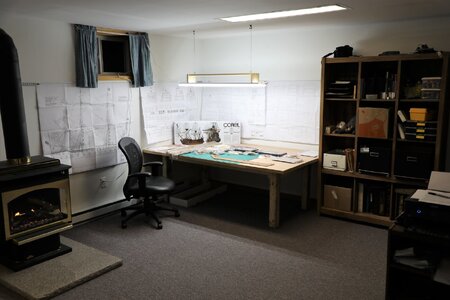
In the new house I had I finish the Bosses hobby room which included a tilting craft-Puzzle table, once she was happy it was my turn.
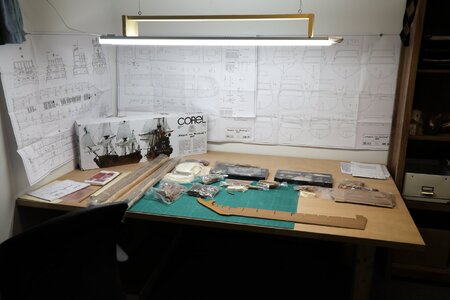
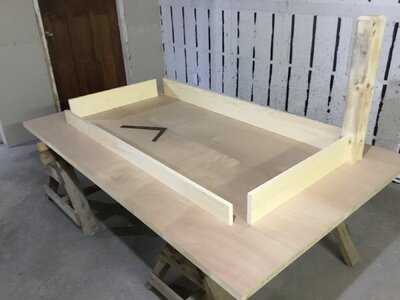
I had the hole downstairs for my self, after fixing the old propane stove, had to add fan and thermostat. I build a 4x8 solid table, added same Led Lights anda metal strip for drawings screwed to the wall so you can hang drawing with just some magnets.
IMG_0149.jpegIMG_0034.jpegIMG_0033.jpeg
Now we had lights and it was nice and warm it’s time to get ready to build.’
Dinner time have to take a break.
 
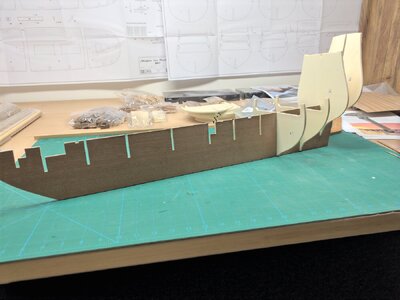
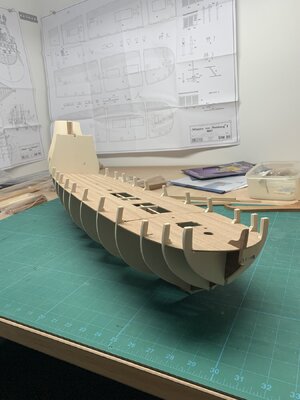
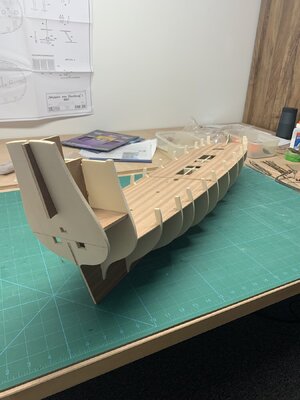
I spend a lot of times the last years reading blogs and collect pictures of the Wappen von Hamburg as reference material, and now it was my turn, I collected all the pieces I need to get started, I dry fit all the ribs and the first layer of decking.
IMG_1838.jpegIMG_1873.jpegIMG_1872.jpeg
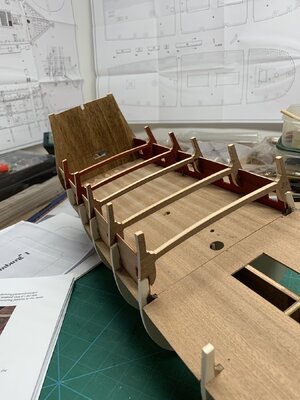
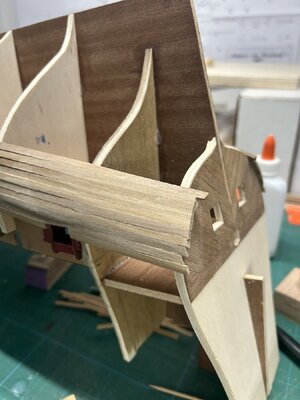
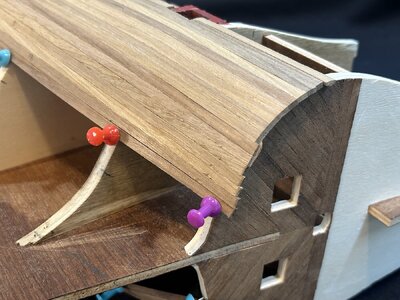
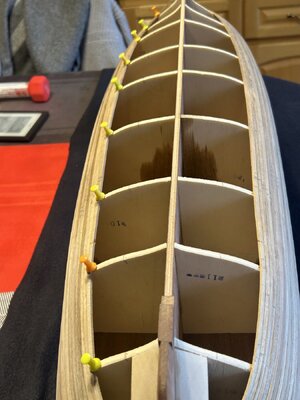
After checking everything twice I glued the assembly together. As I started to fit the inside walls I noticed I had a problem. The top of the Center Spar has a curve to it, after lining up the ribs making sure top and bottom matched the Center my top deck was not flat it curved up towards aft section. The drawing show the section to be flat, the side wall are all parrallel.
I Fitted the side pieces and glued them.
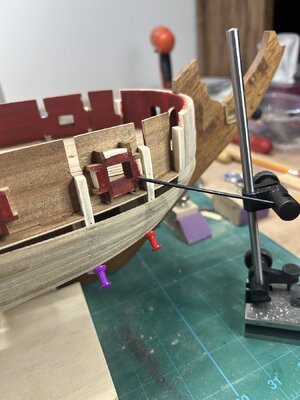
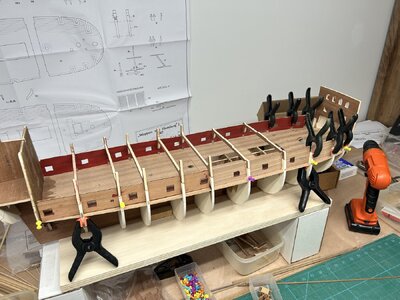
I started to get concerned about keeping the night correct, side to side and length. So I bought a surface height gage and checked out everything I build, I made a dry Dock to hold the model straigh.
IMG_0156.jpeg
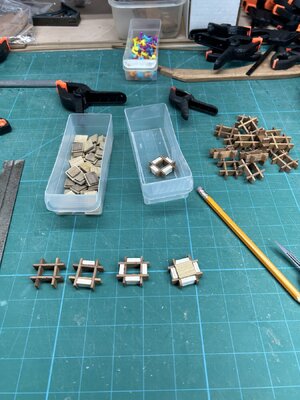
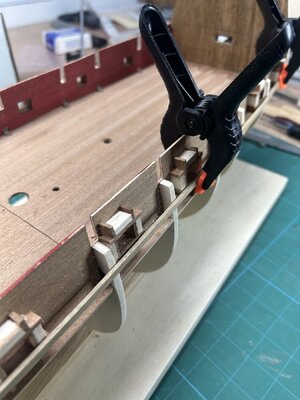
The error was not to bad about 3-4 mm, It can be a problem if all my work was very accurate, I had my apprenticeship at Leitz ( Leica Cameras) and then work in a Mold shop so I was used to work withhin 0.005 or less. Anyway I proceeded with making up the frames for the canon ports. I remembered I member. Added extra spacer piece so there is more area to glue the planks.
IMG_1938.jpegIMG_2218.jpeg
I glued them in places and fitted the beams for the next floor. Just the widths I left the night for now.
IMG_1905.jpeg
IMG_1933.jpeg
Again on one of the blogs I noticed the builder removed a section of the center spar aft to allow the rudder arm to be installed.
IMG_1894.jpeg


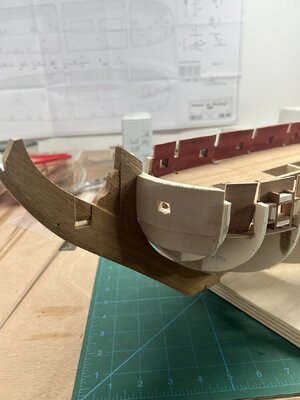
I glued and shaped the bow filler blocks.
Then I started to sand and shape the ribs, I used a rib clamped over the frames to make sure they were at the correct height, I had to add some wood to 2 frames to make up a gap.IMG_2219.jpeg
I shaped and glues the lower aft section.
IMG_1939.jpeg
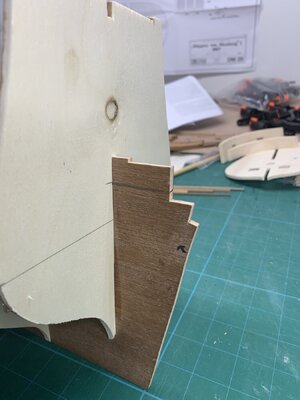
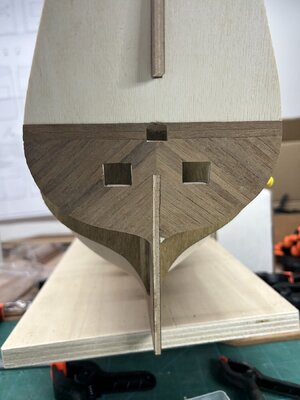
Thanks to a fellow modeler I added a plank to the bow spit to create a rabbit to hold the plank at the bow.
IMG_2213.jpeg

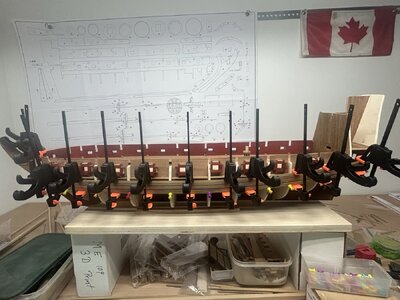
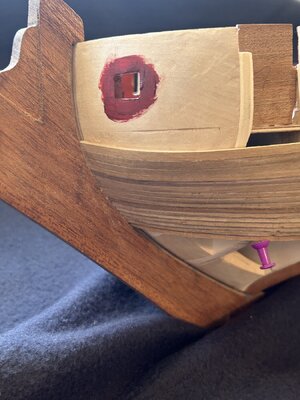
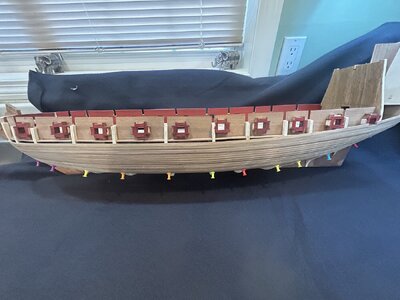
Well it was time to get ready to start planking, the last 2 models I soaked them in them bathtub for 1 hr in hot water, than glued and nailed them in place, first problem was the wale Plank the section drawing shows the wale being normal size and the thicker plank was on top, some of the blogs had a large plank as the wale. My nice in Germany purchased a copy of Wolfgang Quingers Wappen van Hamburg I Book. It came with 2 Drawings and where the wale fast a thicker plank, there also was a wale on the inside. The instructions of the model were no help so I went with the normal size.
I also went with the soaking method but I only soaked the first 6 inches for about 1/2 hr. I layer out the planks to get the number of planks and the size at the bow.
Once I know the width of the planks at the bow I would shape 2 planks, soak them and pin them in place over night. The next day I remove the planks and adjust the fit and glue them in place.
IMG_0151.jpeg
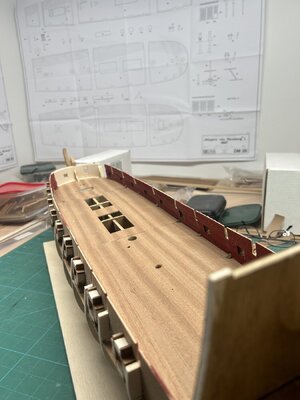
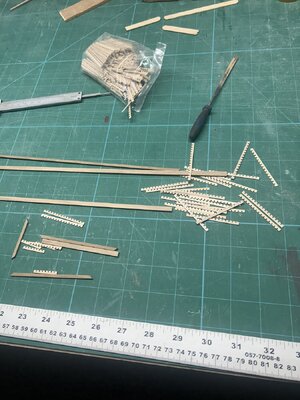
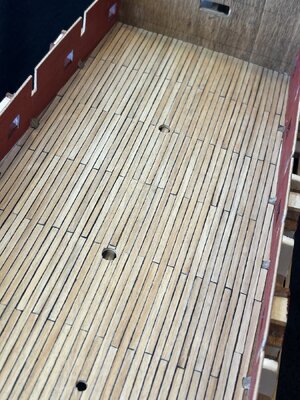
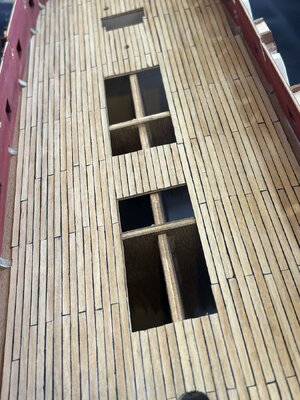
Since I am taking my time I started to make and fit the deck strips.
IMG_0130.jpeg
IMG_0145.jpeg
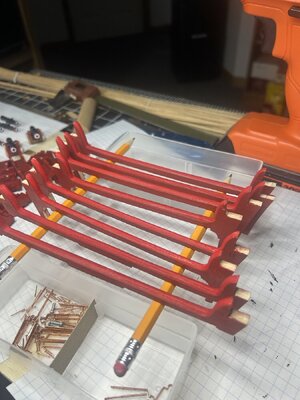
I also made up some of the sub assemblies for the lower deck
IMG_0158.jpeg
So this will pretty much up to date, just glued planks #10 of 39 for the lower hull section.
I can’t believe the difference the front rabbit makes, thanks for the tip.
 
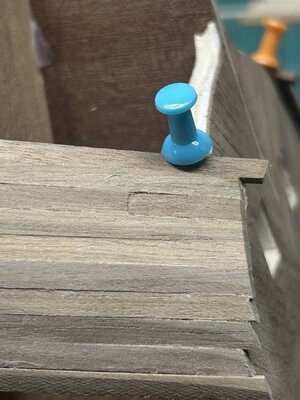
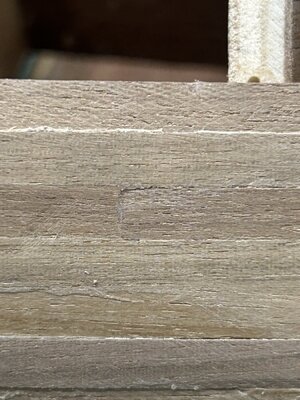
Ops, I was waiting for this to happen, I drilled my pilot hole thru the plank not beside it.
IMG_0161.jpeg
The hole is 0.8 mm I figure I have 3 options, I used Elmar white wood glue I could remove the last 2 planks and replaced the one, option 2 I don’t know if it would work, if I wet the section and careful peen it down to close the hole and sand it or use the tip of a Toothpick dip it in stain and glue it in place, what do you guys think?
 
Ops, I was waiting for this to happen, I drilled my pilot hole thru the plank not beside it.
View attachment 425164
The hole is 0.8 mm I figure I have 3 options, I used Elmar white wood glue I could remove the last 2 planks and replaced the one, option 2 I don’t know if it would work, if I wet the section and careful peen it down to close the hole and sand it or use the tip of a Toothpick dip it in stain and glue it in place, what do you guys think?
If you can't or don't want to replace the damaged planking, here's something you could try. Sand some wood of the same type used for the planking, and then mix that with white glue to form a wood-based filler compound. In theory, it would take a finish the same as the raw wood planks themselves. The problem, as I see it, is that no matter how you approach it, if you don't actually replace the damaged planks, you're always going to see the patch job. Even if other people don't notice it, you will. I will speculate that a career dedicated to precision work won't allow you to overlook that flaw. If it were me, I'd replace the damaged planks. In my eyes, there's nothing wrong with trying to be a perfectionist. But the most important thing is to enjoy the ship building journey.

I wish you the best of success with your repair, and congratulations on your new build space and the great start to your build log here on the forum.
 
Thanks, I was thing the same but I have never removed wood glue, I know you can use heat,Acetone or white vinegar and how do I localized the effect ?
 
Thanks, I was thing the same but I have never removed wood glue, I know you can use heat,Acetone or white vinegar and how do I localized the effect ?
I would not try to use a solvent of any sort. Anytime I've had to remove a piece, I tried to gently pry the wood away using a knife blade, and then using the side of a curved x-acto knife blade to shave and scrape away the glue to make a clean surface. I would begin by cutting into the middle part of the plank (lengthwise) I was planning to remove, and then work outwards to the sides of the plank. The plank you are removing gets destroyed in the process, but its the easiest way to remove it and ensure the planks on either side of it remain undamaged. I use a wood glue called Weldbond. It looks white when you apply it, but it dries clear and hard. That's why I say it's almost like carving away the plank. Just approach it slowly and methodically and you should do okay. Maybe make a test piece on some scrap wood and try your technique there first, and then take what you learn from that and try to repeat it on your model.
 
It may be the angle, but to me it looks as if the hole might actually be aft of the stern bulkhead, or at least towards the very end of the plank. The repair with PVA wood glue mixed with sawdust should work very well. If you use water soluble PVA, the plank is very easy to remove. Simply apply hot water with a brush so that it seeps in from the top plank's side, wait for it soak in and re-apply. Do this a few times and then start wedging the blade of an X-Acto knife in-between the plank and the bulkhead. Gently wriggle the blade and start working the plank loose. Re-apply hot water as necessary. You will obviously have to remove two planks (the affected one and the one above it), but once that is done, there won't be any effect on the rest of the planking.
 
First thanks everyone for the good suggestions, Working almost 50 years in manufacturing I learn what mistakes will happen, first 1 have to learn from them and take your time with the repair, think it thru, so being a cautious person, I made a little markup model and drill some holes in it. I tried a couple of ways, fill the hole, hard to do well it is very small to get the material in. Plug hole with a sanded down tooth pick with I stain, I didn’t like it.
Then I took my assembly apart using a heat gun, I work but to much heat would be hard to control.
My carving skill are none existing so i did not feel comfortable.
I like Heinrich Methode and i will keep it in mind if I don’t like my fix. Thanks. I look online and did not find much info on remove heat for wood glue.
I cut out the end section about 3/4 long, then I had the end pieces i cut of each plank, after finding the one I need I made filler piece about 2 in long. Then I made the opening fit my filler piece. I just started to sand the area. I did not finish sand but I think I am happy with it so far.IMG_0163.jpeg
So I will carry on the the planking.
 
Bit more sanding and had the Boss take a look und she could not find it, only after I showed what side and what the area was within the last inch.
IMG_0165.jpegIMG_0164.jpegwhat
is good enough for me
 
Last edited:
Hi Rolf. I am glad to hear that you have sorted out the problem and if the boss says it's good enough, it's good enough! :)
 
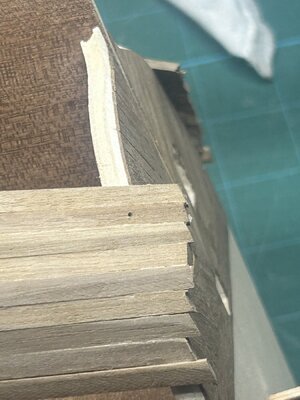
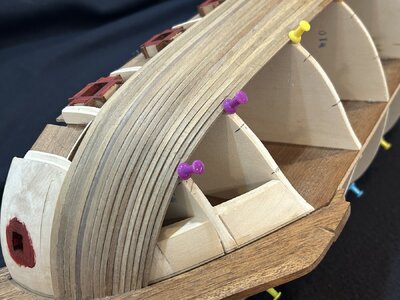
at this stage of the build I will update my blog once a week, I just placed plank strip 16 of 39. I had to increase my soaking time, I started with 1/2 hr in hot water. but around plank strip # 11 I had 4 break out of 6. So now I soak for 1/2 which I fit in the morning, pin in place and let dry than at night I do final sanding and fitting And gluing.
IMG_0179.jpegIMG_0182.jpeg
IMG_0180.jpeg

IMG_0181.jpeg
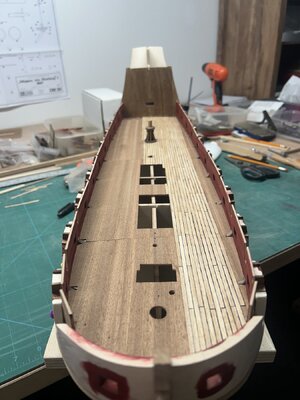
In between waiting for the planks to soak or dry glueing I almost finish the top deck. Just a little left around the edges which I will do the larger pieces only.
IMG_0177.jpeg
IMG_0178.jpeg
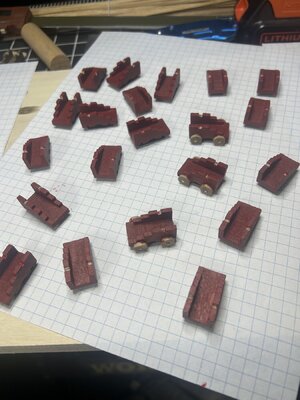
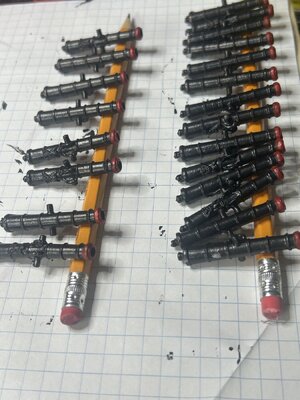
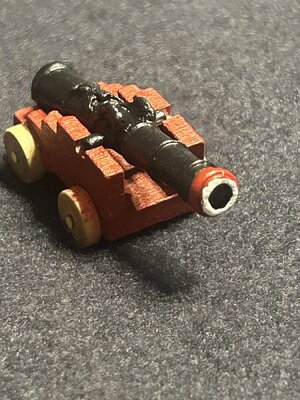
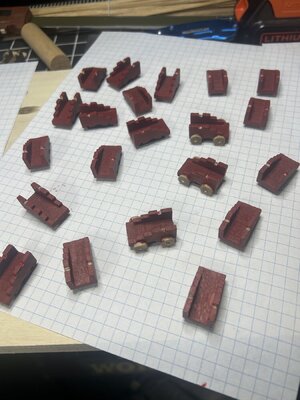
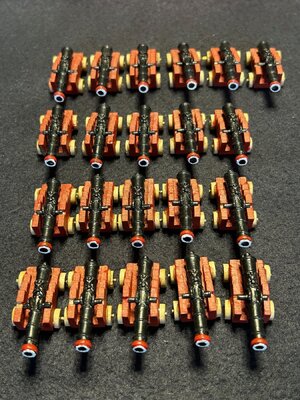
I also did one canon assembly to use as a gage for the window height, in Wolfgang Quinger’s book he said the carriage can be brown or red in colour, so I will paint them red.
IMG_0183.jpeg
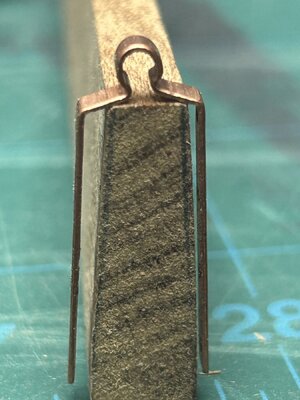
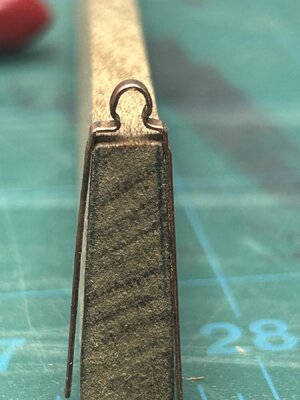
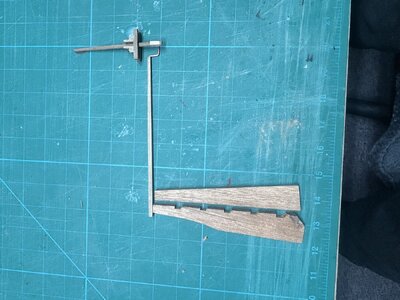
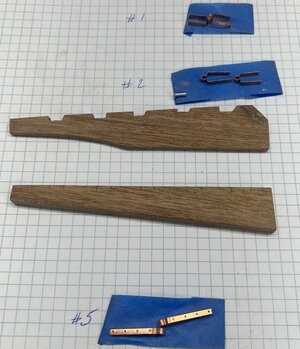
I have one more side of the Rudder to remove the stock and the Stern Post and rudder will be the finished shaping and I can work on the hinges, which I could not be leave how far the width was out , so I have to re bent for a tigher fit.
IMG_0174.jpegIMG_0173.jpeg
 
If you can't or don't want to replace the damaged planking, here's something you could try. Sand some wood of the same type used for the planking, and then mix that with white glue to form a wood-based filler compound. In theory, it would take a finish the same as the raw wood planks themselves. The problem, as I see it, is that no matter how you approach it, if you don't actually replace the damaged planks, you're always going to see the patch job. Even if other people don't notice it, you will. I will speculate that a career dedicated to precision work won't allow you to overlook that flaw. If it were me, I'd replace the damaged planks. In my eyes, there's nothing wrong with trying to be a perfectionist. But the most important thing is to enjoy the ship building journey.

I wish you the best of success with your repair, and congratulations on your new build space and the great start to your build log here on the forum.
Great suggestion!

Bill
 
Great suggestion!

Bill
Thanks for the great suggestion, I made a small sample of the problem area, to try different fixes. I difficulty I had is getting the paste into a small hole it does not go in very far and after a little sanding it opens back up, I could have tapered or make the hole bigger, I had found the end piece I cut off, and made a 3/4 inch patch piece. Since the problem was at the end of the plank I could cut and file a nice fit.
 
This week update: planking is almost at the 1/2 mark, still had some breaking, is low down a bit while I decided how to proceed.
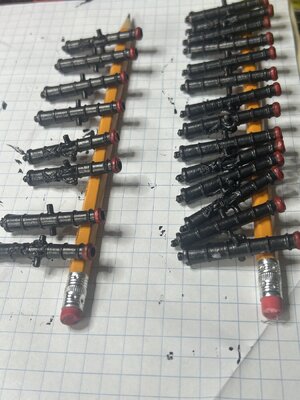
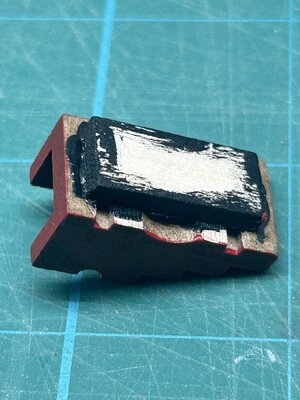
Since the lower decking is almost done, I started painting the canon and carriage and the beam for the lower deck, I know I have to Glue them in place without the canon, once I close the lower deck. I didn’t like the idea just having the small contact area on the wheels, was thinking about using a pin, but I like to keep things simple so I glued a small plate under the carriage and will epoxy them in place.
IMG_0194.jpegIMG_0191.jpeg
IMG_0192.jpegIMG_0193.jpeg
IMG_0206.jpeg
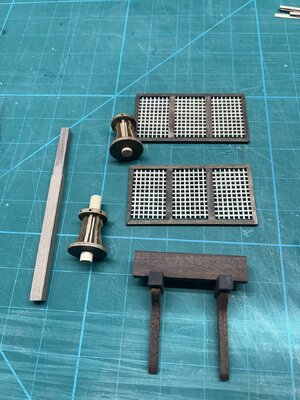
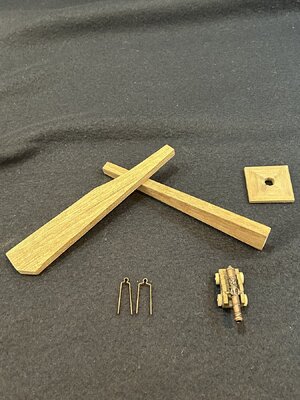
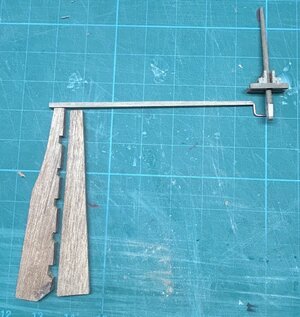
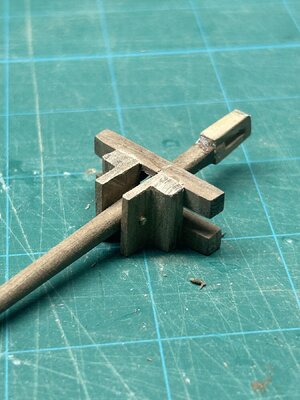
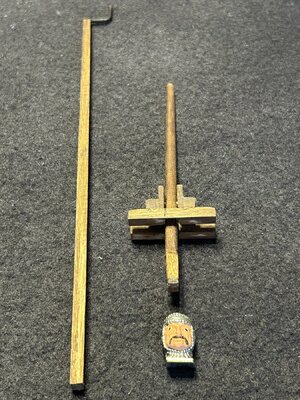
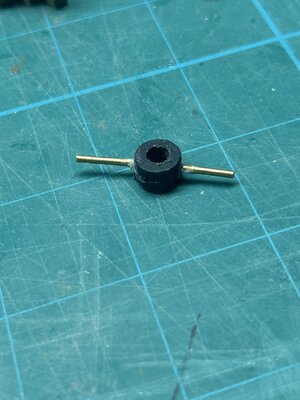
I also started to make up all the pieces I need the the Whipstaff steering, I did some research and would like it to be working on my model. To an accommodate more movement the Whipstaff moved not only left and right but also up and down to get more rudder movement.
I did. make a collar to allow the shaft to move up and down.
IMG_0210.jpeg
But again I decided to keep this simple and only have left and right movement.


IMG_0208.jpegIMG_0209.jpeg

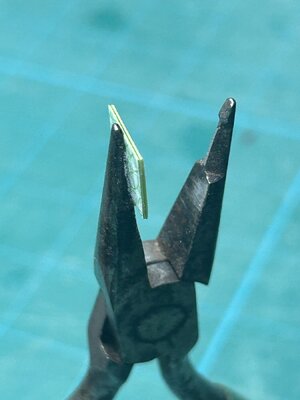
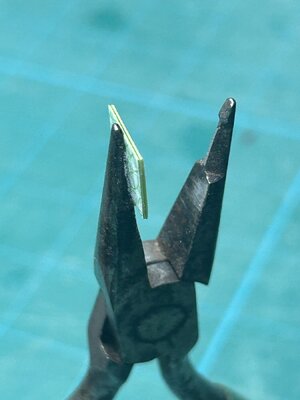
It should work, will see once I install it, I still had a couple of plan breaking, so I ordered an electric plank bender, in the mean time I modified some old pliers I had into a plank bender.

IMG_0207.jpeg
I tried it on some scrap pieces and it should work I will try this today will let you know.

IMG_0192.jpeg

IMG_0191.jpeg

IMG_0208.jpeg

IMG_0207.jpeg
 
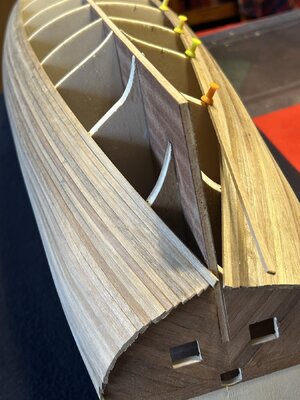
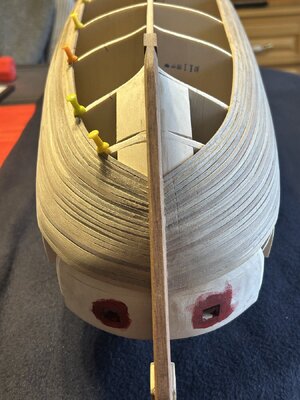
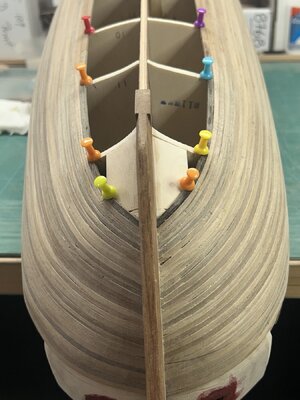
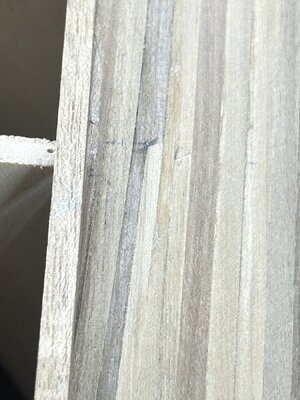
Update time: planking slowed down the last 2 weeks, I have been soaking the aft section as well since now there is a 90 twist at the end of the plank. I also started to do some sanding, and see I have to fill some small gaps in the bow section but we’ll below the paint line, I have been saving my dust of the plank sanding, so I have some to mix with some wood glue.
I also had my first experience in making Steelers.
IMG_0222.jpegIMG_0224.jpeg
IMG_0223.jpeg
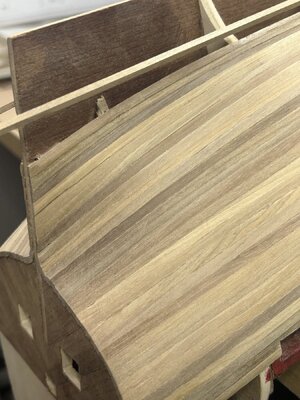
Otherwise the planking looks not too bad.
I also or working on the rudder and hinges.
IMG_0226.jpeg
And been doing some more painting
IMG_0227.jpeg
 
Back
Top