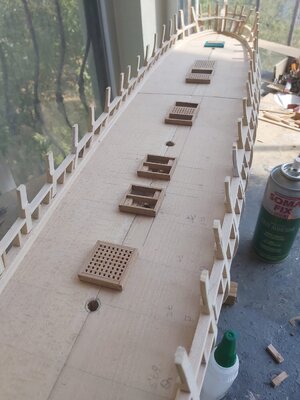
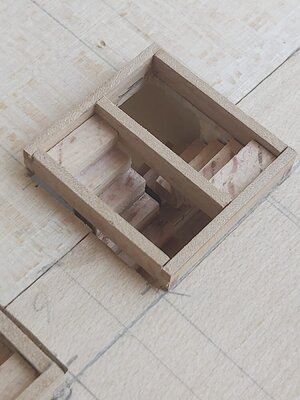
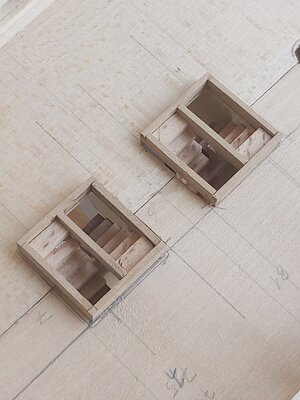
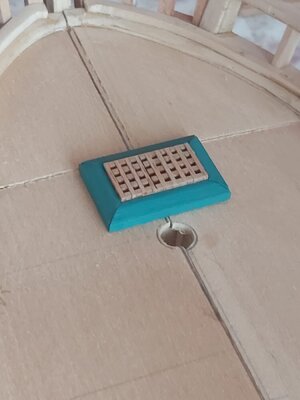
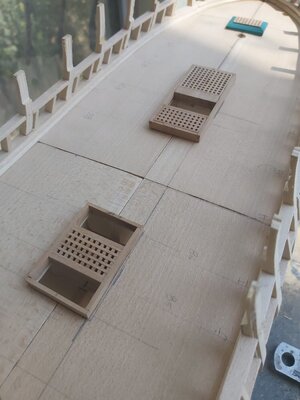
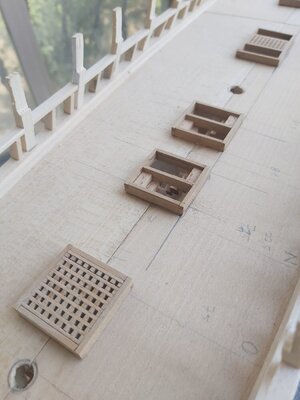
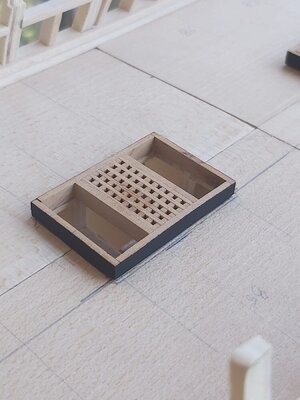
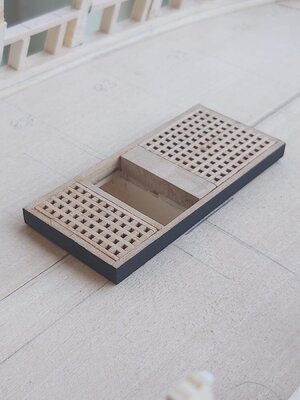
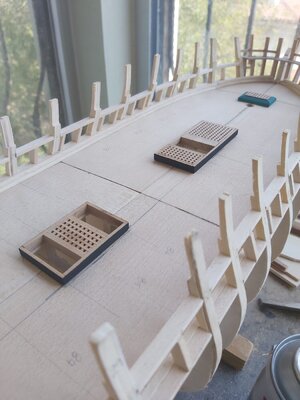
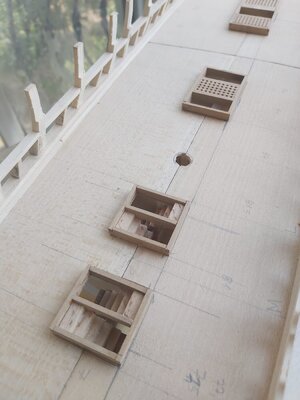
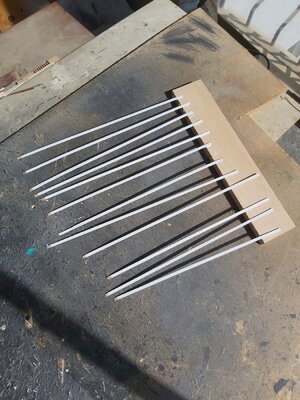
Mustafa, Wow! the gratings look awesome. What a great tip. Magic Mike
You are using an out of date browser. It may not display this or other websites correctly.
You should upgrade or use an alternative browser.
You should upgrade or use an alternative browser.
USS Constitution 1:76 Scratch
- Thread starter mtbediz1
- Start date
- Watchers 42
-
- Tags
- constitution
- Joined
- Jan 26, 2017
- Messages
- 1,001
- Points
- 443

Thank you Mike but you should have to have either a Mill or a Table Saw to accomplish.Mustafa, Wow! the gratings look awesome. What a great tip. Magic Mike
I agree with the others - looking very good
Only one remark and due to the fact that you made it in scratch, you can maybe adjust it
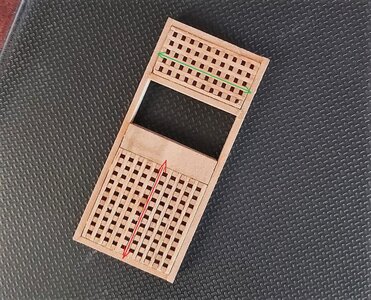
short time ago we had a detailed discussion in my building log about the orientation of the gratings
and it comes out that the ledges of the gratings, so the visible long bars are oriented from bow to stern, so like the part with the red arrow.
we can see, that your smaller grating is oriented in the other direction (green arrow) - maybe you want to adjust and make both in the same direction - means like the red arrow
Only one remark and due to the fact that you made it in scratch, you can maybe adjust it

short time ago we had a detailed discussion in my building log about the orientation of the gratings
HMS GRANADO - full hull - POF kit by CAF in 1:48 - by Uwe
Wow, good afternoon. Intrigue. Which picture is correct? This would be correct from https://shipmodeler.wordpress.com/2021/05/02/improving-basic-details-getting-the-gratings-right/
shipsofscale.com
and it comes out that the ledges of the gratings, so the visible long bars are oriented from bow to stern, so like the part with the red arrow.
we can see, that your smaller grating is oriented in the other direction (green arrow) - maybe you want to adjust and make both in the same direction - means like the red arrow
- Joined
- Jan 26, 2017
- Messages
- 1,001
- Points
- 443

Thank you for your attention Uwe. I didn't realize it until you mentioned. But I don't want to rebuild it because it won't be very visible since it will be under the spar deck anyway. But I will keep this guidance in my mind when I make the gratings on the spar deck.I agree with the others - looking very good
Only one remark and due to the fact that you made it in scratch, you can maybe adjust it
View attachment 393267
short time ago we had a detailed discussion in my building log about the orientation of the gratings
HMS GRANADO - full hull - POF kit by CAF in 1:48 - by Uwe
Wow, good afternoon. Intrigue. Which picture is correct? This would be correct from https://shipmodeler.wordpress.com/2021/05/02/improving-basic-details-getting-the-gratings-right/shipsofscale.com
and it comes out that the ledges of the gratings, so the visible long bars are oriented from bow to stern, so like the part with the red arrow.
we can see, that your smaller grating is oriented in the other direction (green arrow) - maybe you want to adjust and make both in the same direction - means like the red arrow
- Joined
- Jun 17, 2021
- Messages
- 1,677
- Points
- 488

This is an impressive and remarkable achievement already! I look forward to following your project. I am learning a lot from it.
I'd like a front row seat, if there are any left
Pete
I'd like a front row seat, if there are any left

Pete
Very cool!
- Joined
- Jan 26, 2017
- Messages
- 1,001
- Points
- 443

Thank you very much for your interest.This is an impressive and remarkable achievement already! I look forward to following your project. I am learning a lot from it.
I'd like a front row seat, if there are any left
Pete
- Joined
- Jun 17, 2021
- Messages
- 1,677
- Points
- 488

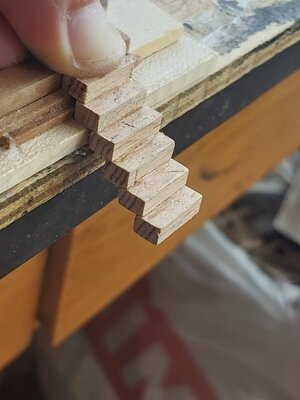
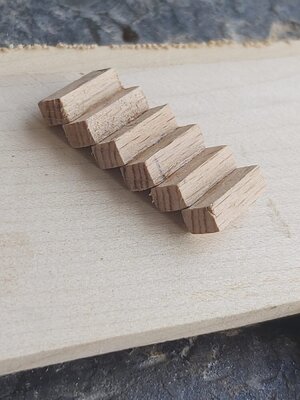
Gosh this is beautiful work!  I love the technique you use for crafting the stairs. Thanks for a wonderfully useful tip.
 I love the technique you use for crafting the stairs. Thanks for a wonderfully useful tip.
- Joined
- Jun 17, 2021
- Messages
- 1,677
- Points
- 488

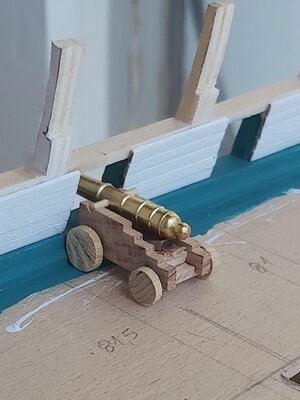
Very nice!Thank you Peter.
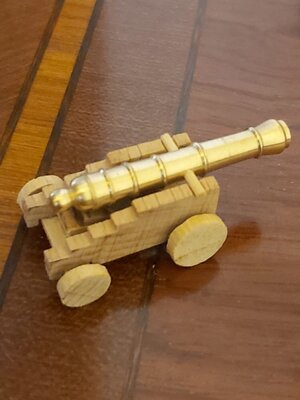
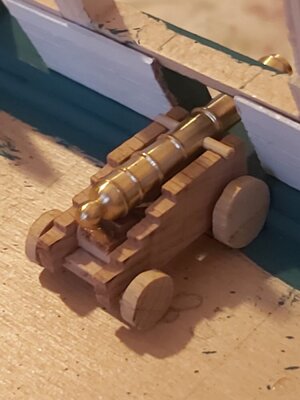
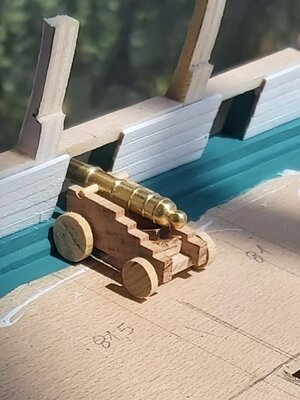
By the way, I wanted to make a prototype cannon carriage and test it.
View attachment 394020View attachment 394021
- Joined
- Jan 26, 2017
- Messages
- 1,001
- Points
- 443

Thank you Peter.Very nice!
- Joined
- Jan 26, 2017
- Messages
- 1,001
- Points
- 443

I love the "Watersway Green"! Magic Mike
- Joined
- Jan 26, 2017
- Messages
- 1,001
- Points
- 443

Thank you Mike. I bought the most suitable green paint I could find at the hobby store, but I still mix a very small amount of black paint into it before using.I love the "Watersway Green"! Magic Mike
Last edited:
- Joined
- Jan 26, 2017
- Messages
- 1,001
- Points
- 443

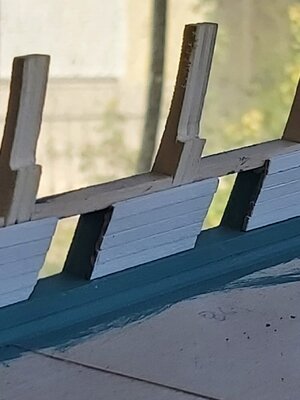
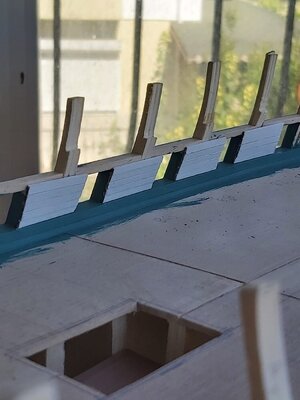
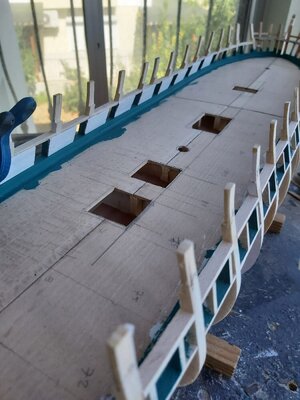
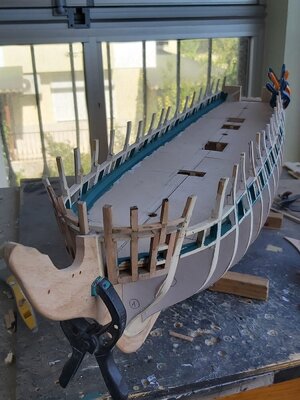
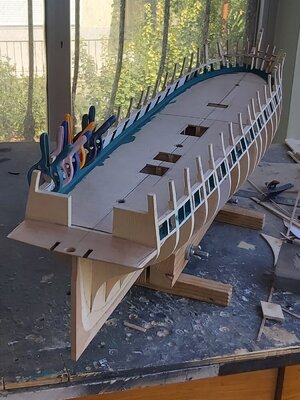
Most of the modelers who built the kit for this model mentioned the incompatibility of the stern frames in their build logs. I had to modify the outer frames on both sides, which was really incompatible, and align it with the others.
Meanwhile, the inner planking of the deck side walls has been completed.
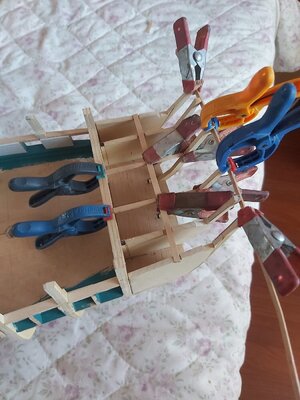
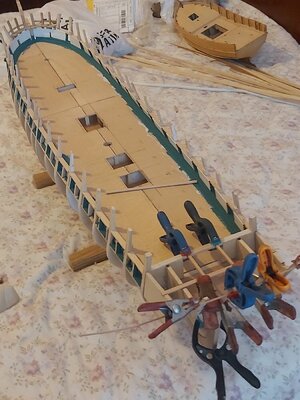
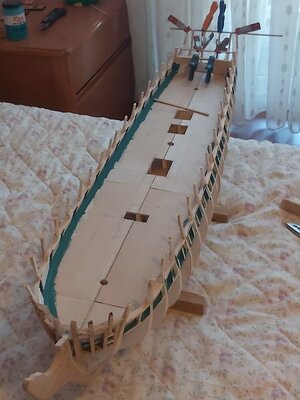
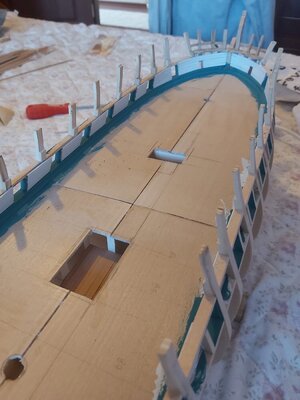
Meanwhile, the inner planking of the deck side walls has been completed.


Last edited:
- Joined
- Jun 17, 2021
- Messages
- 1,677
- Points
- 488

What is the little model under construction to the right of the "Connie" in the second picture?
- Joined
- Jan 26, 2017
- Messages
- 1,001
- Points
- 443

It is a Turkish fishing boat kit that I bought and started building 7 years ago when I first became interested in this hobby. It was left unfinished because I started building another kit before I finished it. If one day I decide to quit this hobby, I will finish her and then quit.What is the little model under construction to the right of the "Connie" in the second picture?
You can see what it's like in the link below.

Türkmodel-Taka-RC ” Black Sea Fishing Boat ” - Türkmodel Shop - Model Gemi Maketleri - Maket Projelendirme
Türkmodel-Taka-RC ” Black Sea Fishing Boat “ <<<PLAN>>> <<<Parça listesi için tıklayınız>>> <<<Click for part list>>>
 turkmodelshop.com
Last edited:
- Joined
- Jun 17, 2021
- Messages
- 1,677
- Points
- 488

Great little model. Looks well planned and designed. If only they all went together as easily and trouble-free as they do in the U-Tube animated videos!
I do hope you'll get around to finishing her one day. She's just the kind of prosaic, unglamorous craft I love to see modeled, with a worthiness, nobility and romance all their own. " Men who go down to the sea in ships." These little craft have so much more to do with the development and trajectory of seaworthy, practical ship design down through the ages, than do all the great Men O" War lumped together. (Merely, my own romanticized opinion, of course.)
Thanks for including the link . I watched the whole virtual build and was very entertained.
I look forward to pulling up my chair and a and being equally entertained following your progress on your wonderful "Connie" model. Great work! I definitely have become a fan!
Pete
I do hope you'll get around to finishing her one day. She's just the kind of prosaic, unglamorous craft I love to see modeled, with a worthiness, nobility and romance all their own. " Men who go down to the sea in ships." These little craft have so much more to do with the development and trajectory of seaworthy, practical ship design down through the ages, than do all the great Men O" War lumped together. (Merely, my own romanticized opinion, of course.)
Thanks for including the link
 . I watched the whole virtual build and was very entertained.
I look forward to pulling up my chair and a
 and being equally entertained following your progress on your wonderful "Connie" model. Great work! I definitely have become a fan!
Pete
Mustafa and Pete, the Turkish Black Sea fishing boat is very neat and would be fun to build, but I have several in front of it that I need to finish first. Thanks Mustafa, Magic Mike


