The Mary Rose

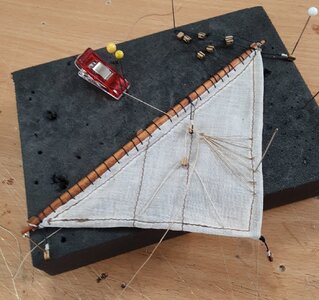
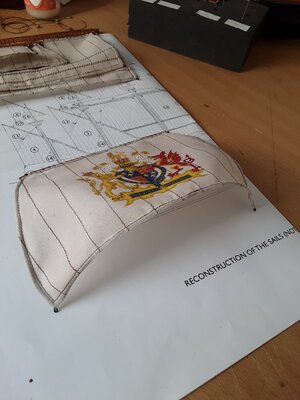
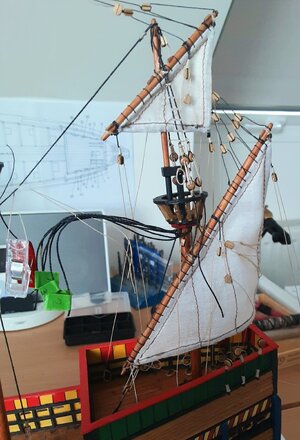
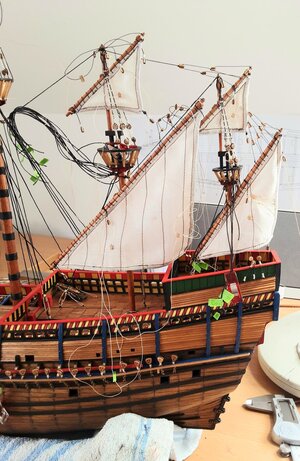
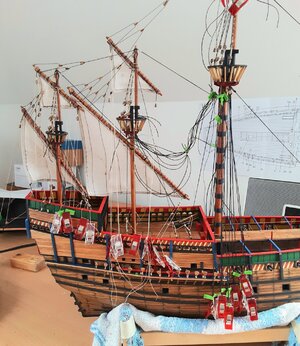
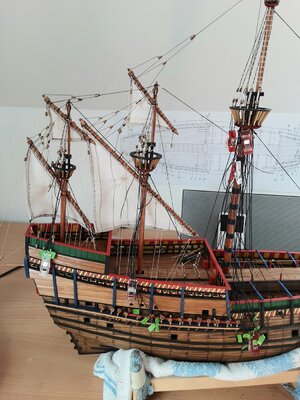
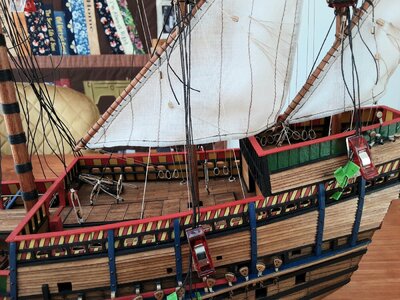
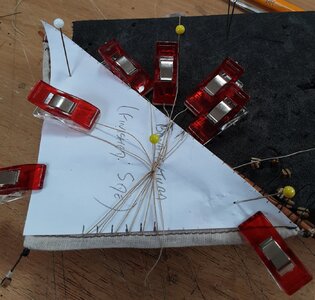
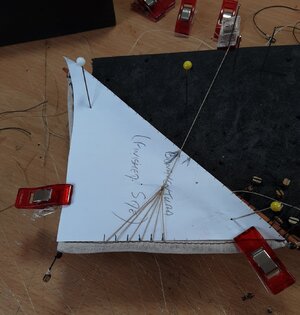
Rigging the sails and I am starting at the back of the ship and working forward, the rearmost mast being the Bonaventura. The feature I am working on is Martnets (shown on the Anthony Roll picture), and these run from the edge of the sail to a block above the spar, the idea being that as the spar is lowered the sides of the sail are drawn up close to the yard when they are being furled. The sail outline templates come in handy when marking out the locations -
20230819_140304.jpg

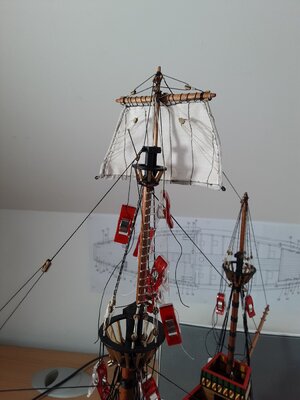
The red clips are what my wife uses tor sewing, small but very strong. Ends trimmed off -
20230819_140949.jpg

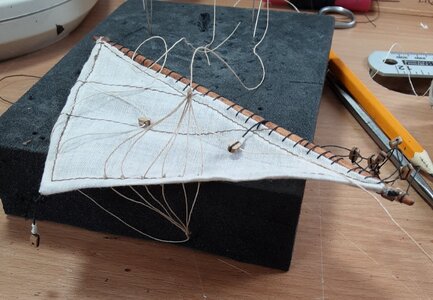
... and there are martnets on both sides of the sail -
20230819_143914.jpg

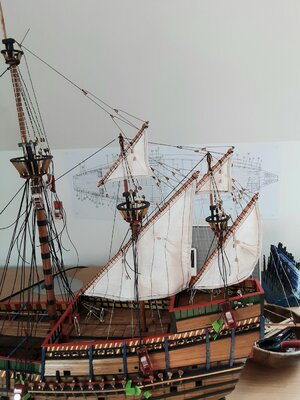
Finished -

20230819_145248.jpg

The splayed ends of the martnets are known as 'crow's feet' and you will also note separate lines to the bottom edge of the sail to further assist in furling. The mizzen sails are the same principle, so I will do those and catch you up when I fix the spars to the masts.
 
Last edited:
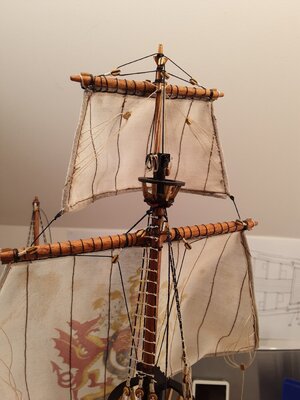
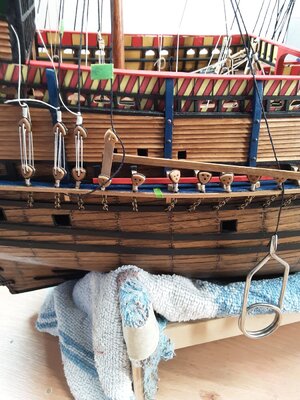
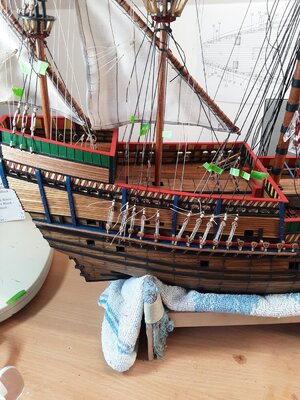
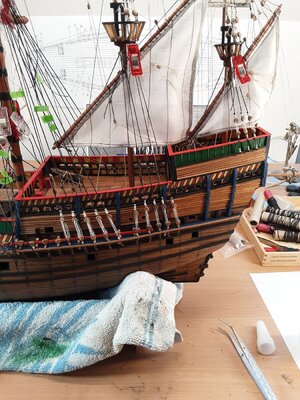
I am still working on the sails, but need to take a break and run the shrouds in before I fit any sails, otherwise I'll have difficulty getting in there -

20230905_150700.jpg

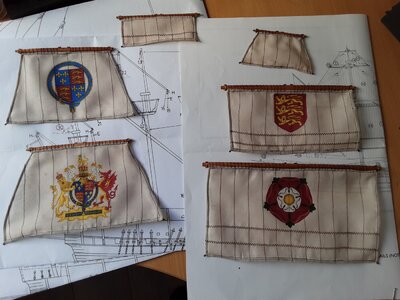
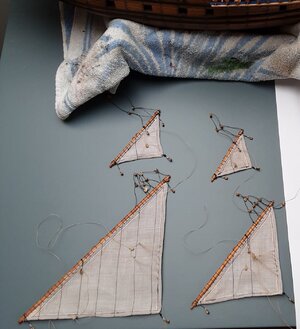
Those sewing clips are really handy, just don't tell my wife. All sails are now sewn on the yards -

20230904_145006.jpg

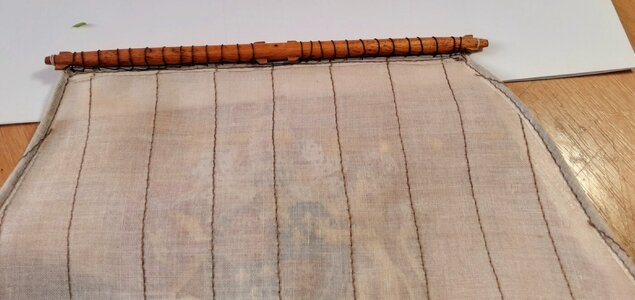
I used a running lock stitch, which I think is best placed on the back side -

20230905_150801.jpg

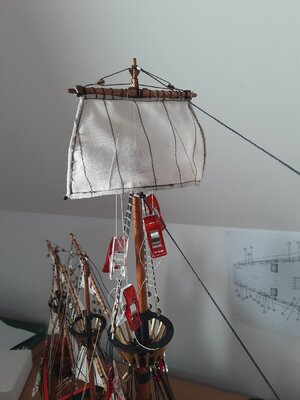
After threading the cord to create the clews and cringles I also inserted lengths of 1mm black wire in the side and bottom seams. This will enable me to represent some 'belly' in the sail as below -

20230904_145122.jpg

I do not know if this is an accepted technique, but it seems to work.

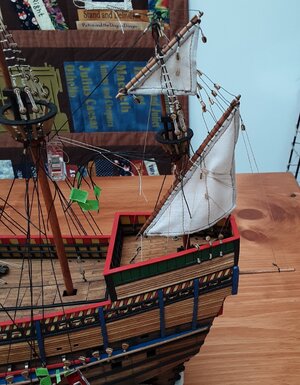
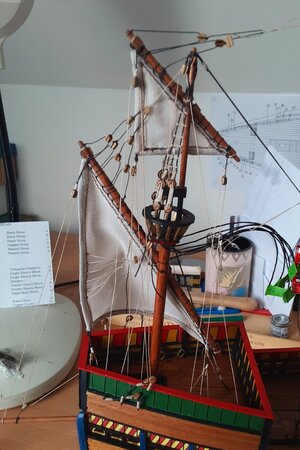
The lateen sails for the mizzen and bonaventura mast are now fully rigged and are ready to fit -

20230828_150428.jpg
 
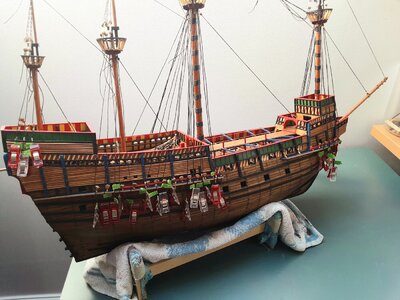
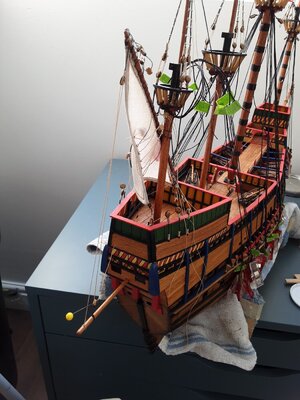
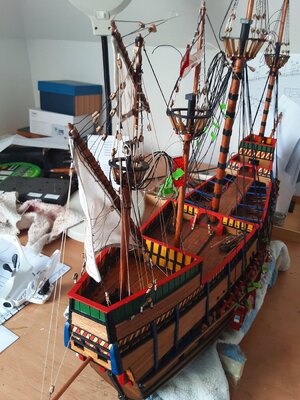
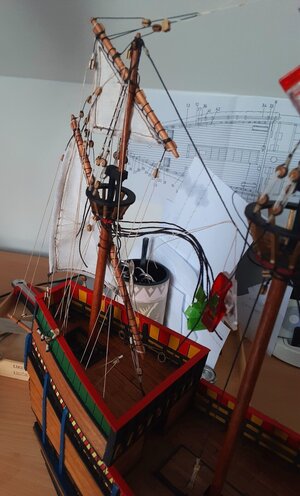
Moving on to the Mizzen mast. Life is a little easier in tying these lines off; the Bonaventura mast lines were quite tight because I added the additional (and consequently smaller) aft castle deck. However, the additional forward castle deck is the smallest of all, but I might have figured out what I am doing by the time I get to it.

20230919_110316.jpg

20230919_152645.jpg
 
Moving on to the Mizzen mast. Life is a little easier in tying these lines off; the Bonaventura mast lines were quite tight because I added the additional (and consequently smaller) aft castle deck. However, the additional forward castle deck is the smallest of all, but I might have figured out what I am doing by the time I get to it.

View attachment 395412

View attachment 395413
Good afternoon Graham.Wow there are a lot of blocks…. o_O. She is looking wonderful. Cheers Grant
 
Good afternoon Graham.Wow there are a lot of blocks…. o_O. She is looking wonderful. Cheers Grant
Hi Grant. Yes, a lot of blocks and sometimes I take a tea break when rigging so that I don't go cross eyed. Keep well.
 
Main topsail pre-rigged and fitted -

20231031_111657.jpg

This was the next step because the topgallant is rigged to the topsail spar -

20231031_130538.jpg

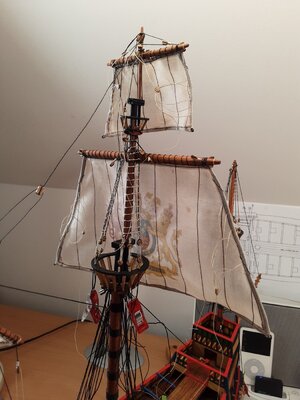
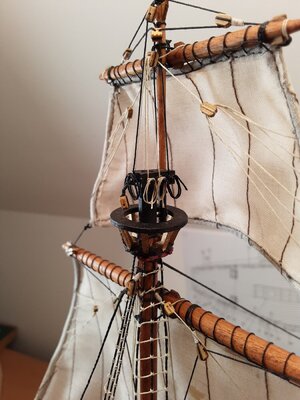
The topgallant sail position is now fixed and so the associated Martnets (back of the sail) and Brails (front of the sail) can be tensioned and tied off -


20231031_132123.jpg

20231031_132226.jpg

The Martnets and Brails on the topsail are threaded through the blocks, but remain only clipped until the main spar is fitted to determine the final tension-

20231031_132144.jpg

The main sail is next.
 
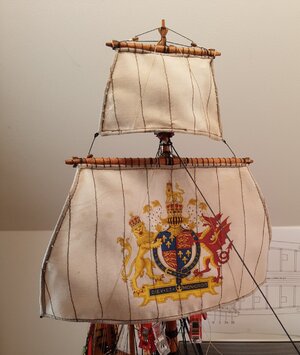
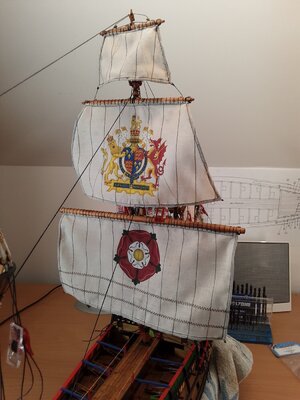
That all looks very well organized but your pictures bring up another question for me. I see how you threaded the sails onto the spars but my Cutty Sark has the eyes and rails on the top of each spar. Do I tie the sails to the rails or to the spar? Seems to me that the rails are to hold the sails in my case rather than the spars. I see no rails on your model so the sails will have to be hung from the spars. Good looking model Graham and I like the coat of arms on the main sail too. Good idea.
 
Main topsail pre-rigged and fitted -

View attachment 403817

This was the next step because the topgallant is rigged to the topsail spar -

View attachment 403818

The topgallant sail position is now fixed and so the associated Martnets (back of the sail) and Brails (front of the sail) can be tensioned and tied off -


View attachment 403819

View attachment 403820

The Martnets and Brails on the topsail are threaded through the blocks, but remain only clipped until the main spar is fitted to determine the final tension-

View attachment 403821

The main sail is next.
Good morning Graham. Impressive work. I love the coat of arms on the sail. Cheers Grant
 
That all looks very well organized but your pictures bring up another question for me. I see how you threaded the sails onto the spars but my Cutty Sark has the eyes and rails on the top of each spar. Do I tie the sails to the rails or to the spar? Seems to me that the rails are to hold the sails in my case rather than the spars. I see no rails on your model so the sails will have to be hung from the spars. Good looking model Graham and I like the coat of arms on the main sail too. Good idea.
Than you for your kind words. The sails on the Mary Rose are quite low tech compared to later ships, see my post #261 above for more information. Regarding rigging your Cutty Sark sails I am not sure, the rails as you describe them make sense, but what if they were only used for furling purposes? I can't find any models on the index of this forum which show sails fitted. You could ask the question on the rigging thread of this forum as there are some very knowledgeable researchers on here. It might also be fun to contact the Cutty Sark Museum at Greenwich and I am sure they will be pleased to help. Sorry I can not help more.
 
Taking a break from the sails to work on the deadeyes. This is a little tool I made to set the spaces between blocks, just some spare plank and a couple of brass pins -

20231102_160443.jpg

Temporary tie off -

20231103_134619.jpg

Happy with the tensions/distances, so tied off -

20231103_160032.jpg

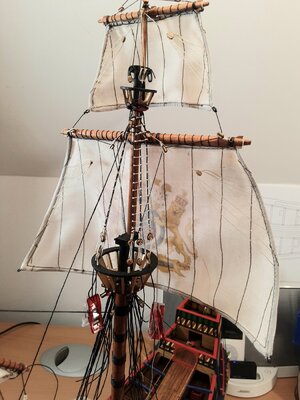
I will stop at this point and not yet tie the opposing deadeyes because I need to be able to get behind the mainsail in order to tie off the associated sail rigging lines. Temporary fit of the mainsail prior to rigging it so that I can figure out where the lines will go -

20231103_160104.jpg
 
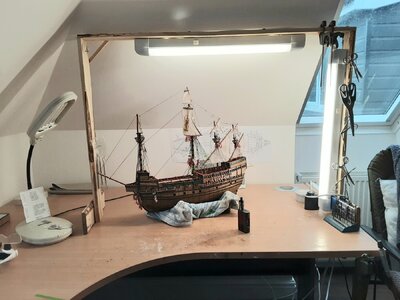
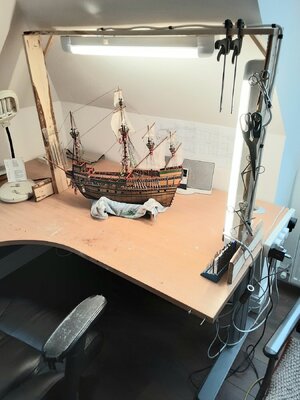
It's a grey winter here in the UK and poor light is a problem I need to address. I had a couple of strip lights spare in the garage, so a little time on the saws and I made this from pallet strips -

20240111_134701.jpg

20240111_134427.jpg

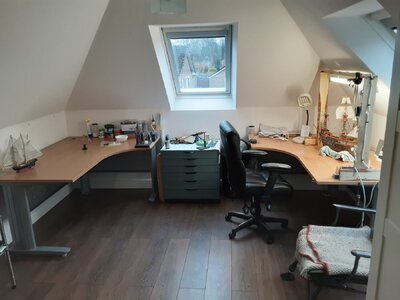
Also handy for hanging things on which are regularly used and makes them easy to hand. Furthermore, the Boss just got a huge new sewing table, so I inherited her desk -

20240111_134443.jpg

Christmas gift projects finished, time to crack on. A belated Happy New Year to you all.
 
The room looks great and the light frame could be just the ticket for me or maybe something like it. I'm always having problems with getting enough light on my work and having some of the tools right there to grab would be nice too. How about shadows on the work with the two lights? Maybe a third light at the left would help. good idea and nice ship model there too.
 
Back
Top