The Great Republic 1:48

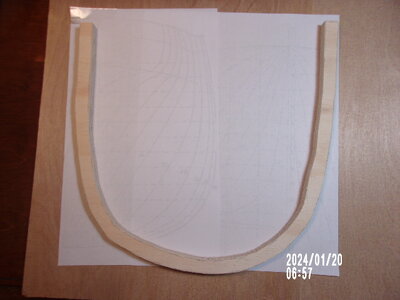
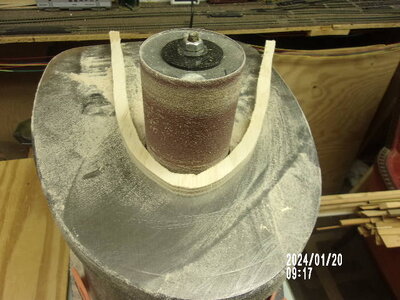
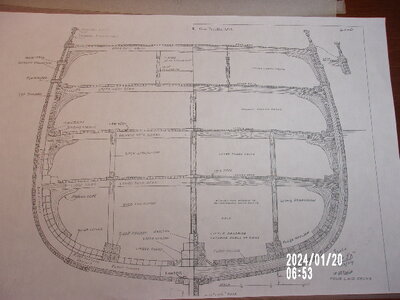
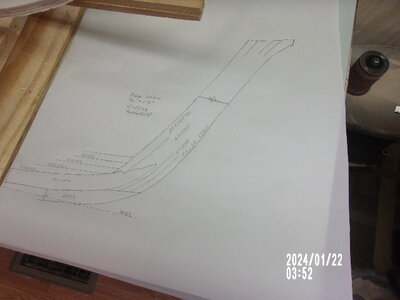
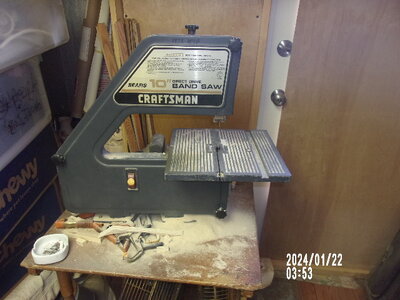
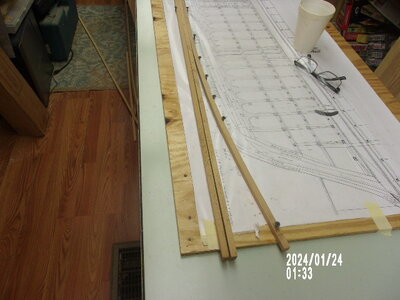
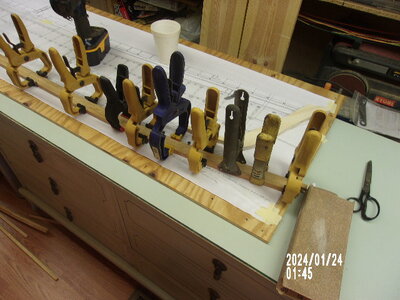
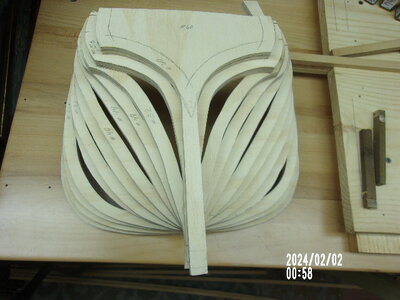
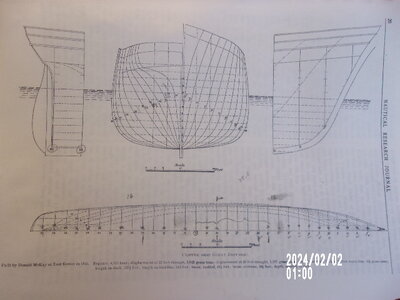
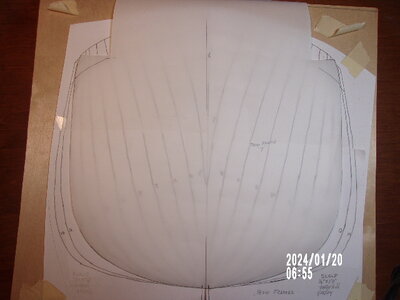
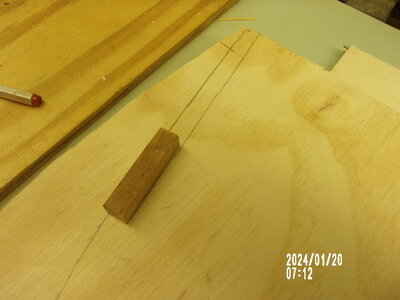
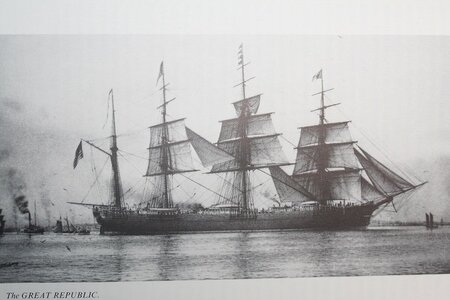
The first picture shows how the frame was traced onto velum and then transfered to the wood.I just cut the form around the outside edge of the tracing and copied that line to the wood. #2 Then I took a small piece of wood the same size as I wanted the frame and made marks with it as a guide. Then the lines can be connected with a french curve to copy the outside line. Once the lines are drawn then it's off to the band saw. #3 That will produce a rough shaped frame ready for the oscillating drum sander #4 to further develop the shape. It's easy to sand the large frames but the smaller ones will need a smaller drum. #5 Is a picture of the hull construction of the Great Republic. It's of the actual GR and is accurate enough for me. That ship must have been like a cathedral inside.
By the way, has anybody ever built a boat that you could sail or drive? That might be my next step. Don't get excited, I'm just thinking ahead, that's all.
100_0151.JPG

100_0155.JPG

100_0153.JPG

100_0157.JPG

100_0150.JPG
This is the cross section of the GR at mid-ship.You can see the heavy construction in her with the 10 sister keels (not 8) and the keelsons on the left and right to support the load along the hull. Then there are the ceiling planks along the hull inside, up to the Middle deck beam and some of that is doubled. Finally you have the outside hull planking and the keel sandwiching the whole thing together. It's amazing how they built these ships. There are thousands of iron and copper rods, some as big as 1 1/2" in diameter holding every piece of wood together through out the ship. No electric drills either. This ship is really built by hand.
 
Last edited:
I forgot to say, save those tracings for now. You may need to make new frames if any are way out of wack.(new nautical term)
Now I'll get to last nights work. Need a few more pictures first.
 
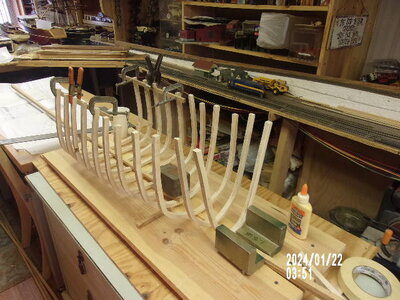
All the frames have been cut out for the bow half of the ship. There is one more "square frame" to attach and then I need to get the bow piece made and installed to mount the half frames at the bow end. The plans show that the frames sit directly on top of the keel. In this case there will be a block between each frame for strength and the keelsons set right on top of that across each frame. In the real ship the frames were only about 6" apart and there are 102 of them not counting the bow and stern half frames. I may need to add some frames here and there to keep the hull lines flowing correctly but we'll see about that pretty soon. The third picture is hard to see but the whole bow stem assembly is traced off with the pieces involved shown. This part will be cut out all as one piece not only for speed but for the bow strength of the model. However each piece was cut and fitted by hand in the real ship and that alone must have been a major accomplishment.
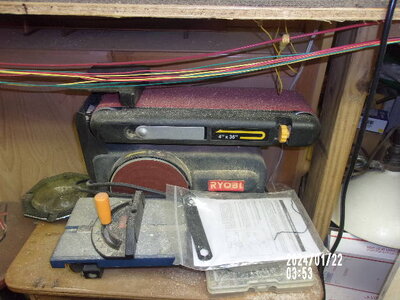
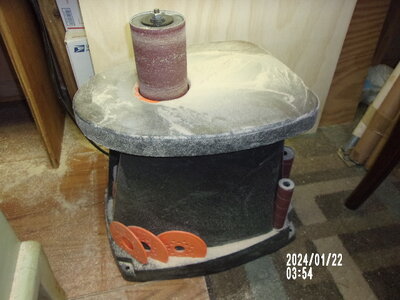
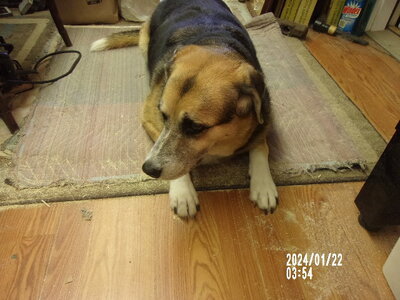
The remaining pics are my belt sander with a disc on the side, my drum sander and then the band saw, all inexpensive tools that I use a lot. Finally there is the Superintendent and she isn't missing one thing I do.

100_0158.JPG

100_0159.JPG

100_0160.JPG

100_0161.JPG

100_0162.JPG

100_0163.JPG

100_0164.JPG

100_0165.JPG
 
Rob: Yes the size is a real problem and I don't have that all figured out yet. My whole home is about the size of the room where you have your Gr displayed. There is no room here for this model at all. The biggest model I have is 1:78 Cutty Sark and your GR is bigger than that at 1:96 I think. It's a good idea to make all your clippers the same scale so the difference in size can be appreciated. I've made four clipper ships with one of them still to be completed and the Cutty Sark left to wallow in the breeze by this project. Soooo many ships and soooo little time. Ha! maybe a museum will buy it from me, who knows. I started reading you GR build on MSW this morning but after reading every word of the first 6 pages I had to take a break. Lots more to think about here than what I thought. Pete
Pete….. In my seeking and searching I realized I didn’t want a model that was exploded in anyway. No interior thought was given, because the exterior was going to be a challenge in of itself, not working the interior just meant I could finish it just inside 3years…….instead of , who knows when.
I couldn’t even make my GR in 1/96, like all my other models….it still would have been too large for my space. I settled on 1/128. And it’s still 4”longer then my 1/96 Glory of the Seas.
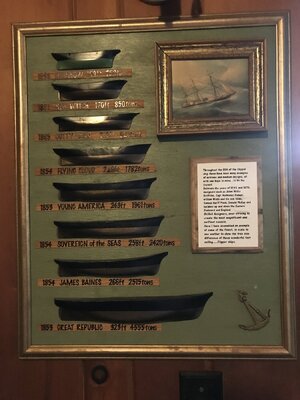
Compare the GR (bottom) to the SotS two hulls up(about the size of GotS)

FCD2ECB5-D937-4426-9C5C-B8679563CFEB.jpeg
 
Wow! That's a beautiful plaque. Sorry I got the scale wrong on the GR and I can see your point. I may have bitten off more than I can chew.
We’ll I don’t think so. You can do it.
Yes, I made that plaque to demonstrate the scale of clippers of significance. Nothing like it existed,…..so I made it.

Rob
 
Thanks Magic Mike and there's plenty of room so help yourself.
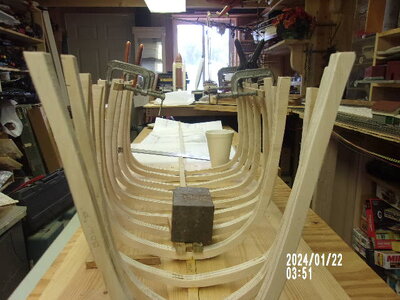
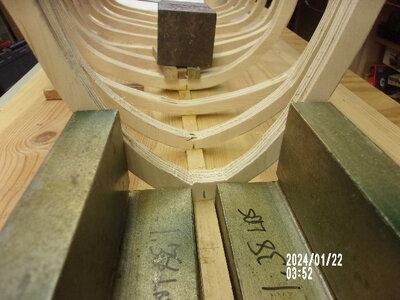
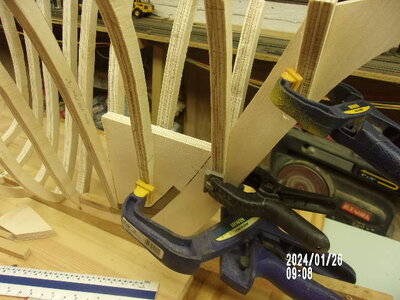
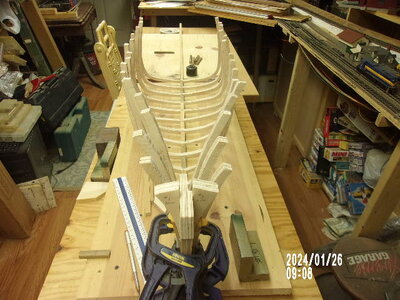
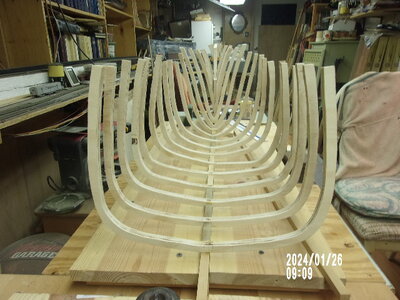
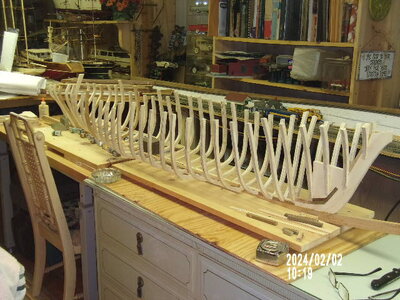
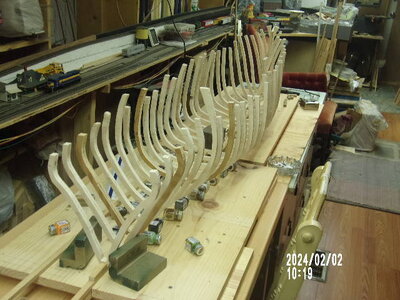
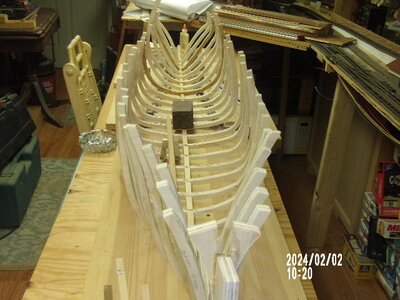
This past week I ran into the first major problem. I found that the keel was twisted and none of the frames would come out right if I left it like it was. This explains why I was having trouble getting the frames to line up. So I bit the bullet and tore the whole thing apart. I don't know what I did wrong to twist the keel but I did figure out that with it being laminated with two beams there was no way to change it so I started a new one. First I made sure my table was clean and level. Then I built another cradle so the whole length of the keel would be supported and level. Then I decided to laminate three beams together to stiffen the keel since the ship would be so long and hoped that it wouldn't look out of sorts when it was (IF it was) finished. Maybe make the garboards thicker to hide more of the keel. I also used a bar clamp to hold the keel in place on the cradle and screwed the boards together very tight. Now I started to glue the square frames on first and that went pretty well. Then it was on to the bow and the half frames. Had to add quite a bit of dead wood parallel and behind the stem piece to give a bearing for the shorter frames at the very bow of the sip. Still need to work on fairing these frames for the planks but all in good time. All in all it came out much better than the first attempt and so far I'm happy with it. The new keel is made of three beans glued together after the 60' rocker was established. Then the whole thing was clamped together to dry the glue. It was left untouched for 24 hours. Then the stem piece was glued on and left for overnight and that seemed to straighten everything out. Next came the split half frames at the very tip of the bow. That's where I added the dead wood. These frames glued up well but still need some trimming to establish the rabbet line. I will not be cutting a rabbet on this model. The garboards will be angled to fit the keel instead. Finally two shots of the hull from either end. The frames lined up much better this time. And so it goes. Little by little and the stern is next.100_0167.JPG100_0168.JPG100_0170.JPG100_0169.JPG100_0171.JPG
 
Having been following Richard Dunn's thread about building his large scale ships I have decided to go ahead and at least start my 'grand slam model of my life' and see if I can get it built. I don't know why but I.ve had it in the back of my mind to build a very large model clipper ship and the GR was the biggest one ever built in New England. She was the biggest ship in the world for awhile and then iron steamers came to be and the size of ships has been growing ever since. Ships have gotten so big that panama even had to build a new canal across the Isthmus of Panama because the old canal was too small. Richards enthusiasm was great enough to inspire me to go ahead now and see if I can actually build a large model clipper ship and so it is starting. Guess I'll just have to buy a big kit and get to work, right? Well it's not going to be that easy.
I have a book by William Crothers which he wrote over a thirty year period and it has everything about New England clippers that you can imagine. Plans,diagrams and a text that explain everything but you'll have to cut out all the parts from scratch and hopefully assemble them into a model that looks like the GR. There are even a few photographs for the real ship to help me on my way but NO KIT.
I've been able to gather enough info for the GR to cobble together a plan of the ship at the mid line that shows all the parts of a wooden ship and where they go. It's up to the modeler to pick a scale and get his plans copied at the same scale so he'll have a picture reference of what he's building. So that's what I have done.
Now the build will start.
The first few pictures will be posted as soon as I get them loaded into the PC. Norgale
wow !! I MUST follow this !! this will be over 9 ft long counting the booms !! im thrilled !!
 
WOW - scale 1:48 - double WOW
I guess you know the much smaller, but beautiful build model from @rwiederrich
and yours will be 3-times longer (and also higher) - WOW
I just checked the total measures of the real ship - 122meter length, height of 75meter => so your model will be fully rigged 2,5 meter long and 1,6 meter high
GREAT and a great project - I will follow your 'grand slam model of my life' project with high interest
YES !! it will be almost 9" long with the booms and about 7' tall !!
 
It's actually seven feet long and the masts will be around six feet tall. I just noticed yesterday that my printer in making my frame prints about a half inch bigger than it's supposed to. The frames are wider and longer than they should be but I'm not doing all this over again. Since the enlargement is equal all around I'll just leave it and hope for the best. Actually I doubt anyone would have noticed anyway. The bowsprit will add some length to the model but I haven't figured that out yet.
 
I do want to say that it's very gratifying to see the response this post is getting. Since I've never seen anything like this myself, I wasn't sure how well it would be received by the members. However judging by the number of views of this thread I'd say that this is going to be something special and I really appreciate all the kind words from everybody. Nothing beats a bit of enthusiasm to keep the work going. Thanks to all of you and please keep in touch as this project continues.
Any questions, please ask. You will probably be telling me of something I forgot and that is a good thing.
 
What do they say?..."Go big or go home"o_O. By the way...Nice idea to set up the shipyard next to the rail yard. Helps with the supply chain logistics.
Thanks for that MisterCA. I built the layout for something to do when I'm not building boats. But then I got going with several boats and the layout has just been sitting there for about three years now. I keep saying "I'll get back to it soon." Then I start another boat.
Lost power twice this week and the phone has been out for 8 days. The internet was out for the first two days and then came back on. So I started tracing my frames for patterns and found the plans showed ten frames but I needed 16 according to the take-off pictures. Some frames are left off for some reason so count your frames if you're going by the take-offs and make sure you don't need some doubles or triples in there especially in the middle of the ship where the beam can be the same for five or six frames. Got all the frames drawn on my plywood and ready for the saw tomorrow. Hoping to have all the frames attached and somewhat lined up by the end of the week. Oh ya, some pictures too. Norgale
Happy Groundhog Day.
I hope you get the framing all figured out. My McCann drawings were used for bulkhead placement....I even had to make slight adjustments to keep things smooth and even. Looking forward to more images of your progress.

Rob
 
It's time for my weekly report on the Great Republic and what a week it was. I won't bore you with all the mistakes I made as I'm sure nobody wants to hear them anyway. However one problem stood out and that was deciding which of all the 130 or so frames I should use and which I don't need for this project. The framing plan I used to get started showed only ten frames but the take-off plan showed 32. I had to come up with the difference to make the ship look right no matter what. After marking out the frame plan with the number and letter of each frame I could then add the missing parts in between the parts on the plan. This was done by measuring the width of the opening between say #40 and #44 frames and using a french curve to draw in the lines for frame #42 by connecting the dots. My frame plans were of the bow and stern to the mid-ship section so I worked half the ship at a time. However with all the extra lines drawn in for the extra frames, I drew in the left half of #42 and the right half of #44 by accident. It wasn't noticeable until I went to mount the new frame onto the keel and you could judt tell something wasn't right. Needless to say I had to do that frame all over again to get it right.
So now we have the ships frames almost all installed except for the tail feathers that I have to re-figure for the height. I think I made them too short but they will be easy enough to extend when the time comes.
The heavier keel made up of three beams instead of two is pretty noticeable right now. Not sure how much I can hide but I'll get to that after I get all the frames aligned and secured. The whole assembly is very much stronger now and is not twisted in either direction.
The next procedure will be the keelsons for the main keel and the bilge keelsons to hold up the stanchions for the four decks.
Now I have a question for anybody who can answer it. A lot of stanchions in the hold are turned with a bit of decoration on them. Could anyone recommend a inexpensive wood lathe for this job? The whole top rail or Monkey Rail sets on turned stanchions too so there will be quite a few stanchions made and several different sizes. I've never done any wood turning before or any other turning for that matter. Any advice will be appreciated.
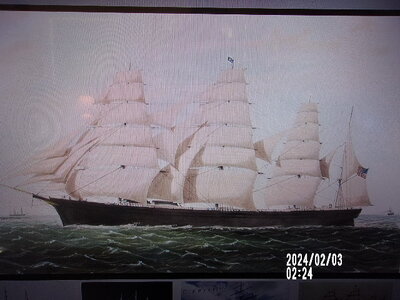
So finally here are some pictures: The first three are what the ship looks like as of yesterday. The fourth pic is the pile of frames for the stern and you can see by the wide spaces between some of them where the new frames go. The fifth is a painting of the GR, about the best one I've seen. The sixth pic is the frame plan in the middle and the take-off plan at the bottom. Maybe you can see that there are way more frames drawn in the take-off plan than in the bow/stern frame plan. There are thirty two stations on the take-off plan and they had to be transferred to my 1/4" scale plan of the whole ship to determine what the deck heights 100_0175.JPG100_0176.JPG100_0177.JPG100_0172.JPG100_0178.JPG100_0174.JPGand planksheer height will be. That's when I found that some of my frames are not high enough to meet the main rail.
 
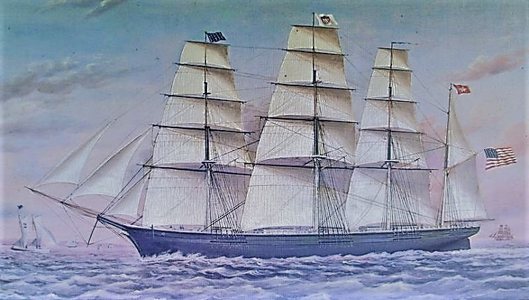
Coming along nicely. The painting you provided is of her after her rebuild. She had sky sails. However, I produced her as originally built, with only royals. She carried more sail when originally designed. She was rigged with Forbes topsail that ran up and down the topgallant mast doubling. Originally she did not have the typical double topsails of the Howes design.

Rob

1707141169740.png
 
Last edited:
Looking like very good progress - close to the finish of the bulkheads :cool:
 
This lithograph is one of my favorites. It does depict her with a single main sky sail...but that is speculative. First hand accounts claim she had nothing higher then Royals on all masts. With a 120ft main yard(Largest ever on a clipper), she had no need to go up to catch the wind.

Rob

IMG_9349_JPG_241d3e8bc43c510297bfd223ac80849e.jpg
 
Last edited:
Back
Top