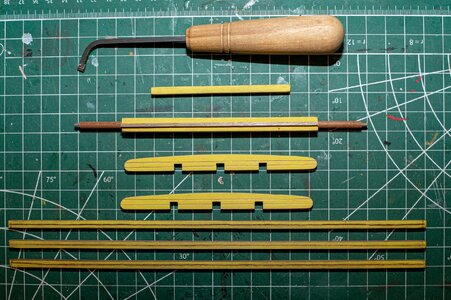
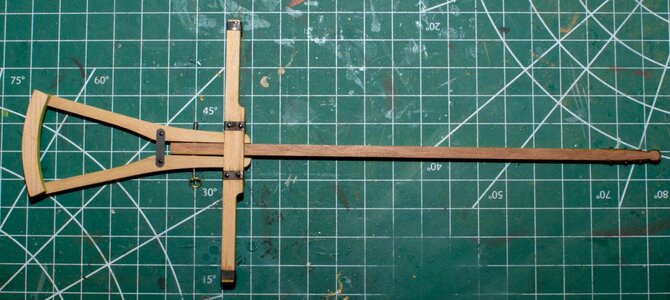
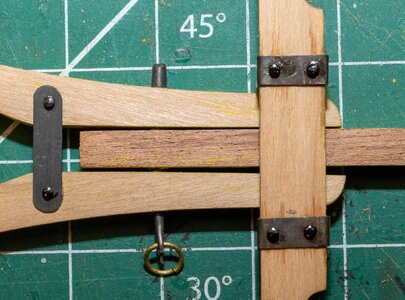
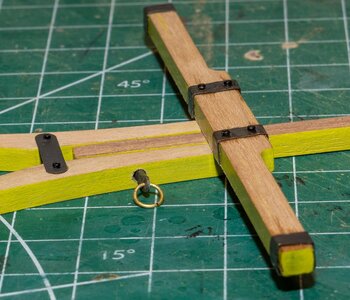
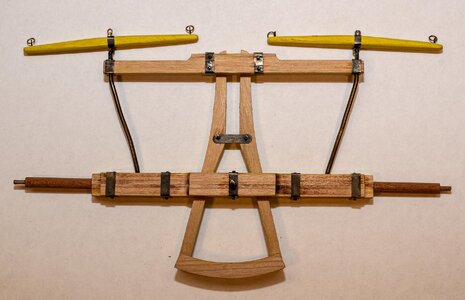
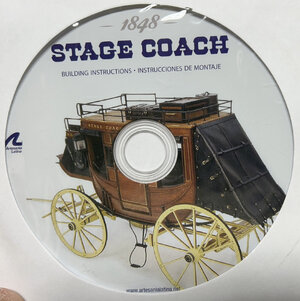
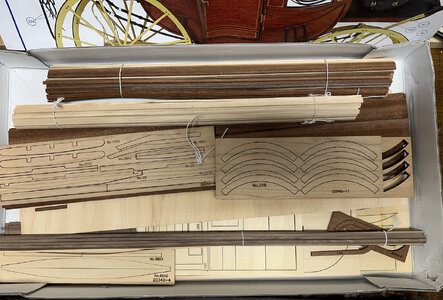
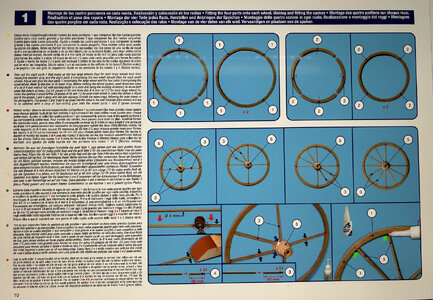
I needed a break from ship models so decide to try the Artesanía Latina Stagecoach. There are several different makers but chose this one for the larger scale and the detail possible with a bigger model. The box contents all looked good and there are several other builds out there to follow although this one seems to be a newer kit because there are several difference in the assembly. The only thing I was disappointed in were the instructions which are on a CD in a PDF file. The photos are OK but the written directions are crunched up in several languages and hard to read they are so small. I had to cut the photos and the english instructions out and copy to a Word file then print. This worked well but time consuming.
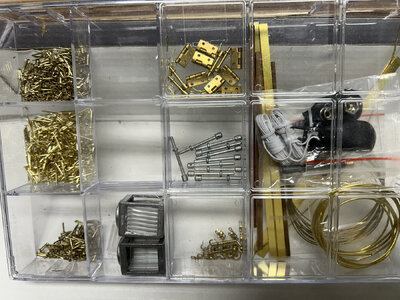
Even comes with lighted carriage lamps.
The confusing multi-lingual instructions.
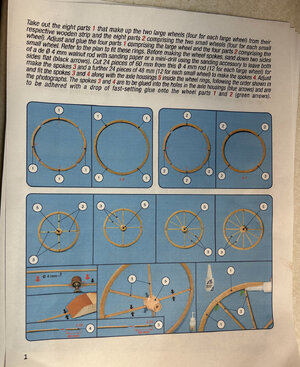
After converting them to an easier format.
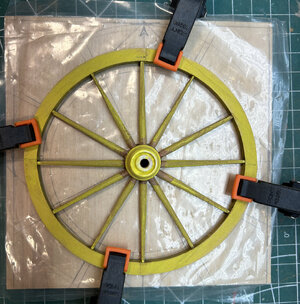
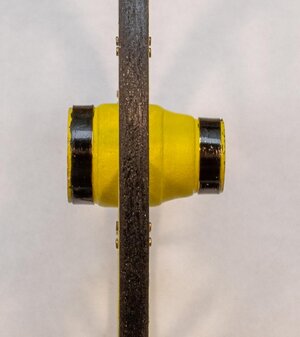
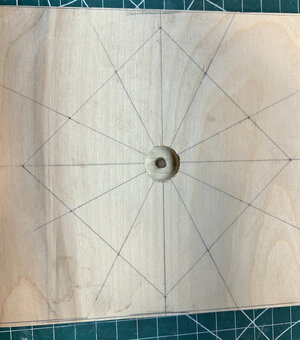
It didn't show up to well but I made a jig for wheel assembly. First I drew up the lines for the spokes, then drilled a 3/4" hole in the center just deep enough for the holes in the hub to align with the jig. Then I drilled another smaller hole through the center the size of the axle and placed a dowel in the hole.
Next I covered the jig with plastic so the glue wouldn't stick to the jig.
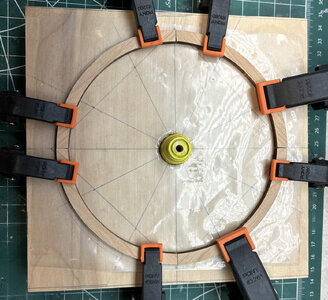
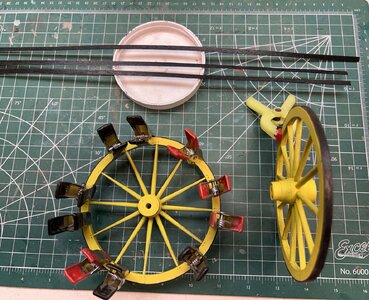
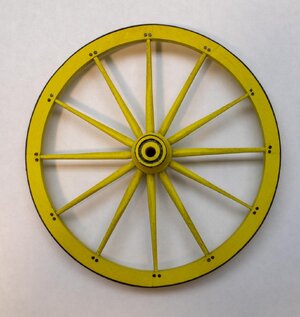
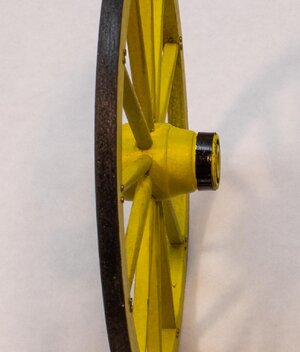
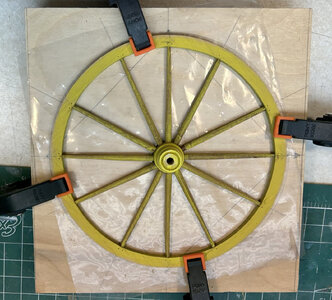
After the glue was dried on the wheel rim I drilled a set of holes for nails in the rim. After I assemble parts and before I glue them, I sand, paint, and sand again using the final color and after glue up it's ready for air brushing.


Even comes with lighted carriage lamps.

The confusing multi-lingual instructions.

After converting them to an easier format.

It didn't show up to well but I made a jig for wheel assembly. First I drew up the lines for the spokes, then drilled a 3/4" hole in the center just deep enough for the holes in the hub to align with the jig. Then I drilled another smaller hole through the center the size of the axle and placed a dowel in the hole.

Next I covered the jig with plastic so the glue wouldn't stick to the jig.

After the glue was dried on the wheel rim I drilled a set of holes for nails in the rim. After I assemble parts and before I glue them, I sand, paint, and sand again using the final color and after glue up it's ready for air brushing.


