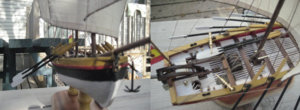
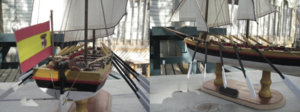
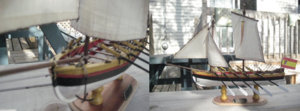
Santisima Trinidad Lancha del Capitan from AL kit #10914 build 2003

Joined
Aug 16, 2019
Messages
870
Points
343

Santisima Trinidad Lancha del Capitan from AL kit #10914 build 2003

That model will be part of a display that will include the Cross Section and the ship that I will build for my older son
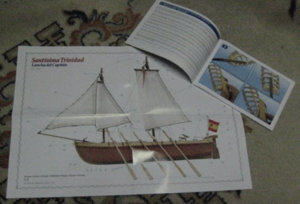
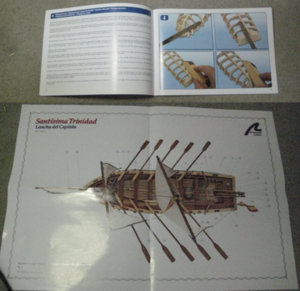
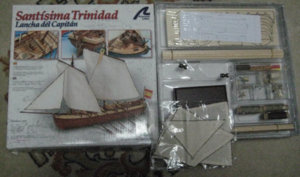
Now that is my second kit from AL at first everything is perfectly packaged the kit come with a 1:1 scale picture of both side and top picture of the actual model and a small booklet that are the instruction to build it.
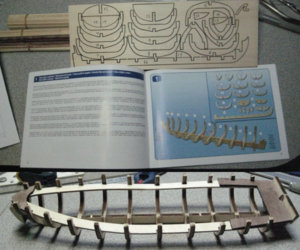
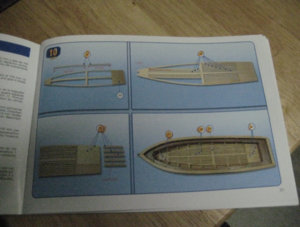
I did the first 4 steps and found discrepancy between the instruction and the actual kit. AL use I think the prototype to make their build but when they go in production they cut corner to save on cost so you end up with part that are not the same in the kit as in the instruction
1.jpg2.jpg3.jpg4.jpg
 
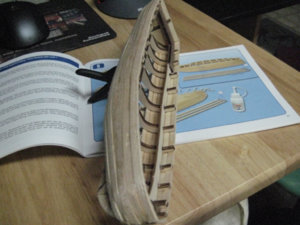
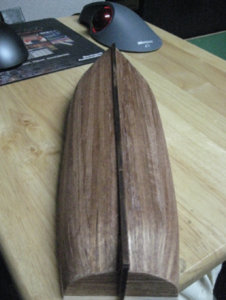
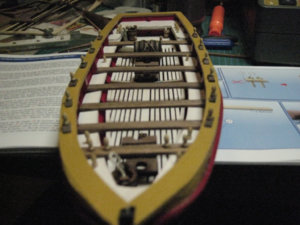
Step 5 At this point it is time to do the first planking that went like a charm. The wood is soft and very easy to bend and form; if sufficiently wet no problem at all I almost did not use any tool at all.
Just a small word of caution as some inside plank will be visible from the inside. So just be careful to make certain that all the plank visible over the floor are well adjusted.
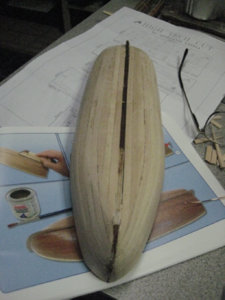
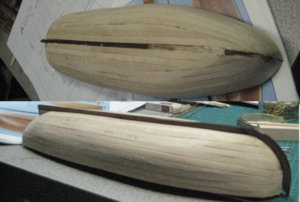
Step 6 and 7 is the sanding and the second planking. As I find easier to adjust the second planking to the keel I did a nice sanding and install the keel (Step 8) now.
1a.jpg1a1.jpg1b.jpg1c.jpg
 
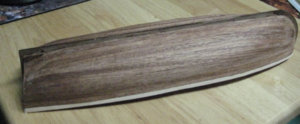
Second planking is finish step 6-7-8 but here I jump a bit the step before gluing the second planking I install the stem part, the keel and the sternpost parts 23-24-25 before the second layer as I find easier to have a nice finish if I adjust the second layer to the keel then having the keel adjust to the hull.
3-1.jpg3-2.jpg
 
October 2008
After I complete step 9 it was decision time!
Paint or no paint, and that was not easy to decide as both have advantage and inconvenient. (And I like natural wood finish)
So after talking to my older son it was decide that if the section is paint the logic was to have the launch also paint.
That decide what colour will be used?
As I am using the fantastic work that Andrea (Fam) is doing on his ST as a reference I did look what color he uses on his model. He use a white, green, and natural wood for finish, and if I did learn something since I start that hobby is that most of the time one source will contradict another.
I know that Andrea source are good and valid but I have find 2 other source that give a different pattern of colour.
The first one is
http://www.todoababor.es/
This site is dedicated to the Spanish navy with tonne of information, and it become my reference about Spanish navy and they are working very closely with the Madrid Museum if what I have read is accurate.
The second is the Museum of Havana where they are building a big model of the ST
Now those 2 references show the launch with white, black, and ochre yellow pattern. And that the one that I have chose.
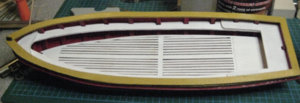
The inside of the launch received a red color with the deck white.
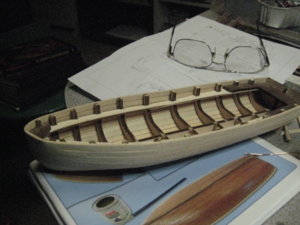
The false floor at step 10 part 29 received a grating that it is suppose to be made in 2x2in basswood. To be able to made those I need at least 3 to 4 lengths of 300mm they supplied me with 1 length in the kit.
Let me tell you that I was not a happy camper. So what I did is this I went in my surplus box took some 2x5 basswood that I cut in length of 115 and 80mm now using my mini saw that have a blade of 1mm I cut those blank in two )And was very careful for my finger and I wear my safety glass.) and got in the process all the pieces needed to make the grating. That done I paint it white and glue it in place.
1a.jpg1a1.jpg1a2.jpg
 
tep 11-12-13-14-15 complete
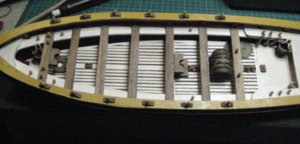
Step 11 at this step is the installation of the thwarts that are suppose to be 1.5x7 in Mansonia wood. Third surprise with the kit as I need at least 2 lengths to build them AL supplied 3 lengths 1 of 1.5x7 as required and 2 of 1x7.
1mm is to week to be install so what I did is glued on one side 2 lengths of 0.5x5 and remove the extra and that give me the proper thickness.
The installation of the 12 oarlock supports easy to do
Step 12 this step required that I drill 18 holes to received the 18 dowels
Fourth surprise to build that kit I need a total of 24 dowels but the kit supplied only 19, luckily I did got some left over from a previous build and they are the same
Step 13 that one also give me a surprise it is the fabrication of some accessories that go inside the launch. I just replace the metal handle of the bucket by rope one and got my fifth surprise as I am suppose to have 2 big and 1 small bucket the kit supplied only the big one the small one is missing. Again I am lucky that I got a spare one a bit smaller but it will do.
Step 14 is the fabrication of some base and rope coil. Now to make the base I need 1 length of 2x4 in basswood (NOT THERE) what I got is 1 length of 2x4 in Mansonia no big deal I just made the base needed using that length with a white inside finish, the darker look of that wood is better.
Step 15 is the installation of all those accessories and the base and supports for the mast.
5-1.jpg5-2.jpg
 
Step 16-17-18-19 done
Step 16 it is to place some support under some bench
Step 17 was the installation of the foremast and main mast truss complete with both mast reinforcement truss, it went well and I did not have problem or did not make any major mistake.
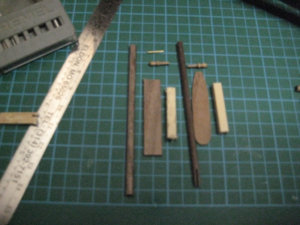
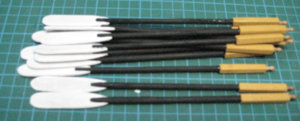
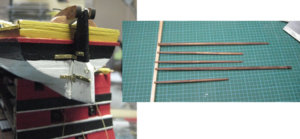
Step 18 is the fabrication of the oars. The oars consist of 4 main parts the oar guide, the oar arm, the oar blade and the oar handle.
Picture 1 is the part before preparing and after
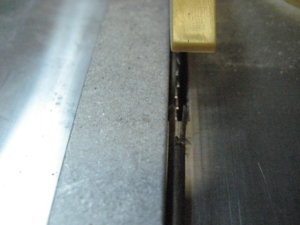
Picture 2 is my saw that I used for making the grove in the 3mm oar arm the grove need to be 1.5mm the blade is 1mm so it was just a mater of passing twice on each side.
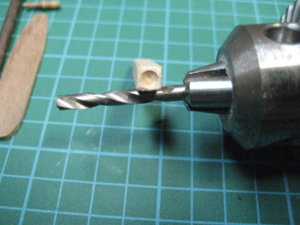
Picture 3 show what I did in place of using a 8mm x1mm brass rod using a 3mm drill bit I just made a small hole in the center of the oar guide.
Picture 4 is the tool that I have used for that operation it is a screw driver that got a choke that cam take from 0.5 to 24mm drill bit. To often I have find myself using my dremel that got a minimum speed of 5,000rpm, that screw driver got 2 speeds 200 and 400 rpm. It is light and small so I will used it for all kind of small work that need lower speed.
Picture 5 show all the oars paint and finish
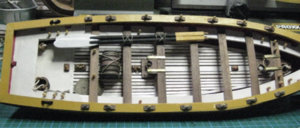
Step 19 is the installation of the oars and 2 bases for lugs
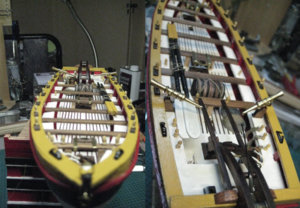
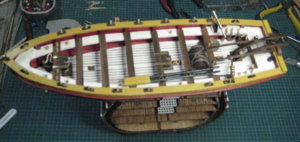
Picture 6 is the launch at this stage of the build
Now on my previous post I mention some mistake in wood size and of missing parts, well it did stop there.
I was suppose to make the oar blade with 1.5x8 mansonia need at least 2 length got one of 1mm and one of 1,5mm need 12 pieces of 38mm in length so I cut the maximum that was possible in the 1,5mm 8 pieces, the last 4 pieces I just cut them in the 1mm.
Also in the precedent post I mention that I was short of 5 dowels that I took from some left over from a previous build.
Well I need an extra 12 for the oars but I did not have them. No more extra not the quantity that was needed so I went in the box if my Misticque and borrow 12 pieces there and order some from the store to replace them.

1a.jpg1b.jpg1c.jpg6-2.jpg6-3.jpg
 
Step 20-21 done
Step 20 is the preparation of all the part that will be used with the construction of the rudder everything went very well without any problem all the part went where they are suppose to go
Step 21 is the installation of the frame and support for the rudder again all the part and the fitting are place easily everything went like a charm
At step 21 we are suppose to install both mast main and foremast. I decide to turn all of them even the spar.
So the only thing to do is the rigging and the installation of the sail. Here I got a long conversation with my older son, because the model supplied by AL with square sail is inexact historically. Also Fam(Andrea) point to me that the form, shape of the launch made by AL is also not exact (and he was right). So because of these 2 facts it was decided to finish the model as per the version of AL.
Next post will be probably with the finish model.
1a.jpg1b.jpg1c.jpg
 
October 10 2008
Well this will be the last entry for that kit
Step 22 is the preparation of both mast and the installation of 2 small gerfalcons
Step 23 true 27 is the sail and all the wiring that go with it
Step 28 is the installation of the launch on the base supplied with the kit. Here I change it with another one that I like more
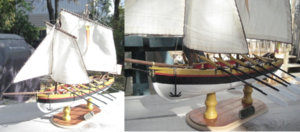
In conclusion that is a very nice little kit the instruction are crystal clear and the kit by itself is a joy to build. The only bad think I can say is that during the production they have change the design of some parts that do not fit with the other part but even that are a minor annoyance.
The only real bad thing was the parts missing and the error on some wood supplied but again the quality of the instruction compensated largely for those minor inconvenient.
1.jpg2.jpg3.jpg4.jpg
 
Back
Top