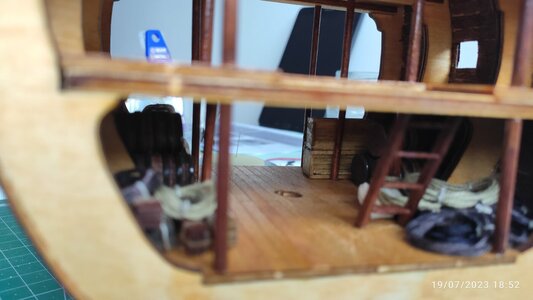
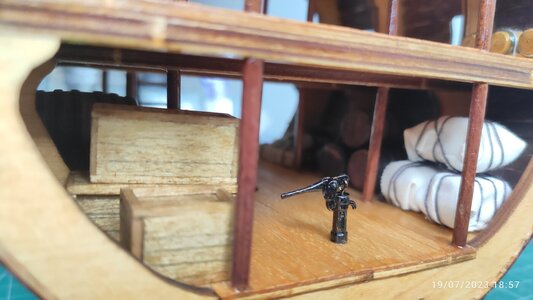
San Francisco cross section, by Adry

Joined
Jun 2, 2023
Messages
112
Points
88

Location
La Palma, Canary Islands
Hello partners
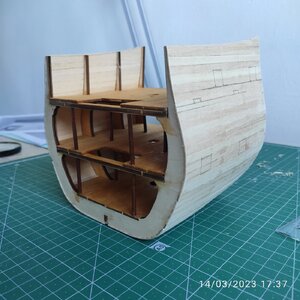
In January of this year, they gave me the KIT of the cross section of the San Francisco galleon from Artesanía Latina. In February I started working with him and, given the doubts that arose, I began to investigate how to do it, looking at some work on social networks, until I finally found this wonderful forum "Ships of scale". Specifically, the "post" by Jeff T, in June.
Although it was already too late to undo what he had advanced: the hull was complete, but the guns, the winch and the stores had not been brought inside. Who would command me to follow the instructions in scrupulous order?
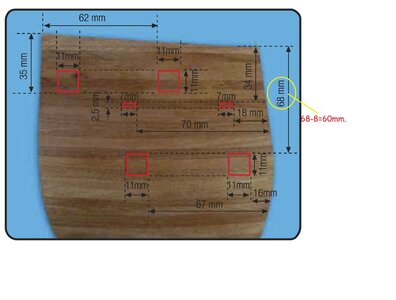
Luckily I detected some errors in the assembly instructions in time, such as the measurements of the gun embrasures on the second deck. I am telling you this so that, if a newbie like me happens to be entertained with this model, be careful, there are certain errors that once made are difficult to solve.
I found several videos on Ytbe of the building of the model. A very good one is that of Olha Batchvarov although the model is called San Giovanni Batista, but it is the same. In any case, I am following both, Olha Batchbarov and the didactic work of Jeff T in the forum and the comments of others.
Soon I will upload some photos of how I have been doing it so that you can give me ideas or criticize it, if you think it is appropriate. Here you are my beginnings.
The truth is that this construction is entertaining me a lot and, although I am short of free time, I always get to work with enthusiasm.
Thanks for being there..
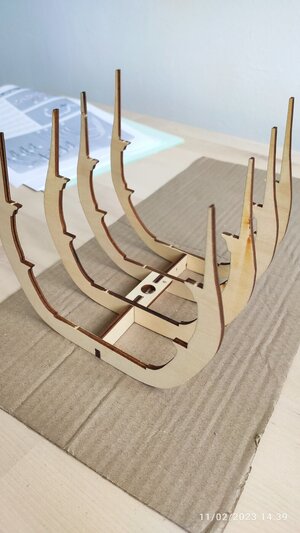
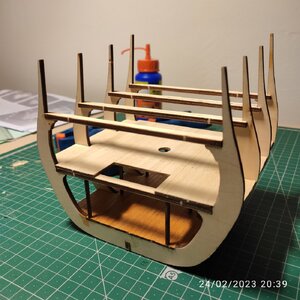
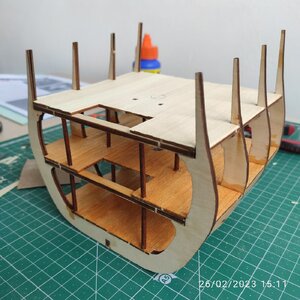
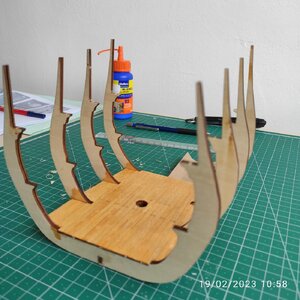
IMG_20230211_143914.jpgIMG_20230219_105846.jpg
IMG_20230224_203906.jpgIMG_20230226_151152.jpg
 
Last edited:
My first mistakes
a) Not working on a suitable surface: cardboard sheet. Fixed.
b) Not respecting the parallelism between frames. Almost fixed.
c) Mark the reference to take the photos with a red dot: I don't know how I'm going to erase it.
d) Place frame 5 with its number mark facing outwards. I don't know how I can solve it.
e) Do not follow the instructions with the supports of the web frames: do not lower them in their center.
...
 
I started the construction of the ship without enough tools, but very carefully and very slowly. As I have been following AL's instructions, I have accumulated errors. But trying to correct them later. And as Uwek rightly says, learning from them by doing.
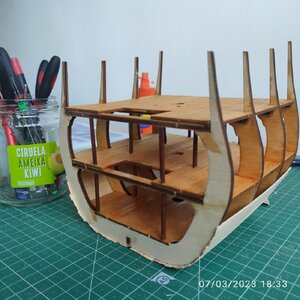
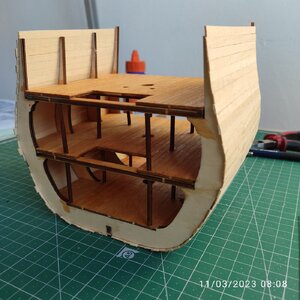
I started the exterior planking once the decks were glued on the beams. It has taken me time; the KIT materials are not very good. I varnished/stained the decks with pine stain.
I’m sorry that my work is not up to the standards of most of those that are exposed in the forum but I like to learn and share my experience with all of you.
Here you are more pictures…
IMG_20230307_183356.jpgIMG_20230311_080839.jpgIMG_20230314_173744.jpg
17 MISTAKE.jpg There is an mistake in the instructions that causes the position of the gun embrasures to be flush with the second deck. Fixed it.
 
Very good work preparation - we really can see, that you are checking yourself what you are doing!
This is the best way to improve with the time and models.
See this model as a trial in order to learn the methods and get experience working with wood
Cutting the openings for the gunports you can also check from inside, the gunports are every time in the same height compared to the gundecks

BTW: your outer planking is looking very good - clean and accurate work
 
Hello partners
In January of this year, they gave me the KIT of the cross section of the San Francisco galleon from Artesanía Latina. In February I started working with him and, given the doubts that arose, I began to investigate how to do it, looking at some work on social networks, until I finally found this wonderful forum "Ships of scale". Specifically, the "post" by Jeff T, in June.
Although it was already too late to undo what he had advanced: the hull was complete, but the guns, the winch and the stores had not been brought inside. Who would command me to follow the instructions in scrupulous order?
Luckily I detected some errors in the assembly instructions in time, such as the measurements of the gun embrasures on the second deck. I am telling you this so that, if a newbie like me happens to be entertained with this model, be careful, there are certain errors that once made are difficult to solve.
I found several videos on Ytbe of the building of the model. A very good one is that of Olha Batchvarov although the model is called San Giovanni Batista, but it is the same. In any case, I am following both, Olha Batchbarov and the didactic work of Jeff T in the forum and the comments of others.
Soon I will upload some photos of how I have been doing it so that you can give me ideas or criticize it, if you think it is appropriate. Here you are my beginnings.
The truth is that this construction is entertaining me a lot and, although I am short of free time, I always get to work with enthusiasm.
Thanks for being there..
View attachment 388256View attachment 388257
View attachment 388258View attachment 388261
Thank you for the kind words on my build log of this kit.

The great thing about this kit is that it is a fairly large-scale kit, but not overwhelming in complexity. It is a useful kit for learning to work with wood and to acquire skills to move on to more complex and costly kits. Making mistakes is part of the process. Fixing those mistakes is a valuable experience that will lead to better and better results with the future builds. Forums such as SOS are wonderful sources to advice and guidance, so use it regularly.

Keep up the good work and you will have a model that you will be proud to display.
 
Hello Adry and welcome to the hobby that grabs you and never let's go. I've been building models of one kind or another for fifty years and I still learn new things with each new kit. At least we don't have to cut out every little piece from the wood like we did years ago. With laser cutting the parts just fall out by themselves. Lucky you. The cross section like yours is the best way to get started in this hobby and you are doing a great job by studying the layout and applying the parts together. So now that you have been bitten by the ship building bug you will have to decide what to get next. Keep us posted on your progress. Pete.
 
Hello
Thank you all for your comments. I,m totally agree with what you told me.
The truth is that from the beginning until now I have bought a lot of tools, even at the beginning I did not even have the green squared mat..., what's more I have made myself an IKEA 'wardrobe' expressly for all the tools, paints, dyes, glues, etc.
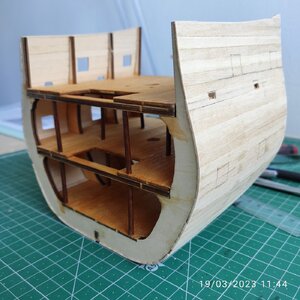
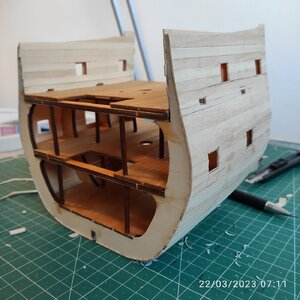
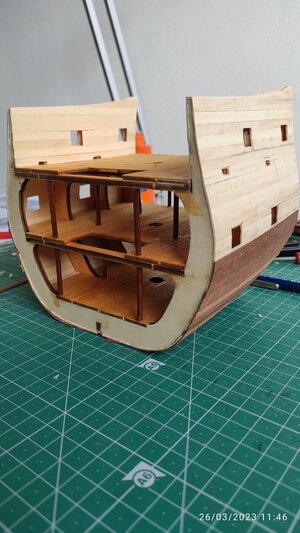
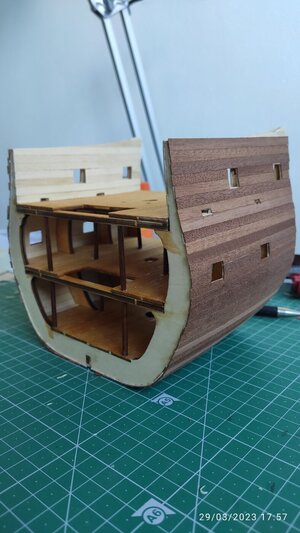
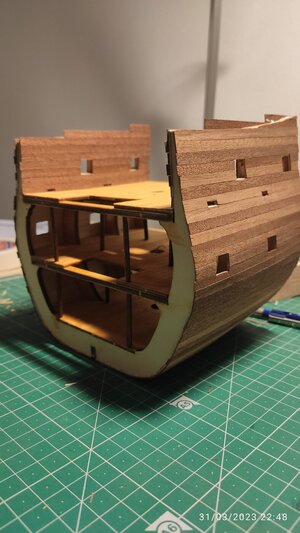
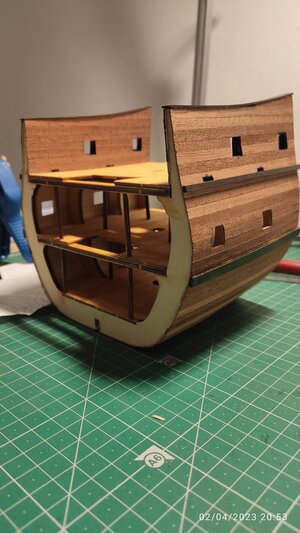
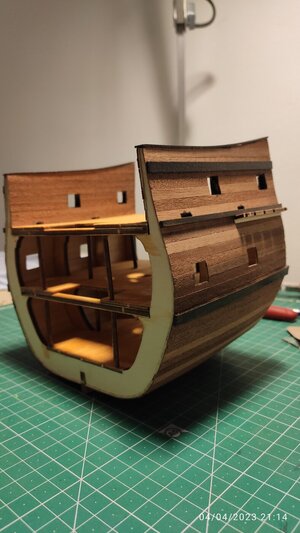
But come what we are going, I upload a few photos so you can see the evolution of the construction: for now, only hull.
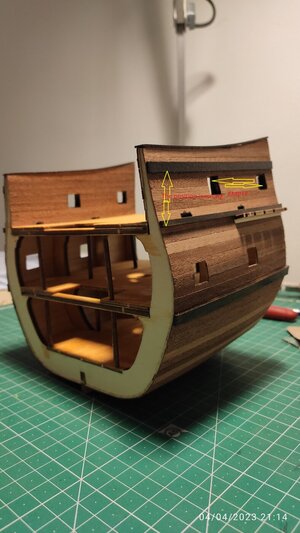
These days I have made at least these mistakes:
a) Do not make the frames of the cannon mouths before the interior deck planking. Later I’ll try to fix.
b) I have been confused with the ‘wooden strake’ (jack bar, gunwhale?, I don`t know the name in English).
IMG_20230319_114447.jpgIMG_20230322_071104.jpgIMG_20230326_114643.jpgIMG_20230329_175746.jpgIMG_20230331_224801.jpgIMG_20230402_205321.jpgIMG_20230404_211425.jpgIMG_20230404_errors.jpg
 
Last edited:
So do I. I have to take mine off to see the monitor screen clearly, a large desktop :rolleyes:. But from what I can see in the pictures your work looks very
precise from here! An unequivocally high bar for me!
 
You are doing better than I did on my cross section build where I made major mistake I couldn't correct as I noticed it too late in production.

As others have said, you learn as you go, one thing I have learned to to read full manual many times before you begin, as often there are steps that can be done out of sequence that makes things easier to work or fix.

Keep up the great work she is looking like a fine ship section.
 
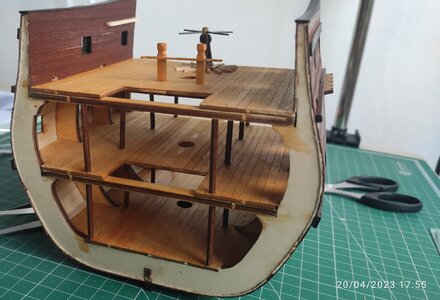
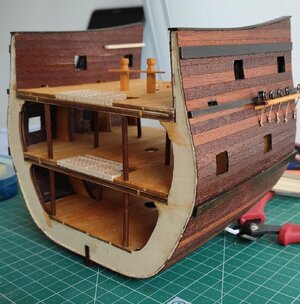
From the previous moment, finished the general structure of the hull, made the gun ports, the mast trim table, (I was thinking, meanwhile, how I introduce the cannons on the second deck, especially with their rigging?), I varnished pine color. It seems that it has turned out well, but I have my doubts if it was the correct color, I think that if it had been an oak color it would have turned out better. I don't know. It seems excessively bright. It's done and that's how it stays.
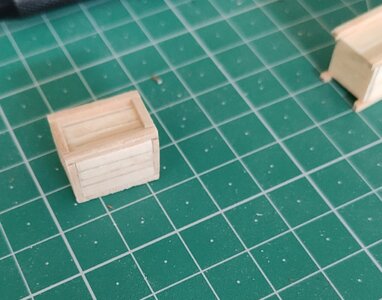
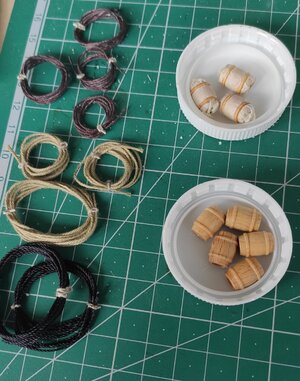
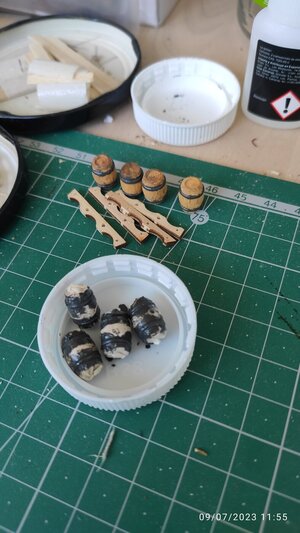
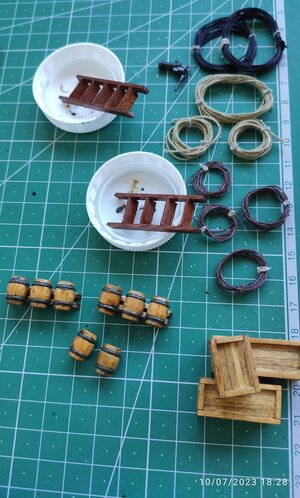
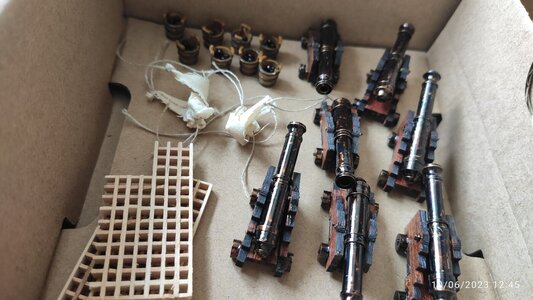
I continued with the construction and staining/varnishing of loose elements such as boxes, ropes, carriages/cannons, bales, spare parts, etc.
I painted the inner sides of the lower decks with a dark mahogany color. I'm still thinking about how I'm going to put the set formed by the 4 cannons and their working gear on the second deck.
Here are a few images of how I did it.

IMG_20230420_175536 b.jpgIMG_20230530_104715 b.jpgIMG_20230610_124538.jpgIMG_20230618_095515 b.jpgIMG_20230708_125802 b.jpgIMG_20230709_115519.jpgIMG_20230710_182815 b.jpgIMG_20230719_185223.jpgIMG_20230719_185734.jpg
I'm so sorry for the pictures, guys.
 
Back
Top