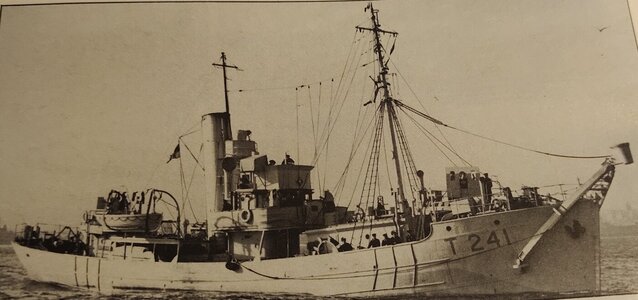
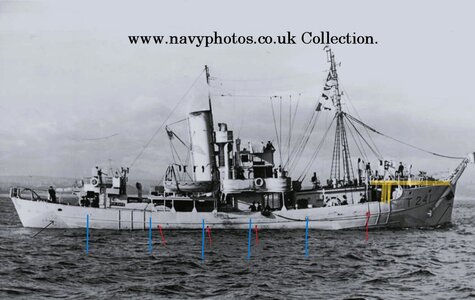
Round Table class Minesweeping Trawler 1942/45 Scale 1:48 Built from the Calder Craft kit Sir Kay.

Joined
Aug 14, 2018
Messages
472
Points
323

IMG_20231028_171442.jpg
A girl I once knew, while sitting an entrance exam for a teaching college answered the question, ‘do you have any problems making decisions?’ She answered first, yes, then scored that out and wrote no. I felt a bit like that trying to decide what to build next. I was looking for something different, but likewise I really enjoy wooden sailing ships.

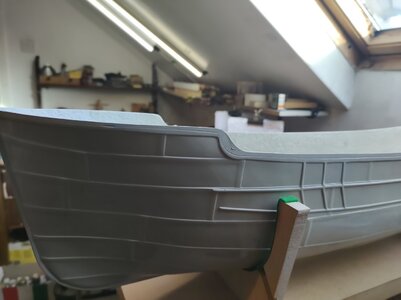
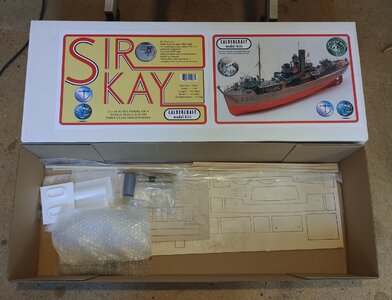
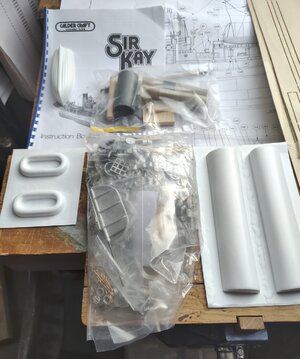
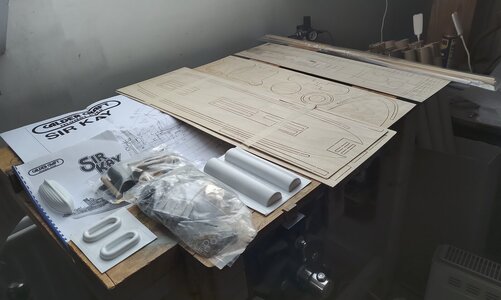
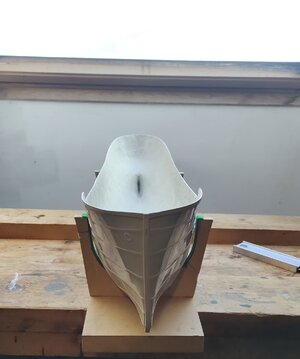
However, the decision was made when I read the book,’ British Naval Trawlers and drifters in two world wars’, my first thought was to build from plans with a scratch-built hull, then out of the blue I saw an ad. In our local ‘Gum Tree’ for the Calder Craft model. A quick bit of research told me this was a very old kit dating back to the 1970,s and was designed more for radio control than a static build i.e., more detailed modelling, ‘oh dear’. But I went and took a look, turned out the chap had bought it for his ten-year-old son thinking it was the finished article and ready to sail! He took one look inside the box and that was that. So, it was mine at a very heavily discounted price,(less than half rrp). The said box by the way is huge and the kit, although very old-fashioned, looked as if it was recently of the production line, I had feared something that had been laying around for years, not so.

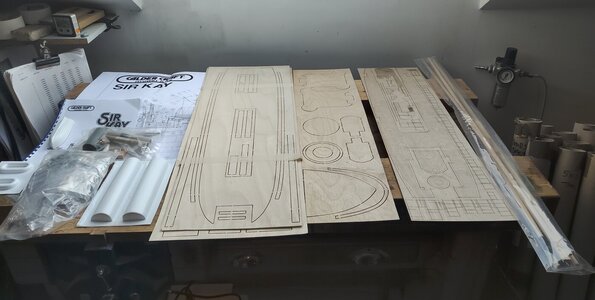
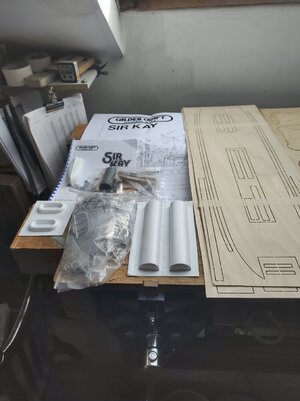
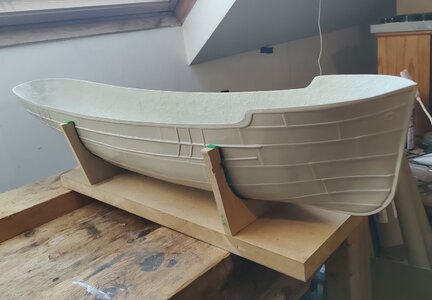
What did I get for my money? Well certainly not a state of art computer designed model like those so brilliantly being produced in China these days. Laser cut? Nope, back then the only laser I had heard of was the one aimed at 007’s goody bag, ‘You want me to talk Goldfinger?- No I want you to die Mr. Bond!’ As for 3D well that bought you a bag of crisps. What you do get is a quite nice-looking grp moulded hull that will need a lot of work to look realistic, but not impossible. A whole load of printed plywood, some brass rods, dowels, and a piece that looks like part of bathroom plumbing! There is also a huge bag of white metal fittings which look really good, for white metal that is, last and least of all a vacuum formed ship’s boat, funnel and life raft, hummm. A set of plans and an instruction book complete the deal.

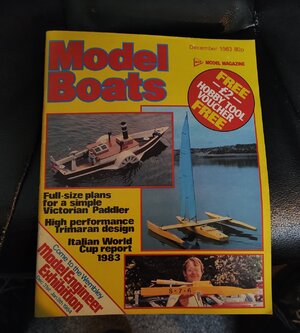
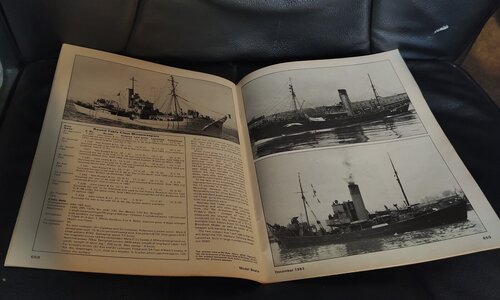
Seriously, yes it is all ‘old school’ but it looks great for the time, and I cannot wait to get started. Oh, near forgot, the instruction booklet mentions an article in the Dec. 1983 Model Boats mag. about Round Table trawlers, so I bought a job lot of the mags of eBay for a fiver and had a laugh. December 1983, one month until 1984. I remember reading Orwell’s book at school and thinking it would be years ‘till then! Where did they go?

Here are some pics. of the Grand Départ.
IMG_20231027_101459.jpgIMG_20231027_101512.jpgIMG_20231027_101822.jpgIMG_20231027_102435.jpgIMG_20231027_102441.jpgIMG_20231027_102447.jpgIMG_20231027_102504.jpgIMG_20231027_104120.jpgIMG_20231027_104104.jpg

Cant wait to get started Cheers JJ..

IMG_20231027_101443.jpg
 
Awesome! It looks like this will unfold into a fantastic model. Once finish coats of acrylic and matte polyurethane are applied everything will look as it should!
 
RAIN STOPS PLAY
Hi folks, It has not been a very productive week, I had hoped to have the hull trimmed down to the cap rail so that I had a starting datum to measure of the height of the deck beams/bulkheads but it has rained here on the Ulster Riviera for the whole of the last week and the dust from grinding fibreglass is so nasty the she who must be obeyed refused to let me work indoors; I know I know.
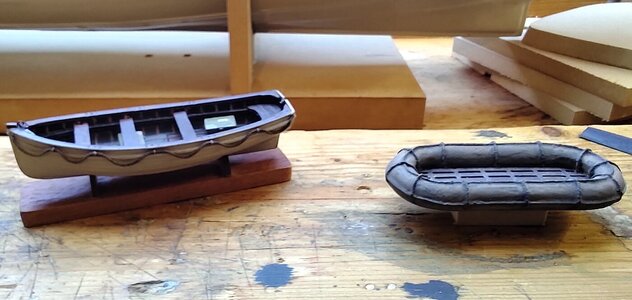
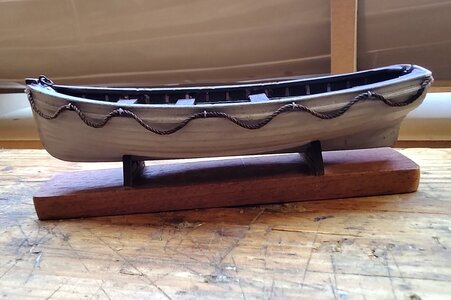
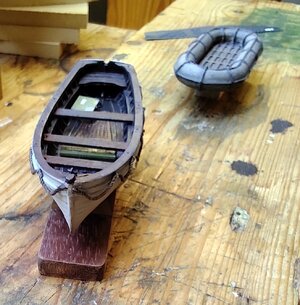
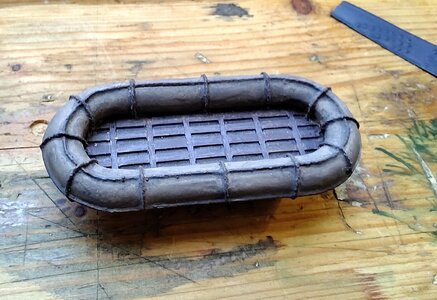
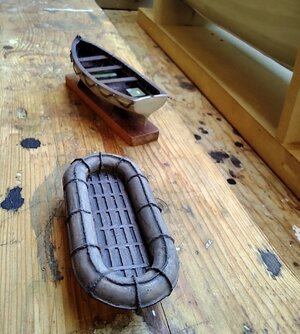
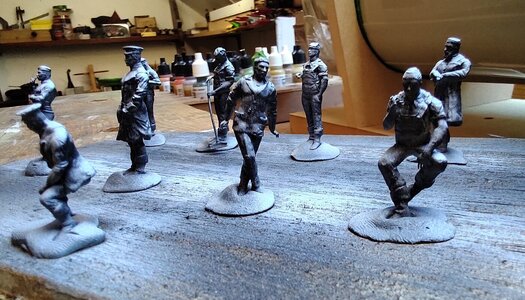
Anyway it gave me more time to research the role played by the trawlers of Britain and her Commonwealth and the ridiculously dangerous jobs they where asked to do. I also decided that the carley raft that came with the kit had to go, so it along with the ships boat have been redone and painted, although the paint may still be changed as I go on. I did not know that Carley Floats dated back to the 1890's designed by American inventor Horace Carley and patented in 1903.
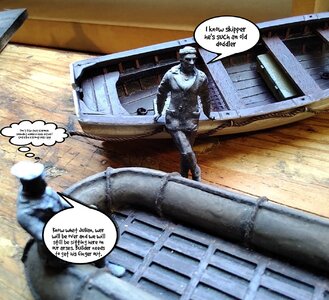
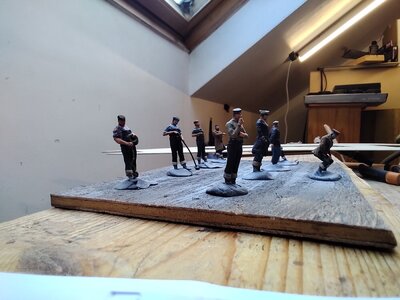
Here are some pictures of the two along with some of the 'crew' though they are still a shadow of their future self.
Oh I near forgot I have also been thinking how I should represent the rivets on the hull but have not decided on a solution. So far the most promising is to produce small dots of PVA using a syringe to apply them. Good adhesion to the gel coat has still to be established, but so far so good. There will be hundereds of them so any easy solution anyone can offer up will be much appreciated.

IMG_20231105_140136.jpgIMG_20231105_140159.jpgIMG_20231105_140223.jpgIMG_20231105_140229.jpgIMG_20231105_140239.jpgIMG_20231105_140325.jpg

speech.jpg
Cheers JJ..​
 
Progress at last

Well it has stopped raining and I took the chance to trim the f/g down to the correct height. With this done I was able to find the position of the sub-deck with regards to the cap rail.
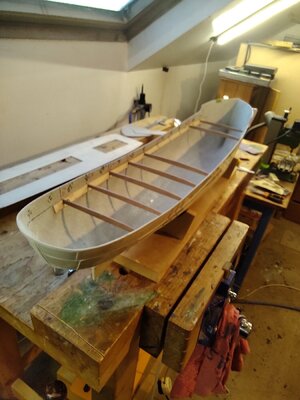
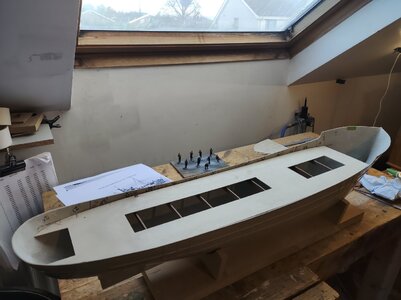
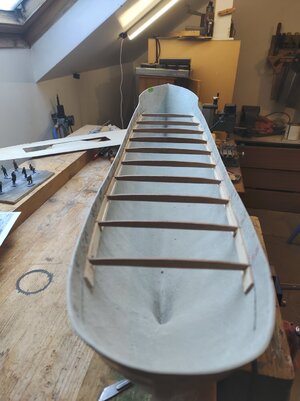
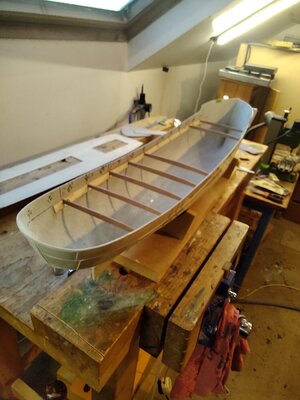
And now for the first diversion from the CC plans. To my way of thinking the key to making this build look right is in how realistic I can make the hull and deck look, the problem is that since the kit is fundamentally designed for R/C use the hull and deck are a compromise between detail and utility. The deck is flat and the hull being fibre glass, lacks any sharp detail. Starting with the deck the first thing is to add a gentle fall out to the bulwarks. I calculated the fall to be 3mm max and dropping to about 1.5mm towards the stern. With this in mind I made ten beams which I hope will be enough to show both the curve and the fore to aft sheer sweep. I dry fitted the deck and adjusted it to a nice neat fit, but will not fit permanently until I cut the prop and rudder outlets along with the overflow drains and scuppers etc.
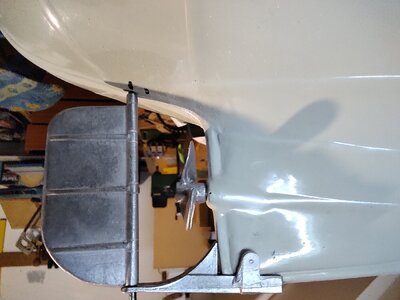
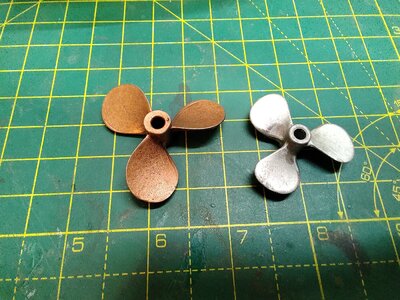
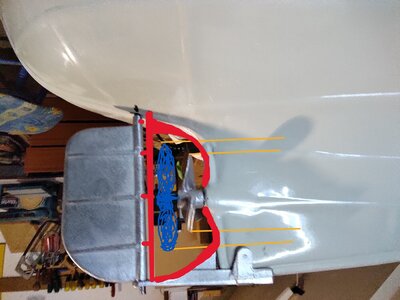
I started with the rudder and prop shaft, but after the first loose fitting I realised the prop, while probably spot on for R/C is way too small for a static display. So the prop is on hold until I find a suitable replacement. Unlike the kit plans the rudder is attached to a sort of 'D' frame that I will make this week.
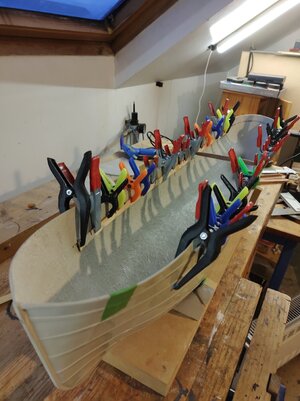
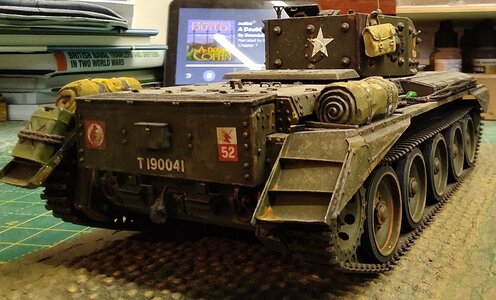
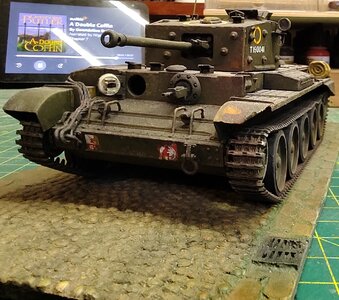
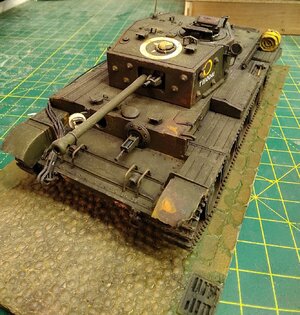
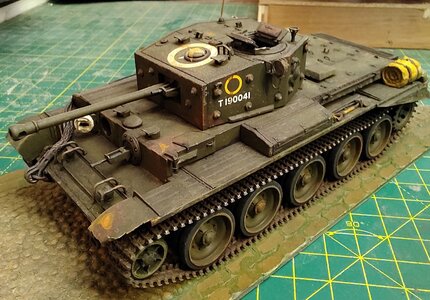
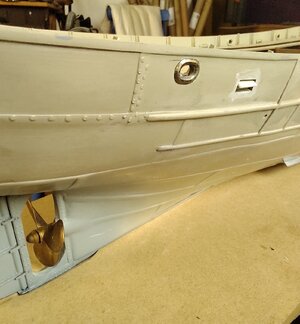
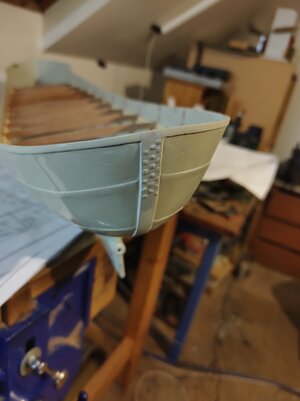
Here are some pictures from the last week. You can see from them just how large the hull is,( took nearly every clamp I have to hold the side strips), a view of the stern shows a small experiment to see if I can use PVA dots to represent rivets. You can see that the crew are getting a bit of colour about them. And lastly boredom overtook me and forced me over to the dark side where for what is probably only the forth or fifth time in over fifty years I built and painted a plastic kit, a Tamiya Cromwell ww2 tank to follow a Churchill that I built a couple of months ago, my excuse is I wanted to try and improve my airbrush weathering techniques. It turned out OK.

IMG_20231107_113226.jpgIMG_20231109_164806.jpgIMG_20231111_074053.jpgIMG_20231111_135553.jpgIMG_20231111_135640.jpgIMG_20231111_135815.jpgIMG_20231111_142347.jpgIMG_20231111_142421.jpgIMG_20231111_142628.jpgIMG_20231111_142643.jpgIMG_20231112_063836.jpgIMG_20231112_075758.jpgprop1.jpgIMG_20231112_064829.jpgSK Best2.jpg
Since I have to wait for a new prop, I will spend the interim cutting port-holes etc. in the hull, an hoping I don't balls them up.

Cheers JJ..
IMG_20231111_074053.jpg
 
Well got the portholes etc. cut without much bother. the next job was going to be fitting the rudder and propeller but the larger prop. I ordered last Monday only turned up today, Royal mail has gone to hell in a hand cart. Anyway it looks great and I will fit it over the weekend (with luck).
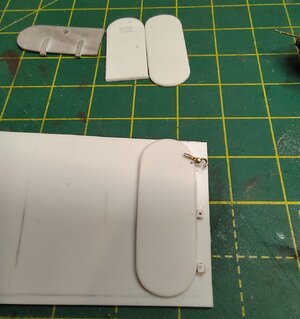
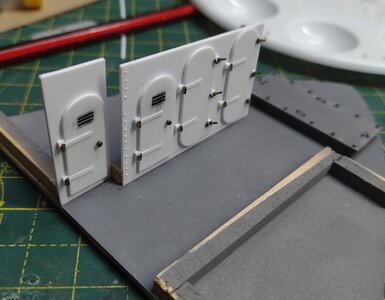
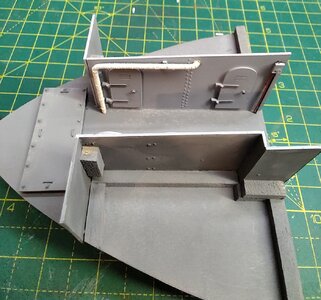
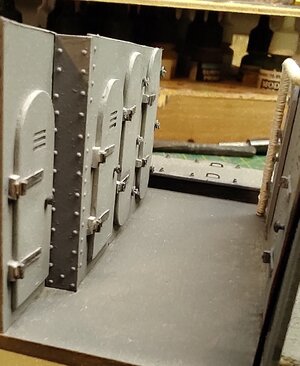
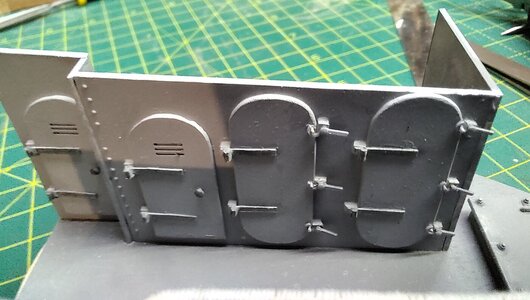
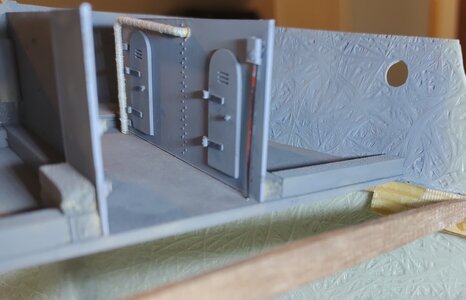
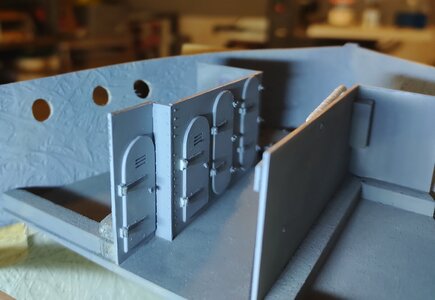
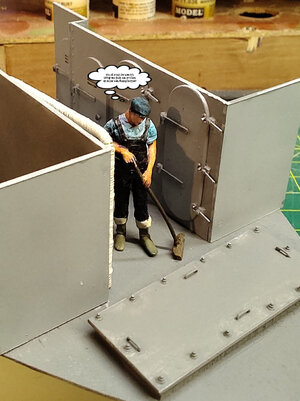
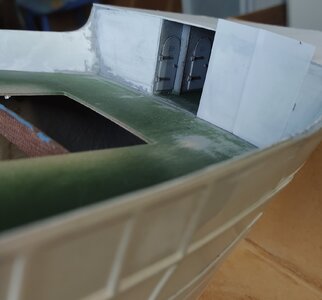
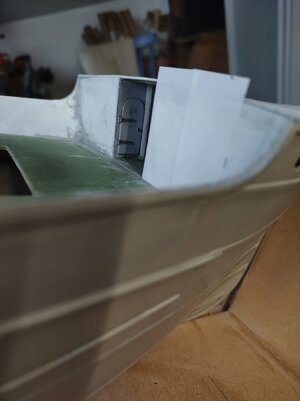
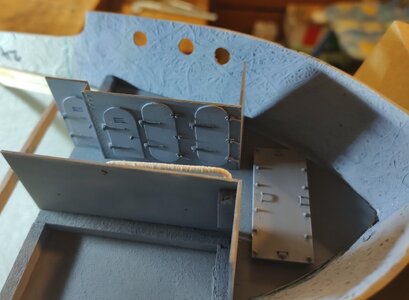
I have kept busy scratch building the area under the forecastle, even though you will only be able to glance at it from the odd angle. The kit had simplified this area by just blanking it all off and sticking a couple of ladders on the outside. The whole lot is made up using styrene sheet with a few brass and wood bits thrown in. It has turned out ok and was good practise, and as I said you wont see it much anyway. The doors lead to the paint store, lamp store, crews w/c, officers w/c, officers bath room (with bath), and the crews wash room with hand basin! Even in 'Harry Tate's Navy' there was one law for the privileged and one for the plebs!
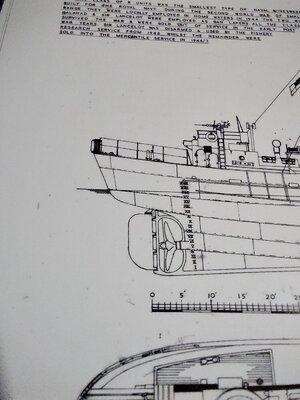
Making the rudder to look as in the ships plans will be more of a challenge, and with no hiding place.


IMG_20231114_154436.jpgIMG_20231117_204038.jpgIMG_20231116_215902.jpgIMG_20231117_152858.jpgIMG_20231117_203839.jpgIMG_20231117_203903.jpgIMG_20231117_204003.jpgIMG_20231117_203621.jpgIMG_20231117_203647.jpgIMG_20231117_203701.jpgbrush.jpg Cheers JJ..
 
very good details on the inner walls - Very good result
 
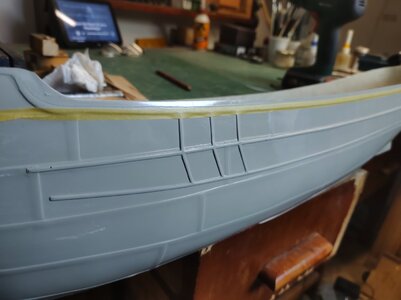
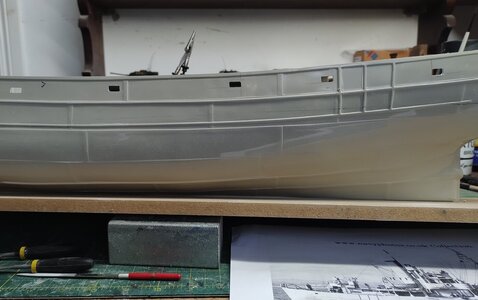
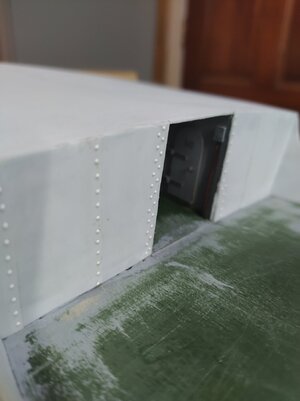
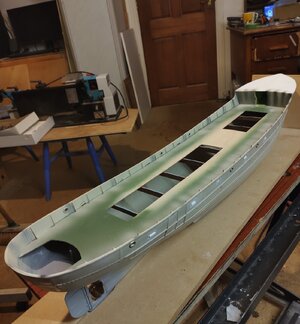
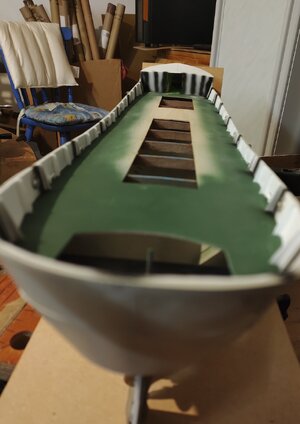
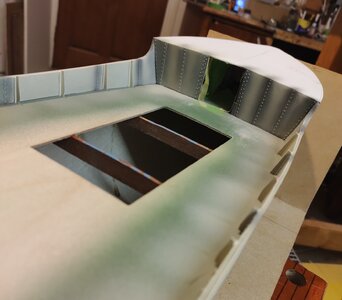
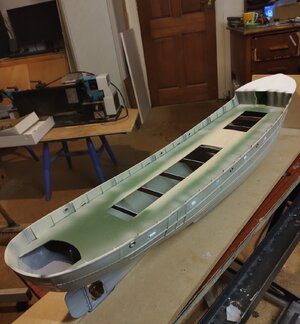
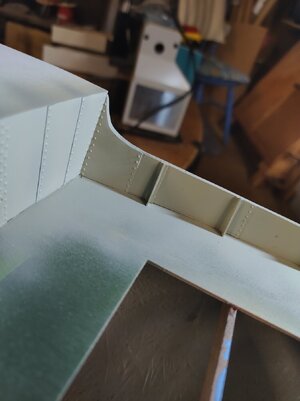
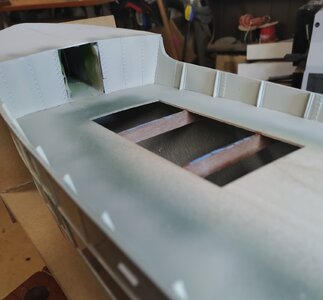
Hi folks, it's been a while since I have posted anything, for which I apologise. I have been keeping busy doing a lot of reading up on steam trawlers in the world wars, it's incredible to think that some trawlers where requisitioned for both and then went on fishing up until the 60's. I have also done some work to 'Sir Kays' hull, trying to turn a simplistic R/C design into an acceptable static model. I decided early on that to reasonably imitate steel plate I would not be able to use wood as much as I would have liked, but unless you put on loads of coats of paint you cannot get rid of the wood grain. So I have decided I would have to 'plate' a lot of surfaces with thin styrene sheet then add 3d rivets.
Initially I thought I would sand down the outside of the hull and totally recover it but the hull is perilously thin in places and as I thought I may well 'balls it up' I will make do with adding rivets and some slight readjusting.
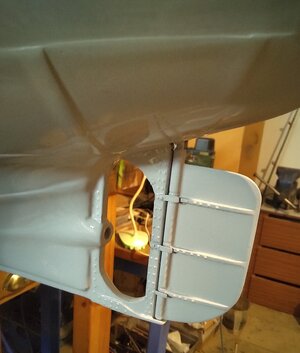
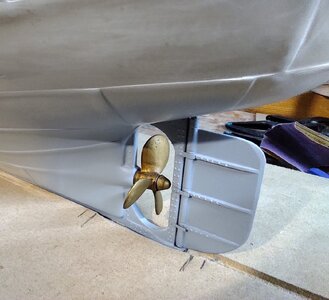
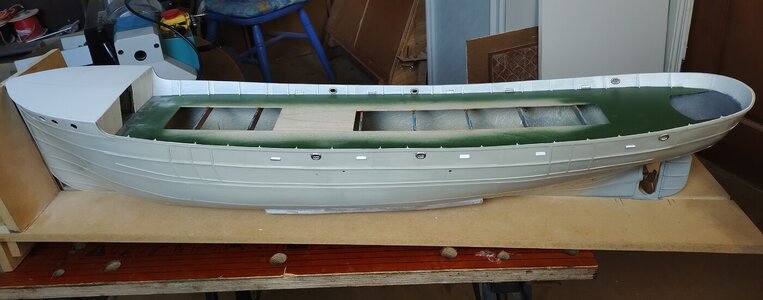
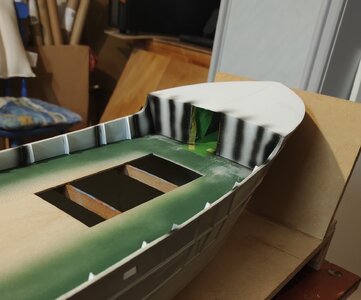
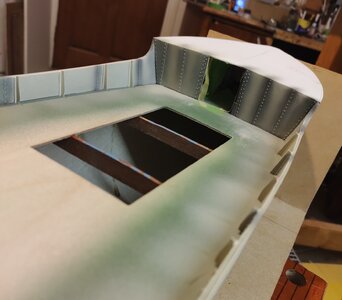
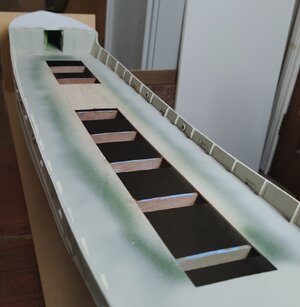
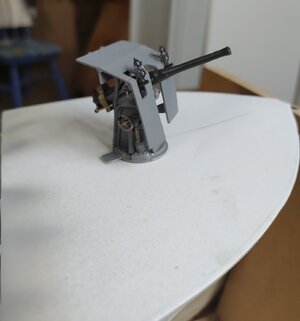
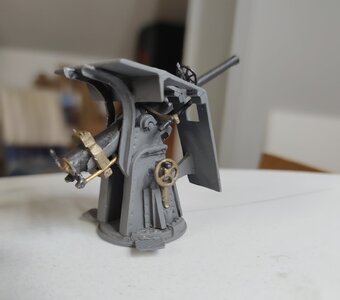
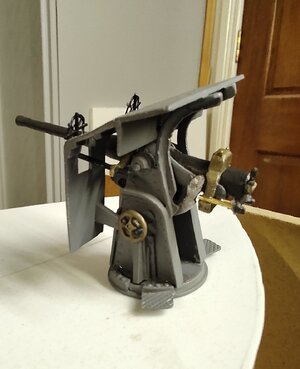
As it would be difficult to finish after I start building the superstructure I have started with the inner bulwarks/rails, adding layers of 0.25mm styrene and printed rivet heads I then sprayed the lot in a light grey using black primer to highlight (lowlight ?) the seems and rivets. When all is dried I will give it one last coat of well thinned grey/ semi-gloss clear just to impart a slight sheen. You will see from the pic's. that I was able to remake the guard around the prop and add a support for the rudder. I built this up using two pack putty AND to my eye it looks quite good. The wooden deck and the supports for the superstructures next . As an aside the kit comes with a load of white metal bits, part of which was a small kit to build the 12 pounder gun. I had to use two pack epoxy to fix it together but it turned out surprisingly nice, the 20 mm Oerlikon cannon was a different cattle of fish and turned out to be rubbish using a bit of brass wire stuck into white metal as the barrel!
Here in no particular order are some pic's. of how I have been getting on.

IMG_20231122_174741.jpgIMG_20231123_181003.jpgIMG_20231212_125230.jpgIMG_20231212_125249.jpgIMG_20231212_230818.jpgIMG_20231214_121806.jpgIMG_20231214_200223.jpgIMG_20231214_201220.jpgIMG_20231214_201231.jpgIMG_20231214_200333.jpgIMG_20231214_201220.jpgIMG_20231214_201231.jpgIMG_20231214_204315.jpgIMG_20231214_204422.jpgIMG_20231214_204616.jpgIMG_20231214_204810.jpgIMG_20231214_204831.jpgIMG_20231214_205032.jpgIMG_20231214_210337.jpg

Cheers JJ..​
 
Hi folks, it's been a while since I have posted anything, for which I apologise. I have been keeping busy doing a lot of reading up on steam trawlers in the world wars, it's incredible to think that some trawlers where requisitioned for both and then went on fishing up until the 60's. I have also done some work to 'Sir Kays' hull, trying to turn a simplistic R/C design into an acceptable static model. I decided early on that to reasonably imitate steel plate I would not be able to use wood as much as I would have liked, but unless you put on loads of coats of paint you cannot get rid of the wood grain. So I have decided I would have to 'plate' a lot of surfaces with thin styrene sheet then add 3d rivets.
Initially I thought I would sand down the outside of the hull and totally recover it but the hull is perilously thin in places and as I thought I may well 'balls it up' I will make do with adding rivets and some slight readjusting.
As it would be difficult to finish after I start building the superstructure I have started with the inner bulwarks/rails, adding layers of 0.25mm styrene and printed rivet heads I then sprayed the lot in a light grey using black primer to highlight (lowlight ?) the seems and rivets. When all is dried I will give it one last coat of well thinned grey/ semi-gloss clear just to impart a slight sheen. You will see from the pic's. that I was able to remake the guard around the prop and add a support for the rudder. I built this up using two pack putty AND to my eye it looks quite good. The wooden deck and the supports for the superstructures next . As an aside the kit comes with a load of white metal bits, part of which was a small kit to build the 12 pounder gun. I had to use two pack epoxy to fix it together but it turned out surprisingly nice, the 20 mm Oerlikon cannon was a different cattle of fish and turned out to be rubbish using a bit of brass wire stuck into white metal as the barrel!
Here in no particular order are some pic's. of how I have been getting on.

Stunning Jack. Those rivets are so good. Cheers Grant
 
Back
Top