Hello guys!
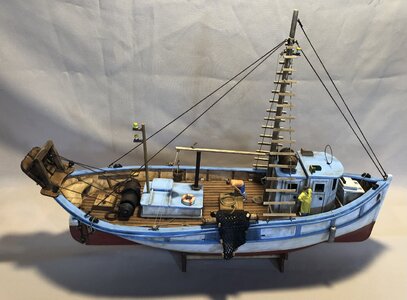
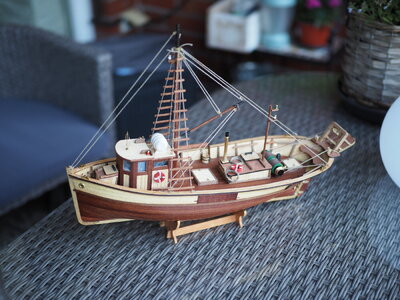
this is my first post here and what better way to start than to share the buiding progress of my Palamos fishing boat over the past couple weeks. Or should I say years? Well, I was gifted this set in 2019 and spent around 10 hours doing the internal structure but then life got in between and the boat became dusted and forgotten.
Some weeks ago I finally decided to pick it back up again. And I'm sure everyone of you knows the feeling of picking up unfinished work. It seems to me that there is some kind of a mental barrier? Like - you know a long time ago you know the details of the piece in and out and now it's time to figure everything out again, remember each tiny mistake and continue and finish it.
The log is written in retrospect because I just finished the boat today morning. My build description is intended to get others excited maybe, to possibly provide ideas on how to solve some tricky bits and lastly for me to reflect on my work! It's mostly in pictures and I'll write some words to each of them
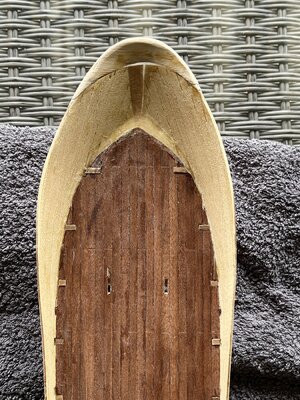
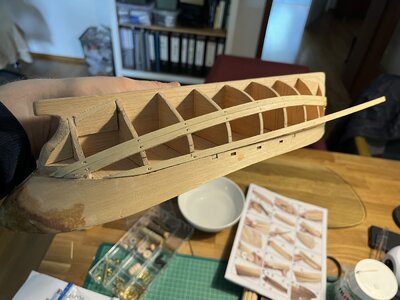
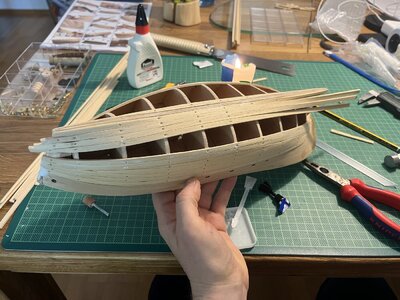
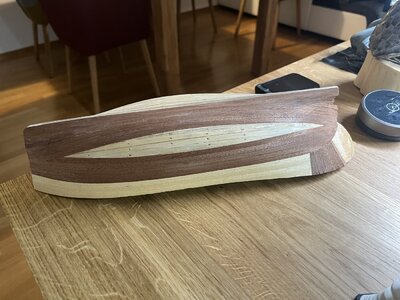
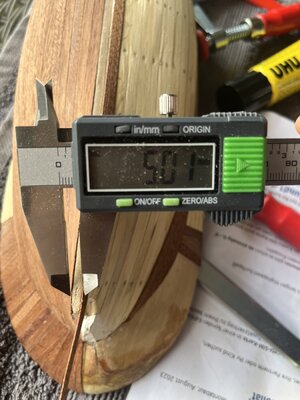
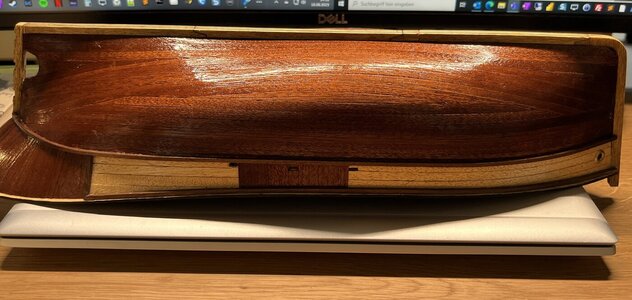
Image 1: Above you can see roughly where I stopped building in 2019. Except that the top part of the image (the bow of the ship) wasn't there yet. Now you might be wondering. What in the world is going on there? And now I remember why I decided to not continue in 2019 ;-) Basically I had massive issues making the upper sidewall. It was obviously a flat piece of wood and I tried all sorts of things to get it in shape. Weting it obviously, bending it with a candle, using very strong glue, fixing it with a vise. But this was only somewhat successful. The bits between the floor and the wall is epoxy by the way. So first what I did is I cut off the stuff that was wrong and added some wood with epoxy (seen in the image)
BUT! When I tried to fit the rail of the ship on top of it, it was just a mess. In the front I was off by around half an inch. So I needed another solution.
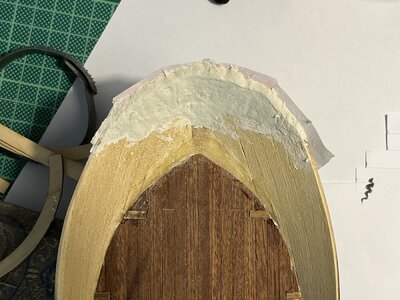
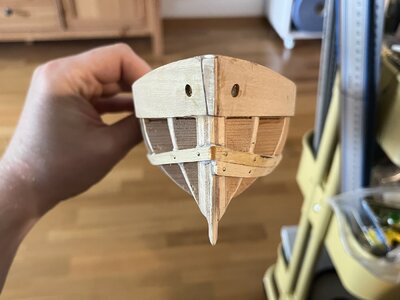
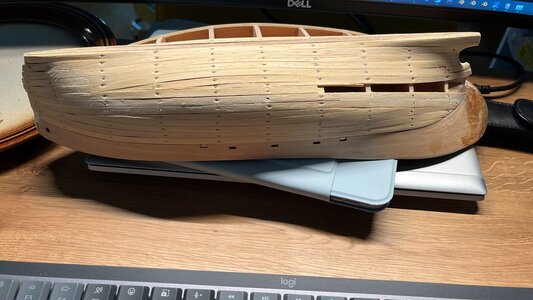
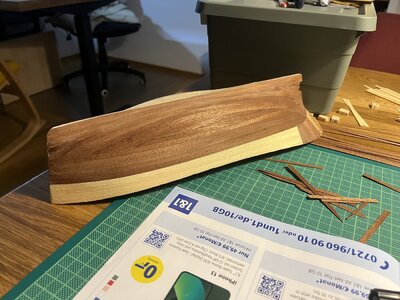
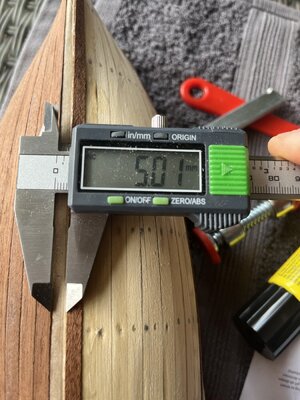
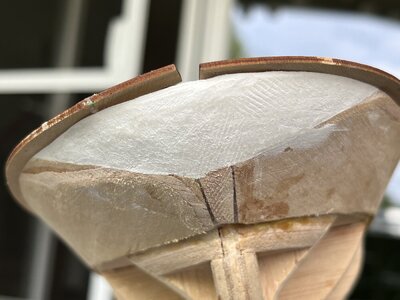
Image 2: So I just cut the whole thing off again (!!) and in my mind I kept telling myself: patience, calm, take your time. And it worked. Basically I made somewhat of a mold from tape and mixed some plastiform modeling clay and pressed it in there. plastiform is an interesting kind of modeling clay. It's as light as paper, feels like paper, but stable like wood. I let the mixture dry for 2 days and et voila ...
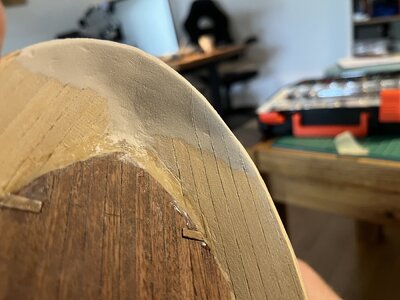
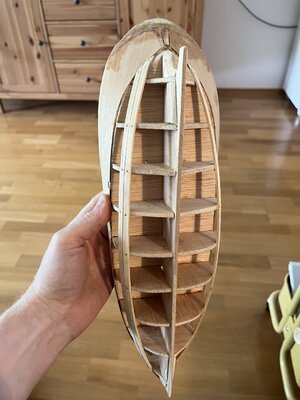
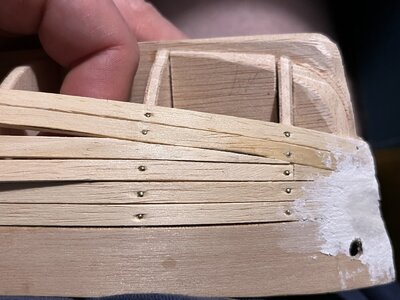
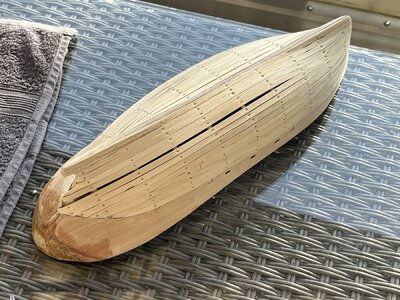
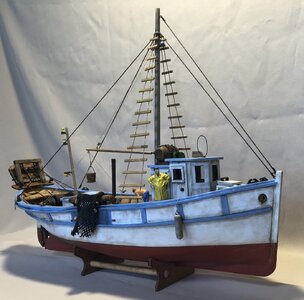
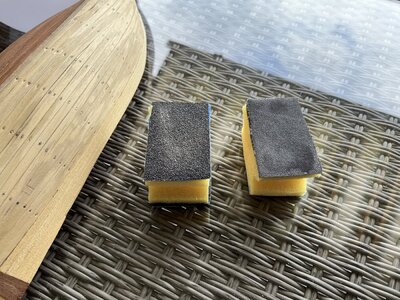
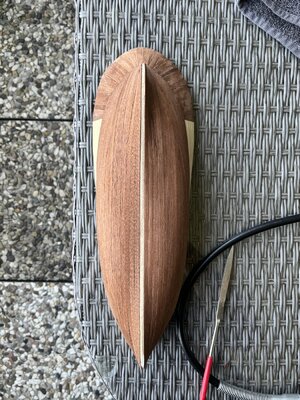
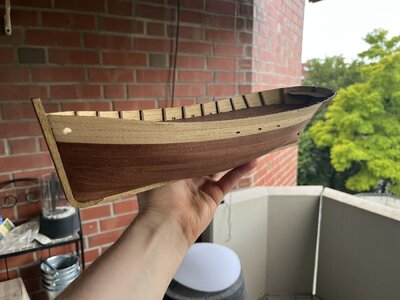
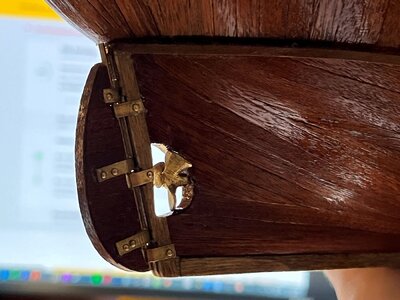
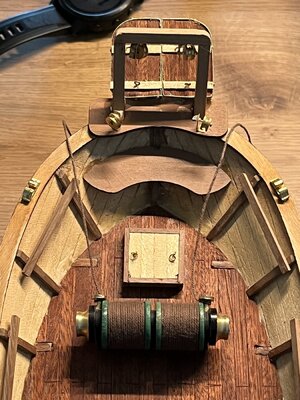
Images 3 and 4: I did a lot of sanding and even carved the little spaces between the planks into the plastiform clay. Worked like a charm and the clay even bonded fairly nicely with the rest of the boat. Not perfect but some epoxy on the backside resolved all my stability concerns which won't be visible because of the wooden planks on that side.
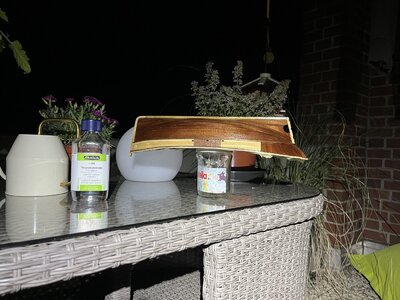
I then made myself a nice cup of coffee and actually bated the insides of that clay part with coffee to give it roughly the same color as the wood which is a very bright brown. You can see how it worked in image 5 below. And it actually did work fairly nice! (I'm sorry about the Nutella glas stealing all the attention )
)
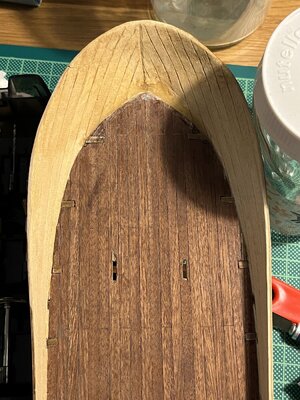
At this point I was also quite happy with the "gap" between the floor and the front part of the wall where the epoxy is. Sanded and filed quite a bit to get it as good as possible. Also applied some oil wax mixture onto the floor to give it a new fresh look.
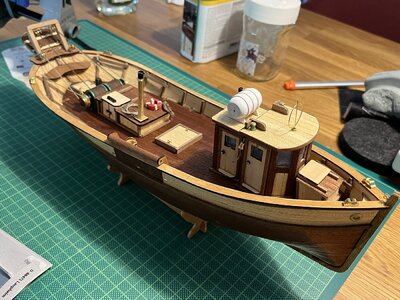
At this point I was very happy and I was super excited to continune and finish it. And from then on it actually did only take me around 3 weeks to complete the boat.
...to be continued
Edit: Typos
this is my first post here and what better way to start than to share the buiding progress of my Palamos fishing boat over the past couple weeks. Or should I say years? Well, I was gifted this set in 2019 and spent around 10 hours doing the internal structure but then life got in between and the boat became dusted and forgotten.
Some weeks ago I finally decided to pick it back up again. And I'm sure everyone of you knows the feeling of picking up unfinished work. It seems to me that there is some kind of a mental barrier? Like - you know a long time ago you know the details of the piece in and out and now it's time to figure everything out again, remember each tiny mistake and continue and finish it.
The log is written in retrospect because I just finished the boat today morning. My build description is intended to get others excited maybe, to possibly provide ideas on how to solve some tricky bits and lastly for me to reflect on my work! It's mostly in pictures and I'll write some words to each of them

Image 1: Above you can see roughly where I stopped building in 2019. Except that the top part of the image (the bow of the ship) wasn't there yet. Now you might be wondering. What in the world is going on there? And now I remember why I decided to not continue in 2019 ;-) Basically I had massive issues making the upper sidewall. It was obviously a flat piece of wood and I tried all sorts of things to get it in shape. Weting it obviously, bending it with a candle, using very strong glue, fixing it with a vise. But this was only somewhat successful. The bits between the floor and the wall is epoxy by the way. So first what I did is I cut off the stuff that was wrong and added some wood with epoxy (seen in the image)
BUT! When I tried to fit the rail of the ship on top of it, it was just a mess. In the front I was off by around half an inch. So I needed another solution.

Image 2: So I just cut the whole thing off again (!!) and in my mind I kept telling myself: patience, calm, take your time. And it worked. Basically I made somewhat of a mold from tape and mixed some plastiform modeling clay and pressed it in there. plastiform is an interesting kind of modeling clay. It's as light as paper, feels like paper, but stable like wood. I let the mixture dry for 2 days and et voila ...


Images 3 and 4: I did a lot of sanding and even carved the little spaces between the planks into the plastiform clay. Worked like a charm and the clay even bonded fairly nicely with the rest of the boat. Not perfect but some epoxy on the backside resolved all my stability concerns
I then made myself a nice cup of coffee and actually bated the insides of that clay part with coffee to give it roughly the same color as the wood which is a very bright brown. You can see how it worked in image 5 below. And it actually did work fairly nice! (I'm sorry about the Nutella glas stealing all the attention

At this point I was also quite happy with the "gap" between the floor and the front part of the wall where the epoxy is. Sanded and filed quite a bit to get it as good as possible. Also applied some oil wax mixture onto the floor to give it a new fresh look.
At this point I was very happy and I was super excited to continune and finish it. And from then on it actually did only take me around 3 weeks to complete the boat.
...to be continued
Edit: Typos
Last edited:


