Another fun build from you Ken - nice progress. I love that your community has restored the old station. Preserving these touchstones of our past is important.
You are using an out of date browser. It may not display this or other websites correctly.
You should upgrade or use an alternative browser.
You should upgrade or use an alternative browser.
Occre Pacific 231 wood and brass train [COMPLETED BUILD]
- Thread starter Ken
- Start date
- Watchers 21
-
- Tags
- completed build occre
- Joined
- Dec 16, 2016
- Messages
- 1,020
- Points
- 493

Hello All, Thank you for your replies, I appreciated your remarks about our station. This rural line became obsolete and closed down in the 60s it was with foresight that the local council took it on themselves to keep and maintain the site for future generations. The tracks were removed and the bed gravelled for about 15 miles, all the railway features were kept and it was turned into a leisure area, WIRRAL WAY, for walkers and cyclists. It is always busy, far more people use it now than ever did when it was a railway. Because it’s local and has always been there you seem to forget just how lucky we are to have it and many other local gems.
I’ve added some more pictures of it, and yes the phone still works.
Ken
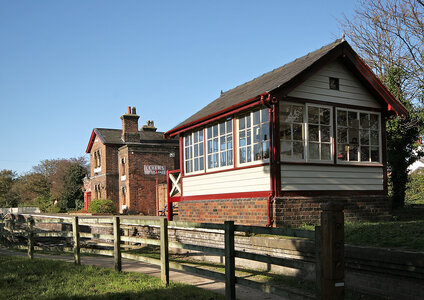
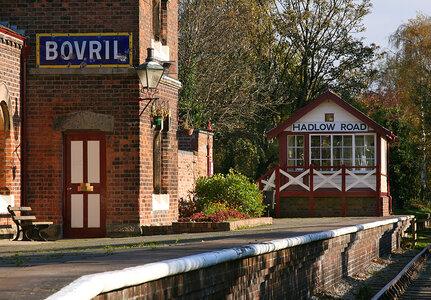
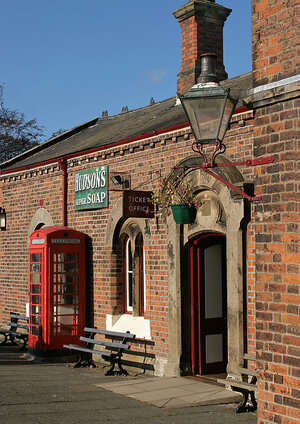
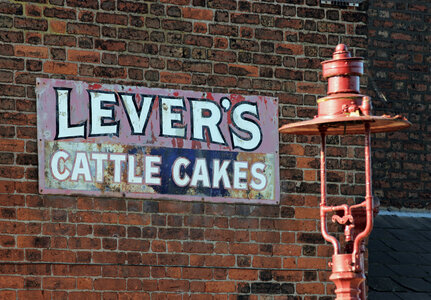
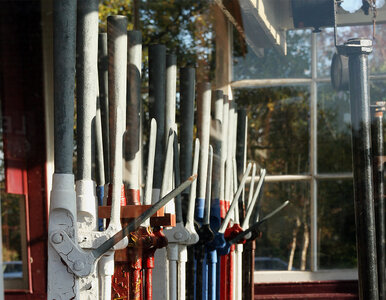
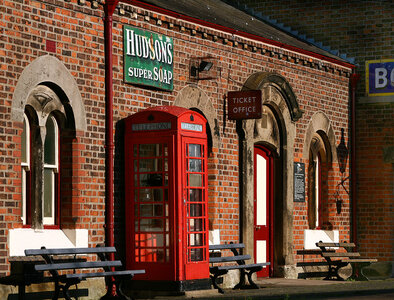
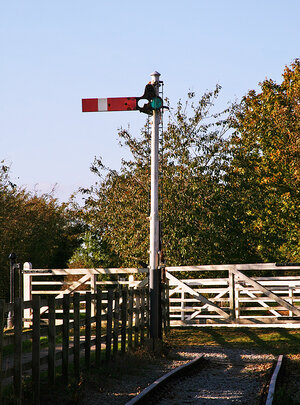
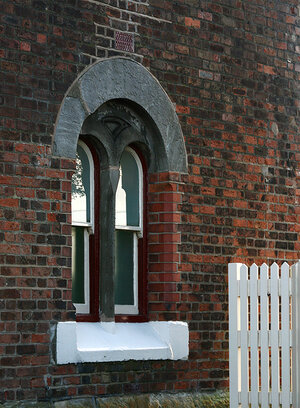
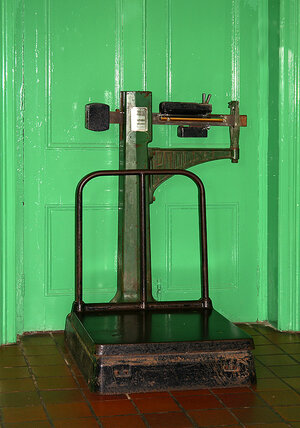
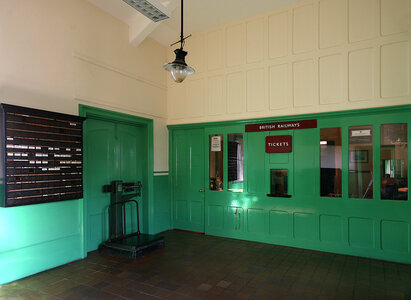
I’ve added some more pictures of it, and yes the phone still works.
Ken


Hallo Ken, I think it's very nice that these old stations are being preserved. So there you live on the Wirral Peninsula near Ellesmere Port, very nice.
I was often in Chester and Wrexham and as an addicted Great Westerner I visited the Llangollen Railway from there.
I was often in Chester and Wrexham and as an addicted Great Westerner I visited the Llangollen Railway from there.
- Joined
- Dec 16, 2016
- Messages
- 1,020
- Points
- 493

Hi Adi, Yes I know it well. At Llangollen they still run their trains, occasionally they put a restaurant car on the Berwyn Belle, it makes a nice treat for my wife when we can get a reservation , must keep her happy!Hallo Ken, I think it's very nice that these old stations are being preserved. So there you live on the Wirral Peninsula near Ellesmere Port, very nice.
I was often in Chester and Wrexham and as an addicted Great Westerner I visited the Llangollen Railway from there.
Those are great pictures. That station would make a great railway model.
Jan
Jan
- Joined
- Jan 9, 2020
- Messages
- 10,378
- Points
- 938

I was thinking the same thing that @Pathfinder65 Jan mentioned - the station would be a great modeling subject. ken, your build is superb - you must be very happy with how things are turning out.
- Joined
- Dec 16, 2016
- Messages
- 1,020
- Points
- 493

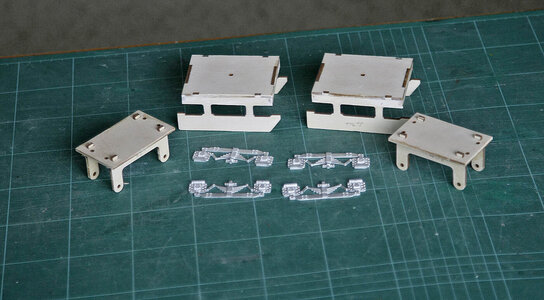
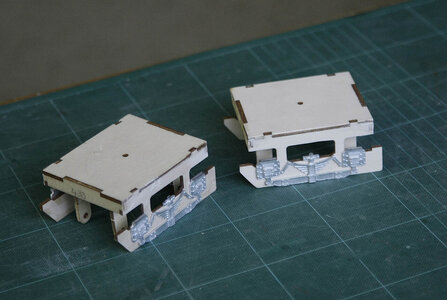
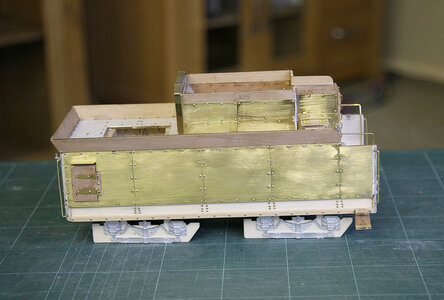
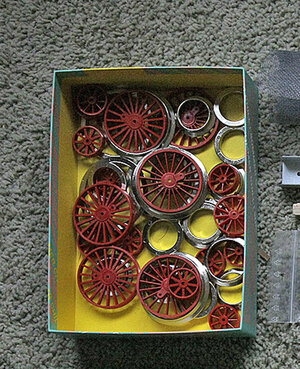
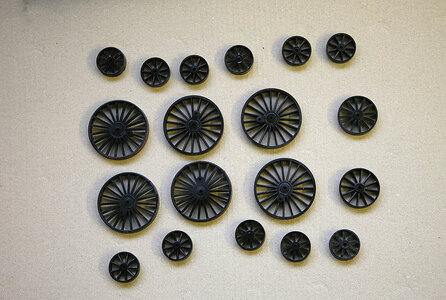
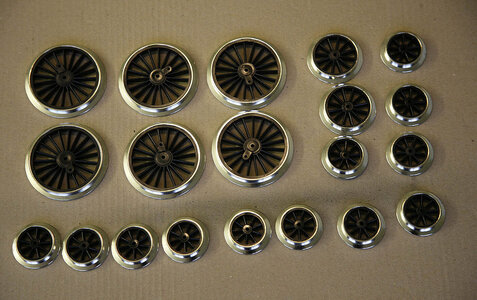
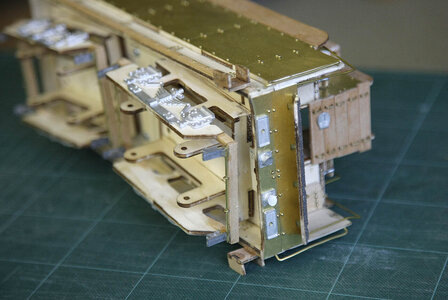
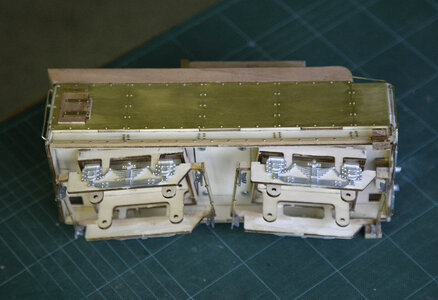
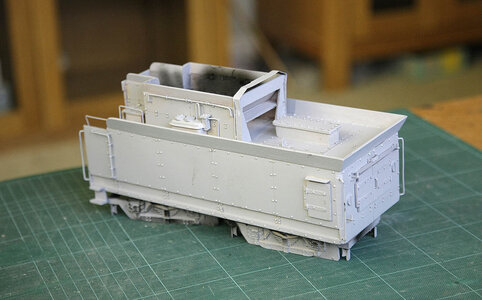
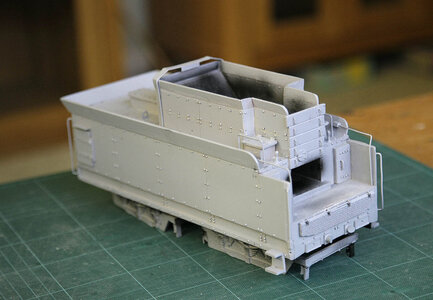
Good morning passengers. Today’s pictures are the continuation of the tender. You will see that the upper structure is basically complete and I’m almost there with the bogeys. The parts and the fit continue to be first class which gives confidence for the finished build. I have painted the wheels which came out better than expected. The inner part is made up of red plastic, I can’t understand why they were not made from black plastic as now any slight scratch will show up red! Quite a bit of force and hammering was needed to press the inner into the metal rim and care was needed not to mark the paint, but they ended up looking quite good.
I’ve started priming the surface, so the next post will be the painting
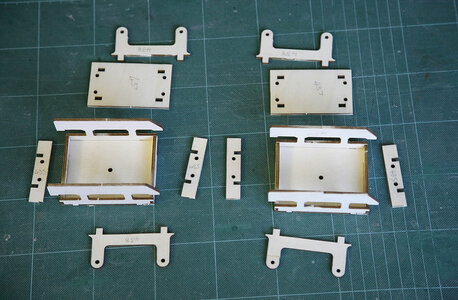
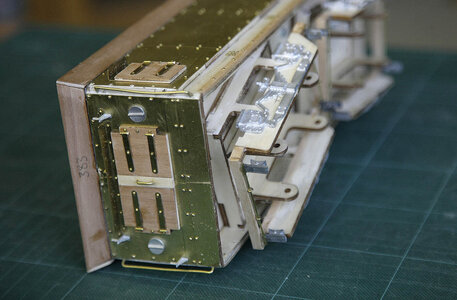
I’ve started priming the surface, so the next post will be the painting


Last edited:
- Joined
- Dec 16, 2016
- Messages
- 1,020
- Points
- 493

Hi, Today a quick play with some wheels. I didn’t want to spend much time on the build today so I thought that I’d just put the main drive wheels onto their axles and then into the lower chassis. The axles were a simple press fit into the wheels with a brass shim for each, what could go wrong? Yes it was a press fit but not just a simple push, they needed good hard blows with a hammer to get them fully home, needless to say that the paintwork was ruined and needed cleaning off and a full re spray, primer included applied. As the wheels were now well attached with the rims in place this was quite a tricky job and not the quick one that I thought it would be. There always seems to be something that will jump up and bite your bum! The picture shows the chassis just resting on the wheels.
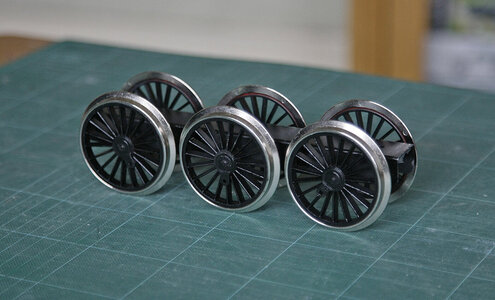
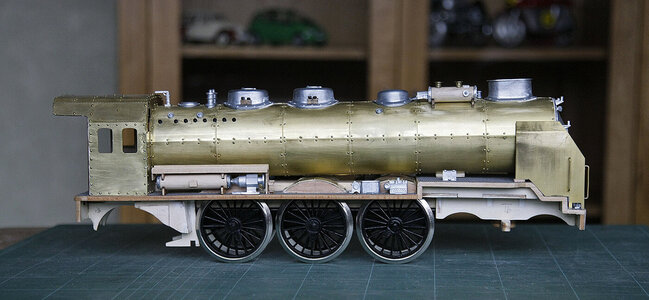


Ken, it looks like an excellent recovery paint job.Hi, Today a quick play with some wheels. I didn’t want to spend much time on the build today so I thought that I’d just put the main drive wheels onto their axles and then into the lower chassis. The axles were a simple press fit into the wheels with a brass shim for each, what could go wrong? Yes it was a press fit but not just a simple push, they needed good hard blows with a hammer to get them fully home, needless to say that the paintwork was ruined and needed cleaning off and a full re spray, primer included applied. As the wheels were now well attached with the rims in place this was quite a tricky job and not the quick one that I thought it would be. There always seems to be something that will jump up and bite your bum! The picture shows the chassis just resting on the wheels.
View attachment 287410
View attachment 287411
- Joined
- Dec 16, 2016
- Messages
- 1,020
- Points
- 493

Hi Jan, Yes the wheel colour suits the black livery and looks well. I was attracted to this kit by the representation on the box art, to me the green/black colour was perfect so that’s the theme that I decided on. I realise now that the black/red would have been much easier to paint but my heart wanted green. I’m not looking forward to doing the yellow pin stripe though.Ken, your build is coming along nicely.
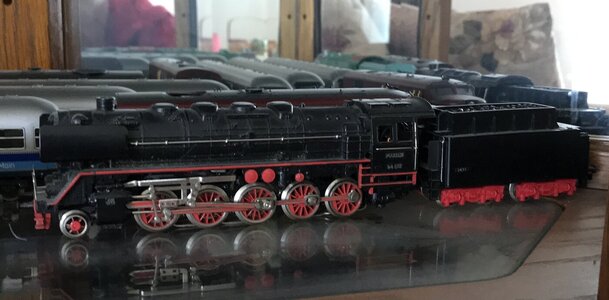
This is one of my European locomotives, note the wheel colors.
View attachment 287447
Jan
- Joined
- Dec 30, 2021
- Messages
- 278
- Points
- 278

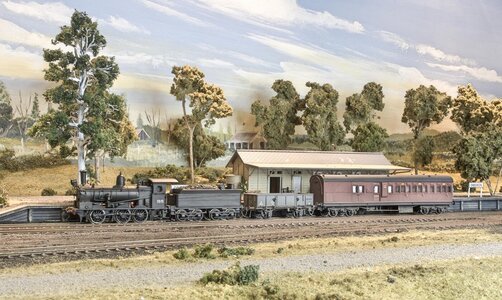
An interesting way to build a locomotive. I have come from the world of model Locomotive construction having build more than 200 over the years for various clients in O, OO, HO and N scales varying depending on whether you are imperial or metric. I always ordered models together enjoying the instant nature of construction and the security solder provides. Wood and metal kit would be a challenge and I wish you well in your new endeavour. Should you have any queries regarding construction do no hesitate to contact me. I have finally moved on to the gentler side where I can concentrate on building for ME.

- Joined
- Dec 16, 2016
- Messages
- 1,020
- Points
- 493

Hi Jan, Yes the wheel colour suits the black livery and looks well. I was attracted to this kit by the representation on the box art, to me the green/black colour was perfect so that’s the theme that I decided on. I realise now that the black/red would have been much easier to paint but my heart wanted green. I’m not looking forward to doing the yellow pin stripe though.
Hi Peter, Thanks for your reply, as model trains are new to me, ( I know nothing about them), it’s good to know that there is a ready supply of members with vast experience ready to help if I stumble. I wanted to build something different and as my experience is in wooden boats this wood/brass kit seemed to be something that I would feel at ease with.An interesting way to build a locomotive. I have come from the world of model Locomotive construction having build more than 200 over the years for various clients in O, OO, HO and N scales varying depending on whether you are imperial or metric. I always ordered models together enjoying the instant nature of construction and the security solder provides. Wood and metal kit would be a challenge and I wish you well in your new endeavour. Should you have any queries regarding construction do no hesitate to contact me. I have finally moved on to the gentler side where I can concentrate on building for ME.
German Reichsbahn and also later the Deutsche Bahn had usually red wheels. But other conutries and also Länderbahnen used sometimes black wheels.Ken, your build is coming along nicely.
This is one of my European locomotives, note the wheel colors.
View attachment 287447
Jan
So it depends on the country and more important on the period the loco was used or in service
- Joined
- Dec 16, 2016
- Messages
- 1,020
- Points
- 493

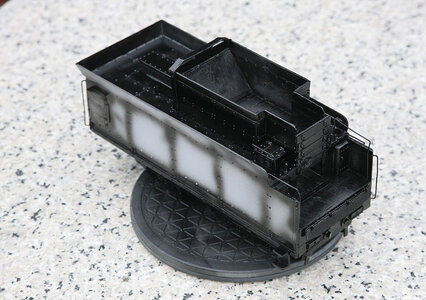
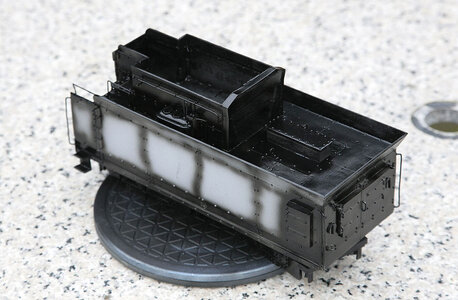
Hi, Again thanks for your likes and comments. Today’s post shows the start of the painting, a nervous time. I’m doing the tender first as it appears to be the easiest; I’ll find out how the paint/colours go on before I tackle the loco. I used an ordinary rattle can of acrylic primer, this went on a treat. After about an hour I applied a coat of Tamiya X1 gloss black through my airbrush. Again this went on ok. I think that the surface is about right. Whilst I had the black on the go I gave a light blast along the seams, hopefully this will give the green feint shading along the edges of the panels, hopefully not enough to be obvious but just enough to make the panels more look individual. One thing I did learn is that the brass wire for the hand rails is so soft that just touching them put them out of shape, I’ll remove these and re fit after the final coat.


- Joined
- Dec 16, 2016
- Messages
- 1,020
- Points
- 493

Hello travellers. This post for me shows some serious progress, except for a bit of touching up and straightening the hand rails the tender is complete. I didn’t photograph the fitting of all the individual small parts as I got so involved that I just cracked on with it. There are all manner of linkages, valves, pipes, handles etc. too many even to remember. The coal is gravel broken up to size and glued down on a layer of sand then sprayed black, the paint is a mix of Tamiya gloss greens thinned with Mr Hobby self levelling thinner, my favourite combo for a gloss finish. A brown clay wash was applied to some areas and a dry brush gun metal was used around the lower black areas. The pinstripe is self adhesive vinyl cut to size, the rest you can see for yourself. I just might make up a shovel, bucket and broom to add to the rope and tarpaulin to make the deck more interesting.
Tea is now served.
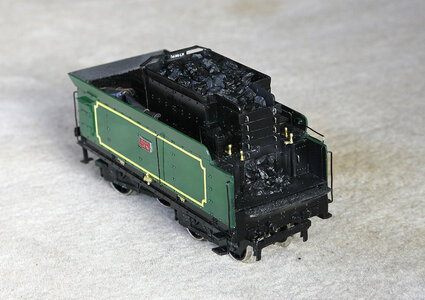
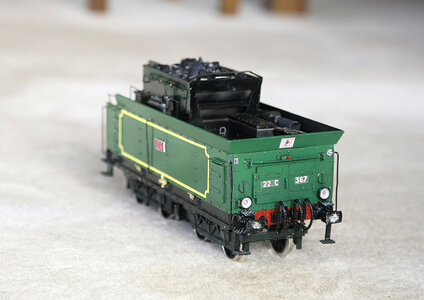
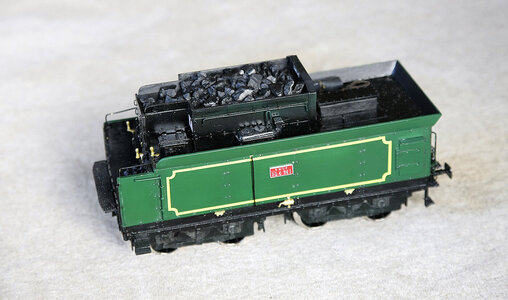
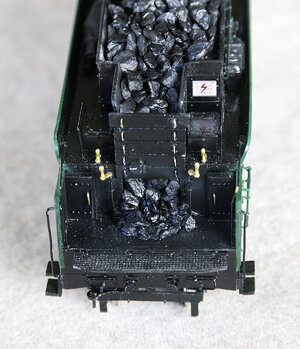
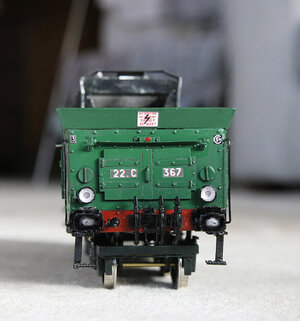
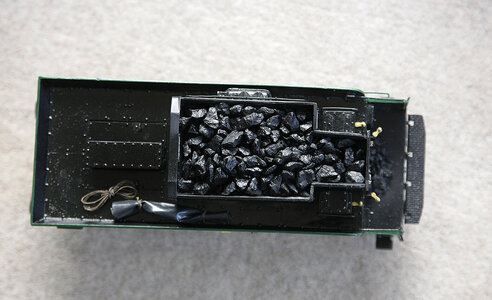
Tea is now served.


Ken, that has to be among the most eye catching, eye pleasing model train car I have seen. I love it!
- Joined
- Dec 11, 2021
- Messages
- 287
- Points
- 238

Great job, first!
Second, a note: the coal stones seem to me too large for the scale of the model. Once for a similar scale kit I used coarse salt (the one we use for the water in which to cook the pasta ...), and then paint it in matt black.
It could be an idea!
Second, a note: the coal stones seem to me too large for the scale of the model. Once for a similar scale kit I used coarse salt (the one we use for the water in which to cook the pasta ...), and then paint it in matt black.
It could be an idea!
As always, Ken, meticulous work well handled. Bravo!


