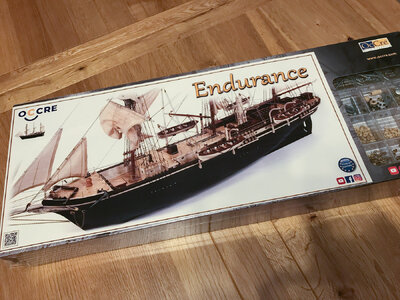
Occre Endurance (1:70) Build Log

Joined
Jun 13, 2022
Messages
241
Points
143

Hi Shipmates,

Having finally completed my Occre Endeavour build, 2024 brings in a New Year and a new challenge, the Occre Endurance. I had seen a number of great build logs on SOS of Endurance which attracted me to this model. I purchased it back in Feb 2023 from Cornwall Model Boats (UK), expecting to have completed the Endeavour build earlier in the year but alas real life got in the way.

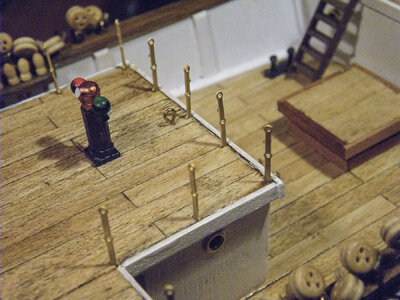
Given the number of Endurance build logs already on SOS, I was contemplating NOT producing a build log. However the feedback on my Endeavour build was invaluable and hence documenting my progress is a good approach and will add some degree of discipline to my build. Based on the build experience of other SOS members, their build logs and the many photographs of Endurance available, I am aiming to build a more realistic model than the supplied Occre plans dictate. This will include (at this point in time):
  • Narrower deck planks as the currently supplied 5mm wide strips would scale up to 350mm wide deck planks
  • Include an access opening under the foredeck
  • Reshape the propellor opening to a more rectangular shape
  • Replace supplied 3 blade propellor with a 2 blade propellor
  • Add a wooden stern rail
  • Add strips to cabin/accommodation structures to simulate planking
  • Upgrade all stanchions to replace the punched stanchions provided by Occre
  • Add additional details e.g. various supplies e.g. barrels, boxes, ropes, sleds etc. oars and mast for the tenders etc.
  • Move the rigging attachment points from the deck to the masts
  • Add edging strips to the top of the bow
  • Enlarge the portholes
  • Upgrade thread to scaled rope
  • Generally upgrade any fittings that appear out of proportion with the model scale
  • Construct a nicer display base
There are likely to be further enhancements as I progress. If anyone is aware of other changes please let me know.

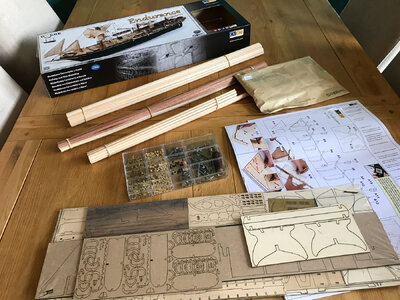
The package from Cornwall Models arrived promptly by courier and was well packed ...

klyall_unpacking_1.jpg
klyall_unpacking_2.jpg

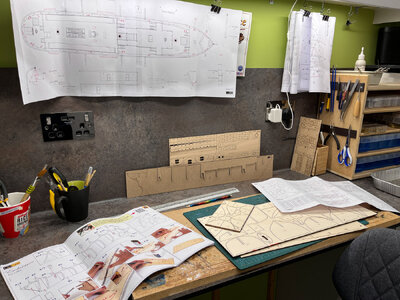
The contents the kit were well organised, including bundles of strips, dowels, laser cut preformed plywood, box of fixtures and fittings, stamped brass plate of fittings, thread, sails, plans and instructions. I won't dwell on the unboxing as there are a number of other good unboxing photo sets already available on SOS (refer to Kramer or Jeff T).

Initial comments are:
1) Standard kit expected from Occre and good value for money. I paid £116 UK (approx. €134, $127); it is currently £172 UK, so feels like a bargain.
2) Nice to see a base supplied (Endeavour did not have one), although for a model of this size I will construct my own.
3) Main section of hull and the tender boats are in MDF rather than plywood. This seems flimsy compared to the plywood Endeavour, although once the decking and hull planking ar attached this is a minor issue. However care needed to avoid inhaling MDF dust when sanding.
klyall_unpacking_3.jpg
 
It's been pretty pants weather in the UK running up to and into the New Year, so an ideal time to start my Endurance build. klyall_basicframe_1.jpg

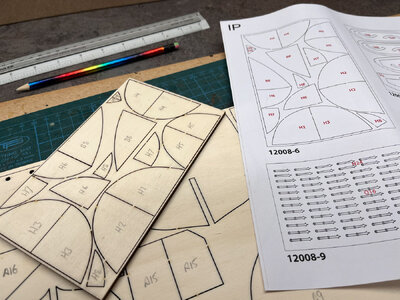
First job is to mark up the parts to make identification easier once parted from their sheets ...
klyall_basicframe_2.jpg

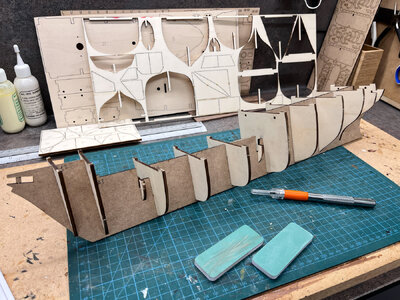
... followed initially by a dry fitklyall_basicframe_3.jpg

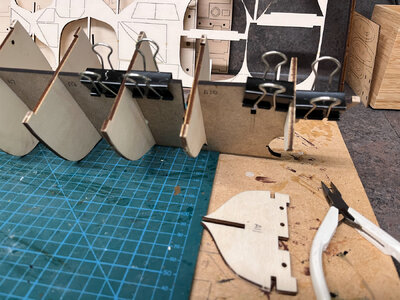
... before gluing in place using bulldog clips to ensure a 90 degree angles and ensure stability as the glue drys.
klyall_basicframe_4.jpg
 
Modification 1: Provide an opening under the foredeck
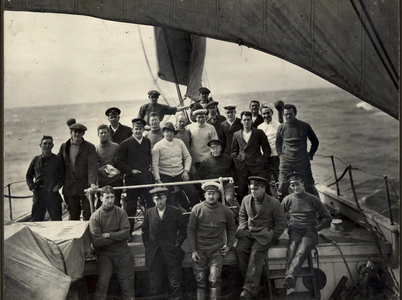
From the archive photo below, there is clearly an opening.
1704219249610.png

This required a few modifications to the Occre kit ...
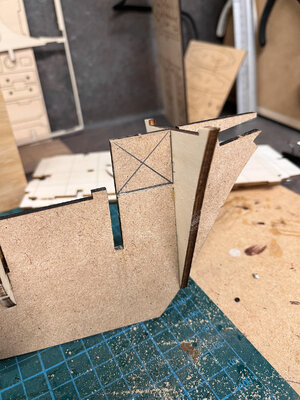
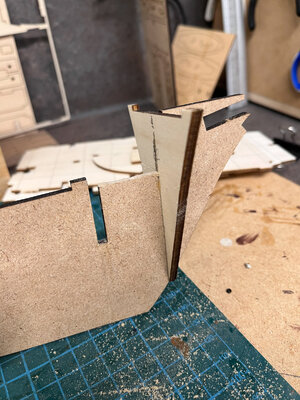
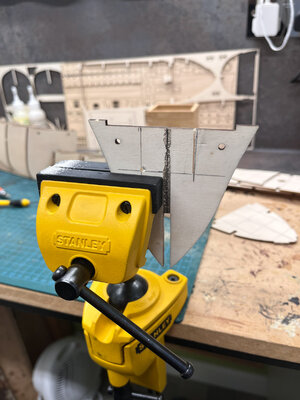
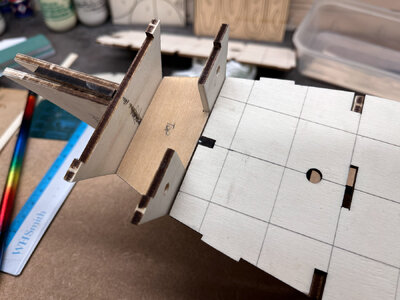
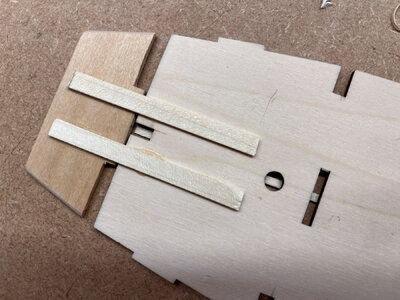
klyall_foredeckaccess_1.jpgklyall_foredeckaccess_2.jpgklyall_foredeckaccess_3.jpg
... and cutting an opening in the bulkhead
klyall_foredeckaccess_4.jpg

In addition I created a new deck panel which I will plank later ...
klyall_foredeckaccess_5.jpg
 
Last edited:
Modification 2: Rescale the deck planking
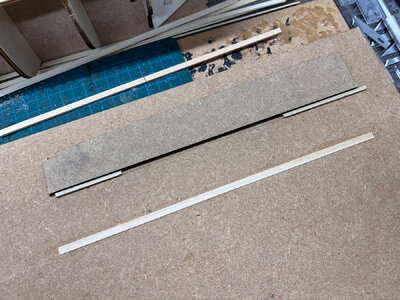
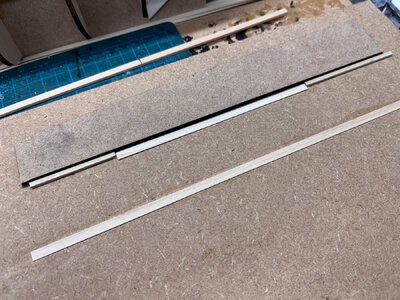
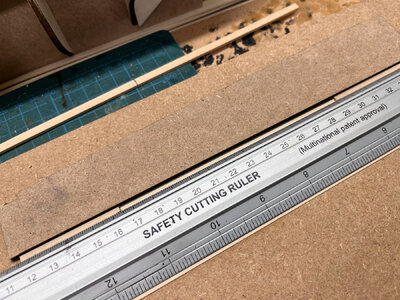
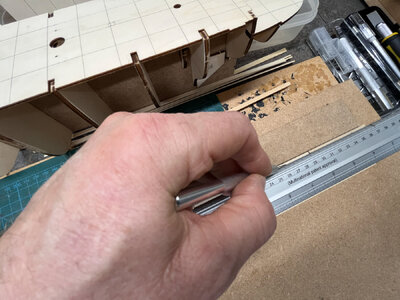
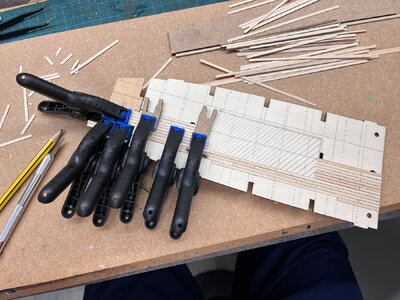
The model comes with 5mm sycamore strips to simulate decking. However at the scale of 1:70, this would scale up to 350mm width. Initially I considered buying replacement strips at a width of 3mm. However I hate unnecessary waste and decided to try and cut the provided strips. As there are many strips to be modified I made a basic jig. I glued a straight edge to a base board (top) and then glued to 3mm wide strips with a gap of 135mm between them (middle) and finally glued a strip of the sycamore planking (bottom). This is positioned to ensure my ruler will be level when used to cut the strip.

klyall_planking_8.jpg
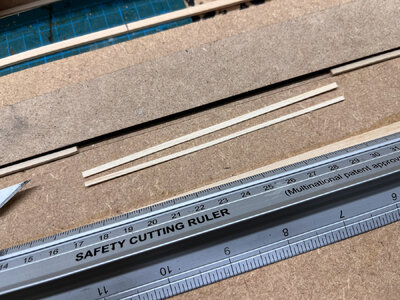
klyall_planking_9.jpgklyall_planking_10.jpgklyall_planking_11.jpgklyall_planking_12.jpg

This jig worked surprising well and has produced an acceptably accurate width of cut.

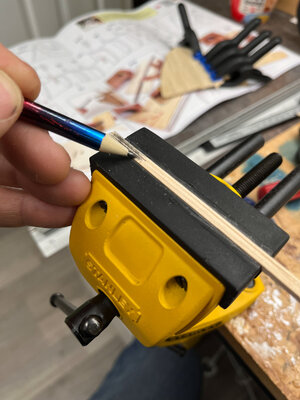
After cutting my "planks", to simulate caulking I clamped a number of strips and used a lead pencil to colour the edges.
klyall_planking_6.jpg

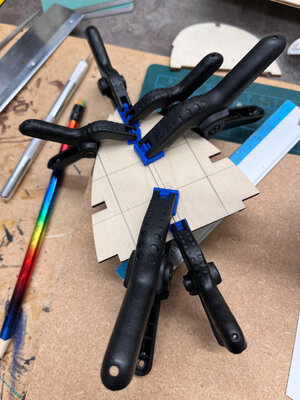
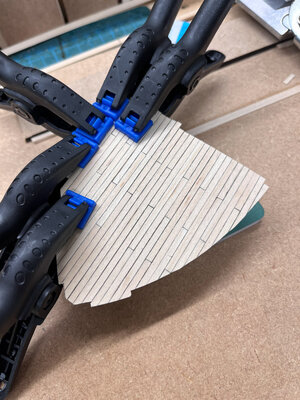
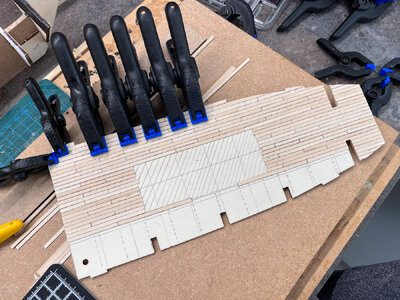
I started with a full length strip in the middle of the deck. I allowed that to dry before proceeding to plank towards the port and starboard of the deck. I tend to do 3 or 4 strips at a time, allow to dry and then repeat. I use a mixture of clips and masking tape to hold the planks in place as they dry.
klyall_planking_5.jpgklyall_planking_7.jpg

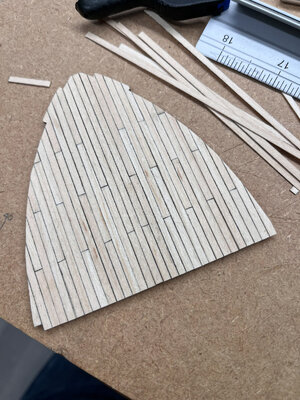
I could not find any details of the deck pattern so plumped for a stepping every 20mm rather than the 30mm in the Occre design. Not sure if that is correct but I think it looks better. However very pleased with the decision to modify the strips down to 3mm width.
klyall_planking_13.jpg

A side benefit of cutting the planks to 3mm has left an offset of 2mm. Rather than throw this away, as I plan to simulate planking on deck accommodation etc. these offcuts will be ideal.

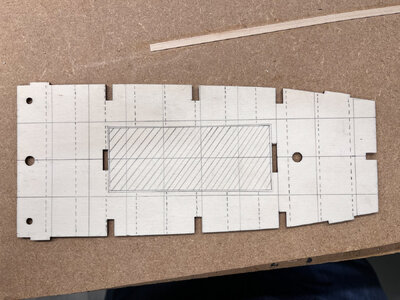
Now onto the main deck. I have marked that up with guidelines. The dotted lines are the 20mm separation. The hatched area is where the accommodation block will sit hence no need to plank there.
klyall_planking_14.jpg
 
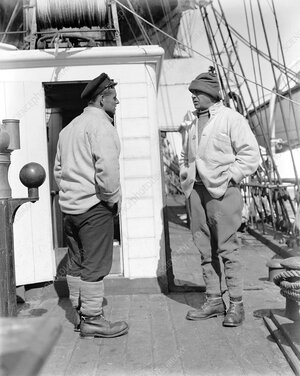
Hi All, I am planning to simulate planking on the accommodation block on my Endurance build. Given the scale of 1:70 I am trying to decide whether to use 2mm or 3mm strips. Any view as to what width of planking would typically have been used ie. 140mm (5.5 inch) or 210mm (8.5 inch). Thanks in advance.
 
Hi All, I am planning to simulate planking on the accommodation block on my Endurance build. Given the scale of 1:70 I am trying to decide whether to use 2mm or 3mm strips. Any view as to what width of planking would typically have been used ie. 140mm (5.5 inch) or 210mm (8.5 inch). Thanks in advance.
Take a look at this photo - typical for these ships - the planks have a width of appr. 18 to 20cm

C0230666-Evans_and_Scott_on_Terra_Nova,_1910.jpg
 
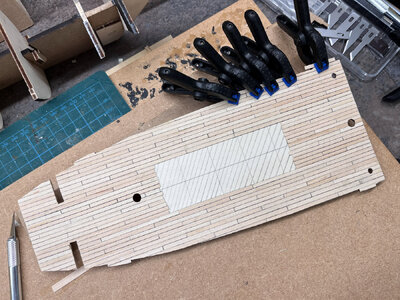
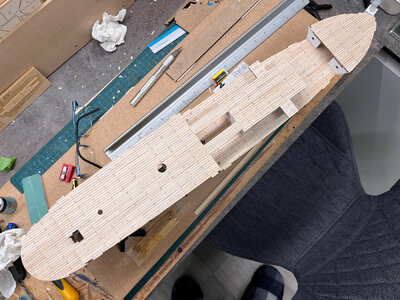
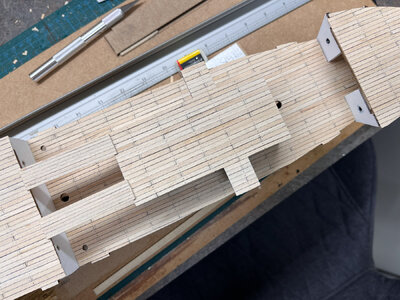
The decking for Endurance is progressing nicely. Obviously a lot more planks to lay given I have cut the kit supplied 5mm wide planks down to 3mm to try and be more authenticate to the scale.

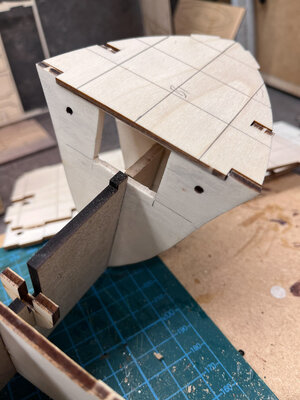
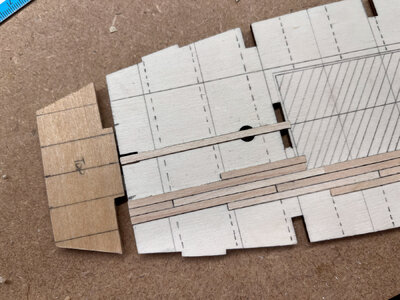
In my first modification describe earlier for the opening under the foredeck I did not show how I attached the additional deck. I wanted to maintain the flow of the deck once it was planked so I joined the new addition as shown below. As a result, I had to carve a couple of notches out of the bulkhead to allow the deck extension to lie flush.
klyall_decking_3.jpgklyall_decking_2.jpg
I use PVA glue and lots of clamps and work my way across the deck surface. I tend to do 3 runs at a time and leave to dry, but hey, I am not in any rush.klyall_decking_4.jpgklyall_decking_5.jpg
From the final image below that fact that I have extended the deck to the left is no longer obvious.
klyall_decking_6.jpg
 
Last edited:
Modification 3: Replace kit supplied doors and plank the accommodation block
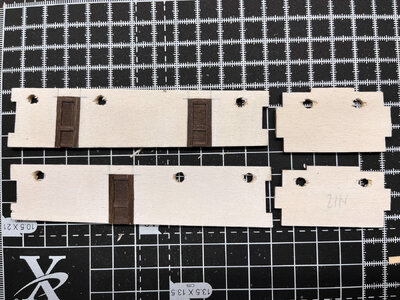
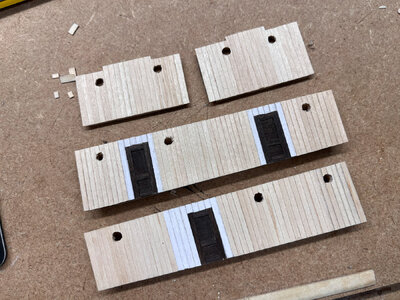
I did not like the brass cut doors provided as part of the kit. As such I painted the laser cut board brown where the doors are and then used some of the 2mm planks for the outline of the door.
klyall_accomodationhut_1.jpg

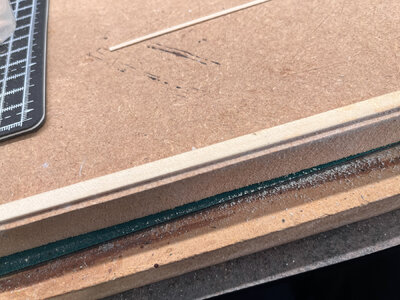
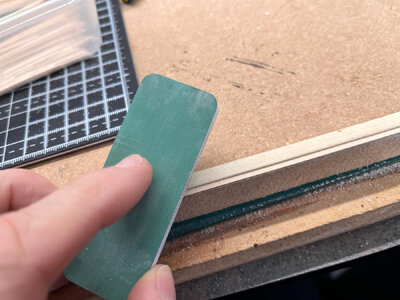
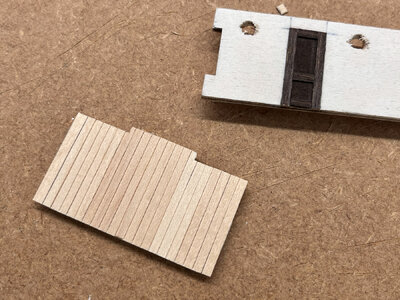
The Occre build instructions suggest painting the laser cut accommodation block white, however I have decided to plank to add more realism. Using the 2mm offcuts from creating the decking planks, I added a chamfer to each plank so that there is a distinction between each plank. I created another jig by gluing a strip 2mm from the edge of a baseboard to make it easier to sand each plank to create a slight chamfer.
klyall_accomodationhut_3.jpgklyall_accomodationhut_4.jpg
Once all panels were glued this gives the impression of a planked construction.
klyall_accomodationhut_5.jpgklyall_accomodationhut_6.jpg
 
I too am planning on the Endurance as my next build, and also, working on the Occre Endeavour, into the rigging right now, so will be interested to see how this proceeds for you, and will look into your Endeavour log if you did one, RobertK.
 
I too am planning on the Endurance as my next build, and also, working on the Occre Endeavour, into the rigging right now, so will be interested to see how this proceeds for you, and will look into your Endeavour log if you did one, RobertK.
Hi Robert, yes I did do a log for Endeavour. The link is part of my signature on my posts. After the Endeavour rigging, I am glad to be back working with wood again. If I were doing things again I would have done the Endurance first as it does appear to be a simpler build than Endeavour hence why I am setting myself the challenge of pimping Endurance to be more life like. Do you have an Endeavour build log as would be interested to see your progres. Good luck with the remaining rigging.
 
Keith,thanks for the response, I am new to this forum and just learning how to use it, I did just start a log even though I was in the rigging process. Since you recently did the Endeavour, maybe you can help me. I am on page G of the rigging diagram, and line J61 is affixed to a line which is not in any of the previous diagrams. It appears to be attached just below the crows nest and runs to the bowsprit, about middle. This is the third build I have done, the first was a long boat, the a fishing schooner and now the endeavour. I did like Occre's kit except for the string which after the shrouds and ratlines I went to something less frizzy. RobertK.
 
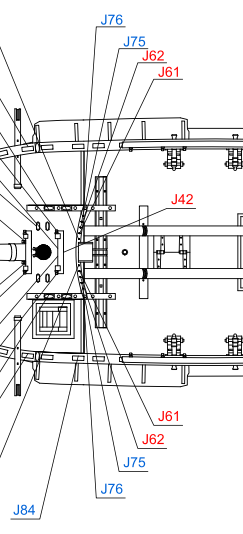
Hi Robert, welcome on board. The forum is super useful and members are very sharing with their knowledge, and I have found it so beneficial in improving my own model making. While the Occre main hull and mast build diagrams and pictures are pretty complete, the rigging diagrams are a bit frustrating, as they are incomplete as some of the rigging on diagrams A to M do not have an end point on N to P. Regarding J61, refer to diagram P where you can see the rigging tying
just behind the foremast as shown below.

Screenshot 2024-01-16 at 18.18.20.png
 
Keith, thanks for taking the time to answer, I see that j61 goes to the pin rail, my problem is where does it originate from, if you follow it back from the pin rail, it is attached to a line, in black, that is not found anywhere before this step, this mystery line starts below the crows nest and goes to the bowsprit. RobertK
 
Hi Robert, sorry I understand your question now. I found I had to take some poetic licence. Yes I could not see where that black line came from. As such I fed the line up through the pulley D on page C. This is not correct as if you are putting sail V11 on page L, but I finally decided I had to do something. I furled my sails so this was not an issue. Generally I found I also needed to attached lines to the same end point ie multiple ropes to the same end point. A key thing is to work from the inside out to ensure you can still access areas to tie off rigging.
 
Good afternoon Keith. I’m looking forward to following this build. She is one of my favourite ships- on my list to do one day. Cheers Grant
Hi Grant, hope you are keeping well. Enjoying the build so far and also doing research to try and make it more realistic.
 
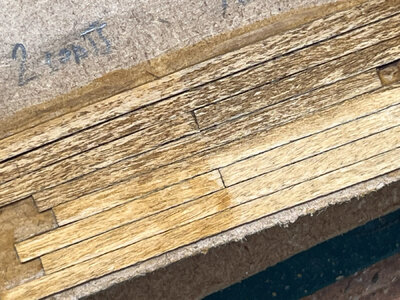
I have finally finished applying my deck planking. As per a previous post, I ripped 5mm strips into 3mm and 2mm widths, using the 3mm strips for the decking which I believe is more in line with the scale of this build. I used a pencil to create the treenail effect.
klyall_decking_colour_1.jpgklyall_decking_colour_2.jpg
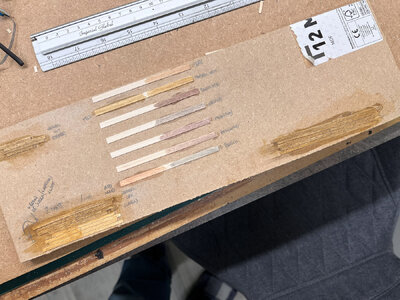
I am now experimenting with colours to stain the decks as I want too create a weathered/used look. I constructed a simple colour board using various furniture stains that I have.
klyall_decking_colour_3.jpg
The natural oak is closest to the colour I want although a wee bit on the orange side. As such after the natural oak dried I painted a layer of Occre Betun de Judea and immediately wiped off. In the photo below the bottom right is a single coat of natural oak, the bottom left is 2 coats of natural oak while the top is a coat of the Betun de Judea. The photo shows it a bit darker than reality and certainly gives the sort of finish I was looking for. However would welcome any feedback from SOS colleagues on alternate approaches to try ... I really only want to do this once :)
klyall_decking_colour_6.jpg
 
I have finally finished applying my deck planking. As per a previous post, I ripped 5mm strips into 3mm and 2mm widths, using the 3mm strips for the decking which I believe is more in line with the scale of this build. I used a pencil to create the treenail effect.
View attachment 423275View attachment 423274
I am now experimenting with colours to stain the decks as I want too create a weathered/used look. I constructed a simple colour board using various furniture stains that I have.
View attachment 423272
The natural oak is closest to the colour I want although a wee bit on the orange side. As such after the natural oak dried I painted a layer of Occre Betun de Judea and immediately wiped off. In the photo below the bottom right is a single coat of natural oak, the bottom left is 2 coats of natural oak while the top is a coat of the Betun de Judea. The photo shows it a bit darker than reality and certainly gives the sort of finish I was looking for. However would welcome any feedback from SOS colleagues on alternate approaches to try ... I really only want to do this once :)
View attachment 423270

This is what I did:

To begin with I applied a layer of Occre varnish. After that I covered the deck with Judea bitumen and wiped it off after about ten seconds. What happens is that the bitumen remains only in the grooves of the wood, so it is not soaked up like when staining. If you want a stronger effect you can repeat, After that you will need another thin layer of varnish to fix the bitumen. Additionally you could of course stain with oak before varnishing, which I did not. A different varnish will give a different result. Do not sand between varnishing and applying the bitumen, because this will give an uneven result.

Endurance Deck Planking 01.jpg
 
Last edited:
Back
Top