New Bedford Whaleboat - Model Shipways - 1/16 - by JeffT [COMPLETED BUILD]

Joined
Sep 1, 2020
Messages
811
Points
353

Location
Cicero, NY
I have been motivated by Vic's (Vfordyce) Galille Boat (https://shipsofscale.com/sosforums/threads/galilee-boat-kit-from-scott-miller-completed-build.9348/) to post a build log of the whaleboat that I have been working on for the past 10 months or so as I worked on the Endurance (https://shipsofscale.com/sosforums/threads/endurance-occre-1-70-jeff-t-completed-build.9004/). I say that since the whaleboat is built in the same manner as the Galilee Boat; that being upside down on a mold (or mould as the case may be). Thanks for the motivation, Vic.

As I start the published log, I only have a few details along with the sails to do. Therefore, this will primarily be a photo log with some text describing issues encountered or description of the pictures where it might be helpful. I have been photographing most of the steps as I go along.

Why build the Model Shipways Whaleboat?
  • The kit is a relatively inexpensive kit
  • The kit is a fairly large scale, so it has lots of details.
  • I assumed that it would help improve my modelling skills
  • Since this is a Model Shipways kit it should help me get used reading and working with this company's instructions and plans. My next build will be the MS kit of the Bluenose, so this should be useful in the long run.

For reference I am using the large book that comes with the model and other build logs available on the web. I am especially using the detailed build log of John Fleming. When I started the build, Mr. Fleming had this log posted on his own server, but in the past 6 months or so that site is no longer operational. Luckily, I had printed the entire log to a PDF for easy reference, so I still have it. His build has been invaluable for additional instruction.

I did not photograph the contents of the box, but there are many other builds available that show the contents. The materials supplied are quite nice and therefore good to work with.
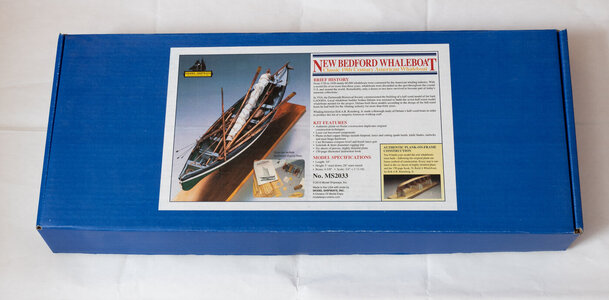
EOSR0076.jpg

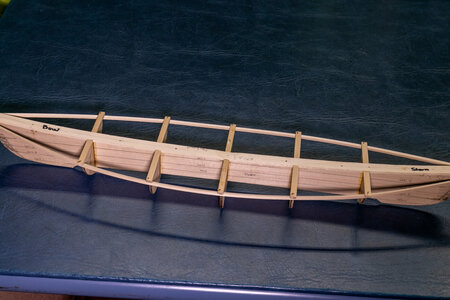
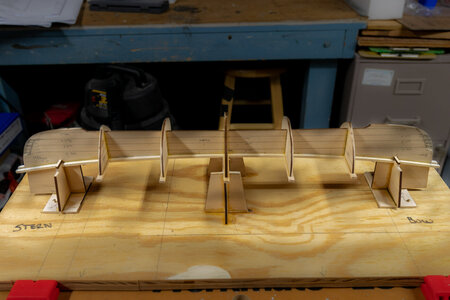
The first step is to build the build the mold on the horses. Everyone who builds this kit quickly finds out the horses (mold stands) are not cut correctly and ends up adding material under the 2 shorter ones. It was no different for me. After building the mold, I rubbed beeswax on all on the surfaces of the section molds where the planking will touch them so as to inhibit any excess glue from sticking. This is necessary as the hull will be removed from the building mold when it is completed.
IMG_6579.jpg
 
Most of MS kits are now of much higher quality than the old kits from years ago, I have several in my stash on the shelf waiting turn in line.

Please keep up the great posts as you progress on the build.
 
The first steps to building the whaleboat is to form the various parts of the keel. This involves laminating the bow and stern pieces, cutting the slot for the centerboard and the scarf for the joint areas. Since the boat is not glued to the mold, I used small wooden blocks pinned through the parts into the mold to hold things together after the glue had set on the keel.

IMG_6578.jpg

IMG_6580.jpg

The next two pictures show the bow and stern keel pieces being formed on the mold. They are not glued to the form. The pieces are glued as 3 layers of laminate and will be 6 layers when completed.
IMG_6581.jpgIMG_6583.jpg

The main keel consists of 2 laser cut pieces that need the centerboard slot cut out. They are laid into the kerf that are formed in the keel end pieces. (sorry about the blurred picture of the long keel pieces.)

IMG_6584.jpgIMG_6585.jpg
IMG_6586.jpgIMG_6587.jpgIMG_6589.jpgIMG_6590.jpgIMG_6591.jpg

The lower part of the keel is laid on top of the upper keel piece here. remember that the boat is built upside down, so you have to keep that in mind as you build the hull. Here's where I used small blocks of wood to hold the keel and hull to the mold without gluing to the mold.
IMG_6593.jpg
 
Framing the hull took several days. I didn't take any pictures of the actual process other than the last strake since I was caught up in the process.

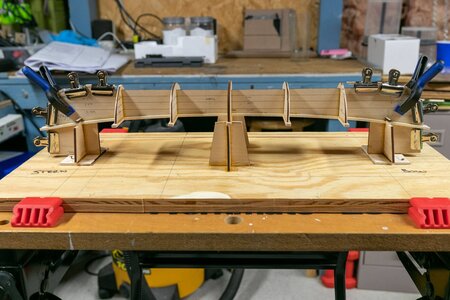
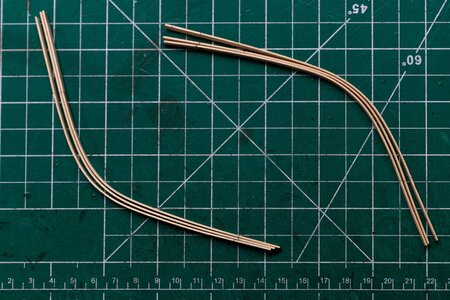
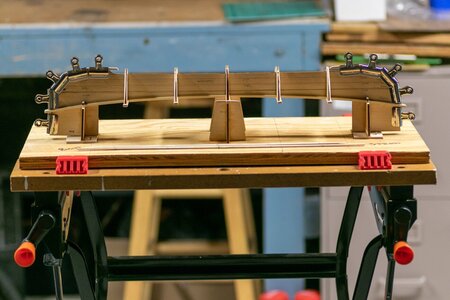
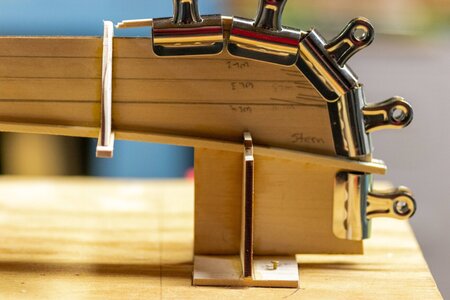
Several strakes at the curve of the hull needed to be rounded using the 1 inch cove molding supplied with the kit. I used some dowel to help with the rounding process. The process was to soak the strips in water and let dry in the manner shown here. IMG_6597.jpg

Here's the last strake being glue in place. Each row of strakes required specific edge treatment to fit correctly as per the instructions and plans. Model Shipways provided good drawings of how the edges were to be shaped for the correct overlap.
IMG_6624.jpg
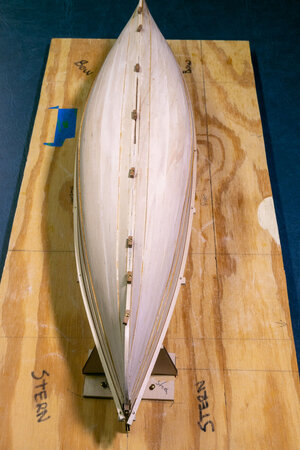
The fully planked hull still on the mold and horses. IMG_6625.jpgIMG_6626.jpg


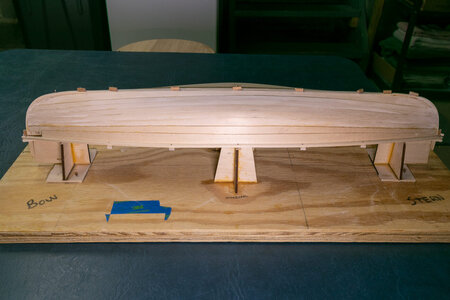
The hull still attached to the mold but removed from the horses. On the middle mold, you can see the four glue points that were used to hold the mold to the center horse.
IMG_6628.jpg

IMG_6629.jpg
 
Very clean and accurate - you are on a very good way to make a beautifull model
 
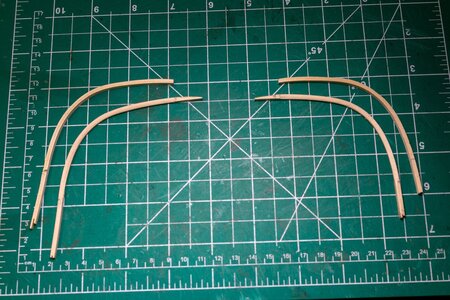
This post is related to getting the ribs mounted. These are done by putting in two small strips on top of each other in an overlapping pattern port and starboard. In order to maintain structural integrity of the hull, the mold is left in place and as many ribs as possible are installed. Not a difficult task, but somewhat finicky.
IMG_6630.jpg

Once all of the possible ribs are in place, the mold is removed from the hull. I think I only had 2 spots that had a bit of glue, but these points came apart easily.
IMG_6631.jpgIMG_6635.jpgIMG_6632.jpg

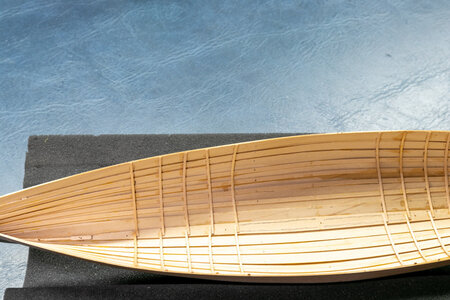
The additional ribs were then added. Note the gap in the middle where the centerboard case will be installed.
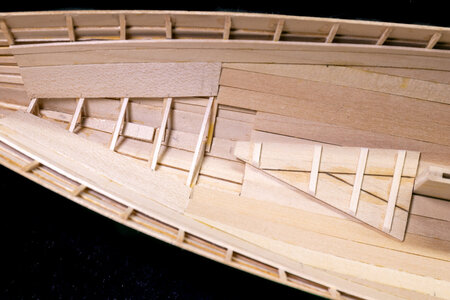
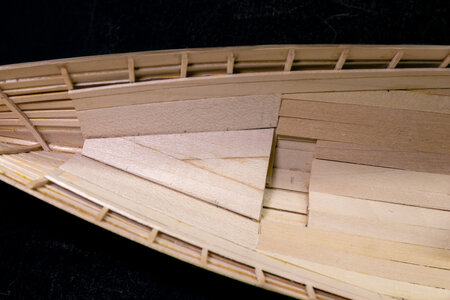
IMG_6636.jpg

Also note in the last picture that the slot for the centerboard is continued from the lower keel piece through the upper keel piece.
 
Just a quick soak in water and pressure in the middle to take the shape. Once dry, they fit well. I think I probably only broke a couple of them. I left them long at the gunnel and trimmed and shaped after installation. In the last picture they have all been doubled. It is very difficult to tell from the angle I posted, but each on the ribs has had another of the strips glued onto it. The second layer went on very easy as there was a nice flat layer (the lower part of the rib) to glue to.
 
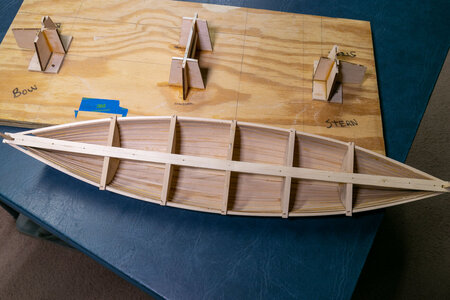
Construction of the thwart risers is the next step. Heights needed to be measured carefully to fit correctly.
IMG_6637.jpgIMG_6638.jpg

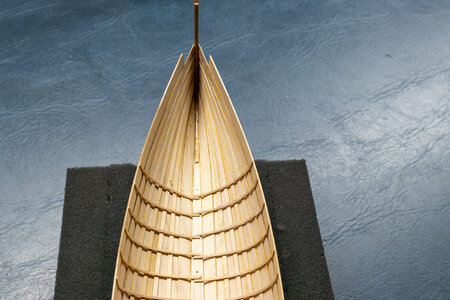
The bow and stern ceiling planks adjacent to the thwart risers were then added.
IMG_6639.jpgIMG_6640.jpg

The centerboard case is constructed and installed. Note the hole in the lower part of the case for the hinge pin that goes through the centerboard.
IMG_6641.jpgIMG_6642.jpg

The mast step was fitted. The hole for the mast will be drilled once the position of the tabernacle can be used to determine where the hole needs to be drilled.
IMG_6643.jpg
 
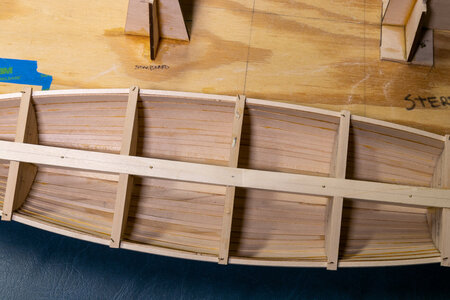
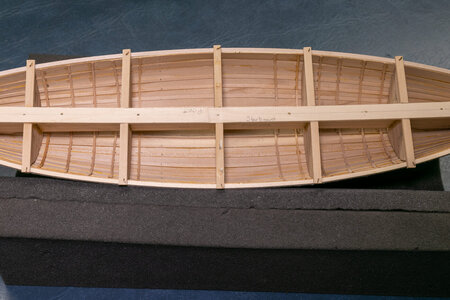
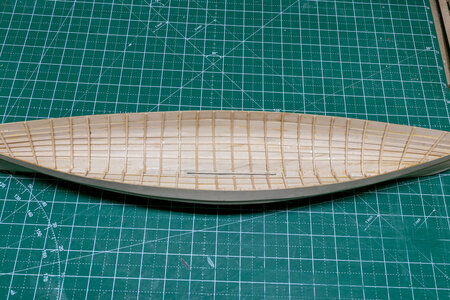
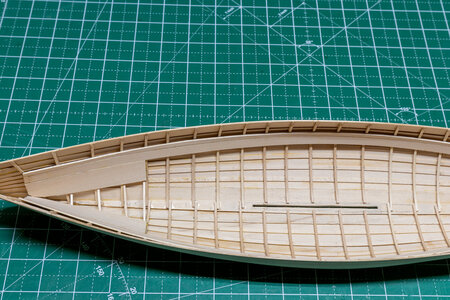
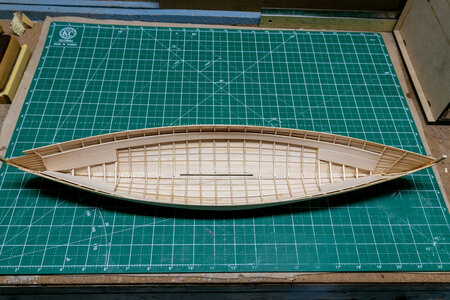
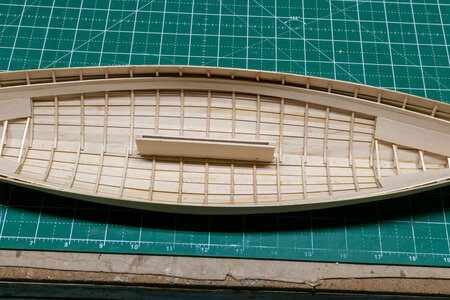
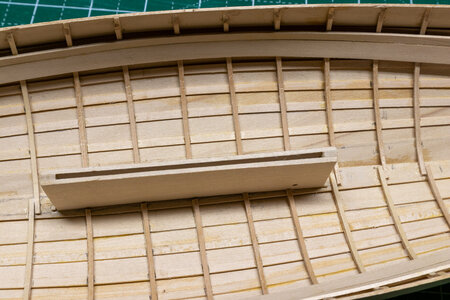
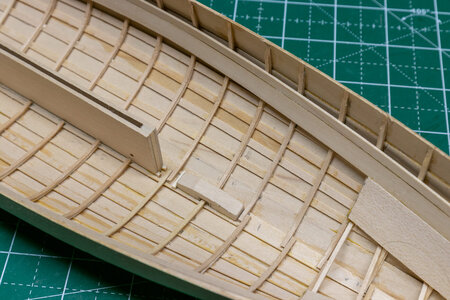
Installation of the remaining ceiling planks is the subject of this post. These are basically straight pieces laid from the centerboard up to the thwarts that are already in place.
IMG_6644.jpgIMG_6645.jpg

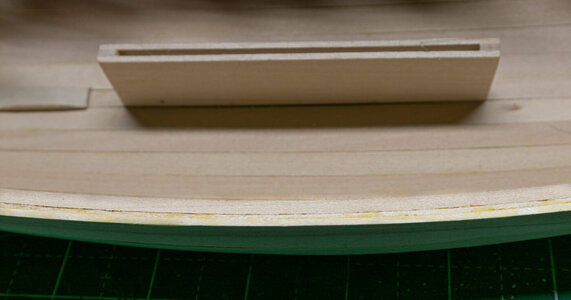
When you get to the last plank, it has to be shaped to fit to the ceiling plank below and the thwart riser above. The second last ceiling plank needs to have its ends shaped to fit. The covers for the bailing wells were made at this time as well. I also added a small block of wood in each of the wells for the mounting posts that will be used to support the boat later for display.
IMG_6663.jpgIMG_6664.jpg
 
Last edited:
I'm a big fan of Moby Dick, and have visited the whaler Charles W Morgan several times so I'll be interested in following this. Nice build so far!
 
Very nice - I had been wanting to see this being built.
 
I have this kit in my stash and hope to get to it before time and tide get to me. Your build log looks very helpful including adding the shims under the fore and aft mold stands, and your method of forming the strakes at the turn of the bilge.
I have some nice pieces of east coast Atlantic Cedar wood, which is fine grained, of a beautiful amber color and about the same density and flexibility as basswood. I got it from the Chesapeake Bay Maritime Museum boatyard where it was used to build a beautiful lapstrake rowing craft, not dissimilar in proportions to the Whaleboat.
I plan to use it in place of the strakes ,etc. supplied in the kit.
I look forward to the continuation of your build log. It looks invaluable as a resource for the successful building of this kit.
Many thanks for your invaluable contribution!

Pete
 
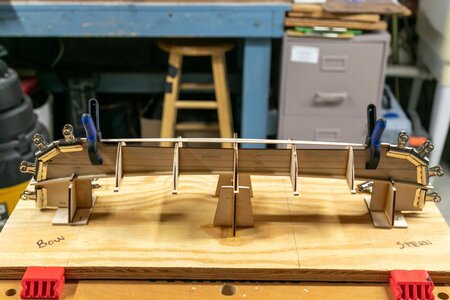
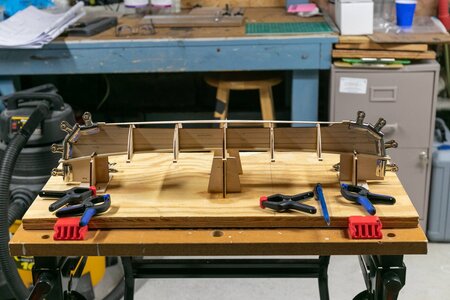
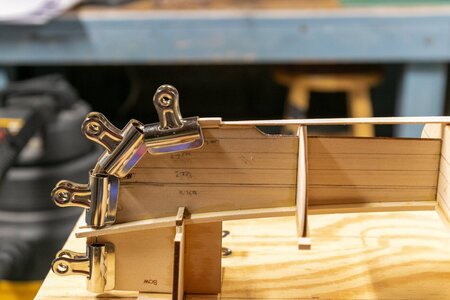
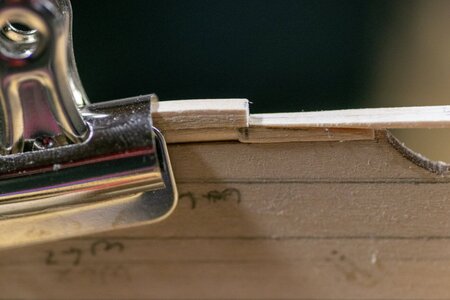
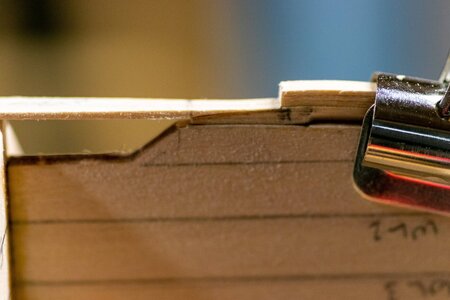
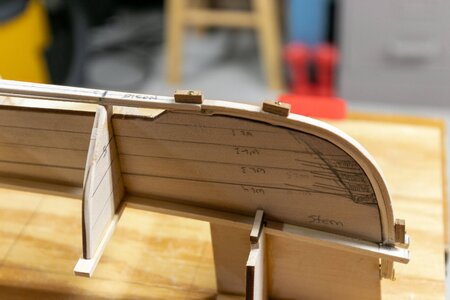
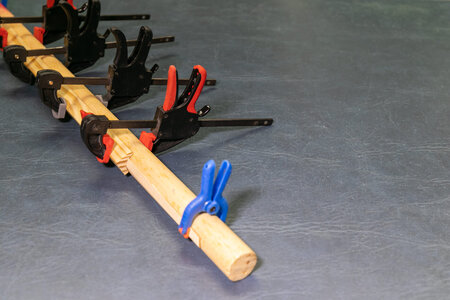
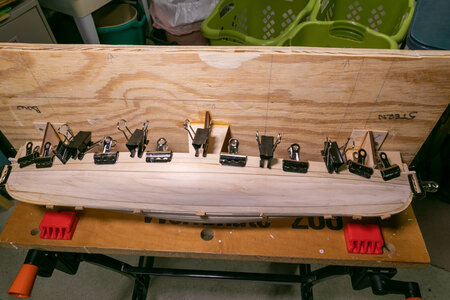
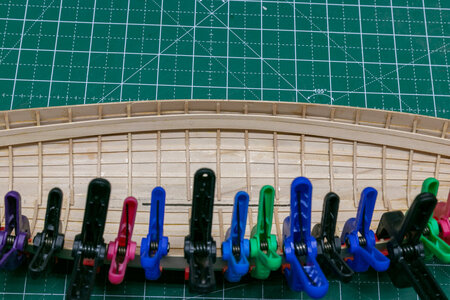
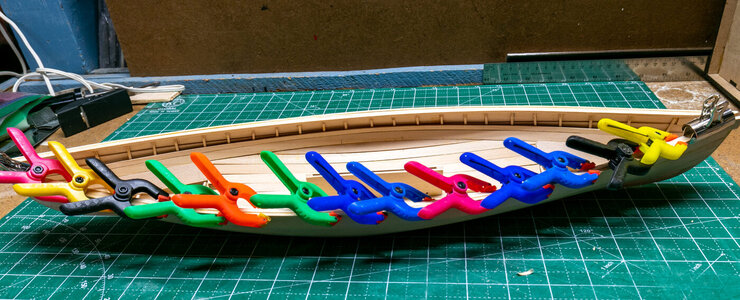
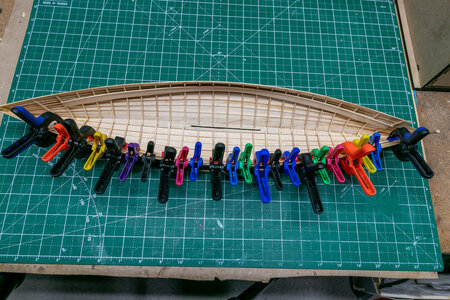
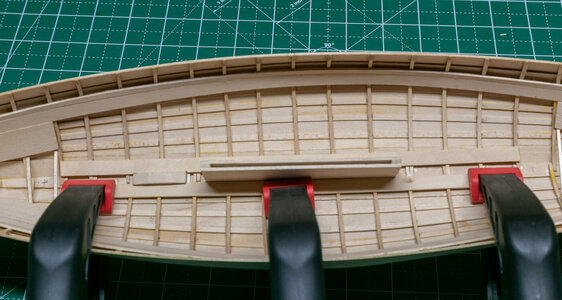
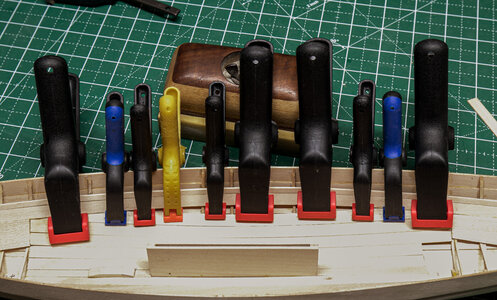
The gunwales and inwales are installed. Lots of clamps are needed to hold these pieces in place while the glue dries. There is some overlap on each side of the hull.
IMG_6675.jpgIMG_6676.jpg

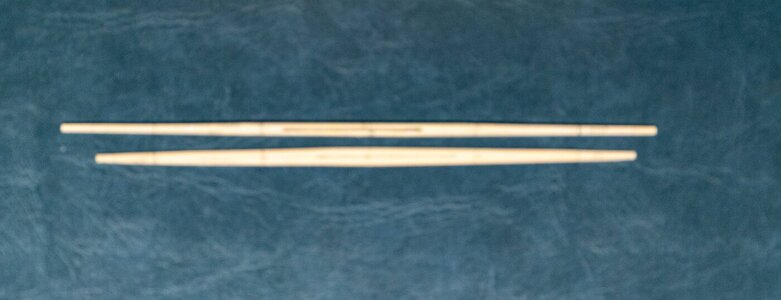
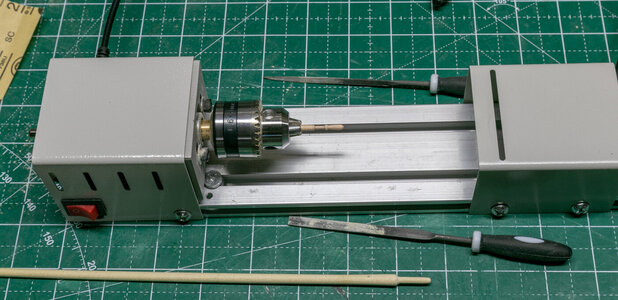
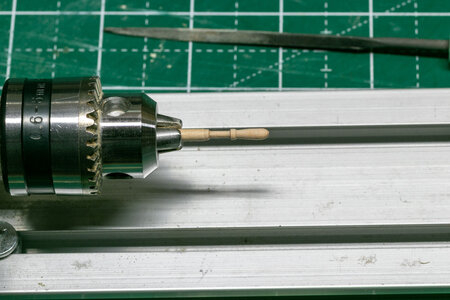
I started on the oars for the ship. I used my mini-lathe to turn the end of the steering oar and then the steering oar handle pin that is fitted at a right angle nesar the end of the steering oar. It is basically a large belaying pin in appearance.
IMG_6682.jpgIMG_6684.jpg
 
Back
Top