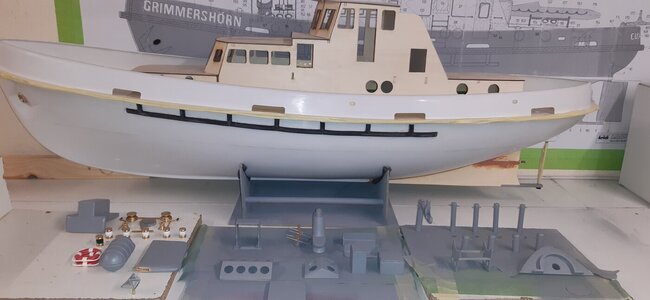
with this kit they give you moulded ports that you have to cut out of a sheet and paint the port rims, they also supply
the windows the same, I decided to use Brass port holes instead, but the problem was the biggest port holes I could
get were 20mm total diameter and the holes laser cut in the superstructure were 20mm, so i had to add a little bit to
the laser cut outs so i could attach the brass ones, see pic above, this still has to be bored out to take the inside dia
of the brass port hole,

The moulded ports and windows,

I purposely left a smaller hole to give the infill some strength for when I would be fixing them in place, shows the
port hole over the infill, I only have to do the eight large ports this way,

This is how i made the filling pieces, turned them on the lathe and then parted them off with a miniature saw,


and glued in place and sanded down,
thanks for looking in,
best regards john,
.


")