
You are using an out of date browser. It may not display this or other websites correctly.
You should upgrade or use an alternative browser.
You should upgrade or use an alternative browser.
- Joined
- Jun 2, 2021
- Messages
- 16
- Points
- 48

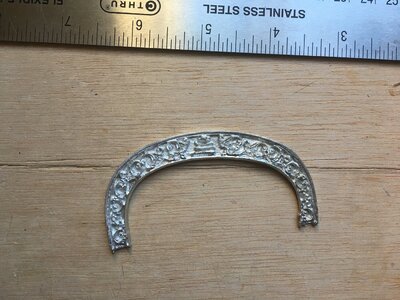
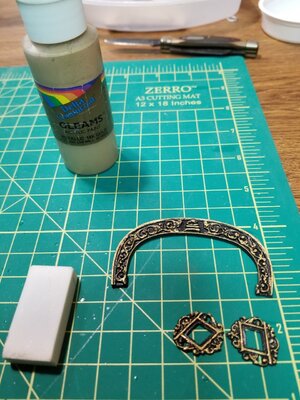
I saw this answer some place , can't remember just where. The suggestion I saw and have tried is to take a soft pencil eraser (I used a 1x2" white rubber eraser) dip it into a tray of gold paint and dab off most of it. Then dab onto the surface of the decoration gently, little by little. Worked well, a little clean up of the details and it should be much easier than hand painting ! Pics are of the first attempt.
Attachments
- Joined
- Nov 4, 2021
- Messages
- 301
- Points
- 168

Similar to what Jeanco suggested, I have used gold leaf for some non-ship projects and had good success. Dry-brushing would also work. It is similar to the eraser technique Karl described, but might give better control. Another option is AK Interactives Real Metal, which is a wax-based buffable paint. It produces very convincing metallic finishes and comes in a variety of colors.
- Joined
- Mar 27, 2019
- Messages
- 819
- Points
- 403

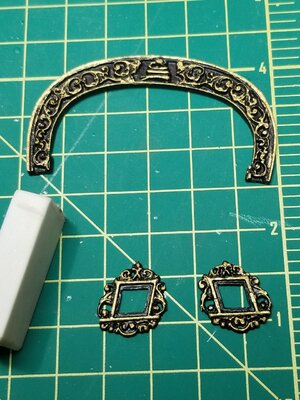
On my Rattlesnake I started with breaking apart the kit white metal transom decoration into three pieces. The middle piece, the actual rattlesnake, I I gilded. The other two flanking pieces I sprayed with primer then a base coat of black. Then I just gilded the raised portions of the two flanking pieces. Easy peasy lemon squeezy.
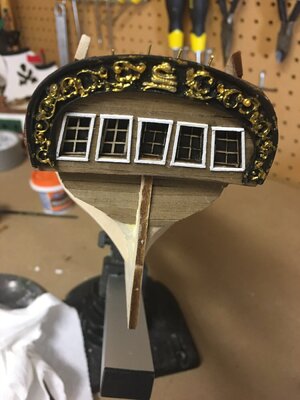
Transom decoration turned out looking good. Thanks for your help
This is the first model that I will paint. Any reason I shouldn’t paint the waterways before installing them?

This is the first model that I will paint. Any reason I shouldn’t paint the waterways before installing them?
Thanks for your advice. Turned out looking good. Could have done better on the windows. Your log will be of great help. First time I will paint the model. Any reason I shouldn’t paint the waterways before installing them?On my Rattlesnake I started with breaking apart the kit white metal transom decoration into three pieces. The middle piece, the actual rattlesnake, I I gilded. The other two flanking pieces I sprayed with primer then a base coat of black. Then I just gilded the raised portions of the two flanking pieces. Easy peasy lemon squeezy.
Attachments
- Joined
- Nov 4, 2021
- Messages
- 301
- Points
- 168
What process did you use?Thanks for your advice. Turned out looking good. Could have done better on the windows. Your log will be of great help. First time I will paint the model. Any reason I shouldn’t paint the waterways before installing them?
Primed the metal, painted it black, sanded the high spots then painted with goldWhat process did you use?
- Joined
- Mar 27, 2019
- Messages
- 819
- Points
- 403
Thanks for your advice. Turned out looking good. Could have done better on the windows. Your log will be of great help. First time I will paint the model. Any reason I shouldn’t paint the waterways before installing them?
Since the deck planking is bare and my ceiling planks are red I found it much easier to paint the waterways red first then install them then touch up any areas with red paint.