Hohenzollernmodell 1660-1670 Scale 1/75 POF build by Stephan Kertész (Steef66)

Hi Stefan,

I can only acknowledge great progress and love to see the picture with the glasses on it.

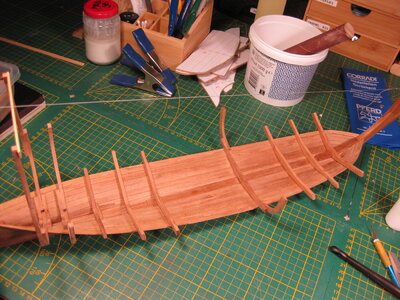
Are you placing full frames already? Or only the floors and bilge? Smart way with the pins to set out the hull shape with temporary frames.
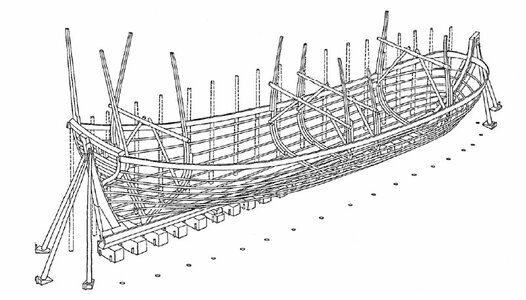
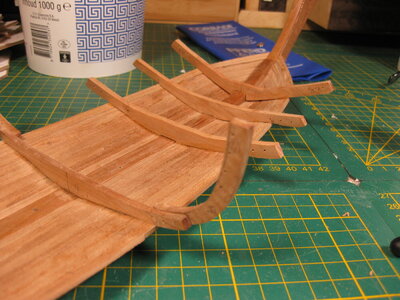
Keep in mind the top of the frames are two parts, oplangen en stekers.
 
Are you placing full frames already? Or only the floors and bilge? Smart way with the pins to set out the hull shape with temporary frames.
Keep in mind the top of the frames are two parts, oplangen en ststekers.
Only the floor and bilge.
The oplangen and stekers is something to think about next year when I come to that part. It was at this moment to much to make on the frame. I just want the shape to adjust. When I come to that part it will be fit in like in this drawing.

korf-1.jpg

There are a lot of things to think about. Special when you don't work with a frame. Measuring and adjusting a lot before things can be fit. That is taking a lot of time.
 
I agree with all of the above, a very steady and amazing progress. She is getting shape, mon ami! Because I have no idea about the 'shell first' method, to me both yours and Maarten's builds are like a primer. Oh...I love the color of the wood, it looks exactly like Ping Pear, being a cherry.
 
I agree with all of the above, a very steady and amazing progress. She is getting shape, mon ami! Because I have no idea about the 'shell first' method, to me both yours and Maarten's builds are like a primer. Oh...I love the color of the wood, it looks exactly like Ping Pear, being a cherry.
Thanks, Jim
 
Thanks again for the visit, interest, likes and comments.
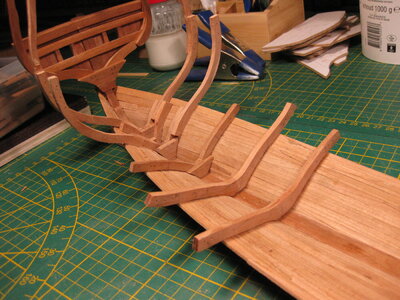
I got the necessary floor timber installed incl. the bilges on the main frame

IMG_3645.JPG
IMG_3646.JPG
IMG_3647.JPG

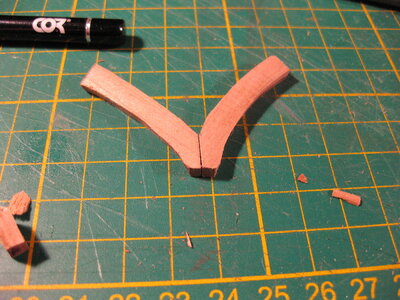
At the stern part I started also the making of the "Zoogstukken" crutch in English. I have to paste and make them by hand and before I install more planking of the floor this spot is better to reach in this stage. Not correct in the stage these ships where build, just a practical reason. Only the crutches between frame 1 and 7 I will do now.

IMG_3648.JPG
IMG_3649.JPG

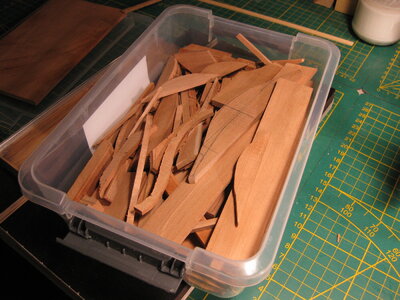
These part I make of the lot of scratch I saved from the frames I made before. No wasting of materials.

IMG_3650.JPG
 
No guys, not blood, cherry burns quick when using a machine to sand. It colours then dark red to black.
I use anti cut tape on my fingers for protection. I had my moments and learned...... ROTF

 
Everybody thanks for the visit, comments and likes.

Dust

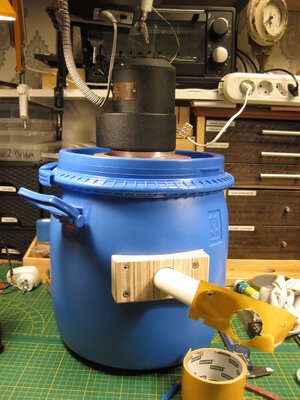
Dust is a problem, I have a vacuum cleaner, but the power consumption is high and sometimes when working with the hand drill it runs long. Not so good for the electric bill. So I made something that isn't so noisy and only take 10 watt of power.

IMG_3691.JPG

You can find the build log here:
I just need a hose and filter before I can use it, but they will arrive in 10 days. Till then I use my old vacuum cleaner. I will keep using that when I use my power tools like the band saw, FET, etc. This one I made is just for the small hand tools and the MF70.
 
Dear Stephan. I want to congratulate you on the excellent build that you are busy with. You and Maarten are real pioneers in model shipbuilding and the shell first method is truly unique. If I remember correctly, the only other shell-first model build I have seen was when Jan Zwart built the Kamper Kogge.

Then I also want to comment on the color of the wood that you are using. This must be the warmest wood timbre I have seen on a model. I will most certainly follow along on a more regular basis - I hope.
Thanks Heinrich, yes Jan build the Kog similar. He only build a POB frame for measuring. He did a fine job too.
 
Everybody thanks for the likes and all the fine comments and interest in my build log again.

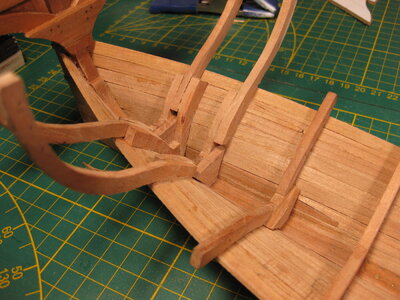
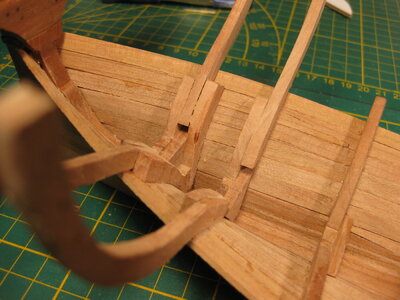
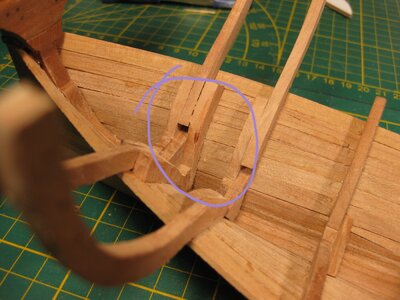
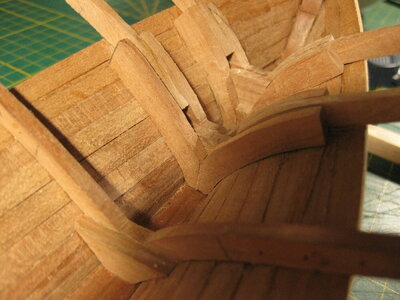
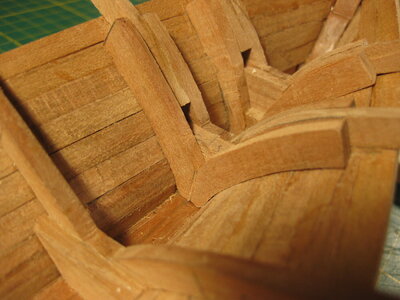
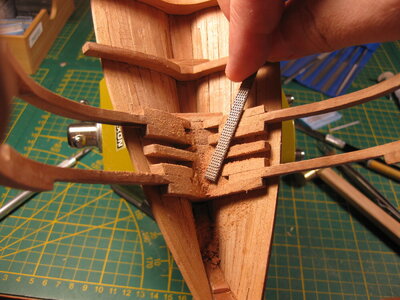
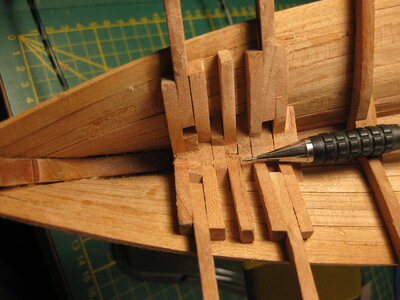
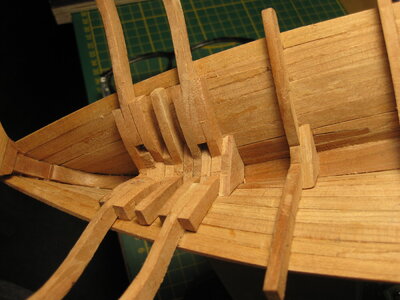
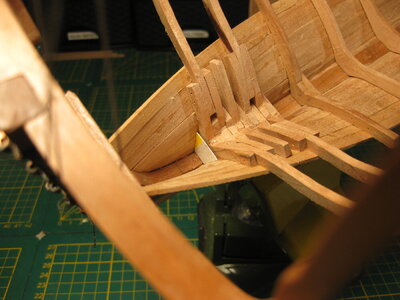
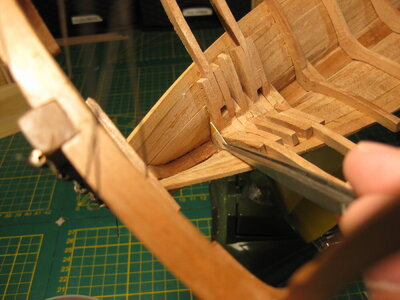
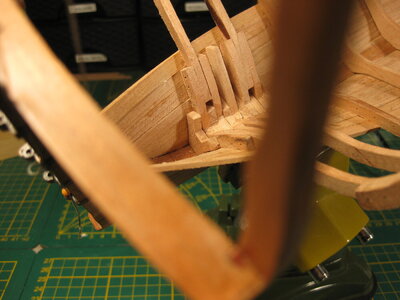
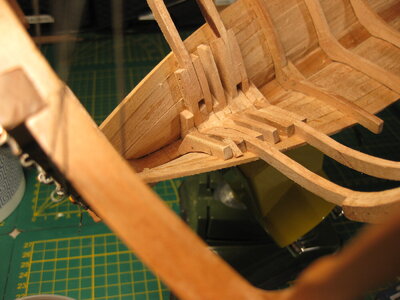
Working on the "zoogstukken" at the back of the ship. It take time, every piece is measure and adjusted till it fits in place.

IMG_3692.JPG
IMG_3693.JPG
IMG_3694.JPG

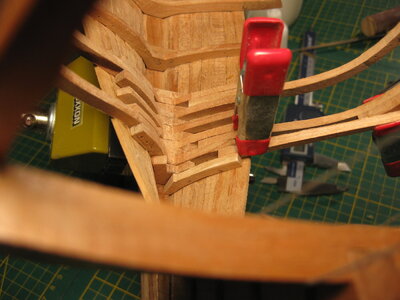
When a few are in place I need them fit to each other, scraping, sanding, cutting, whatever it takes to reach the spot.

IMG_3695.JPGIMG_3696.JPGIMG_3697.JPG

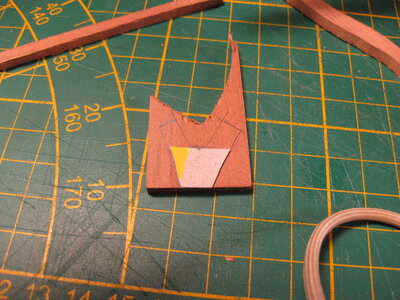
Then again a new one to measure out, first a paper template

IMG_3698.JPGIMG_3699.JPGIMG_3700.JPG

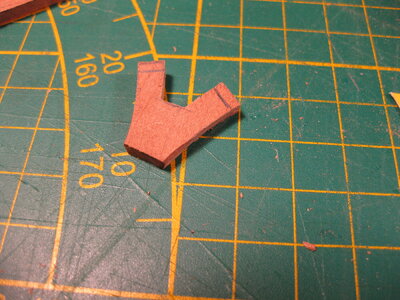
then the piece roughly shaped and the fine tuned.

IMG_3701.JPG

IMG_3702.JPG

when it is in place the next part

IMG_3703.JPG

IMG_3704.JPG

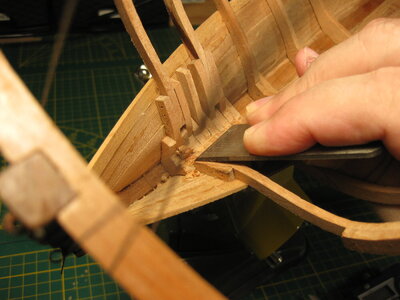
Then again a little adjustment of the zoogstukken on the inside. I use the iron of a small plane to do this.

IMG_3705.JPG

It goes very slow, but it is fun to do.
 
Everybody thanks for the likes and all the fine comments and interest in my build log again.

Working on the "zoogstukken" at the back of the ship. It take time, every piece is measure and adjusted till it fits in place.

View attachment 387791
View attachment 387792
View attachment 387793

When a few are in place I need them fit to each other, scraping, sanding, cutting, whatever it takes to reach the spot.

View attachment 387794View attachment 387795View attachment 387796

Then again a new one to measure out, first a paper template

View attachment 387797View attachment 387798View attachment 387799

then the piece roughly shaped and the fine tuned.

View attachment 387800

View attachment 387801

when it is in place the next part

View attachment 387802

View attachment 387803

Then again a little adjustment of the zoogstukken on the inside. I use the iron of a small plane to do this.

View attachment 387804

It goes very slow, but it is fun to do.
Nice to see the working method step by step, Stephan. Working from the outside to the inside is something else.
Regard, Peter
 
Nice to see the working method step by step, Stephan. Working from the outside to the inside is something else.
Regard, Peter
You almost can't reach that spot. It is even difficult to take a picture. Need to hold the camera between the frames. But that is the fun of small scale build.
 
Once you've completed this build, you could prepare a presentation, showing the complexity of this build process. To be honest, I'm probably enjoying this journey more than the possible destination.
 
Back
Top