HMS Victory - by Mantua Sergal - 1:78 scale

I'm not sure what you mean, but I noticed the wales don't cut into the gunport lines very much on the plans. I believe they actually do cross the gunports more than the plans show on the real ship. I have been thinking about this point for quite some time don't know for sure what I am going to do. I like the look better the way Mantua shows. I have seen several builds done this way and liked them. Usually I noticed them done that way on models that were stained and not painted. This was another decision I have been wrestling with. I like the stained wood, but also like the painted top of the hull and the stained wood on the bottom. I probably won't make these decisions for certain until I get to that place in construction. I would like opinions on this though.
Hi Mark,

This is exactly what I mean, the wales do cut the gunports and the yellow ochre and black painted lines do not follow the wales. See the victory below.
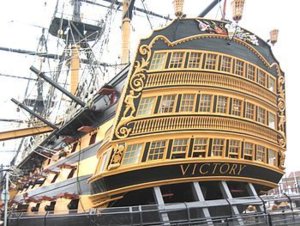
175f818edda1a96c65ba9f3df3302c9b.jpg

Off course if you like the sergal setup better you leave it like it is. I build the panart version some 20 years ago and still regret I followed the panart plans.
 
It's called making chicken salad out of chicken chit. I have a Mamoli Victory which I am working on, and I think it's just junk. Well, with enough bashing, it will be ok in long run. Watching with interest.
Ken
 
Hi Mark
There is a guy who advertising parts specifically for this kit on Shapeways.Search 1/78 Victory and you should find them.He covers everything to transform the model but he did make other modifications to his build so some items may not fit without altering the kit to suit the AOS book.This was most noticeable regarding the stern

Kind Regards

Nigel
 
Maarten,
Yes, I noticed that difference. The way the kit shows is what I have seen on a lot of builds that were stained instead of painted. I am still debating whether I want to stain the whole outside or paint the top and stain the bottom. I don't plan on coppering the hull as I like the wood better. I like the look both ways, but I still have some time to make a decision. The

Ken,
Yes the kit is pretty bad in a lot of areas and requires much bashing. I think the Caldercraft is the only kit that requires very little bashing if any, but it is also quite expensive. I wanted a kit that I could change some to add detail. That was why I wanted the Billings kit. It has everything I wanted in the hull at a nice scale.

NMBROOK,
I was going to order a bunch of parts from Shapeways, particularly for the stern, and they would have been great if I had got the Billings kit I originally ordered. The differences in this kit makes it impossible to use the stern parts without totally scrapping the kit stern and starting over. I am still wrestling with decisions in this area.

I am doing my best to like this kit ( as much as possible) and trying to make it what I planned. But it is hard at times. I selected a kit and planned the changes for two months while awaiting its arrival, and then this virus screwed everything up. I couldn't get the kit I wanted and had to settle for a different one which messed up all my planning. But now I have bigger and more challenges.

Mark Frazier
 
Mark
Please see this guys blog https://hms-victory.net/

His parts from Shapeways are for your kit,not the Billings

Kind Regards

Nigel

Nigel,
These are the parts I was looking at. Some of them I can use. Even though the scale is correct, some won't fit. For example, I was planning the Coat of arms at the top of the stern. They give its dimensions on Shapeways and it is too large for the area on the Mantua Sergal kit. I thought maybe get it in a little smaller scale to fit better, but that is gambling a lot of money. At the prices, I want it to fit. I will revisit ordering from Shapeways after I make decisions on how to build the stern galleries.

Mark

Just be aware some of the sizes quoted on Shapeways include the supporting frame.The builder does have a log if you look at the right hand side of the page.It will chart just how much he changed on the stern.

Kind Regards

Nigel
 
Mark

Just be aware some of the sizes quoted on Shapeways include the supporting frame.The builder does have a log if you look at the right hand side of the page.It will chart just how much he changed on the stern.

Kind Regards

Nigel
I noticed that, but most of the parts I looked at do have the dimensions of the parts. I have about $200 of parts I want to order and that's without the stern parts. I am going to build what I can and if I am not satisfied with what I make, I will order it. That seems like the best plan at the moment. I get lots if ideas from all the other builds I read.

I thank you for your input. I value everyone's opinions, suggestions, and help.

Mark Frazier
 
Hello Mark
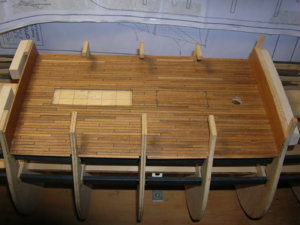
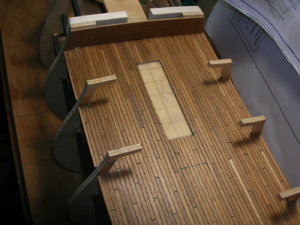
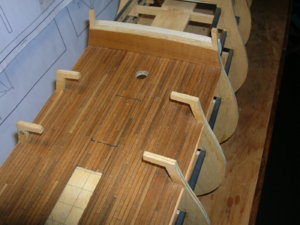
Thanks for starting your build log especially as its the Sergal Victory there are not many builds for that one, I to am doing the same one, scratch from there plans but unlike you I don't have the courage to show my work on a log as the work I've seen on here is amazing, funnily enough I'm roughly at the same stage as you. This is my 1st ship build and probably my only as I just love working in wood and basically want just to make a model that's pleasing to me. I just want to give you my 2 pence worth about the caulking. I used thread for mine as everything else I tried I wasn't happy with and still don't know if I'll carry on with this method. The way i did it was to hang a couple of weights each end of a length of thread over a simple jig and ran a bead of super glue followed by a cotton bud to wipe off any excess glue which when dried made the thread a lot stiffer and easier to use and was strong enough to withstand a little sanding before a coat of danish oil without any fraying to the thread. I like you have only done it to the lower deck for the same reason. Also I have chosen to make it in wood and no paint so it will be in Ebony, Oak, Walnut and Piquia Amarello for any yellow coloured parts. I've attached hopefully a couple of pic's to show the result I got. Now I'm going to sit back and watch your build with great interest and hope it encourages me to get back to mine.
Many thanks again for starting this build.

Kind regards
PaulDSCN0986.JPGDSCN0989.JPGDSCN0990.JPG
 
Hello Mark
Thanks for starting your build log especially as its the Sergal Victory there are not many builds for that one, I to am doing the same one, scratch from there plans but unlike you I don't have the courage to show my work on a log as the work I've seen on here is amazing, funnily enough I'm roughly at the same stage as you. This is my 1st ship build and probably my only as I just love working in wood and basically want just to make a model that's pleasing to me. I just want to give you my 2 pence worth about the caulking. I used thread for mine as everything else I tried I wasn't happy with and still don't know if I'll carry on with this method. The way i did it was to hang a couple of weights each end of a length of thread over a simple jig and ran a bead of super glue followed by a cotton bud to wipe off any excess glue which when dried made the thread a lot stiffer and easier to use and was strong enough to withstand a little sanding before a coat of danish oil without any fraying to the thread. I like you have only done it to the lower deck for the same reason. Also I have chosen to make it in wood and no paint so it will be in Ebony, Oak, Walnut and Piquia Amarello for any yellow coloured parts. I've attached hopefully a couple of pic's to show the result I got. Now I'm going to sit back and watch your build with great interest and hope it encourages me to get back to mine.
Many thanks again for starting this build.

Kind regards
PaulView attachment 142208View attachment 142209View attachment 142210
Hi Paul,
This certainly was not the kit I wanted but the only one available for some time. I think your deck planking looks great. You should start a build log here and share your work with us. Are your plans for the stern the same as the kit? Also what scale are you building? You are building from scratch, right?

Mark Frazier
 
Hello Mark
Its the same scale as yours 1:78. I 1st bought this kit about 35 years ago the plans were even worse then no build instructions and only Italian on the plans here and there the only place I could work then was in my loft hot in the summer freezing in winter and wood doesn't like that after 2 years the hull was all over the place without planking so I started again from new plans which were a lot different from the originals. The original kits stern was etched brass sheet horrible. I have bought the Mantua upgrade on the latest kit and didn't like that either so I'm thinking if someone out there has the 1:72 scale Caldercraft I could get a size and reduce there stern pieces and remake for the sergal. Yes I am building from scratch so I can pretty much do and change what I please to make it pleasing to me as at the end of the day its a hobby which in my view should be enjoyable and not a chore.

Paul
 
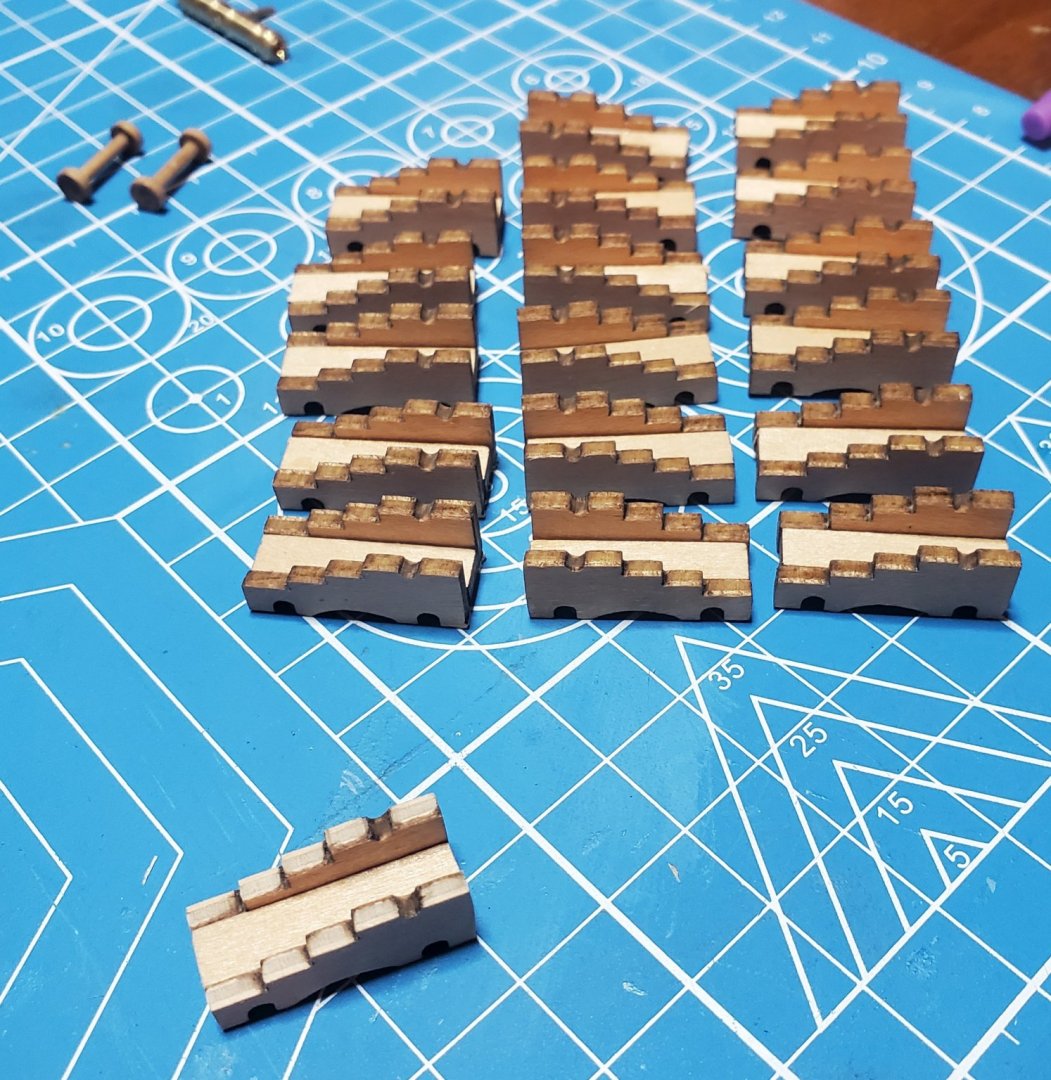
I thought I would take a break from the hull while I try to find some finish for my decks. I need to finish the deck that is planked before I install the deck that goes above it. Problem is finding a store that has it that is open. So while that is on hold for a moment, I thought I would build some cannons.
20200407_012812.thumb.jpg.309c225633978879a41747f9d00d7984.jpg
20200407_012315.thumb.jpg.e479ba55b38e44df8a4fe7aba0027d4c.jpg
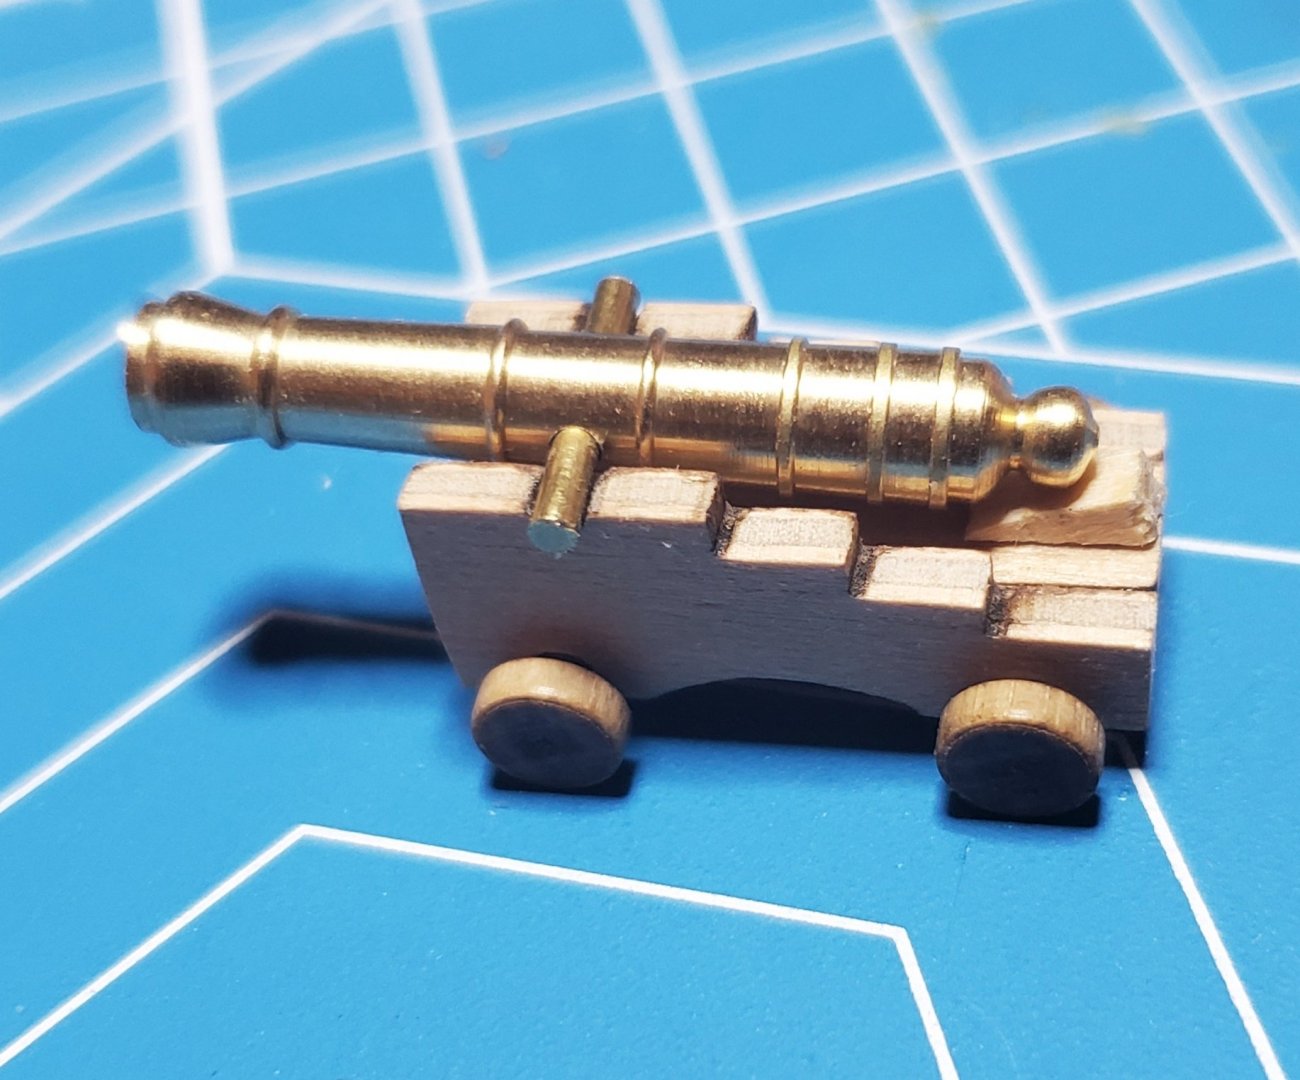
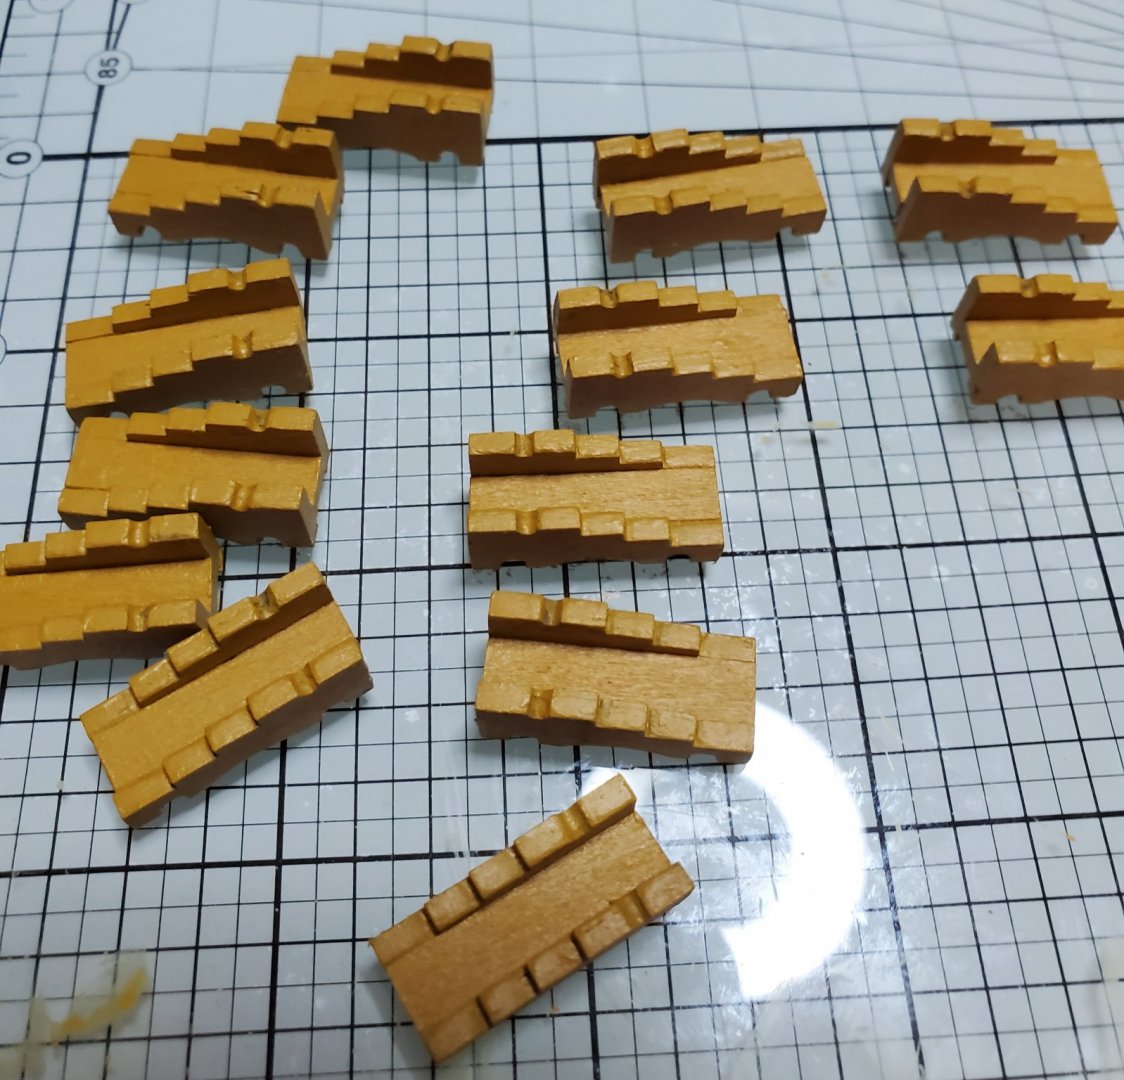
keep in mind these carriages are only about an inch long. They are nice and will finish up good. There are three pieces. The sides and the bottom. Now trying to put these 3 tiny pieces together is an adventure all it's self. With my big hands that shake, I just about get the together and try to clamp them, the clamp misses or slips and everything flies all over the place. After several attempts, I got to find a better way. So I make some little blocks to fill the space in the middle and bottom and then clamp all together. Then spot glue 4 corners wit CA , remove the blocks, and glue the seams. Worked great. Built 18 carriages in 30 minutes. Before this I fiddled for two hours with one carriage.
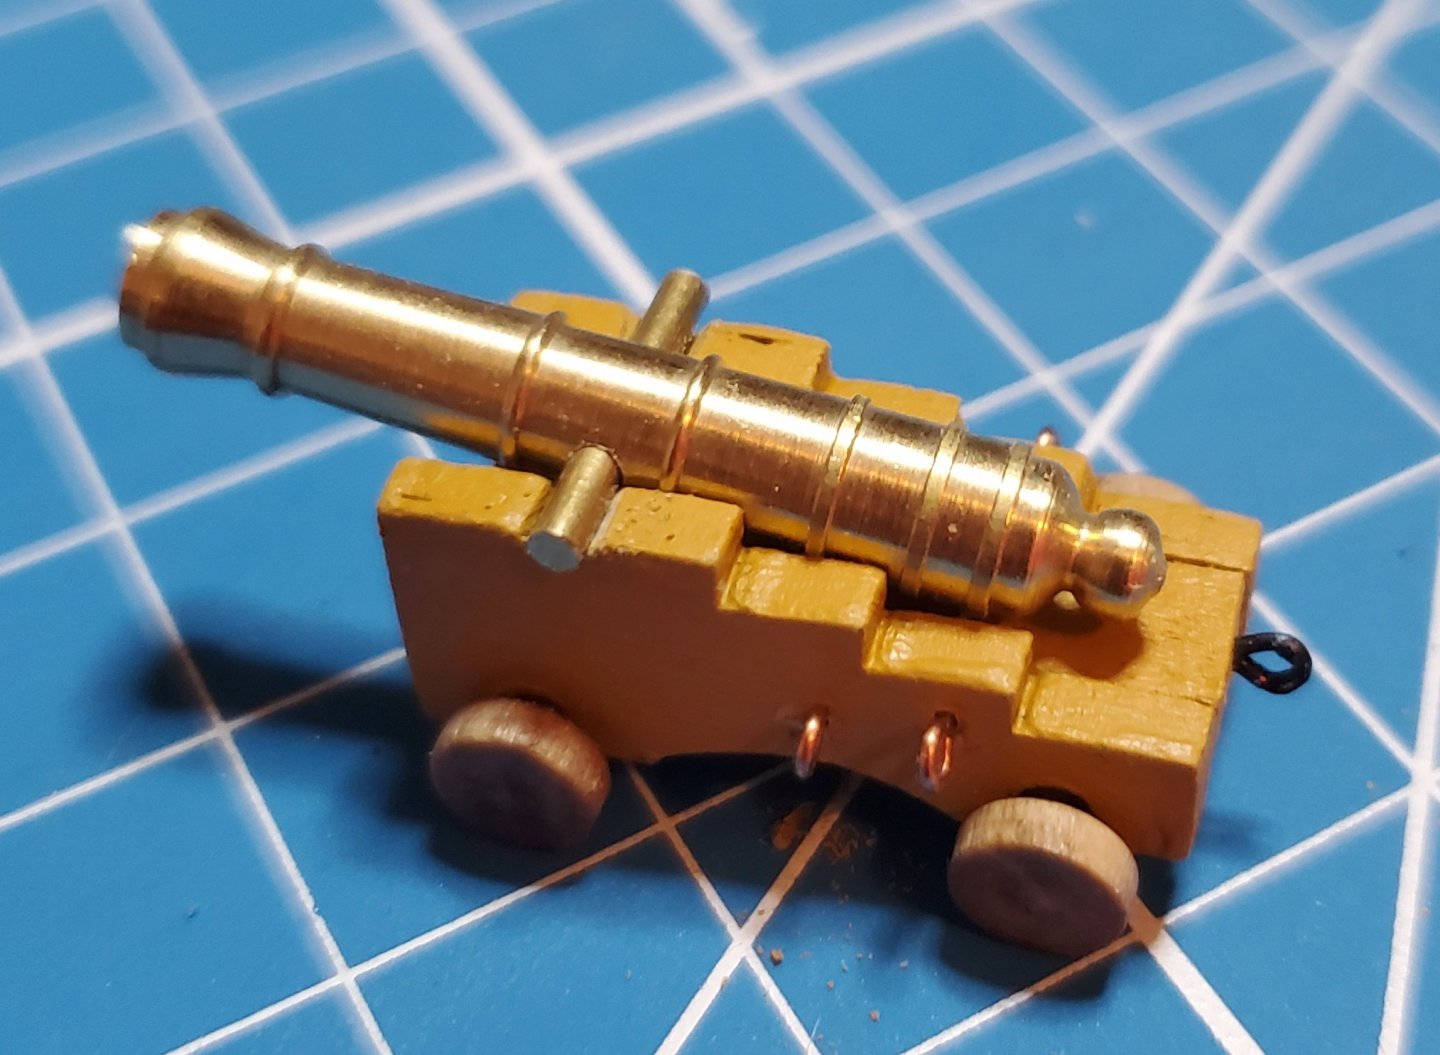
The above carriage with the barrel on is just sitting together to see how it looks.
Next I will paint them, add all the hardware, then the wheels and rigging.
About the color. Does anyone know what the actual color of the carriages should be. The video tours of the ship I see online show them bright yellow, ( which I don't care for) I have seen them on builds painted different colors. I was wondering what color they were in 1765. White, yellow, yellow ochre, and brown are the most common colors I've seen them painted.

Mark Frazier
 
Leave them natural or light stain. I painted mine that darn yellow and regret it.
Yeah .... I don't like the yellow either, but they are thin plywood so I will have to paint them. If they were solid wood I wood stain them. I was leaning towards the yellow ochre or paint them brown .... oh crap .... the hobby store is shut down so I can't go get any paint so brown is out. I bought paints before the virus crap started while waiting for a kit. So ... I got red ochre, yellow ochre, white, black, olive green, french blue, and yellow. I wasn't sure what all colors were needed. I guess I'll make something else while I think about this. I could work on grates.
 
Hi Mark,
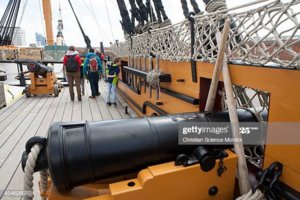
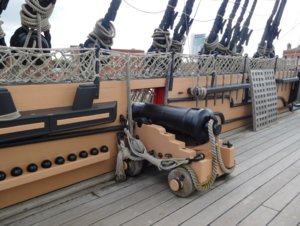
I believe the gun carriages should be the same colour as the bulwarks and the stripes on the hull. Here's a picture from some years ago when everything was painted yellow and then below that a picture I took when we visited the Victory after the yellow was all changed to - well, I don't know what colour you would call it. But either way, it seems everything is the same colour.

If it was me, I'd paint them the same colour you settle on for the bulwarks and the stripes on the hull. Just my thought.

If you don't really like the yellow, have you thought about trying to match the new colour?
David

gettyimages-454628070-612x612.jpg
DSCN1515 (Custom).JPG
 
20200408_154250.thumb.jpg.389bf2fb8e1c3dfd1a6092f62924eea0.jpg
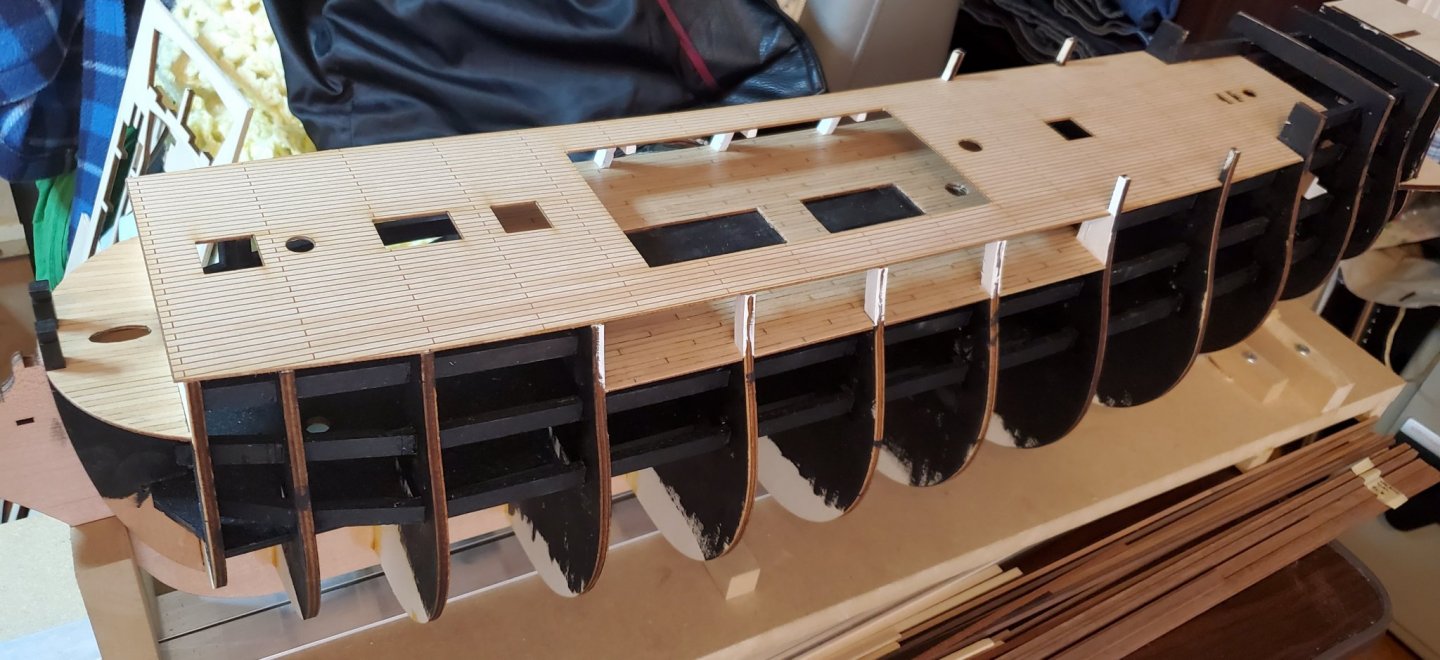
I put the quarter deck on. It is ready to plank. I put gloss polyurethane on the gun deck, but I brushed it out so it was not overly shiny. I like the way it came out.

I been working on the cannons. I decided to paint the carriages yellow ochre.
20200408_154051.thumb.jpg.d58104e5273bcb69b6123f4ad0c55368.jpg
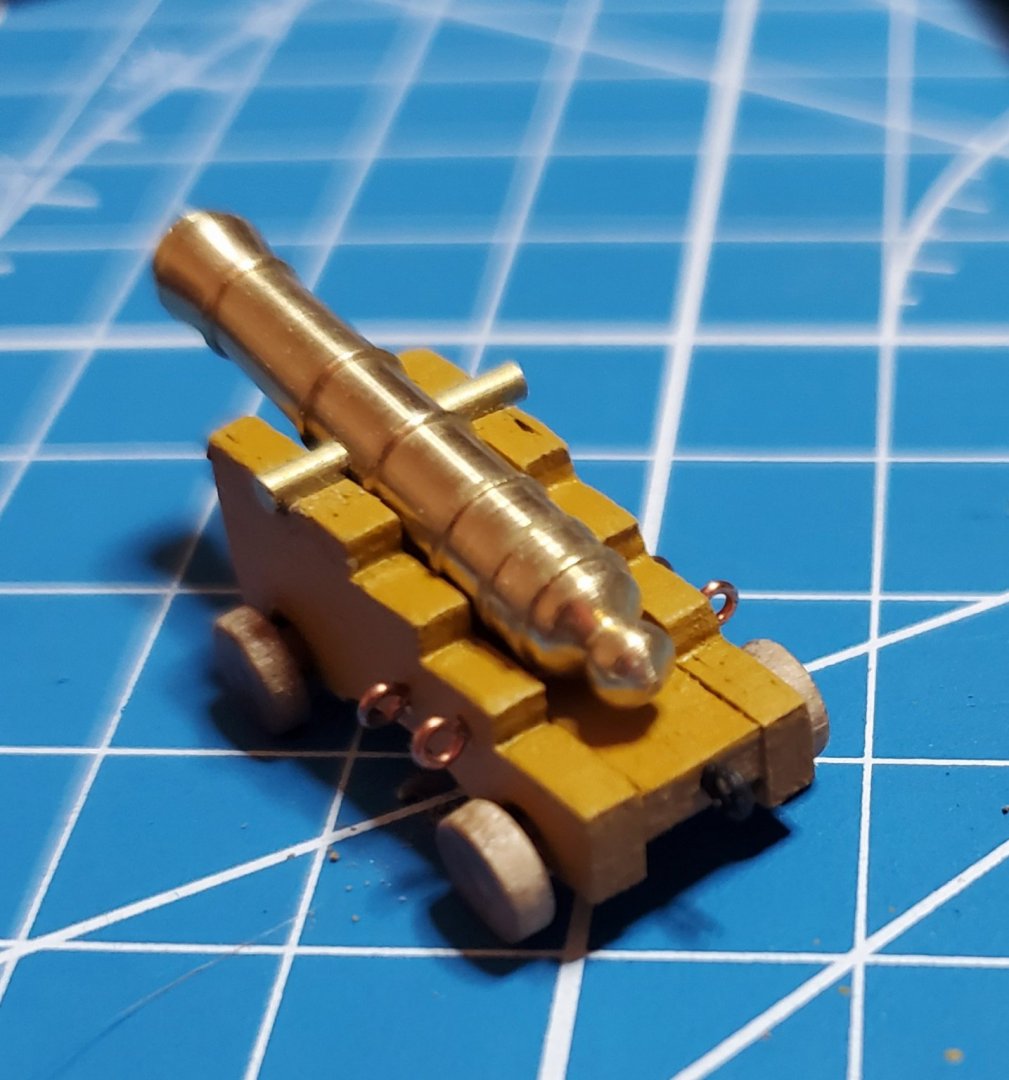
I assembled one cannon, but nothing is glued yet. I have small copper eyes for the carriages but I need to blacken them before installing. Still working on how I will do that. I tried painting one but it doesn't work well.
20200408_153950.thumb.jpg.930211ac15053ecc71db98d368d5ef85.jpg
20200408_153929.thumb.jpg.2ec26cc76d9a0e0708217fe5738899d3.jpg

I will be adding axle details to the outside of the wheels. It is a slow process as these are very small to work with.

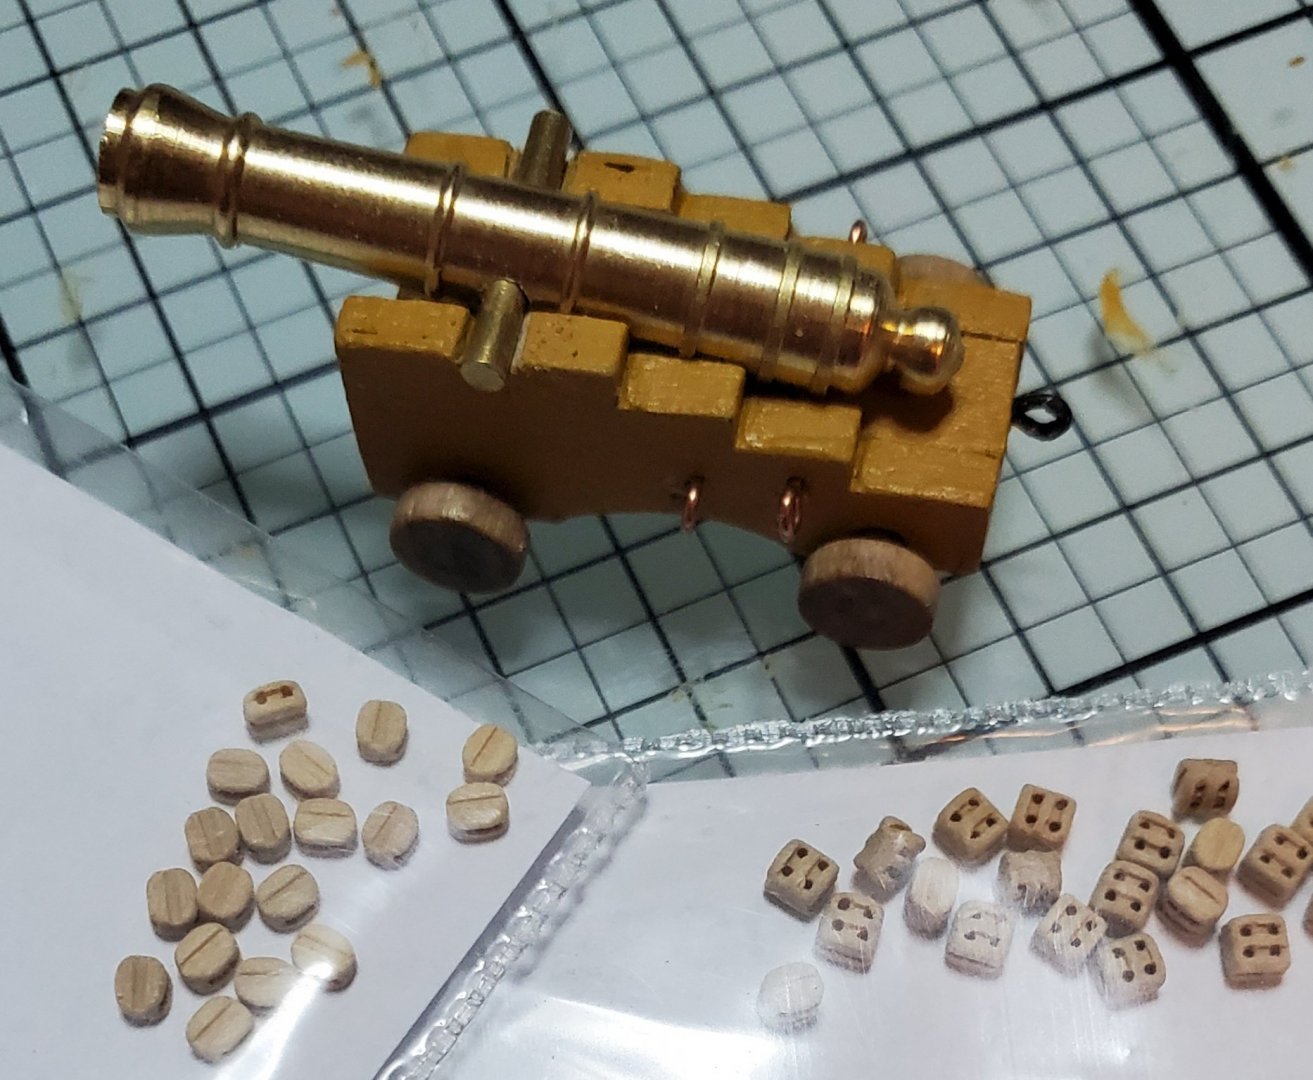
One of the problems I see with some other builds are the use of the rigging blocks from the kit to rig the cannons. These blocks look huge and out of proportion to the cannon.
20200408_155509.thumb.jpg.2b4fc0021973485a4870730260ba9ef6.jpg
I ordered the smallest single and double blocks from Syren for my cannons. They are just the right size for the cannons and terrific detail and quality. I also have little straps to go over the pivot pin for the cannon to the carriage, but they too must be blackened.

Mark Frazier
 
20200408_191128.jpg.068fad38834c1dd1b563a70b1da1ab08.jpg
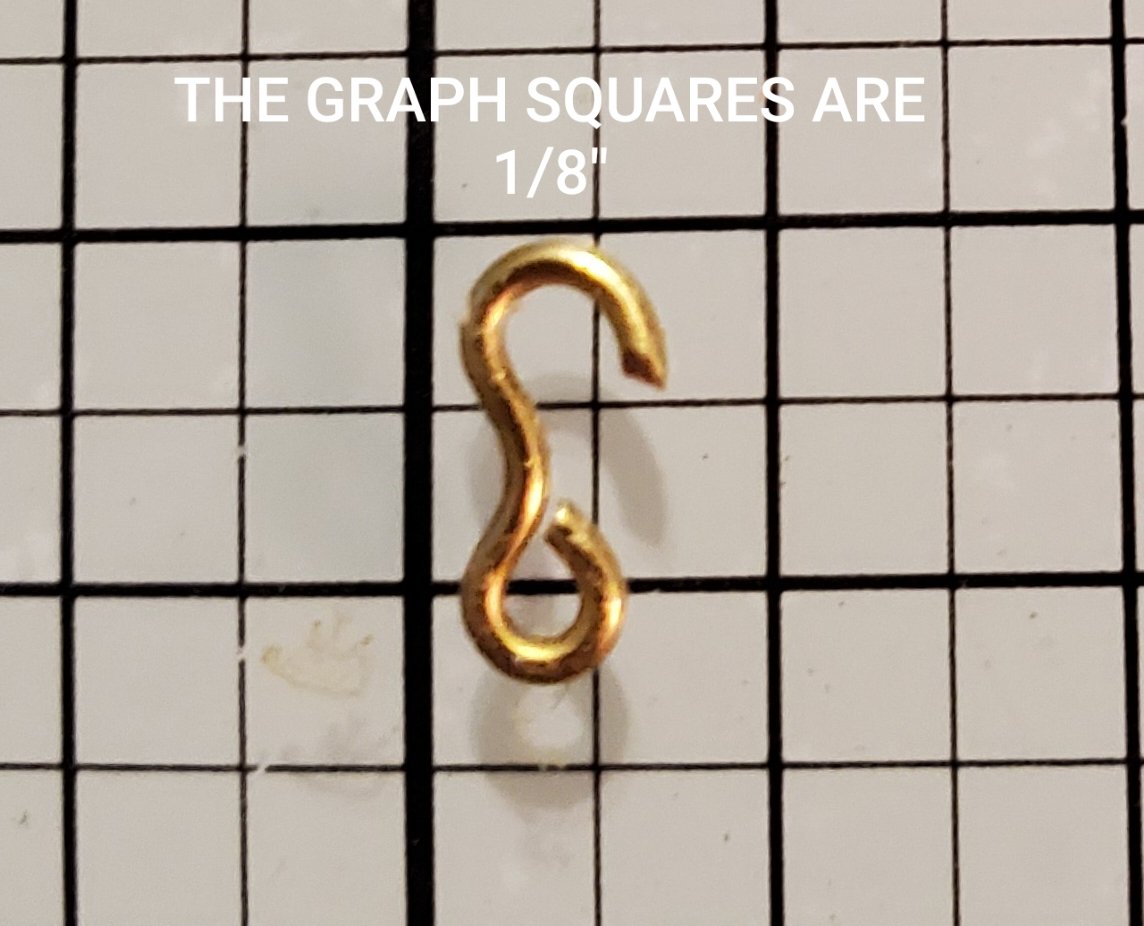
I thought I would try making some rigging hooks. This was my first attempt. I think the wire might be a little heavy, but it will fit in the small eyes on my cannons. I'm not sure yet but I think the hooks will need to be perpendicular to the eye. I probably need to use some slightly lighter wire also. If I experiment enough, I should come up with a nice hook.

Mark Frazier
 
Back
Top