Hms Victory by Caldercraft - Build Log

TraumaDoc,

Great progress. As I follow behind (about to commence my first planking on my Victory), I am watching closely. Although you mention 'errors' you have made, these are incredibly helpful for someone like me, so thank you very much.

Regards,

PeterG
Your work if beautiful, I tried to make coils on my vanguard but they came out horrible and I just gave up. I will keep going and I need to learn how to put the rings on the back of the cannons for the rigging as they are in real life rather than just loop it around. I am enclosing a few pictures of my vanguard that I finished a year ago before starting my current Victory project. In terms of the high cannons, I am going to do what you said, file down the wheels a little bit but I am also boring out the carriage so the gun sits a little bit lower in the carriage. I am doing that with a router, between the two it seems to be working and doesn’t look horrible. Thanks for the comments and support, happy holidays,,see you at M&M,,,,,

View attachment 416317

View attachment 416318

View attachment 416319

View attachment 416320
Doc, think you are doing a fantastic job on a tough kit. Would shelve any thoughts of a do-over as there are always little issues that could have gone better. "Adapt and Overcome" works for the USMC and is a good rule for complex wooden ship modeling. Just my two unasked for cents. For future reference, the belaying pin racks throughout the kit have holes pre- drilled that are too small for the supplied belaying pins. Wish I had known that before I had installed them. Much easier to enlarge the holes before gluing them in place. Press on, you are doing great.
 
Your work if beautiful, I tried to make coils on my vanguard but they came out horrible and I just gave up. I will keep going and I need to learn how to put the rings on the back of the cannons for the rigging as they are in real life rather than just loop it around. I am enclosing a few pictures of my vanguard that I finished a year ago before starting my current Victory project. In terms of the high cannons, I am going to do what you said, file down the wheels a little bit but I am also boring out the carriage so the gun sits a little bit lower in the carriage. I am doing that with a router, between the two it seems to be working and doesn’t look horrible. Thanks for the comments and support, happy holidays,,see you at M&M,,,,,

View attachment 416317

View attachment 416318

View attachment 416319

View attachment 416320

Wow. Your Vanguard looks beautiful.

Please keep up your work on the Victory. You will prevail, I'm sure.

Happy 2024.
 
Doc, think you are doing a fantastic job on a tough kit. Would shelve any thoughts of a do-over as there are always little issues that could have gone better. "Adapt and Overcome" works for the USMC and is a good rule for complex wooden ship modeling. Just my two unasked for cents. For future reference, the belaying pin racks throughout the kit have holes pre- drilled that are too small for the supplied belaying pins. Wish I had known that before I had installed them. Much easier to enlarge the holes before gluing them in place. Press on, you are doing great.
Thanks for the warning!!!!! That is great to know, I will definitely “prevent the problem” before it happens…
 
Wow. Your Vanguard looks beautiful.

Please keep up your work on the Victory. You will prevail, I'm sure.

Happy 2024.
Actually I give a lot of credit for my vanguard to the Lauck Street shipyard directions,, the pictures and additional directions were great and particularly useful for the rigging.
 
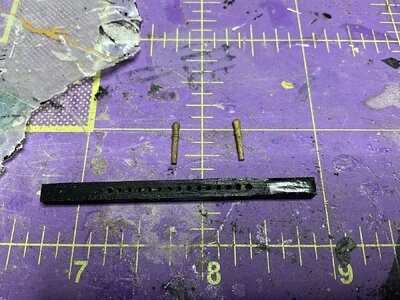
So we are making progress, I have the guns done,, will start rigging them soon,, have the fore grates in place and working on the bits,, but it has come to my attention that holes in cross bits are too small for the belaying pins included in the kit, and indeed this is true. The holes appear to 0.9 mm in size and the belaying pins are 1.2 mm in diameter. I tried a 1.2 mm and it is a hair too small and I don’t want to hammer or have to sand down the belaying pins. I tried a 1.3 mm drill and after two holes realized the holes on the cross bits are going to be too close together and I am going to ruin the piece if I continue. Looking online for smaller belaying pins that would fit the pre placed holes but nothing has the diameter of the pins in it.(only talk about height). Brass pins seem a bit much and I would prefer a wood pin ,, I am happy to listen to suggestions,,,

image.jpg

image.jpg

image.jpg

image.jpg
 
So we are making progress, I have the guns done,, will start rigging them soon,, have the fore grates in place and working on the bits,, but it has come to my attention that holes in cross bits are too small for the belaying pins included in the kit, and indeed this is true. The holes appear to 0.9 mm in size and the belaying pins are 1.2 mm in diameter. I tried a 1.2 mm and it is a hair too small and I don’t want to hammer or have to sand down the belaying pins. I tried a 1.3 mm drill and after two holes realized the holes on the cross bits are going to be too close together and I am going to ruin the piece if I continue. Looking online for smaller belaying pins that would fit the pre placed holes but nothing has the diameter of the pins in it.(only talk about height). Brass pins seem a bit much and I would prefer a wood pin ,, I am happy to listen to suggestions,,,

View attachment 419525

View attachment 419526

View attachment 419527

View attachment 419528
Doc, what I did was to take a drill bit very slightly larger than the existing holes and drill them out using a Dremel. That wasn't enough to accommodate the pins but also kept the spacing right. I then used a small pointed round file and individually filed out each hole. Was able to get the holes large enough for a press fit with each pin. Tedious but as you have mastered the copper plating it is child's playo_O
 
Doc, just discovered another kit issue that I wanted to pass along. On plan sheet 7 that deals with the bowsprit and spars, when you get to the main topgallant yard, the plan states that the length of that yard is 195 mm. The various dimensions listed and the scale drawing show that the length should actually be 205mm. Not a big deal, just annoying to discover after you have made the cut. Cheers.
 
So we are making progress, I have the guns done,, will start rigging them soon,, have the fore grates in place and working on the bits,, but it has come to my attention that holes in cross bits are too small for the belaying pins included in the kit, and indeed this is true. The holes appear to 0.9 mm in size and the belaying pins are 1.2 mm in diameter. I tried a 1.2 mm and it is a hair too small and I don’t want to hammer or have to sand down the belaying pins. I tried a 1.3 mm drill and after two holes realized the holes on the cross bits are going to be too close together and I am going to ruin the piece if I continue. Looking online for smaller belaying pins that would fit the pre placed holes but nothing has the diameter of the pins in it.(only talk about height). Brass pins seem a bit much and I would prefer a wood pin ,, I am happy to listen to suggestions,,,

View attachment 419525

View attachment 419526

View attachment 419527

View attachment 419528
Just an idea. If possible, you can make your own pin rack from scratch, suitable for the pins you have. All you need is a slightly longer piece of wood.
 
Last edited:
Doc, just discovered another kit issue that I wanted to pass along. On plan sheet 7 that deals with the bowsprit and spars, when you get to the main topgallant yard, the plan states that the length of that yard is 195 mm. The various dimensions listed and the scale drawing show that the length should actually be 205mm. Not a big deal, just annoying to discover after you have made the cut. Cheers.
so I have come across another “discrepancy” that I thought was my problem before. I am working on the waist ladders and again the directions state the steps should be made from 1mmX5mm walnut. 1mm does not fit in side frames, rather I found that 0.5 fits perfectly and I should have used the 0.5 I think. I have been filing down the edges of the steps to fit into the side frames and since I did the upper gun deck ladders that way , I think I will finish that way,, I am becoming disappointed with the issues I am encountering, but will slog on. I feel like after so many years of this kit being in existence, these issues should have been fixed in the directions. I am going to cut out a new cross beam for the bit problem and just respace the holes. Trying to figure out how many I need from the rigging directions but not getting the info I need yet.

image.jpg

image.jpg

image.jpg
 
Just an idea. If possible, you can make your own pin rack from scratch, suitable for the pins you have. All you need is a slightly longer piece of wood.
thanks I am trying to do that , am going over the rigging directions to make sure I make enough holes for the necessary belaying points, then will construct it..
 
This is all good stuff to learn and review for when I start on my kit eventually.

I can use the new function to download an entire build log, and then edit out what is not needed as far a learning about future mistakes or better methods of doing tasks as listed in instructions
 
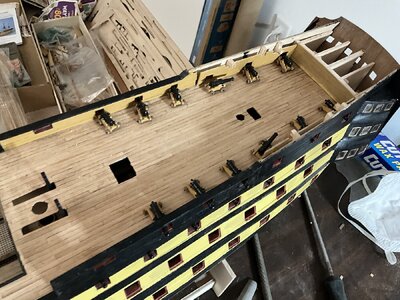
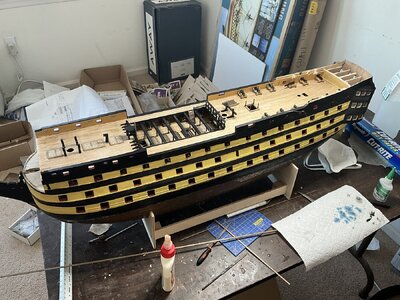
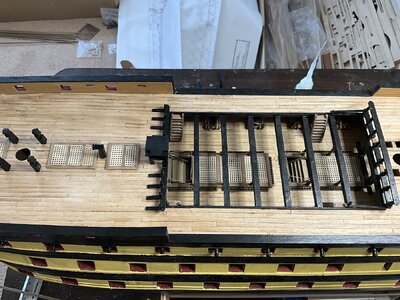
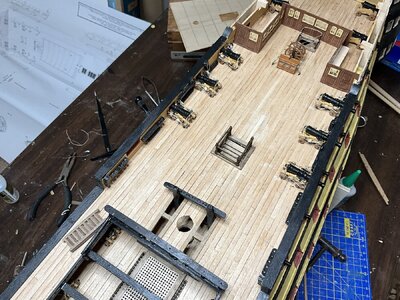
Here we go, another update, I have the quarterdeck guns rigged, (still need to do coils, but that will wait till later. I am working on the main companionway and wondering how the heck I am going to construct this rails, leading down to the barristers on the upper gun deck. I found some 1mmX1mm strips that I am going to use from an old kit that I had as a left over, hopefully it won’t come out horribly. The barristers I made as square as possible but one tips just a hair, I will live it , Perfections is the enemy of good. Again I am a little frustrated, I ordered more copper eyelets as the kit does not provide enough to rig all the cannons as it stated it did. (10 eyelets per gun required, and only 150 in kit total, barring needs for rigging in the future)

image.jpg

image.jpg

image.jpg
 
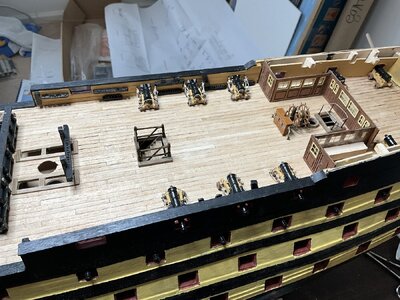
So , update,, The quarterdeck seems to have come out okay, the pictures are with some of the parts just dry fitting, as I am still a bit nervous about glueing them down, but overall it is acceptable. I am starting to work on the bow, and there seem to be some inconsistencies between the directions and what I see are real pictures of the ship. Part 125, (bow main rail innertimberhead) the seems to not rise above the bulwark in the drawings and the pictures provided, but in pictures of the real victory it clearly rises above the bulwark. I know this attaches to part 394 (bow main rail) and trying to dry fit things that far in advance seems to be a bit of problem. I am starting to get a picture in my mind of how these parts are suppose to fit together, but I am still nervous that I am getting it wrong. (See attached pictures). Any thoughts would be greatly appreciated. Lastly I am trying to dry fit the bow components together, does anybody have any suggestions how to get the rear most support in place, it doesn’t fit through the stem hole. I can either split the piece and reassemble or I can enlarge the hole and then fill it in. The directions talk about filling in the hole but don’t mention having to make the slot any larger to accept the piece.


image.jpg

image.jpg

image.jpg
 
Last edited:
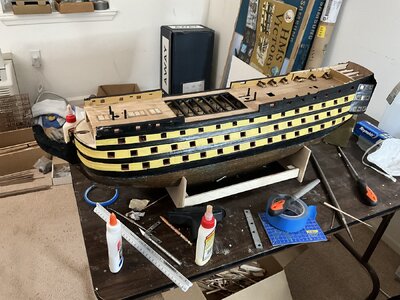
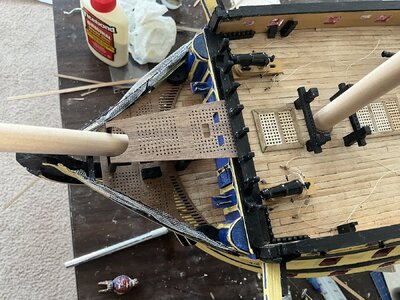
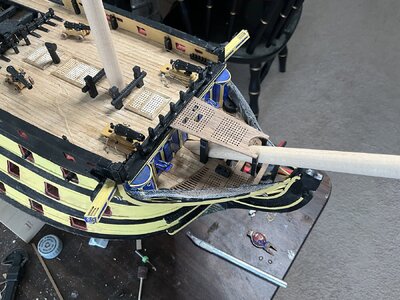
We are continueing to make progress. I have the bow section nearing completion now.. This took some time,, it isn’t perfect, but overall I am happy with the result. I continue to learn. I was afraid to sand down the bow timbers to much thinking the 0.5X3mm cover strips wouldn’t cover them, but I should have taken a little bit more off. I am very happy with the rail and the netting. I think that came out well. Starting to work on the poop deck now and still have some minor things to get done. I have to work on the two carronades and clean up the bow a little more

image.jpg

image.jpg
 
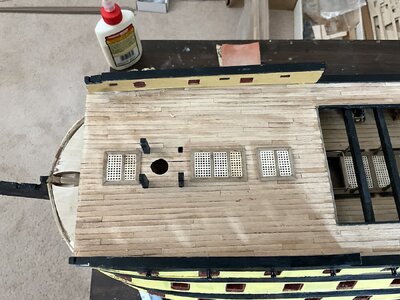
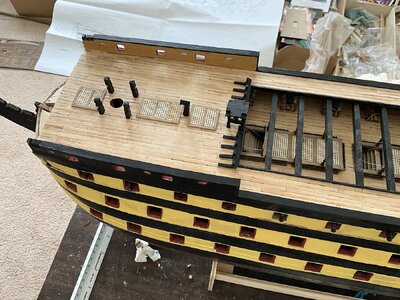
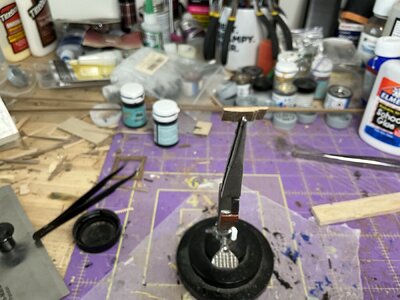
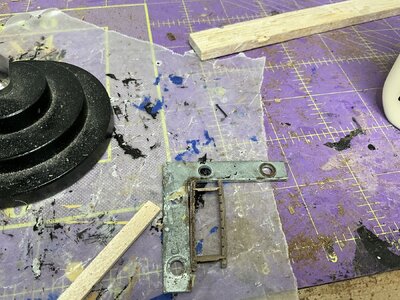
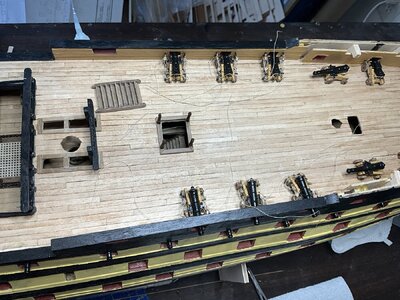
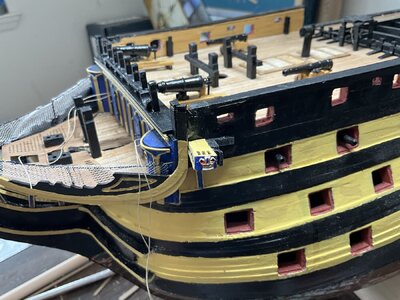
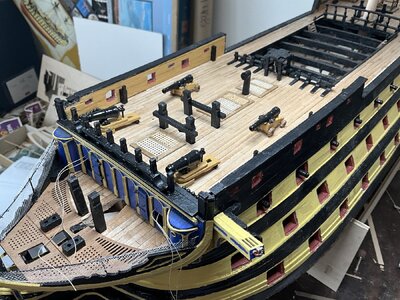
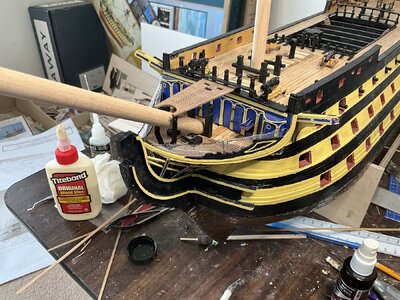
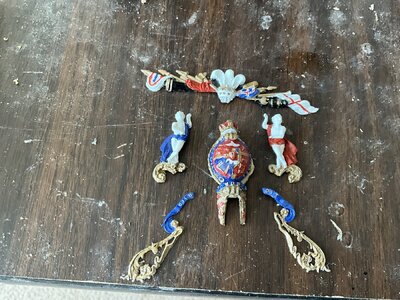
Well I have a cat head on and I think it is okay, somehow the ornament got a bit off center but I think I will make it worse if I try to adjust,, The second ornament got lost, I had it in my tweezers as I was preparing to put it on and it flew off and I can’t find it now, after spending a good hour plus painting it, I am frustrated if I have to buy another and paint it again. Otherwise we are making progress, I will have the other cat head done in another day or two I think, working on planking the poop deck, trying to multitask.. I am not sure hope I am going to bend the brass rails,, Tjhe directions say to heat and bend… does that mean I have to use propane torch to get it hot enough???? Any ideas would be welcome…

image.jpg

image.jpg

image.jpg

image.jpg
 
Your Victory is looking very nice. I find multi-tasking, meaning doing more than one unrelated element of the build at the same time, is necessary once the main hull is completed.
I am currently building channels, mast platforms and all gunport lids as well as the ship boats simultaneously.
Not sure what rails need bending. How thick are they? Brass is a soft metal and I have found brute force is usually enough.
Not used a propane torch, sounds dangerous.
Your build log is inspiring, please keep posting.
Thanks for the note!!! The rails are the continuation of the catheads support up to the bow structure, and eventually the detail side rails on the hull.
 
Well I have a cat head on and I think it is okay, somehow the ornament got a bit off center but I think I will make it worse if I try to adjust,, The second ornament got lost, I had it in my tweezers as I was preparing to put it on and it flew off and I can’t find it now, after spending a good hour plus painting it, I am frustrated if I have to buy another and paint it again. Otherwise we are making progress, I will have the other cat head done in another day or two I think, working on planking the poop deck, trying to multitask.. I am not sure hope I am going to bend the brass rails,, Tjhe directions say to heat and bend… does that mean I have to use propane torch to get it hot enough???? Any ideas would be welcome…

View attachment 434086

View attachment 434087

View attachment 434088

View attachment 434089
Good morning Doc. Looking very impressive. I do like the Caldercraft kit- it is the most accurate and you are doing a great job here. Cheers Grant
 
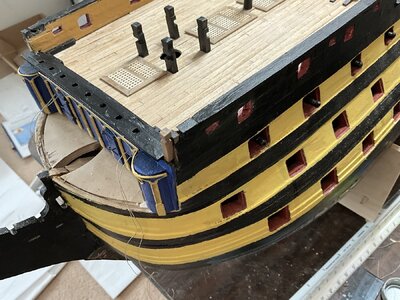
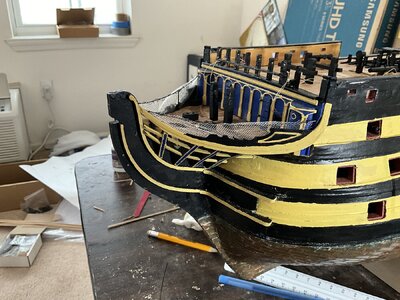
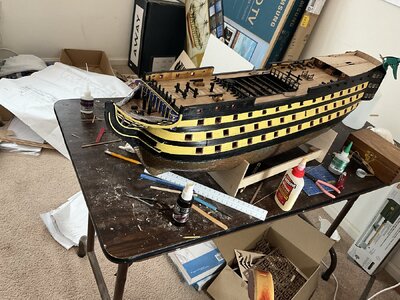
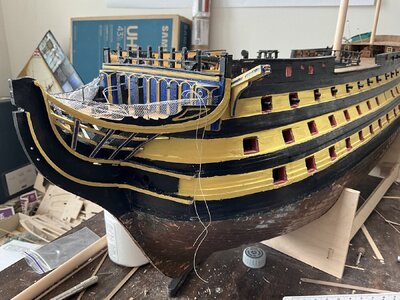
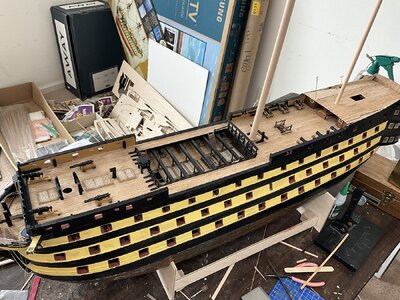
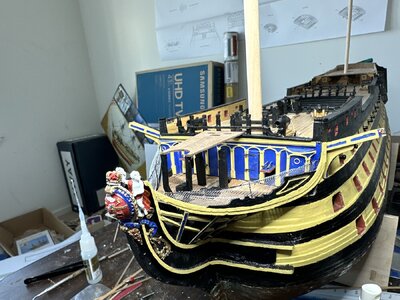
Well, other than the figureheads, I am thinking the bow is done,, I will turn the boat around on the table and focus on the stern and poop deck now. I am struggling with gettting figureheads correct, I finally figured out they are going to have to be bent to fit. I will hold off on the brass rail that connects to the CAT head support until I am doing the hull trim at a later time.

image.jpg

image.jpg

image.jpg

image.jpg

IMG_0330.jpeg
 
Last edited:
Back
Top