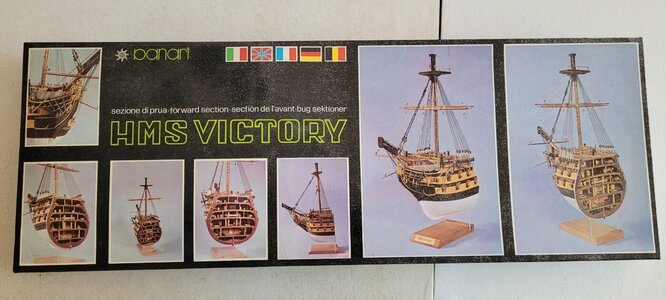
HMS Victory Bow section Panart- Scale 1:78

Joined
Mar 30, 2020
Messages
133
Points
113

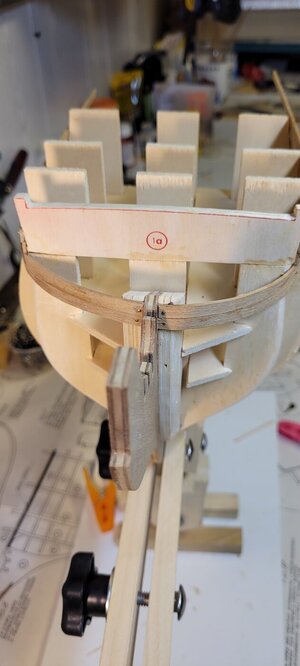
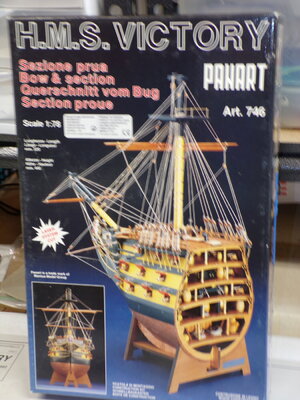
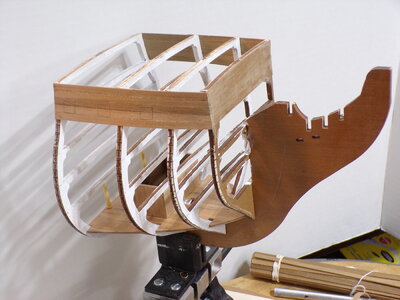
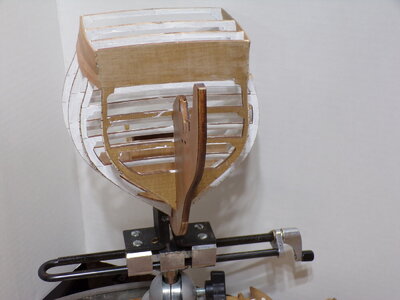
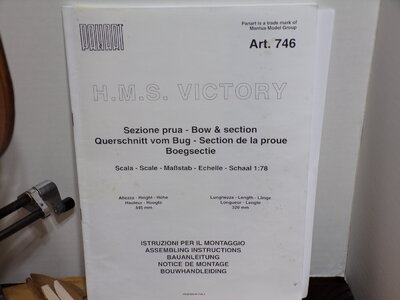
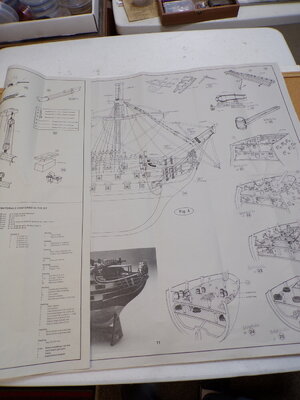
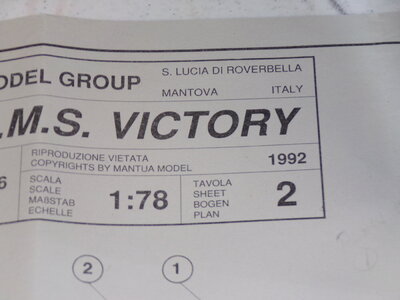
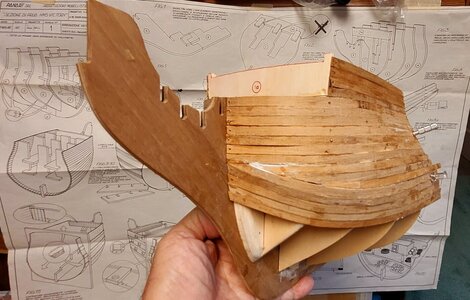
This is my seventh build. I do believe it's above my skill level but for better or worse I'm going to give it a try. I've never done a second planking so this will be interesting. Also, the sheet plans are all in Italian. I've been using the Google translator which works really good. I started using a soldering iron with a jig that I made for the bending of the planks. I've found that water soaking the planks before I heat them to bend work quite well. More photos to follow as I progress.
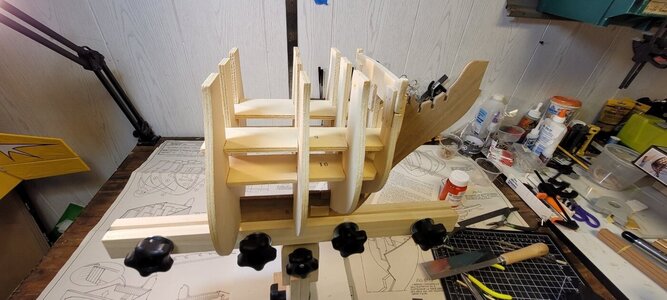
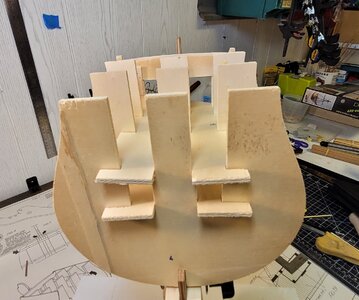
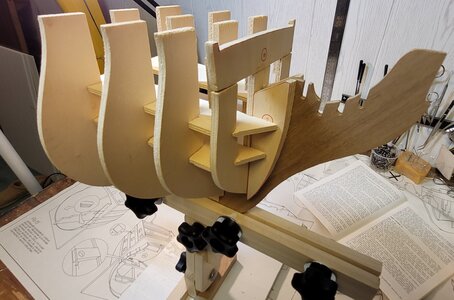
HMS Victory box (1).jpegResized_20220508_122623 (2).jpeg20220508_122612.jpg

Resized_20220508_122702.jpeg
 
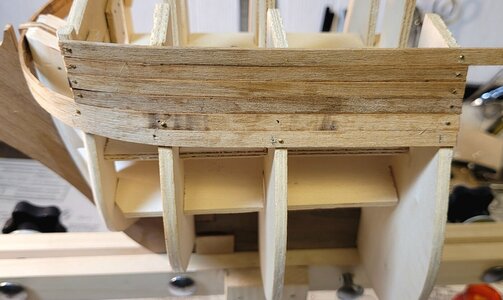
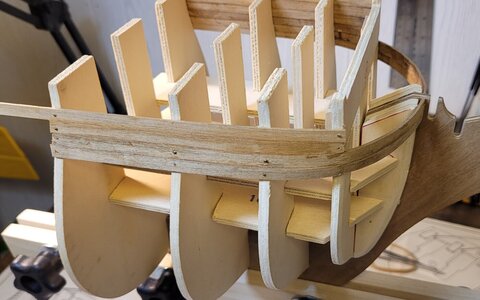
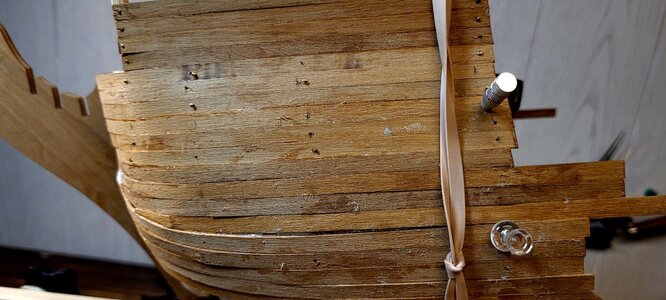
Started the first layer planking. It was a learning curve for me on how to use the soldering iron as to when enough heat was applied as to not burn the planks. As you can see in the second photo I scorched the planks.
Also the written directions said to wax the frames so the frames can easily be removed after the planking is done. But in the sheet plans it show tiny nails into the frames. I'm not sure if I'm doing the planking correctly or not, time will tell.


Resized_20220520_134250.jpegResized_20220520_134012.jpeg
Resized_20220520_133933.jpeg
 
Great start! And a section model like this is a super learning build. Just remember…any model…big or small…with fewer parts or thousands…is built one part at a time! Focus on the one part and do not get intimidated by the complexity of the whole model. Well done thus far!
 
Great start! And a section model like this is a super learning build. Just remember…any model…big or small…with fewer parts or thousands…is built one part at a time! Focus on the one part and do not get intimidated by the complexity of the whole model. Well done thus far!
Thank you for the encouragement. That's a good reminder to take one section at a time. As a retired electrical contractor,big or small jobs, that's what I would do. One section at a time and don't be overwhelmed.
 
Did you find the English instructions? I'm building the same kit by the same company, but mine is a lot different than yours. Mine is dated 1992.
 
Also, don't get ahead of the instructions. If you do, you will find that farther along you will be unable to fit a part correctly and will have to undo stuff you labored over. The key is to read, reread, and study the instructions and diagrams before doing anything.
 
Did you find the English instructions? I'm building the same kit by the same company, but mine is a lot different than yours. Mine is dated 1992.
I did find the English instructions, but the sheet plans are not. Are you doing a build log?
 
Also, don't get ahead of the instructions. If you do, you will find that farther along you will be unable to fit a part correctly and will have to undo stuff you labored over. The key is to read, reread, and study the instructions and diagrams before doing anything.
Yes I have reread each step so far. I'm finding the instructions aren't the best.
 
I did find the English instructions, but the sheet plans are not. Are you doing a build log?
No. I'm not doing a build log. JeffE from Australia has the definitive build log for this kit His build log is listed on the NRG [Nautical Research Guild] 101_0354.JPG101_0351.JPG101_0352.JPG101_0353.JPG101_0356.JPG101_0355.JPGweb site.;. But it is like mine, not yours, so it probably wouldn't be much help except for general guidance. Here are some pics to go along with our conversation so far.
 
No. I'm not doing a build log. JeffE from Australia has the definitive build log for this kit His build log is listed on the NRG [Nautical Research Guild] View attachment 309977View attachment 309978View attachment 309979View attachment 309980View attachment 309981View attachment 309982web site.;. But it is like mine, not yours, so it probably wouldn't be much help except for general guidance. Here are some pics to go along with our conversation so far.
Thank you for the information.
 
I think I see what's going on here. The bulkheads and cross pieces basically make a form which is used to add the planking. It looks like they have you doing the planking, removing the bulkheads, etc. and then finishing up the interior by adding the frames, decks, furniture, etc. I've never seen it done that way except with small ship's boats and such. You'll have to be very careful not to glue the planks to the framework bulkheads. That could get messy. Good luck.
 
I think I see what's going on here. The bulkheads and cross pieces basically make a form which is used to add the planking. It looks like they have you doing the planking, removing the bulkheads, etc. and then finishing up the interior by adding the frames, decks, furniture, etc. I've never seen it done that way except with small ship's boats and such. You'll have to be very careful not to glue the planks to the framework bulkheads. That could get messy. Good luck.
They suggested that I wax the bulkheads so they can be removed easily. Hopefully I've done it correctly, time will tell.
 
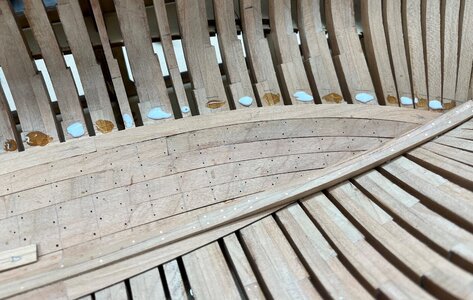
Have not worked on the HMS Victory for most all of the summer. Almost finished with the first layer of planking. I have a lot of prep work ahead for the second planking. I and wondering about the second planking methods.

When adding the second planking how do you fasten the planks while the glue dries?
Resized_20220912_130504.jpeg
Resized_20220912_154255.jpeg
 
That's a great question. I wish I had an answer. I've also halted work until I can solve the problem of locating the gunports correctly. Your directions are different than mine. Mine are primarily in Italian.
 
When adding the second planking how do you fasten the planks while the glue dries?
I am using in the same time two different glues - making some spots white wood glue and some spots, especialy at the ends of a plank CA-glue (Tidebond)
I am now working on Plank on Frame models, but also for Plank On Bulkhead this way is working very well.

IMG_0075a.jpg

some modelers are using only CA-glue..... with this often it will be enough to fix the bended (steam, hot water, iron or something else) plank with fingers (10 to 30 seconds) until the Ca-glue started to harden - so often no clamps or never nails are necessary
 
In my previous reply I meant to ask if you have the separate pattern that was included in the kit to use to mark the location of the gunports? In a post a couple of weeks ago I told everyone (who happened to see it) that my build was at a standstill since I have finished the first planking and wanted to mark and cut out the gunports before doing the second planking. However, I seem to have misplaced the pattern that was part of the kit. I've tried measuring carefully, but when I drilled small pilot holes, I can see that I am way off. I don't want to go any further until I see if I can get a copy of the pattern from someone who has finished, is working on, or who has the kit in their stash. All I need is a full-scale copy of the pattern. It can be scanned and emailed to me, and I can print it out, or copied and mailed to me, or just mailed to me and I will return it as soon as I make another copy. Would you have the pattern and be able to help me? Thanks in advance.
 
I think I see what's going on here. The bulkheads and cross pieces basically make a form which is used to add the planking. It looks like they have you doing the planking, removing the bulkheads, etc. and then finishing up the interior by adding the frames, decks, furniture, etc. I've never seen it done that way except with small ship's boats and such. You'll have to be very careful not to glue the planks to the framework bulkheads. That could get messy. Good luck.
I just received this same version of this kit and tried to go thru instructions and review of the 5 sheets of plans. It is truly a very different way of building the hull shell first and removing temp bulkheads then gluing in permanent bulkheads and adding decks one at a time as you build from bottom up.

I hope to start a build log soon on mine but will be watching yours and Coasties buil logs as well

Kurt K
 
I just received this same version of this kit and tried to go thru instructions and review of the 5 sheets of plans. It is truly a very different way of building the hull shell first and removing temp bulkheads then gluing in permanent bulkheads and adding decks one at a time as you build from bottom up.

I hope to start a build log soon on mine but will be watching yours and Coasties buil logs as well

KurI have stopped the build due to missing materials as it was a

I just received this same version of this kit and tried to go thru instructions and review of the 5 sheets of plans. It is truly a very different way of building the hull shell first and removing temp bulkheads then gluing in permanent bulkheads and adding decks one at a time as you build from bottom up.

I hope to start a build log soon on mine but will be watching yours and Coasties buil logs as well

Kurt The kit that I have had been started by someone else. I wish that I had done an inventory of the

I just received this same version of this kit and tried to go thru instructions and review of the 5 sheets of plans. It is truly a very different way of building the hull shell first and removing temp bulkheads then gluing in permanent bulkheads and adding decks one at a time as you build from bottom up.

I hope to start a build log soon on mine but will be watching yours and Coasties buil logs as well

Kurt K
The kit that I have had been started by someone else. I wish I had done an inventory of all of materials before I started the build. I have for now stopped the build. I will start it back up at some point.
David
 
Back
Top