Ahoy shipmates,
I am commencing my stern section Fubbs build which is one of 10 kits produced.
I was fortunate enough to be associated with a small model ship group called Weaselworks and have been watching this project develop over the last 18 months. I'm sure you've already seen several other members build log of this kit, so I won't go into details about the history of the ship or unboxing the parts.
I wish to express my gratitude to Mr Mike Shanks and associates for their involvement to producing this model.
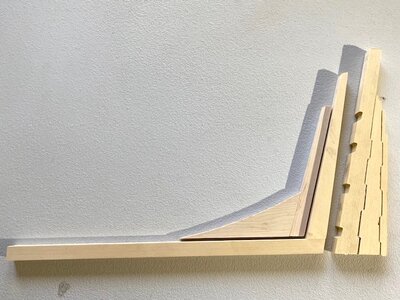
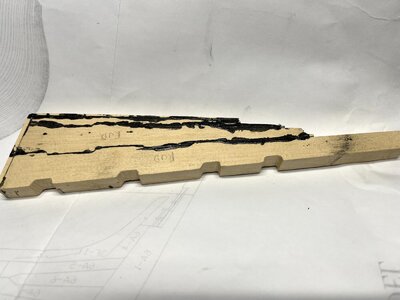
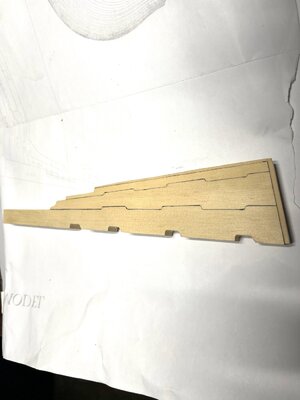
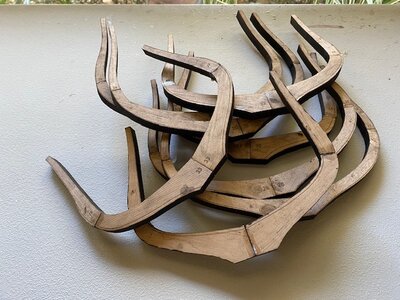
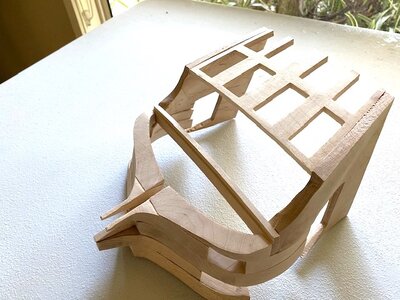
Not much to show from me so far, only that I have glued up some frames and assembled the stern structure.
.


