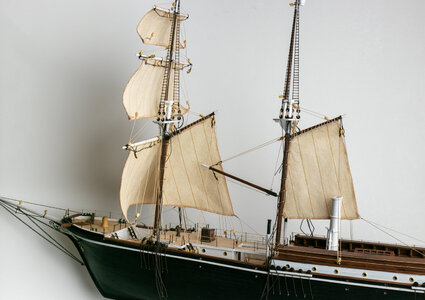
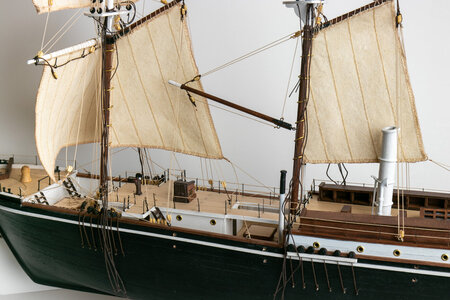
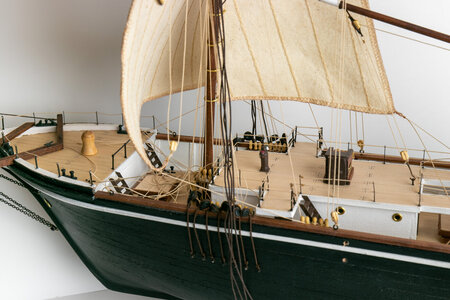
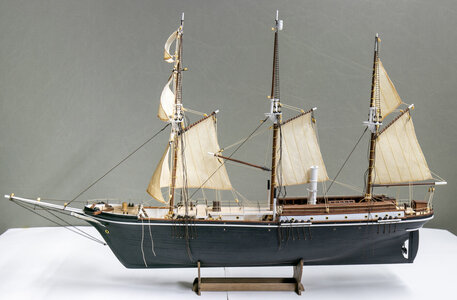
Endurance - OcCre - 1:70 - Jeff T [COMPLETED BUILD]

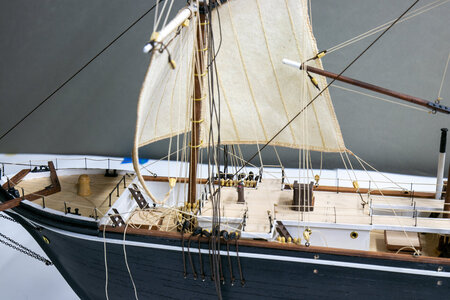
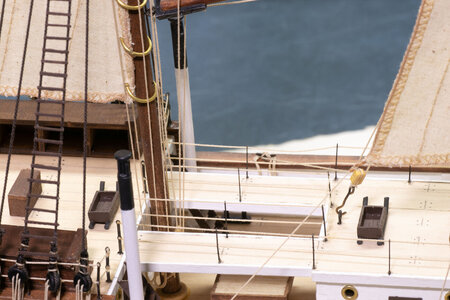
Masts are in. This went well even with the sails attached to the yards. I had some concerns as I have never mounted the masts with sails already attached. I also began attaching running rigging that mounts to the deck, pin rails, etc.
IMG_6844.jpg
IMG_6846.jpgIMG_6847.jpg

The method of fully building the masts, yards, sails and associated rigging required that I hold off on installing a fore/aft stays until the mast were in place. Due the fairly simple rigging of this model that was not too difficult. I have since attached the rest of the stays which will show up in pictures to be posted later.
IMG_6852.jpgIMG_6853.jpgIMG_6856.jpg

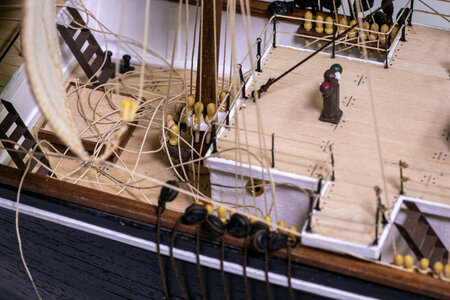
Some detail of the foremast running rigging attachment.
IMG_6854.jpg

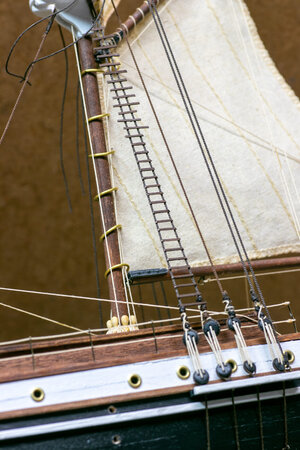
I got carried away and forgot to take any pictures of rigging the shrouds, but here is one of the lower mizzen mast shrouds as I was completing the rungs/ratlines. The upper rungs have not yet been trimmed to length and I still need to apply a drop of paint the ends of those that are already trimmed to length. I will take care of the lanyards in front of the deadeyes before I finish the model.
IMG_6858.jpg
 
Masts are in. This went well even with the sails attached to the yards. I had some concerns as I have never mounted the masts with sails already attached. I also began attaching running rigging that mounts to the deck, pin rails, etc.
View attachment 330200
View attachment 330201View attachment 330202

The method of fully building the masts, yards, sails and associated rigging required that I hold off on installing a fore/aft stays until the mast were in place. Due the fairly simple rigging of this model that was not too difficult. I have since attached the rest of the stays which will show up in pictures to be posted later.
View attachment 330203View attachment 330204View attachment 330206

Some detail of the foremast running rigging attachment.
View attachment 330205

I got carried away and forgot to take any pictures of rigging the shrouds, but here is one of the lower mizzen mast shrouds as I was completing the rungs/ratlines. The upper rungs have not yet been trimmed to length and I still need to apply a drop of paint the ends of those that are already trimmed to length. I will take care of the lanyards in front of the deadeyes before I finish the model.
View attachment 330207
Good morning Jeff. Excellent. The transformation is quite amazing. The ropes you are using look very good indeed. Cheers Grant
 
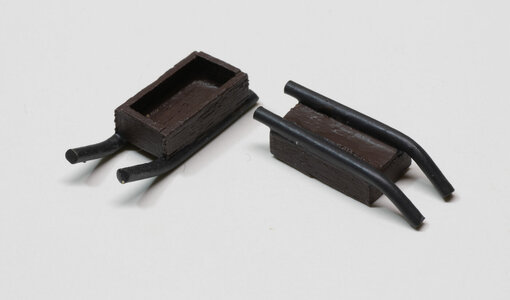
Sleds - I decided to add the sleds that are included in the plans/instruction. I debated for a while whether to add them or not but decided to do ahead with them to see how they would look. I modified the plans from a flat sled to a sled with a box. This feels more right to me as the sleds are not for recreation but are for hauling stuff around on the ice.

IMG_6863.jpgIMG_6864.jpg
 
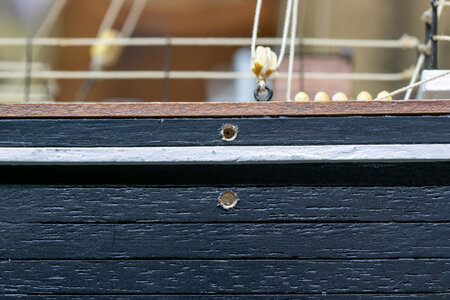
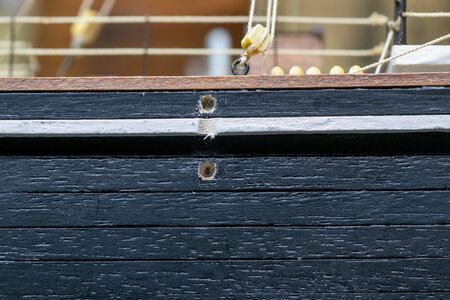
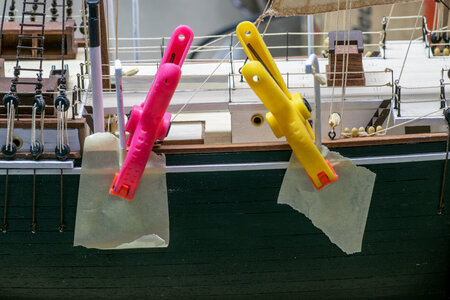
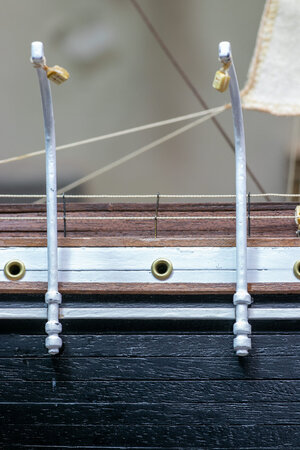
Time to mount the boat hoists. I was concerned about how to mount these metal pieces and to get them to be secure. I drilled holes in the hull for the mounting posts to fit into. This required that I also file out the strake the hull strakes to accommodate the metal upright. This worked quite well. I used some epoxy to glue the meal hoists in place. I had already added the blocks to the hoist points.

IMG_6870.jpgIMG_6872.jpg
IMG_6874.jpgIMG_6868.jpg

Some touch up of the paint was needed after the mounting.

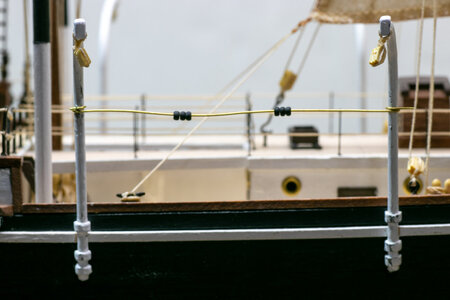
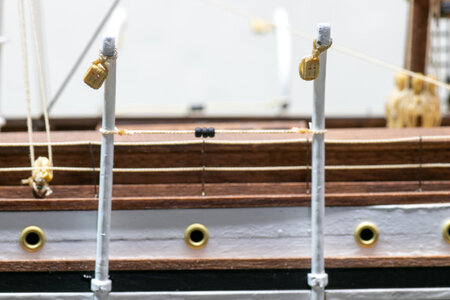
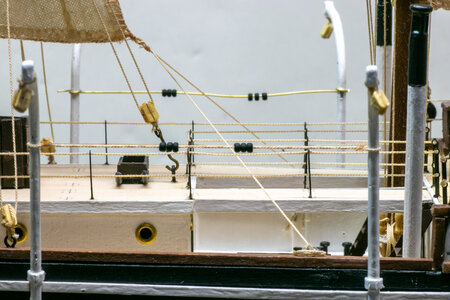
OcCre's instructions show using wire with some beads as stand-offs for the boat. I could not get these to look the way I wanted. I struggled with getting the wire both tight and straight. So, I diverted from the plans and tried using thread instead.

IMG_6875.jpg
IMG_6876.jpg

Here's a view of both techniques. I decided to go with the thread as it looks more ship-shape to me.

IMG_6879.jpg

Next up, hanging the boats.
 
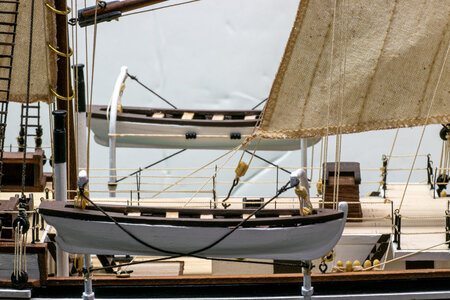
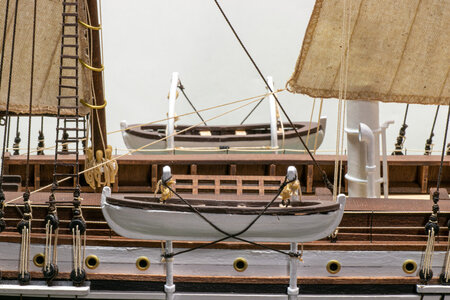
I have the boats hung from the racks. There was nothing too difficult about this step; primarily just getting the tackle rigged to the correct length so the boats could be pulled over to the "stand-offs". It looks like I have a bit of fix-up/touch-up to do on the paint. There is nothing like a closeup photograph to show all of the flaws.

IMG_6883.jpgIMG_6884.jpgIMG_6887.jpg

That end's the construction of the Endurance. I need to capture some images of the whole ship and maybe the touch-up mentioned previously. I should be able to make my final posting of the completed model within the next week or so.
 
I have the boats hung from the racks. There was nothing too difficult about this step; primarily just getting the tackle rigged to the correct length so the boats could be pulled over to the "stand-offs". It looks like I have a bit of fix-up/touch-up to do on the paint. There is nothing like a closeup photograph to show all of the flaws.

View attachment 332572View attachment 332573View attachment 332574

That end's the construction of the Endurance. I need to capture some images of the whole ship and maybe the touch-up mentioned previously. I should be able to make my final posting of the completed model within the next week or so.
Good morning Jeff. Awesome. I have enjoyed your build of your Endurance. It is a lovely rendition of this famous ship. The boats add a lot to the overall look. I’m getting similar stage of spending a whole pile of hours touching up the little paint irregularities and fixing some things. Congratulations on completing your ship. Cheers Grant
 
Good morning Jeff. Awesome. I have enjoyed your build of your Endurance. It is a lovely rendition of this famous ship. The boats add a lot to the overall look. I’m getting similar stage of spending a whole pile of hours touching up the little paint irregularities and fixing some things. Congratulations on completing your ship. Cheers Grant
Thanks for the kind comments, Grant. It was a lot of work over about 10 months or so, but I am pleased with the final result.
 
I started building Endurance around the beginning of January and completed it just into October. This was a fun build and relatively simple with the number of laser cut pieces supplied by OcCre and the fairly simple rigging of the ship.

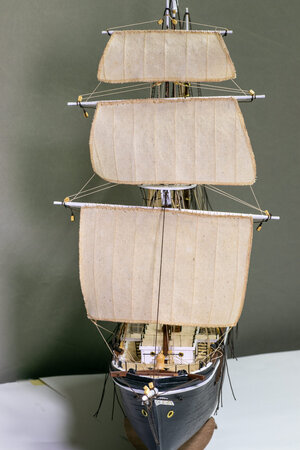
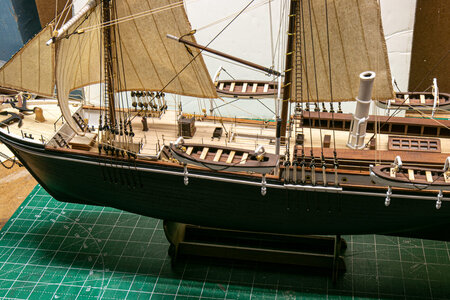
So here they are - the final build pictures.
EOSR0050.jpgEOSR0053.jpgEOSR0056.jpgEOSR0059.jpgEOSR0063.jpgEOSR0065.jpgEOSR0067.jpgEOSR0069.jpgEOSR0075.jpgIMG_6920.jpgIMG_6921.jpgIMG_6922.jpgIMG_6923.jpgIMG_6924.jpgIMG_6925.jpgIMG_6926.jpgIMG_6927.jpgIMG_6928.jpgIMG_6929.jpgIMG_6930.jpg
 
Thanks for the kind comments, Jim. He gets to 3D print and paint the nameplate which I still need to design.
 
My Congratulations for finishing this model - well done !!!!
 
Back
Top