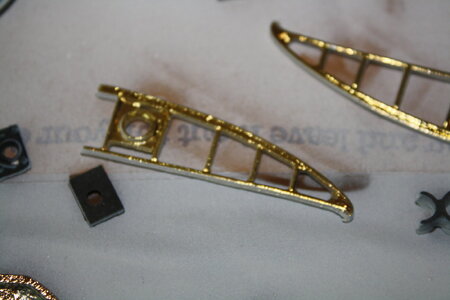
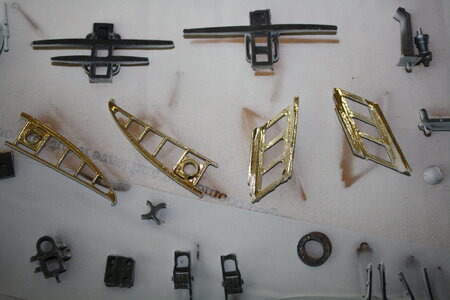
Corel Toulonnaise Build Log

Joined
Feb 3, 2024
Messages
25
Points
48

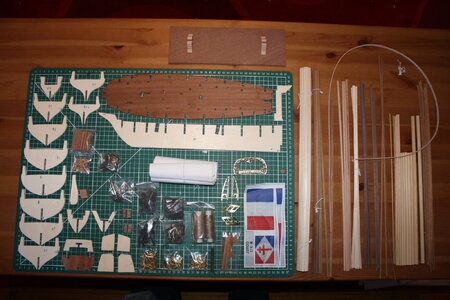
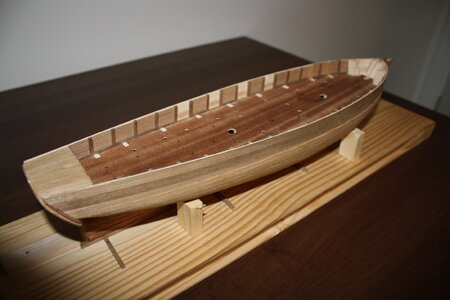
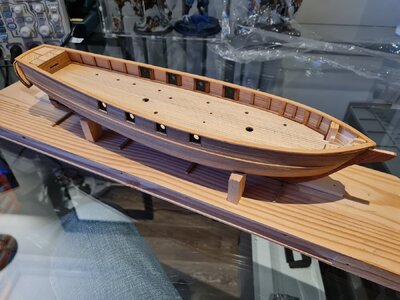
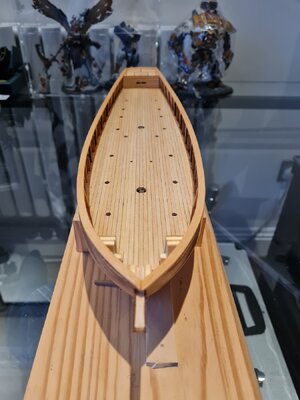
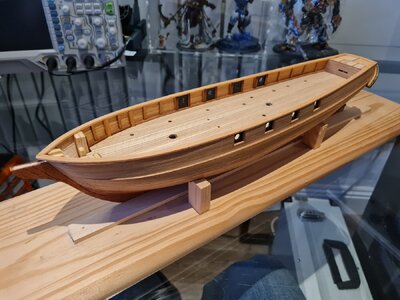
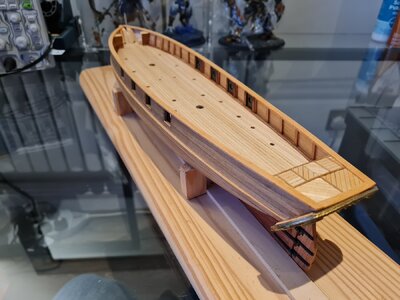
Hi, just getting things set up but I'm going to post photos and updates here. So full disclosure; I started this back in 2010 and then life got in the way so I've worked intermittently on it from then until now. At present, I'm at the completed hull stage, just finishing off the fittings leaving the masting and the rigging to go.

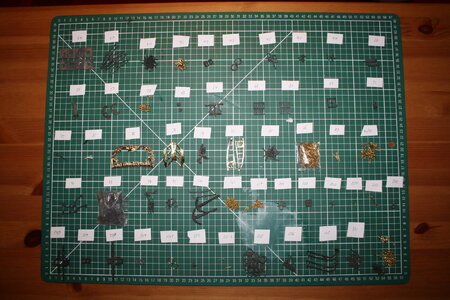
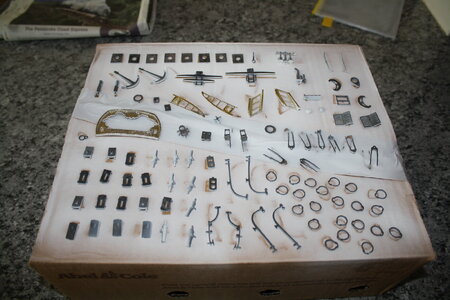
However, I've got photos of my progress over the last 14 years so will post them here in case anyone interested. One thing I'll say straight away - the plans that Corel provided are riddled with errors! Mounts in different positions on different plan numbers, parts with no label or instruction to fit, measurements wrong, order of installing wrong, parts missing or wrong shape and really poor metal components (cheapest of the cheap)

Anyway, it's all part of the fun I guess?...

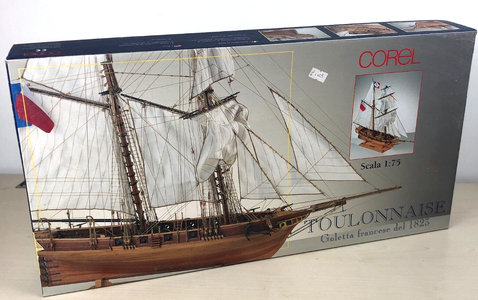
p.s. this is of the latest version of the Corel Toulonnaise, not the previous version.
1707900139669.png
 
I wish you a lot of fun with this kit model - enjoy (and show us your progress)
 
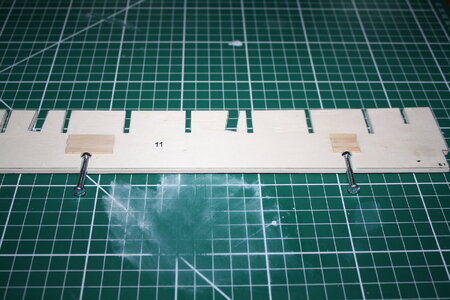
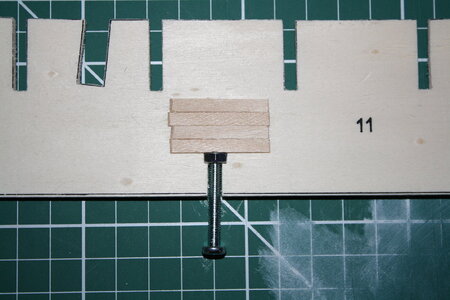
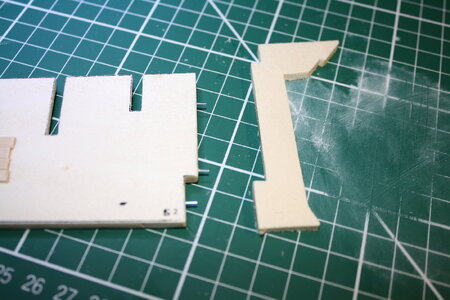
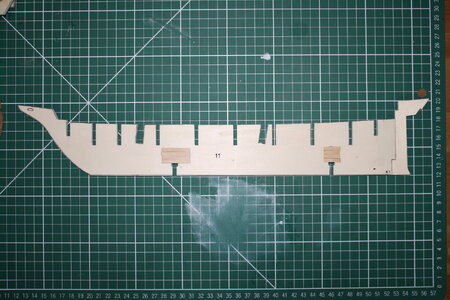
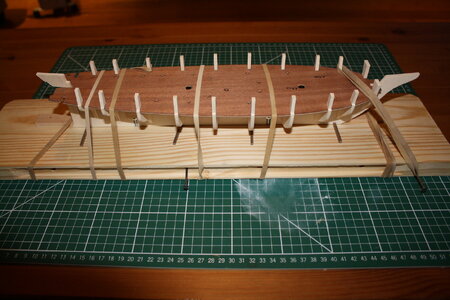
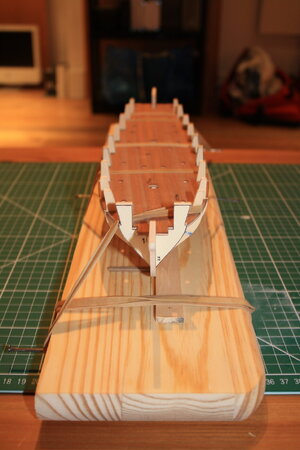
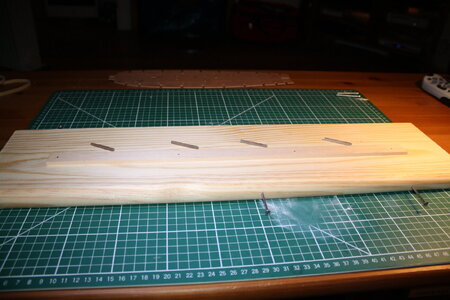
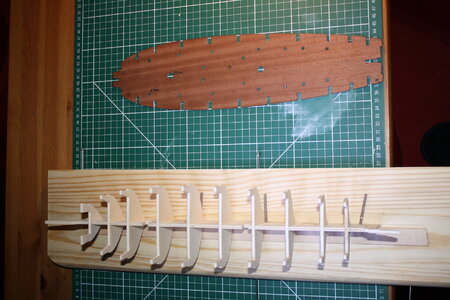
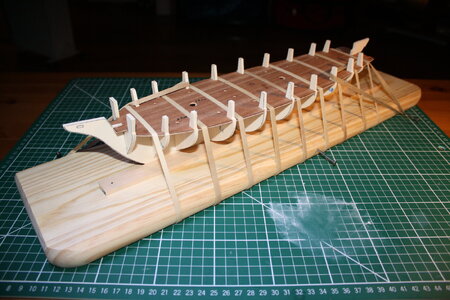
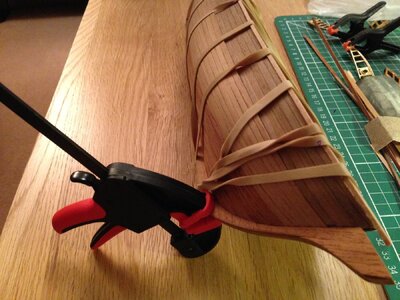
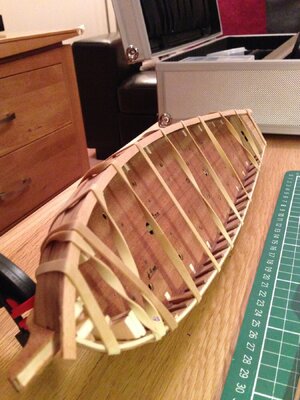
I built a jig to hold the build in place while I worked. Then attached the bulkheads and used the false deck to hold them in place while they glued. Had to use elastic bands to straighten out the hull while the PVA dried.

IMG_1619.JPG

IMG_1622.JPG

IMG_1630.JPG

IMG_1631.JPG

IMG_1634.JPG
 
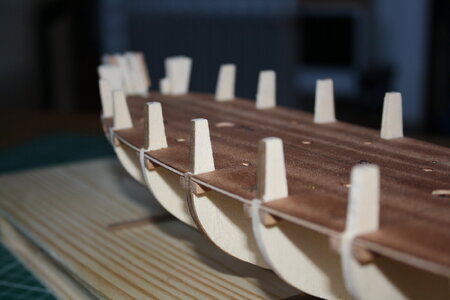
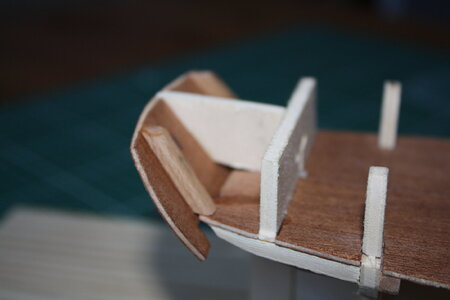
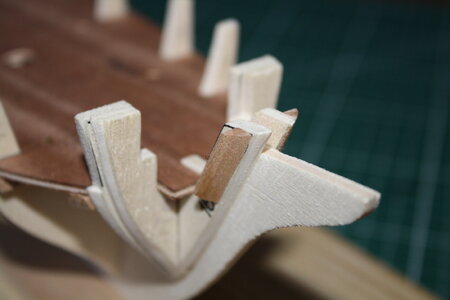
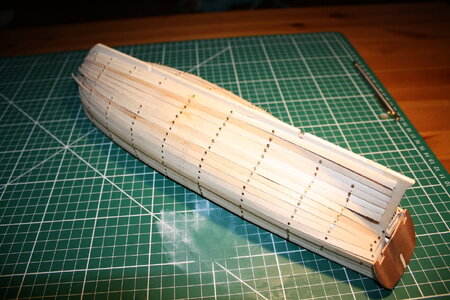
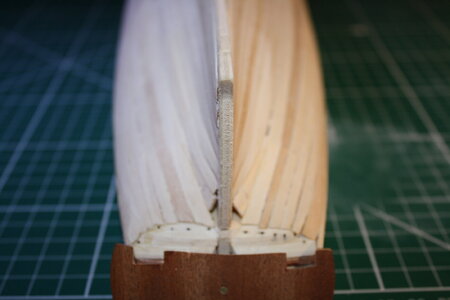
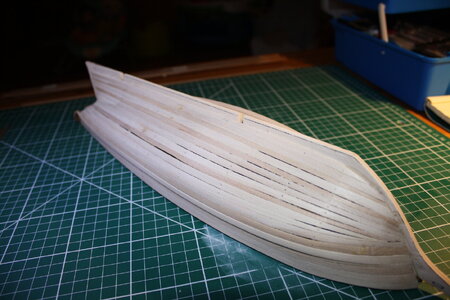
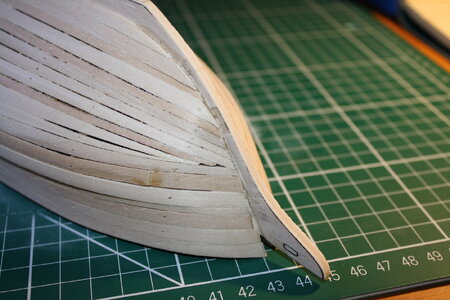
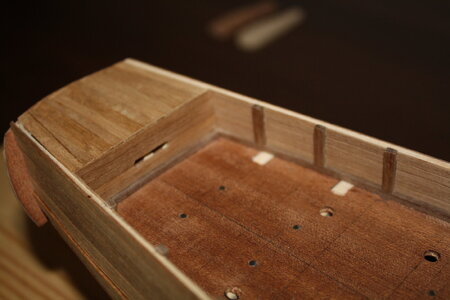
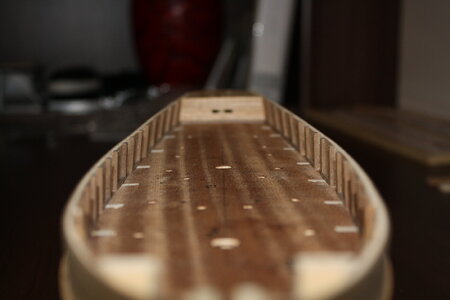
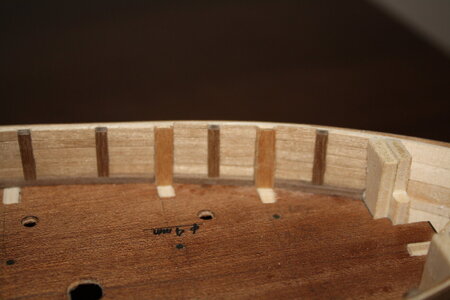
To give more surface area for the false deck to be glued onto the bulkheads, added some additional wood strips. Also added strips at bow and transom before first planking.IMG_1709.JPGIMG_1707.JPGIMG_1704.JPG
 
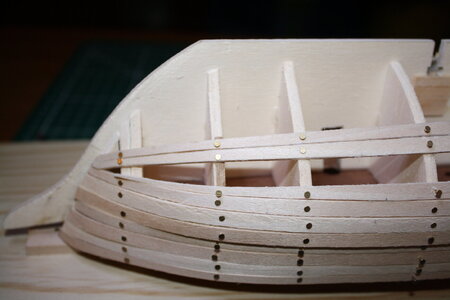
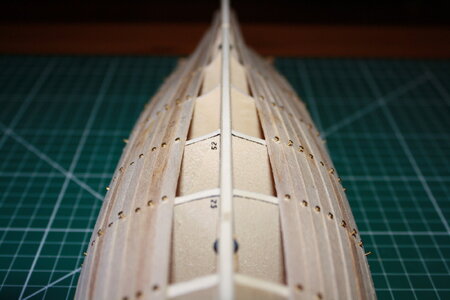
And then glued and sanded ready for second planking! I followed Donald Dressel's book on Planking techniques which was really useful

IMG_2665.JPG

IMG_2666.JPG

IMG_2667.JPG

IMG_2668.JPG

IMG_2669.JPG
 
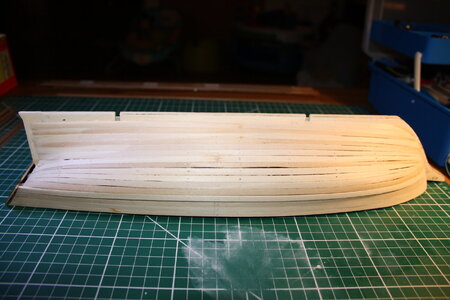
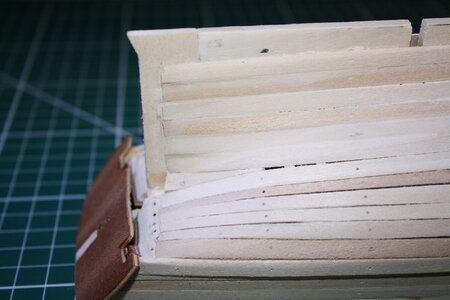
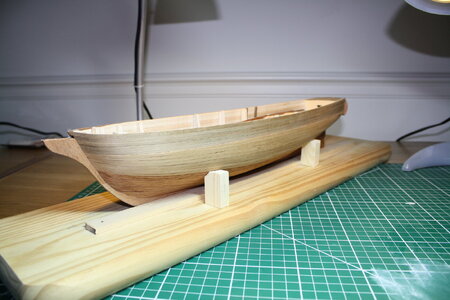
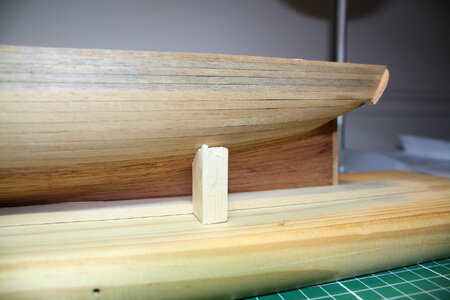
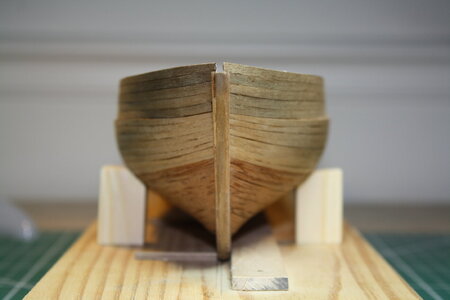
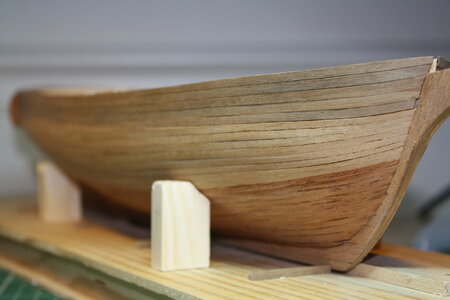
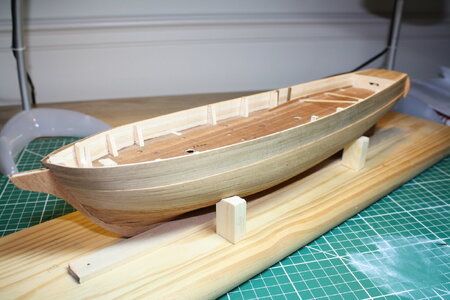
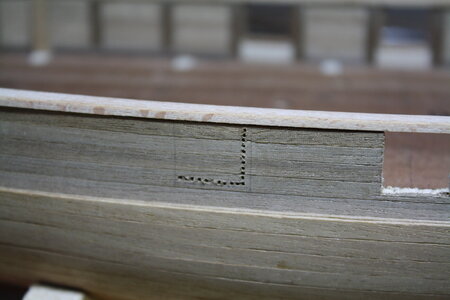
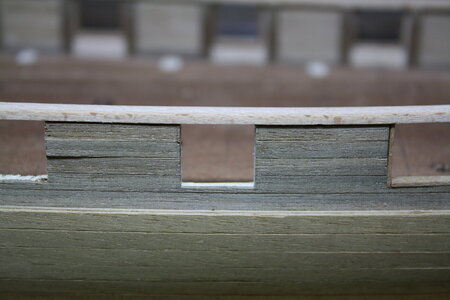
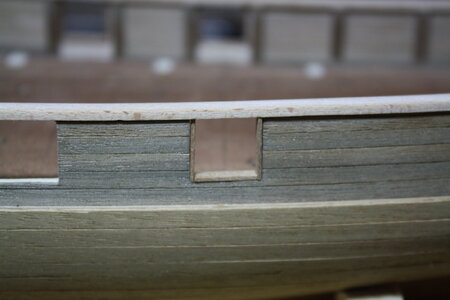
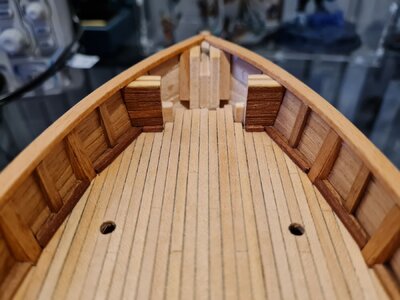
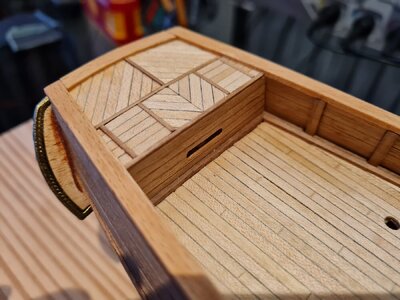
And then second planking. This is only my second model, and rather than follow historical accuracy, I went for imitating the box art. Therefore the woods chosen match those on the box as closely as possible. I think it's quite a nice effect overall.

IMG_3857.JPG

IMG_3858.JPG

IMG_3860.JPG

IMG_3861.JPG

IMG_3862.JPG
 
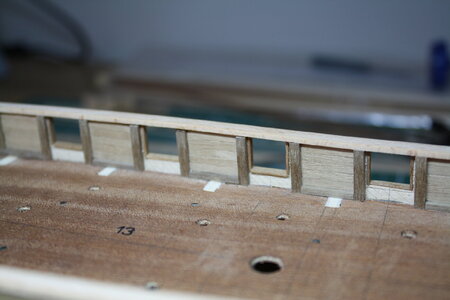
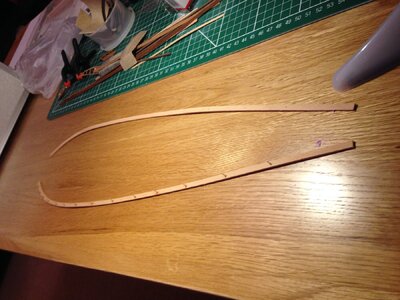
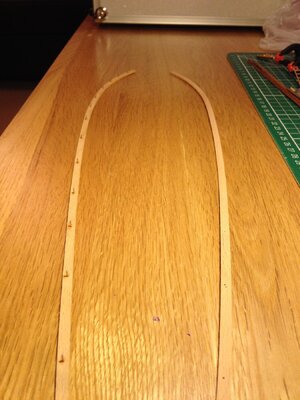
So, next step was the handrails which was trickhy. The kit said to immerse the wood strip in water, then bend to desired angle and leave to dry. This didn't work... I felt there was too much force being exerted by the strip to return back to its original shape. Instead I built a jig (which I've lost unfortunately) that had a 1:1 scale diagram of the deck and hand rail with guiding nails for the strip to fit into. Effectively, something which would force the shape of the hand rail so it bent over time before fitting.

In a way, this was lucky as I stopped working on it for a year or two and left the handrails in this jig for that period, so they came out thoroughly bent into shape. Then attached nails to the underneath, drilled these into the bulwarks and attached.

IMG_1187.JPG

IMG_1189.JPG

IMG_1191.JPG

IMG_1192.JPG
 
Next time i think i'll router out these hand rails from a sheet of wood so curvature is built into the design. I don't think people would notice the wood grain changing angle as it curves round on the hull. Interested in alternatives?
 
Then I've started work on painting up the metalwork. My other hobby (which I've got more experience in) is miniature painting so I was able to add some more colour depth to the metal pieces as they looked a bit 'flat'

IMG_3922.JPG

IMG_3923.JPG

IMG_3924.JPG
 
Back
Top