You are using an out of date browser. It may not display this or other websites correctly.
You should upgrade or use an alternative browser.
You should upgrade or use an alternative browser.
Bonjour Sylvain
I'll definitely follow your build with great interest.
I am currently building the Amerigo Vespucci as well; I started about 1 year ago and hope to complete it this year.
You can see my build log on SoS
Good luck
I'll definitely follow your build with great interest.
I am currently building the Amerigo Vespucci as well; I started about 1 year ago and hope to complete it this year.
You can see my build log on SoS
Good luck
Bonjour Sylvain
Tu avances super vite !!! You are moving super fast !!
Nice work
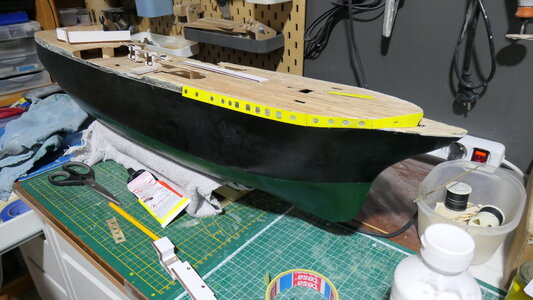
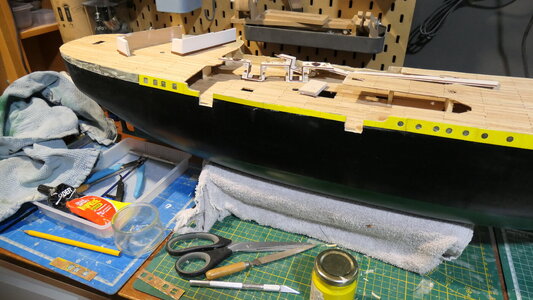
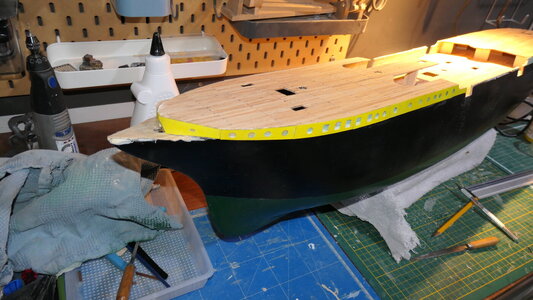
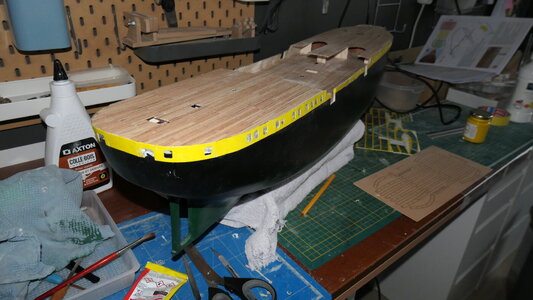
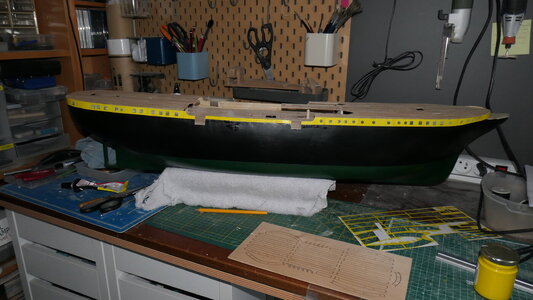
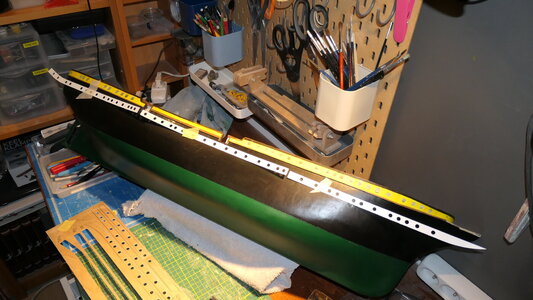
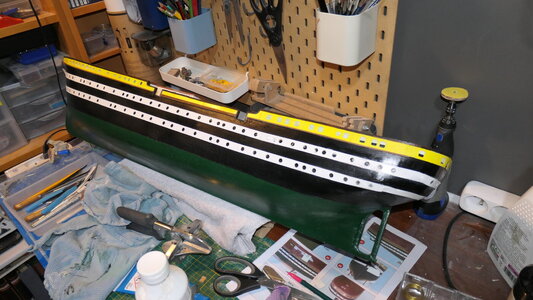
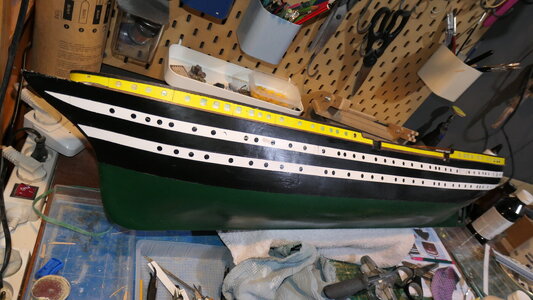
I could comment that I find the yellow a bit to bright compared to the real ship. But of course this is a question of individual taste.
Keep it up
Tu avances super vite !!! You are moving super fast !!
Nice work
I could comment that I find the yellow a bit to bright compared to the real ship. But of course this is a question of individual taste.
Keep it up
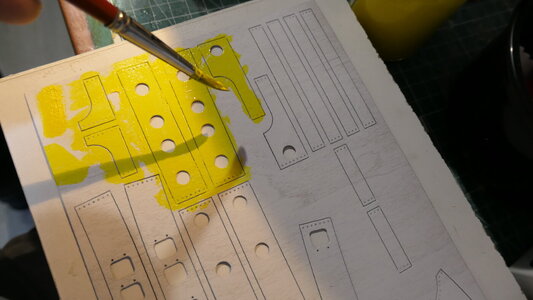
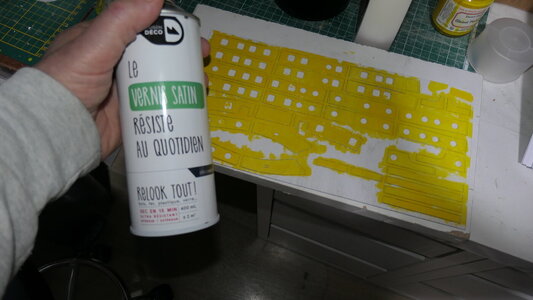
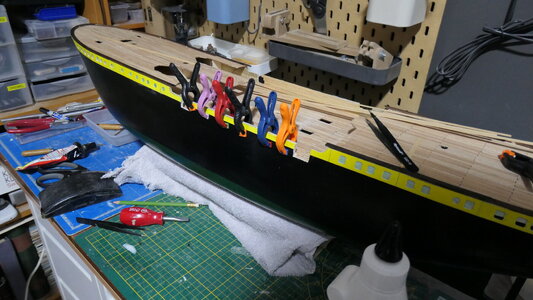
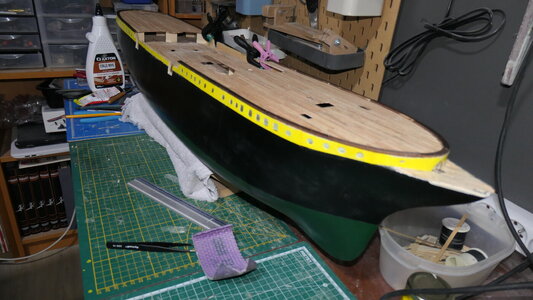
Thank you Gilbert. The yellow is satin but because of the flash there is an optical effect that makes it shiny. All my colors are acrylic satin, covered with a varnish also satin. Thank you for the encouragement, I was very inspired by your editing and your directionsBonjour Sylvain
Tu avances super vite !!! You are moving super fast !!
Nice work
I could comment that I find the yellow a bit to bright compared to the real ship. But of course this is a question of individual taste.
Keep it up
Very informative photos - great to follow - and I will follow your log with big interest
BTW: also very good work you are showing us here -
BTW: also very good work you are showing us here -

Excellent - I will continue to watch.
WOW.You are going fast, what are you working in that project 24/7
Part 9
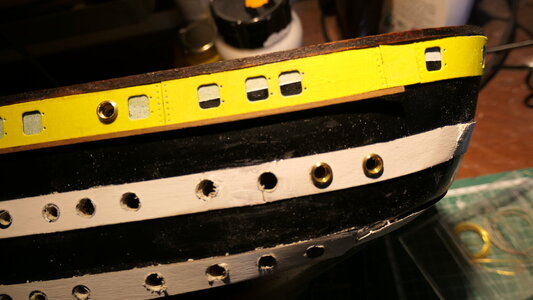
Installation of hull portholes
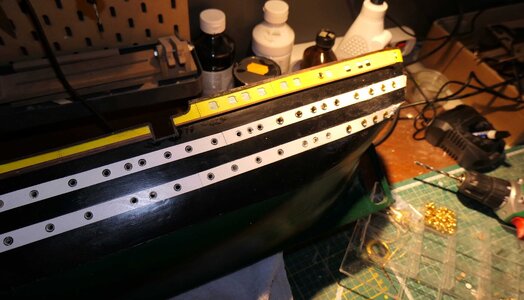
Drilling with a wood drill bit
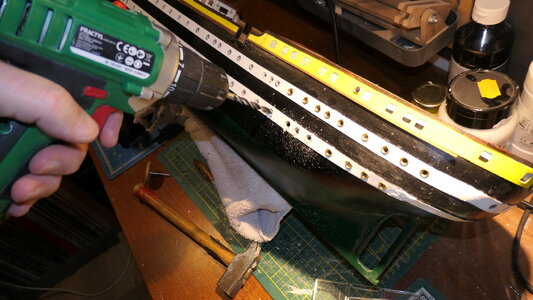
Enlarge the hole to match the size of the porthole
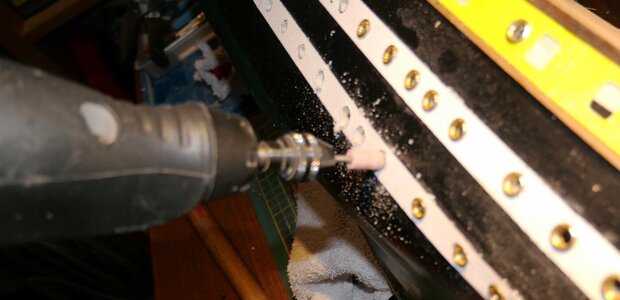
Fixation with cyano glue
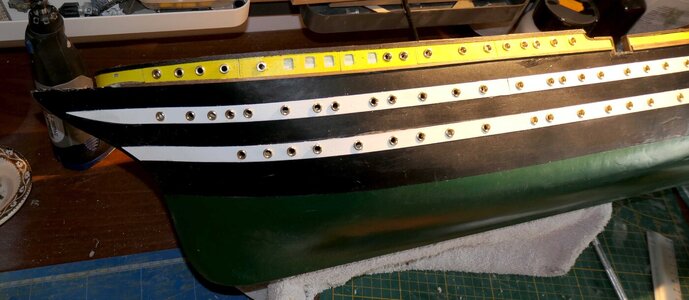
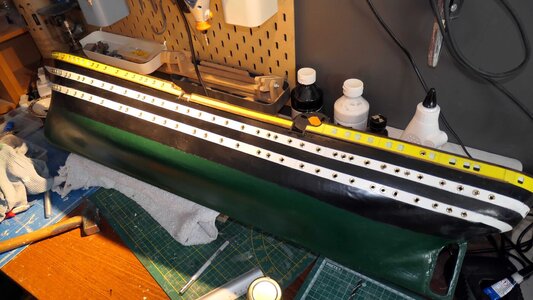
Installation of overhead windows and tilting windows
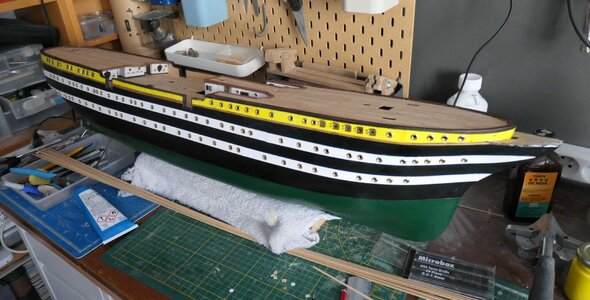
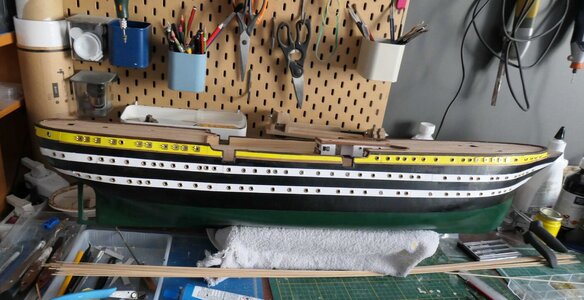
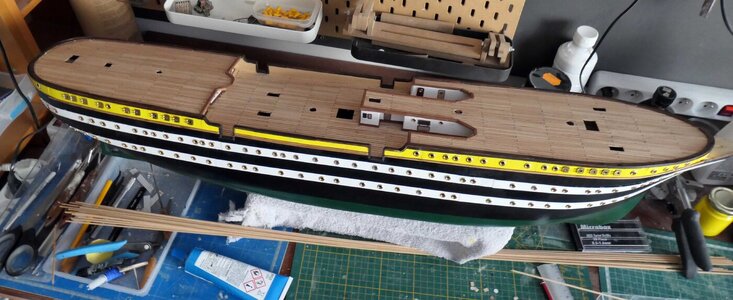
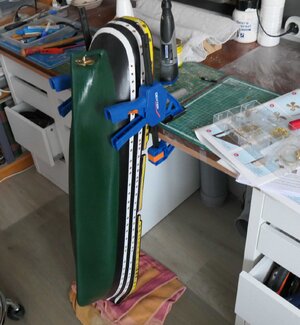
but as it is not practical to work flat, I invented a new method by holding the hull vertically to easily work the stern flat
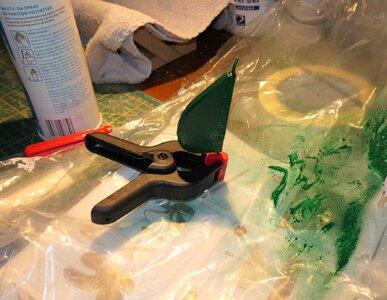
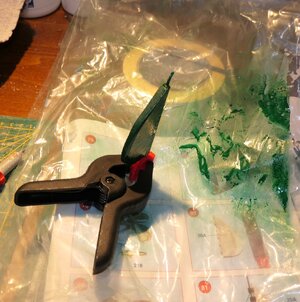
Colour setting of the rudder
Hull drilling for the rudder shaft and keel adjustment for a good rudder position
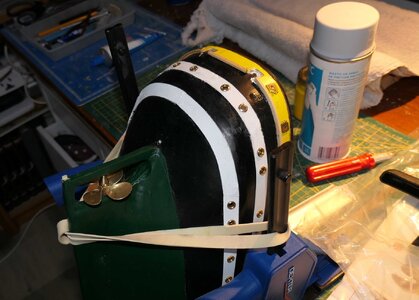
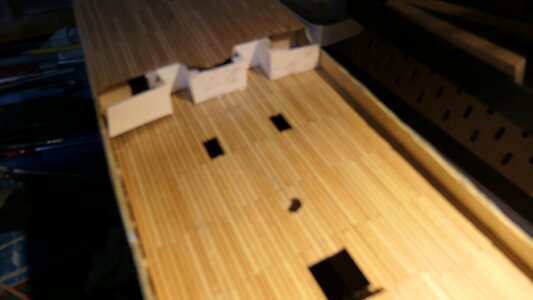
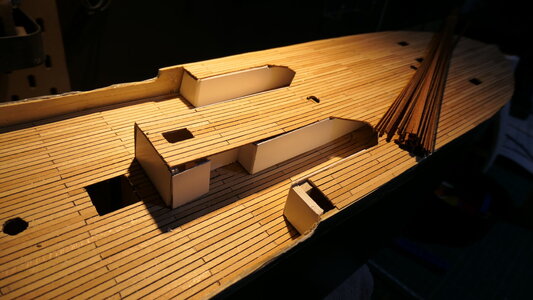
Rear Chateau Positioning Test
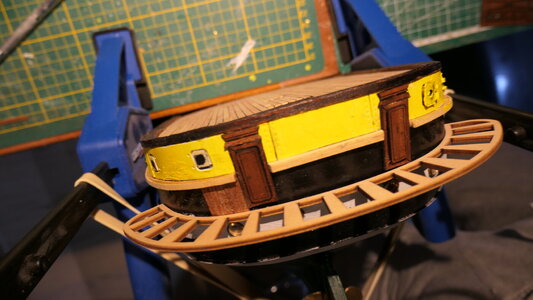
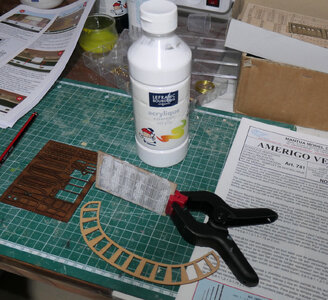
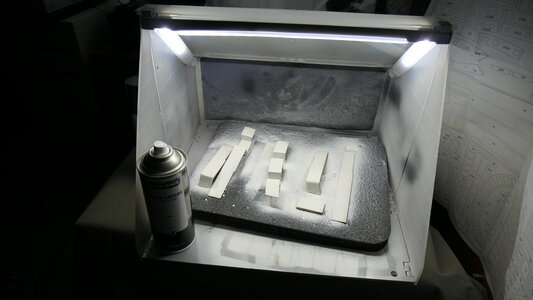
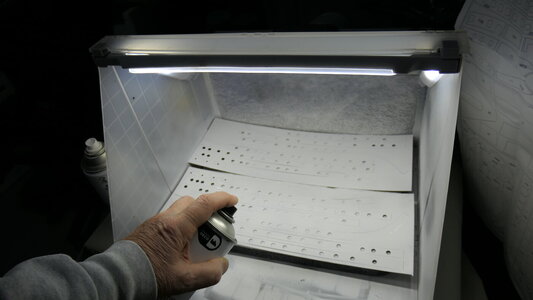
Painting in white with a spray grating from the rear chateau
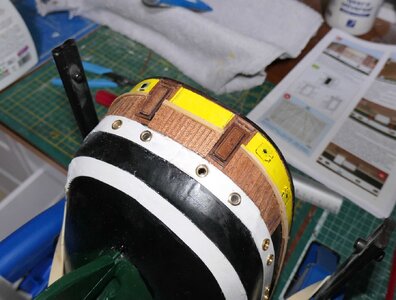
Finishing of the stern of the ship
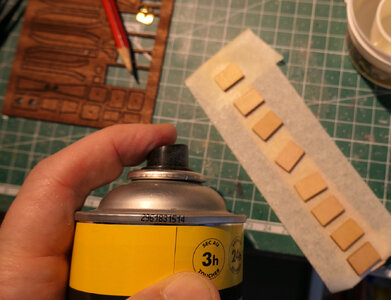
Painting of the side doors that I fixed on an adhesive tape so that the spray spray spray does not make them move
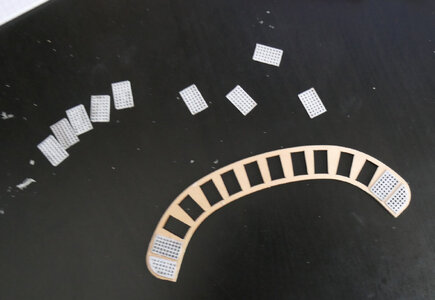
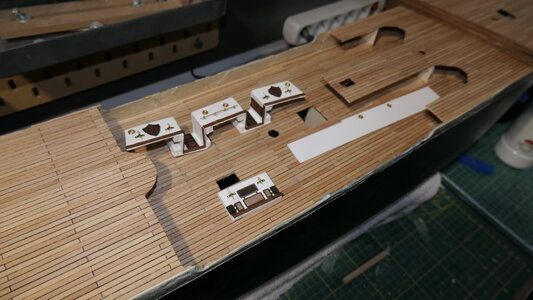
Grating installation
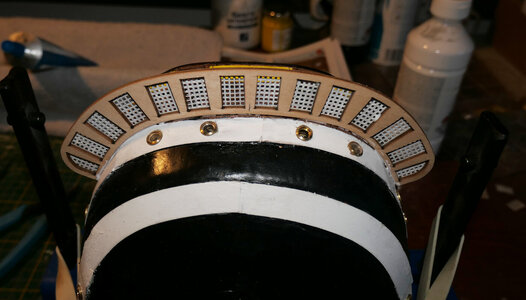
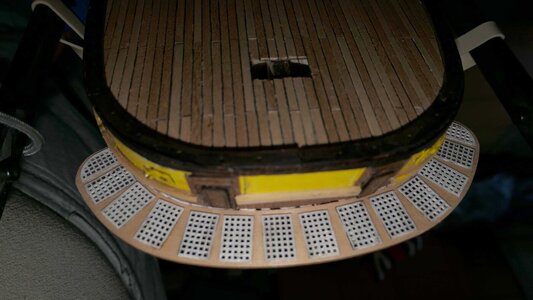
Rear Chateau Installation
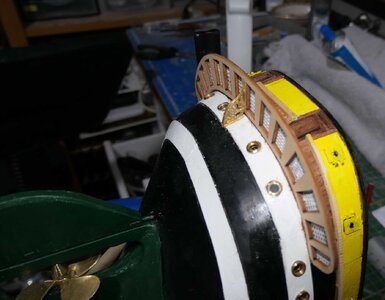
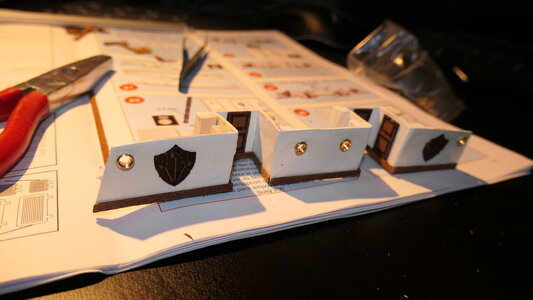
Installation of brass brackets. No part being the right size, I had to adjust them one by one with an electric belt sander
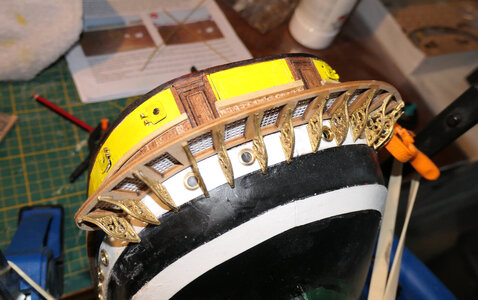
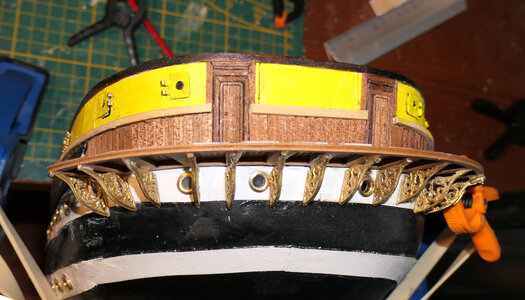
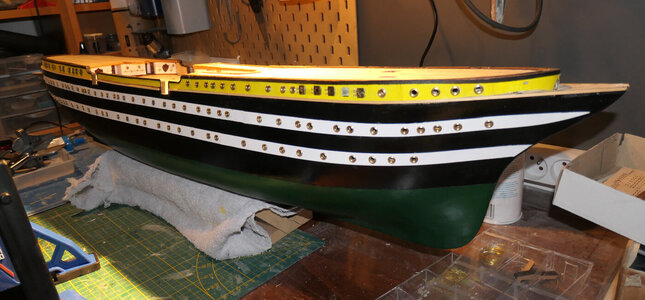
The hull of the ship is almost finished, it lacks the decorations of the bow that will come in the following episode
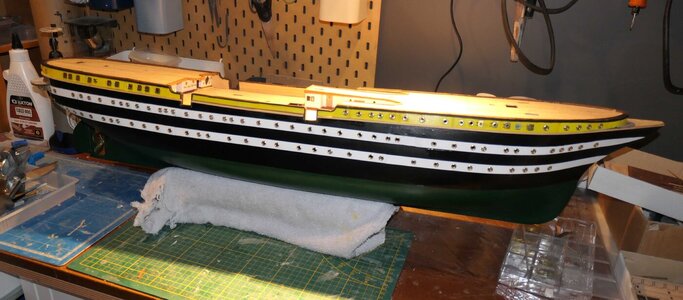
Installation of hull portholes

Drilling with a wood drill bit

Enlarge the hole to match the size of the porthole

Fixation with cyano glue


Installation of overhead windows and tilting windows


but as it is not practical to work flat, I invented a new method by holding the hull vertically to easily work the stern flat


Colour setting of the rudder

Hull drilling for the rudder shaft and keel adjustment for a good rudder position

Rear Chateau Positioning Test


Painting in white with a spray grating from the rear chateau

Finishing of the stern of the ship

Painting of the side doors that I fixed on an adhesive tape so that the spray spray spray does not make them move

Grating installation

Rear Chateau Installation


Installation of brass brackets. No part being the right size, I had to adjust them one by one with an electric belt sander


The hull of the ship is almost finished, it lacks the decorations of the bow that will come in the following episode

Hi SylvainPart 9
Installation of hull portholes
View attachment 430978
Drilling with a wood drill bit
View attachment 430979
Enlarge the hole to match the size of the porthole
View attachment 430980
Fixation with cyano glue
View attachment 430981View attachment 430982
Installation of overhead windows and tilting windows
View attachment 430983View attachment 430984View attachment 430985
but as it is not practical to work flat, I invented a new method by holding the hull vertically to easily work the stern flat
View attachment 430986View attachment 430987
Colour setting of the rudder
View attachment 430988
Hull drilling for the rudder shaft and keel adjustment for a good rudder position
View attachment 430989
Rear Chateau Positioning Test
View attachment 430990View attachment 430991
Painting in white with a spray grating from the rear chateau
View attachment 430992
Finishing of the stern of the ship
View attachment 430995
Painting of the side doors that I fixed on an adhesive tape so that the spray spray spray does not make them move
View attachment 430996
Grating installation
View attachment 430997
Rear Chateau Installation
View attachment 430998View attachment 430999
Installation of brass brackets. No part being the right size, I had to adjust them one by one with an electric belt sander
View attachment 431000View attachment 431001View attachment 431002
The hull of the ship is almost finished, it lacks the decorations of the bow that will come in the following episode
View attachment 431003
Good progress, congratulations
Good morning Sylvain, WOW that is some rapid progress. I just love this ship and your is looking splendid. Cheers GrantPart 9
Installation of hull portholes
View attachment 430978
Drilling with a wood drill bit
View attachment 430979
Enlarge the hole to match the size of the porthole
View attachment 430980
Fixation with cyano glue
View attachment 430981View attachment 430982
Installation of overhead windows and tilting windows
View attachment 430983View attachment 430984View attachment 430985
but as it is not practical to work flat, I invented a new method by holding the hull vertically to easily work the stern flat
View attachment 430986View attachment 430987
Colour setting of the rudder
View attachment 430988
Hull drilling for the rudder shaft and keel adjustment for a good rudder position
View attachment 430989
Rear Chateau Positioning Test
View attachment 430990View attachment 430991
Painting in white with a spray grating from the rear chateau
View attachment 430992
Finishing of the stern of the ship
View attachment 430995
Painting of the side doors that I fixed on an adhesive tape so that the spray spray spray does not make them move
View attachment 430996
Grating installation
View attachment 430997
Rear Chateau Installation
View attachment 430998View attachment 430999
Installation of brass brackets. No part being the right size, I had to adjust them one by one with an electric belt sander
View attachment 431000View attachment 431001View attachment 431002
The hull of the ship is almost finished, it lacks the decorations of the bow that will come in the following episode
View attachment 431003


