Capt. John Smith's Shallop by Pavel Nikitin 1/32 [COMPLETED BUILD]

Joined
Nov 26, 2021
Messages
257
Points
168

Location
Virginia
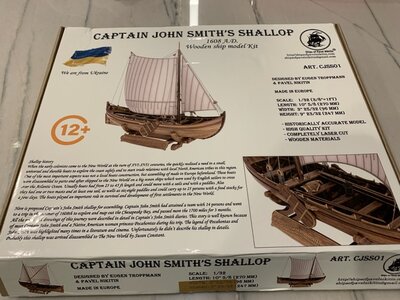
This kit will be an interlude from my Endurance by OcCre. I'm having a great time working on the Endurance. I feel like, with the help of this forum, I've taken my craft to a new level of detail. I look forward to returning to the Endurance. But, in the meantime, I saw Pavel Nikitin's kit, Capt. John Smith's Shallop, and decided to give it a go. I live in what's called the Historic Triangle of Virginia; the confluence of Jamestown, Yorktown, and Williamsburg. This Shallop is the type of ship John Smith would have used to explore coastal Virginia in the early 1600s and to trade with the indigenous people. I wanted to build this ship and put it in my office at work. And I've heard great things about its quality. There are also some good videos by Olha Batchvarov
with some techniques I haven't tried yet.
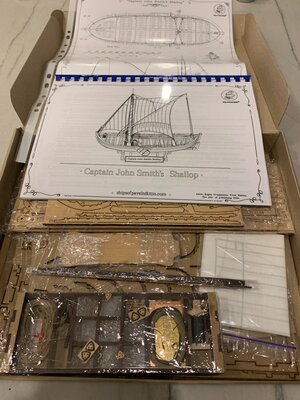
I received the box last week after a little over a month of a delay in shipping from Ukraine (a very understandable delay!). Box was in great shape wrapped up tight. So tight I think Pavel and Denis could have floated it across the Atlantic.
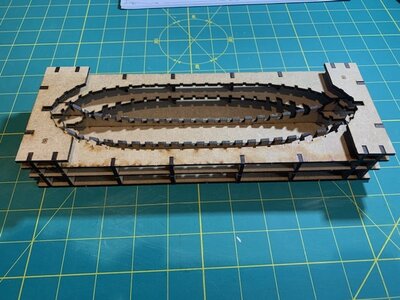
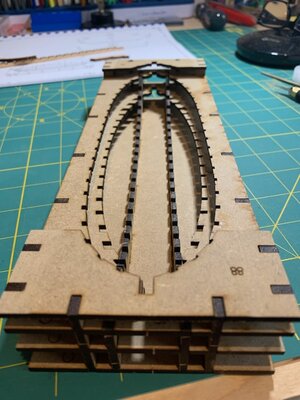
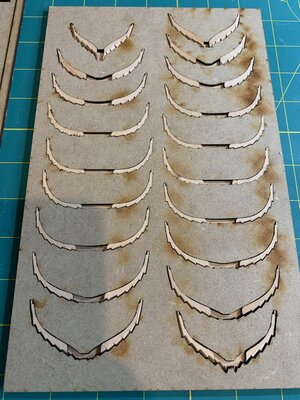
IMG_0479.jpgIMG_0480.jpg
 
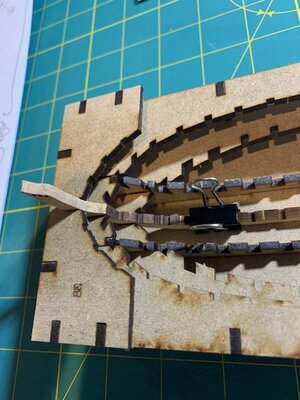
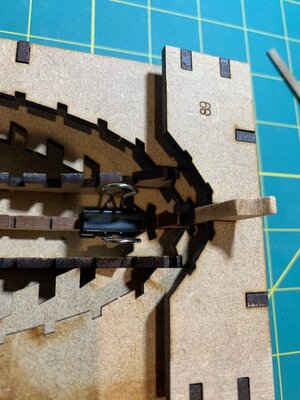
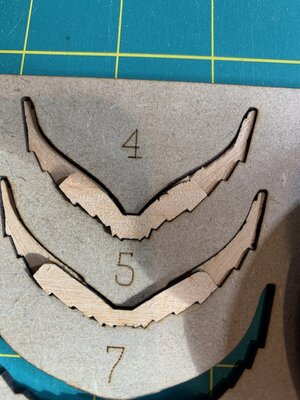
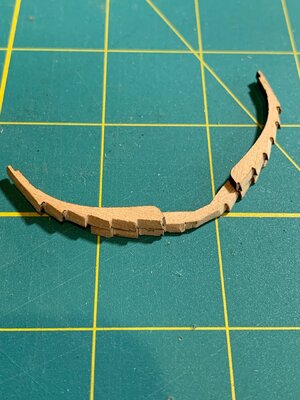
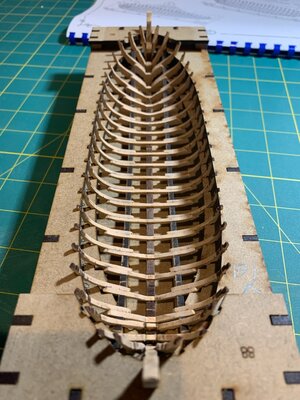
Pretty sure I fared these in the wrong direction.
IMG_0492.HEIC.jpegIMG_0493.HEIC.jpegIMG_0494.HEIC.jpegIMG_0495.HEIC.jpegIMG_0496.HEIC.jpeg
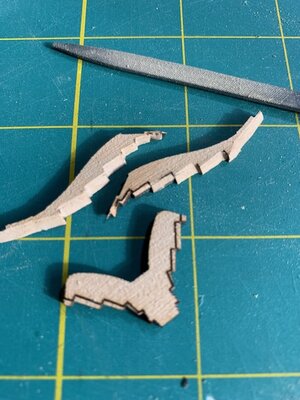
No going back though. I'll have to make it work. I think if I can get everything square it won't matter too much that they're backwards. It'll take some adjusting of the structure to get the frames to fit and be square and vertical. The other option is to fare the frames in the opposite direction, the correct direction, but I think that'll take too much wood off. I guess this will be a test of my improvisation skills.
 
Not as bad as I thought. I started seating the frames in the structure and realized only about 6 of them on the bow end needed to be fared the other way to fix the mistake. Not sure how I did that. Lots of sanding and filing. I learned how important it is to use fresh sandpaper and clean files.
IMG_0497.HEIC.jpeg
 
I am building this model, and also had some confusion about the frames. I tried to install a couple of frames at the wrong end. I found the jigs for assembling some of the canted frames difficult to use, and fitted them in the jig holding the keel and glued them there. I had to disassemble some of the other frames and re-glue them to get them to fit the jig with the keel.
 
I am just a little ahead of you and did not know how to fare the ribs and then the fist 3 at the bow are a disaster!! I now have the frame almost done and will try to take pictures soon.
 
I am building this model, and also had some confusion about the frames. I tried to install a couple of frames at the wrong end. I found the jigs for assembling some of the canted frames difficult to use, and fitted them in the jig holding the keel and glued them there. I had to disassemble some of the other frames and re-glue them to get them to fit the jig with the keel.
and
I am just a little ahead of you and did not know how to fare the ribs and then the fist 3 at the bow are a disaster!! I now have the frame almost done and will try to take pictures soon.
Have you checked the instruction videos by our members Olga on her YouTube Channel? Please do so...highly recommend it, you may have all of your questions resolved.

 
I have been watching the video nut without any narrations I would not have gotten any information on the way to fare the ribs.
 
My biggest problem with the model is the planking. I am having all sorts of problems.
Any help would be appreciated.
Tim Murphy
 
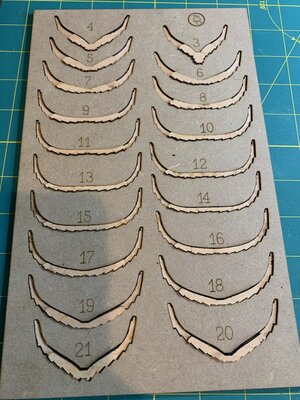
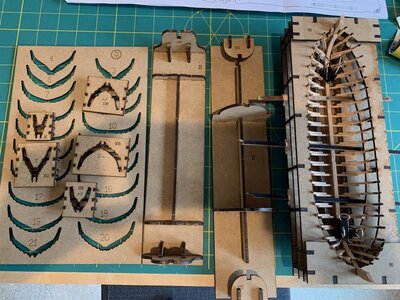
Man this stuff is delicate! Lots of sanding and filing to make everything fit nicely, and my ham hands have broken more than a few pieces. So I've had to make a few repairs that I'm hoping will strengthen the whole structure. Or I just need to develop a softer touch.
IMG_0498.HEIC.jpeg

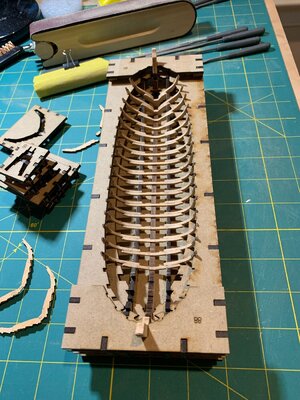
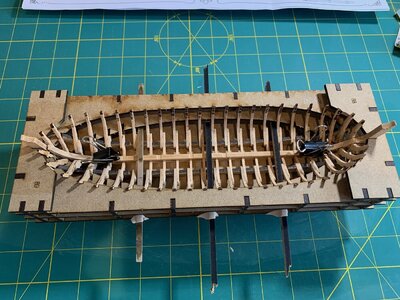
But I got the framing done and dry-fitted it to the structure. Everything fits. I'm sure I'll have to make some more adjustments with my files and sandpaper when it's time to plank, but that's always the case. Pretty happy though so far with my first plank on frame, and the jigs provided by Pavel are excellent. Ready to glue the frames to the keel!
IMG_0500.HEIC.jpeg

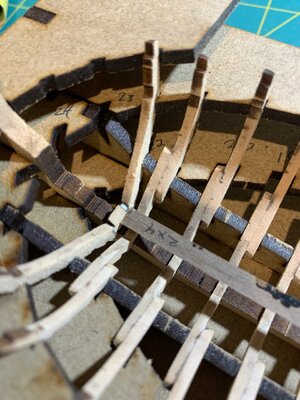
Frames are glued to the keel and braced to dry. I broke a few pieces when glueing the inside keel (not sure what it's called), but I'm sure this will provide a lot of strength when dry.
IMG_0501.jpg
 
Here is the video specifically targeting the 'making of frames'

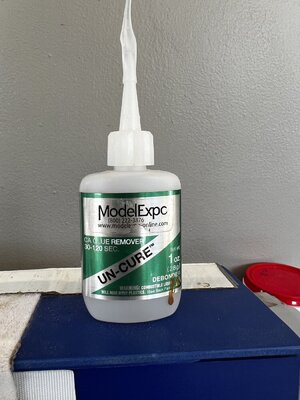
This is an outstanding video I was watch Olha and if I had seen this I would not have made all the mistake it. Well will try to unglue some parts and remake it and recommendations on ungluing tightbond?
 
MACBASS I HAVE USED THIS UNGLUEING METHOD FOR THE PAST 8 YEARS AND IT WORKS BOTH PVA AND CA. WHAT I DO IS USE 100%ACATON, NEED 100% PUT IT ON THE JOINT AND VERY, VERY CAREFULLY PRYIT LOOSE I USE AND EXATO AND SOME OTHER DEVICES YOU MAY HAVE TO DO IT SEVERAL TIMES JUST BE PATINCE AND CAREFULL MIT WILL COME APART WITH NO DAMAGE TO PARTS. HOPE THIS HELPS. GOD BLESS STAY SAFE ALL DON
 
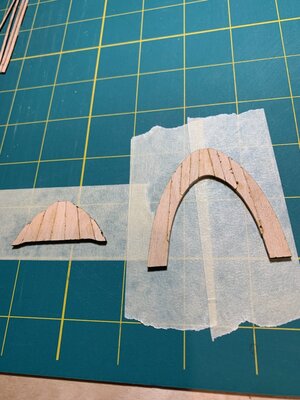
Jumped ahead a bit with these two pieces. One sits at the bow, one at the stern. Don't know what they're called, but the sailors could use them as seats or staging areas for the anchor, lines, gear, or fishing tackle. The instructions don't have me installing them until after I plank the hull, but these pieces and a few other support pieces need to line up. So I thought I'd assemble them now so I can make sure there are no problems later with alignment.
IMG_0503.HEIC.jpeg

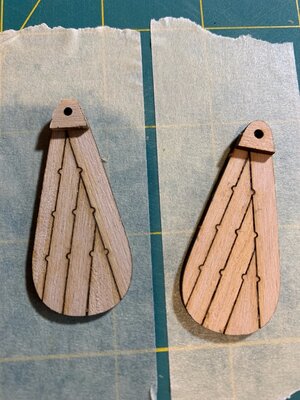
Also put the fins together waiting for glue to dry on the other parts.
IMG_0504.HEIC.jpeg
 
Back
Top