I assure you that people were not born with milling skills, in fact, any skills to be precise (except sucking and smelling).  When I bought my milling machine, I also have no knowledge of its use, just guess. However, step by step, I learn not just the basic operation but can do complex milling, and this mill becomes my desktop tool (it is always on the desktop)
As a rookie you are, I would not suggest you start milling gratings or spacer for shaves in the davits. Find as many scrap wood pieces as you can find, preferably different species (hard, medium, and soft). Fit them with a clamping set and make your first grove along the X-axis. Now it is important you feel the move\cut. Try moving faster\slower...Did you notice the difference? Now, the best wood to play with is hardwood: it will give a nice edge and smooth and clean results. Don't try to cut too deep, plunge the endmill a few mm at a time. Now, try to make a 'y'-axis cut. How about that? Now, try to shape the square inside the blank, this exercise required to use of both the 'X' and 'Y' axis. Note, there is a limb on each of the cranks. One full turn is 1.00mm try to make a cut with a specific size: outside and inside. Now, change the speed and notice the differences. It should keep you busy for a while...until you will learn and grasp the key movements. BTW, did you find the difference in cutting from right to left or vice versa? Did your right-hand hurts while turning?
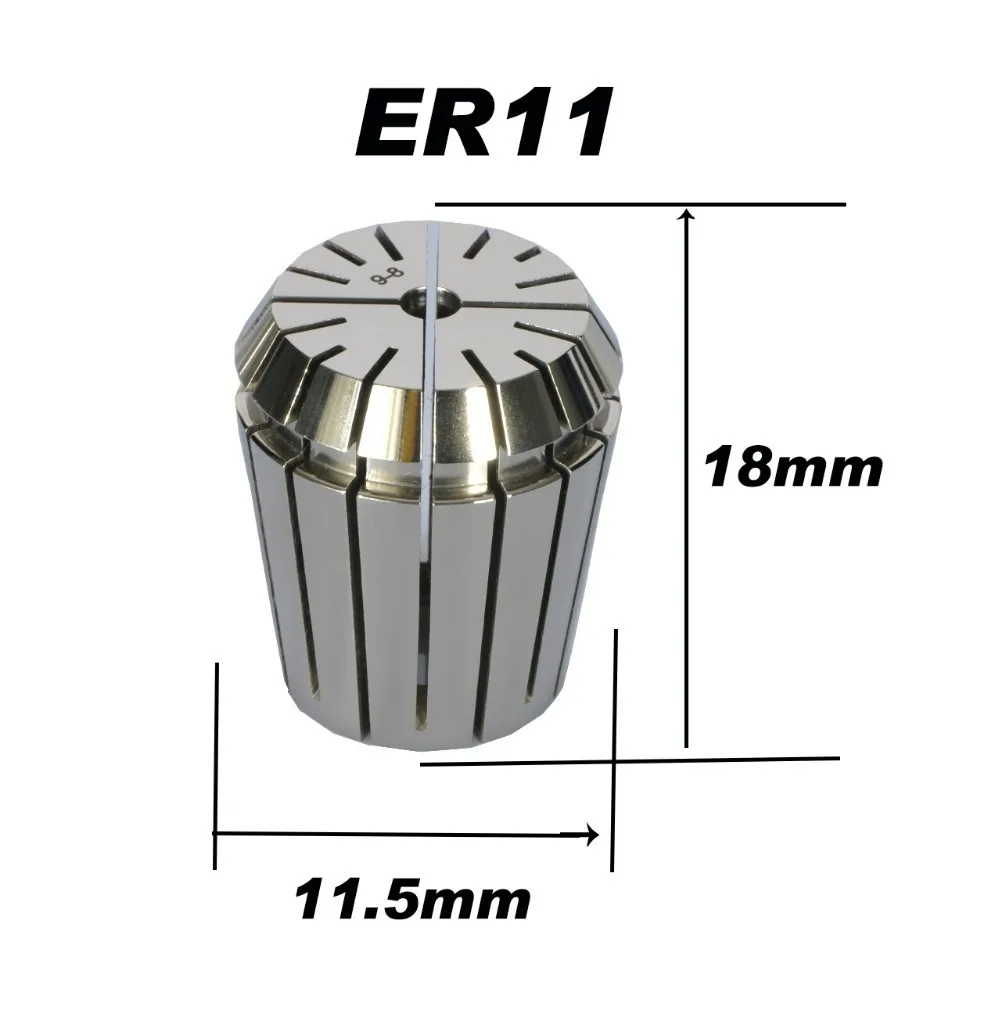
But first... you would need to fine-tune your mill
When I bought my milling machine, I also have no knowledge of its use, just guess. However, step by step, I learn not just the basic operation but can do complex milling, and this mill becomes my desktop tool (it is always on the desktop) As a rookie you are, I would not suggest you start milling gratings or spacer for shaves in the davits. Find as many scrap wood pieces as you can find, preferably different species (hard, medium, and soft). Fit them with a clamping set and make your first grove along the X-axis. Now it is important you feel the move\cut. Try moving faster\slower...Did you notice the difference? Now, the best wood to play with is hardwood: it will give a nice edge and smooth and clean results. Don't try to cut too deep, plunge the endmill a few mm at a time. Now, try to make a 'y'-axis cut. How about that? Now, try to shape the square inside the blank, this exercise required to use of both the 'X' and 'Y' axis. Note, there is a limb on each of the cranks. One full turn is 1.00mm try to make a cut with a specific size: outside and inside. Now, change the speed and notice the differences. It should keep you busy for a while...until you will learn and grasp the key movements. BTW, did you find the difference in cutting from right to left or vice versa? Did your right-hand hurts while turning?
But first... you would need to fine-tune your mill