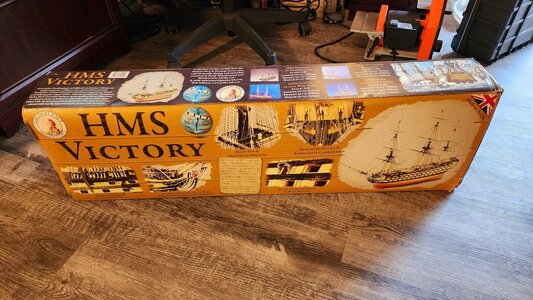
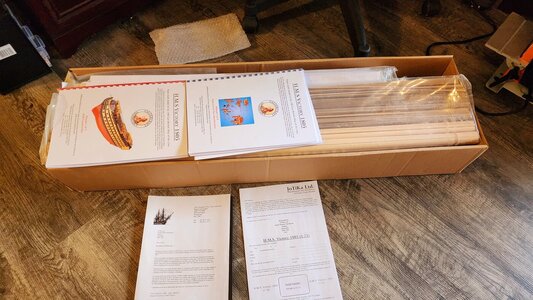
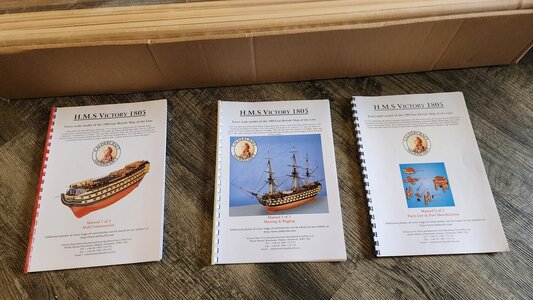
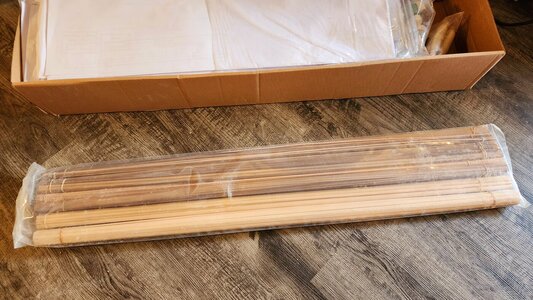
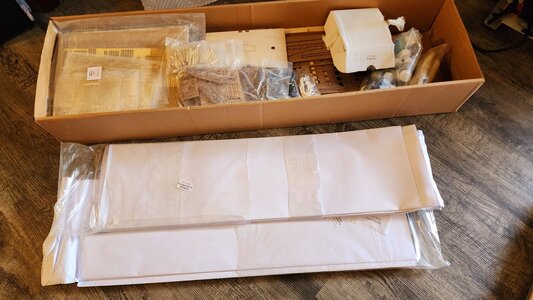
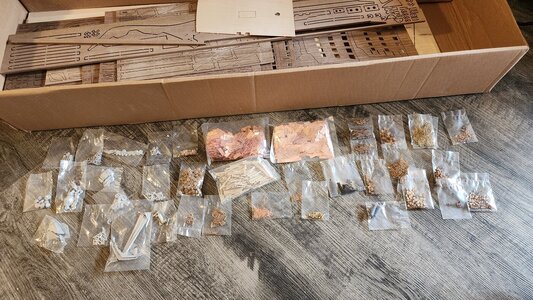
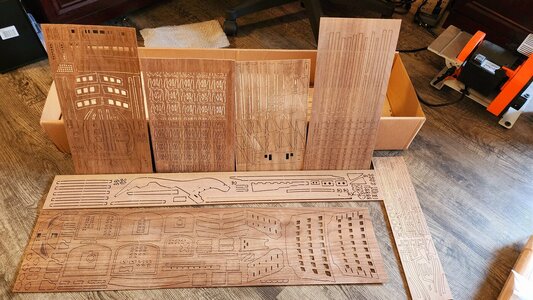
Caldercraft HMS Victory Build

Joined
Sep 12, 2023
Messages
8
Points
43

And so I start my journey. I have always been interested in wooden model ships, and have always wanted to build one. The attention to detail, the research involved, the meticulousness of getting every detail right and accurate. However, age precludes some of that (at least for me). I attempted the Artesania Latina USS Constitution about 25 years ago. I had acquired the kit from a hobby store that was closing, and figured why not? I finished the 1st planking, and decided to put it down because at that time in my life and age, I didn't have the patience to do it proper justice. Unfortunately, years later, it was utterly destroyed in a move.

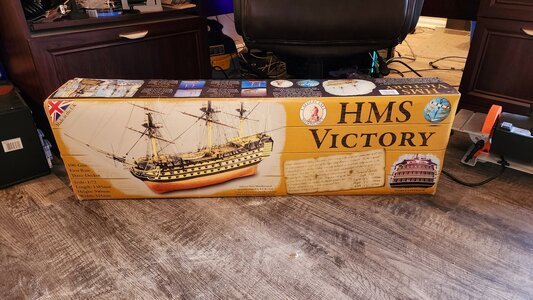
I always said I would build another ship, but not until I had the patience to build one accurately and with the attention to detail that was required. I am now ready to tackle that journey. I guess, for me, with age comes more patience. When it comes to doing something, I guess I have always been the kind of person to go big, or go home. I don't think I have seen a single post of someone choosing the Victory as their first model; definitely not to the level of the Caldercraft Victory. That is definitely not why I decided on the Caldercraft HMS Victory though. I did about a month worth of research, reading reviews, watching videos, etc before I decided on it. And although I have a little experience from attempting the Constitution so many years ago, I truly believe I can do this. I have done months of research on the Victory. I have Alan McGowan's HMS Victory and John McKay's The 100 Gun Ship Victory (2 books that I think are a must have for this endeavor). For me, my due diligence started way before I received the kit.

I started building back in early September. I photo-documented almost everything, but wanted to wait a little before posting a build log. Currently, I am getting ready to start the 2nd planking, and thought it would be a good time to begin posting my log. Comments, suggestions, and history are definitely welcome. Doing and re-doing things that aren't right doesn't scare me. I have been following many Victory build posts, obviously focusing on the Caldercraft model, and have learned so much, and have learned what to watch out for. I have been following TonyH's journey fixing the Victory he got half-built from Ebay. I can't tell you how much I learned from his going through everything that was wrong or misaligned.

Anyways, here is the start of my build log:
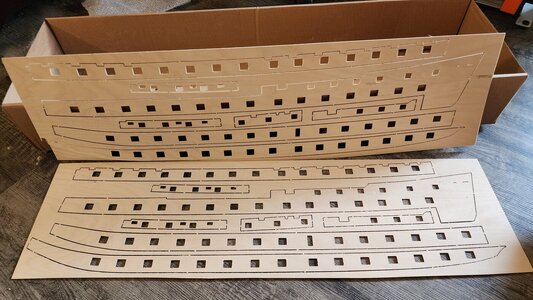
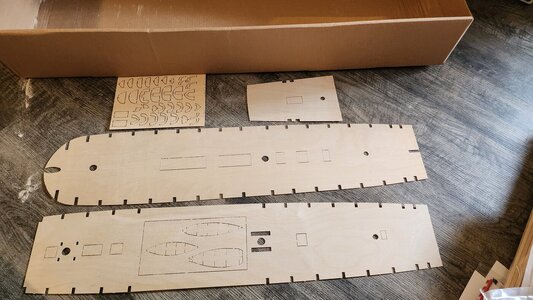
20231018_151654.jpg20231018_151810.png20231018_151820.jpg20231018_152001.jpg20231018_152011.jpg20231018_152035.jpg20231018_152121.jpg20231018_152154.jpg20231018_152527.jpg20231018_152816.jpg20231018_153345.jpg20231018_153423.jpg

And so to begin:

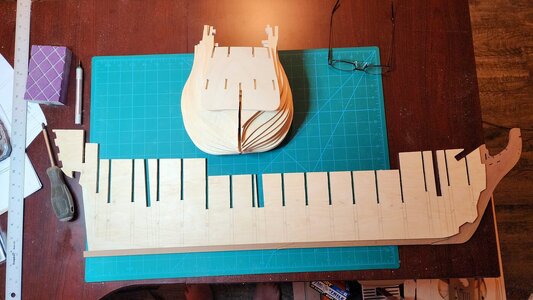
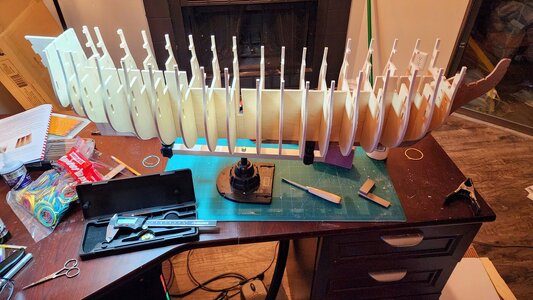
20231029_190808.jpg20231102_032054.jpg20231102_032132.jpg20231102_032144.jpg20231103_140452.jpg20231106_180740.jpg

As you can see, my workspace is getting more cluttered as the build goes on. I do need to work on keeping a cleaner workspace!
 
Last edited:
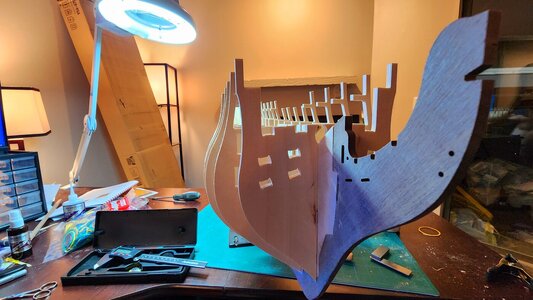
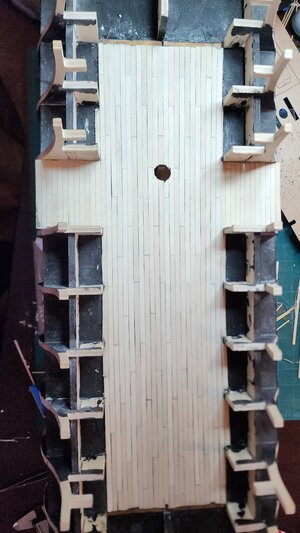
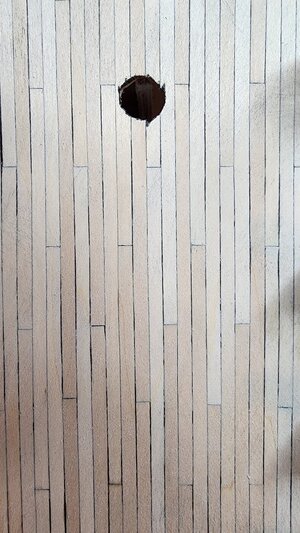
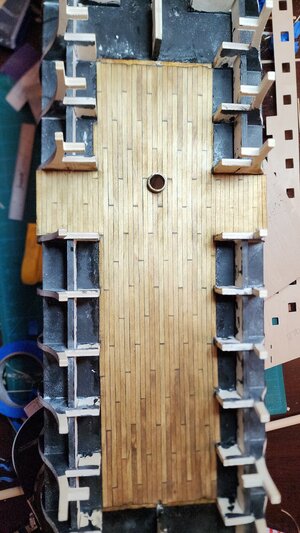
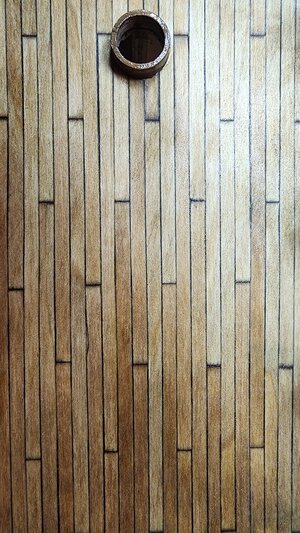
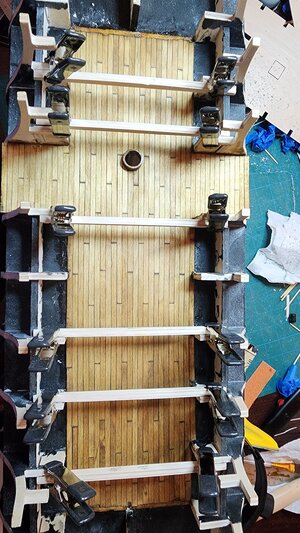
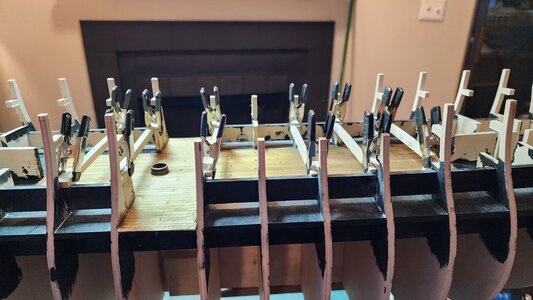
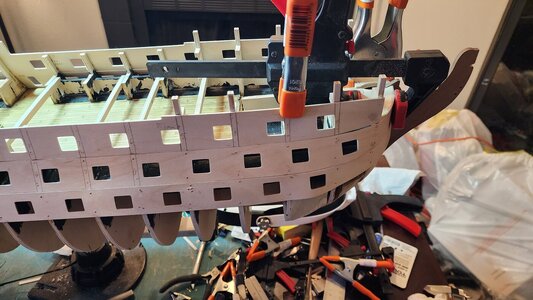
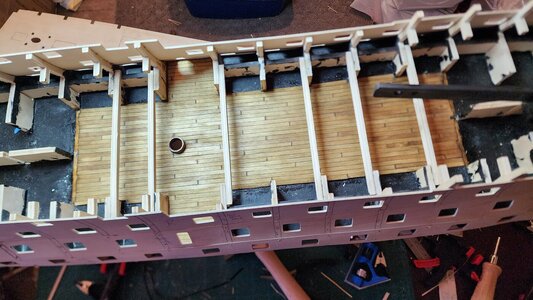
I decided to plank the middle-deck before putting on the upper-deck supports. Not only because I think it was easier, but also in case I needed to redo it. And I am glad I did. I didn't like how the planking turned out. The included planking didn't seem to have of a uniform width. Anywhere up to 0.5mm difference. Maybe I am being too meticulous, maybe not. But I decided to started over. However, I wanted to try something, I got 1mm basswood, and cut my own planks by hand. Took quite a bit of time, but I am happy how it turned out. I stained the finished deck with Medium Walnut. The rest of the decks, I will most likely use the decking from the kit, and just be very meticulous about it, but it was good practice and learning to do the middle-deck the way I did.

20231112_113036.jpg20231116_184555.jpg20231128_170212.jpg20231128_170226.jpg20231213_140132.jpg20231213_140138.jpg20231213_183041.jpg20231213_183049.jpg
 
Last edited:
1st Planking:

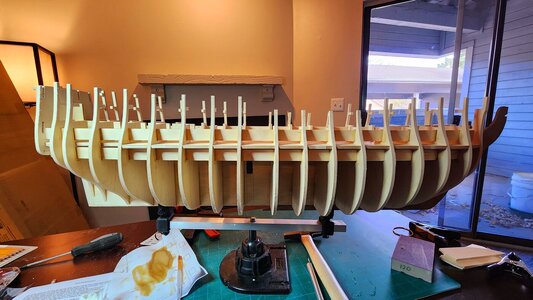
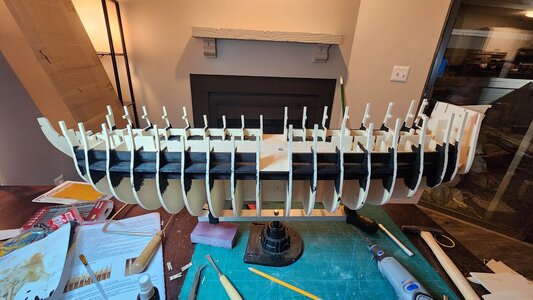
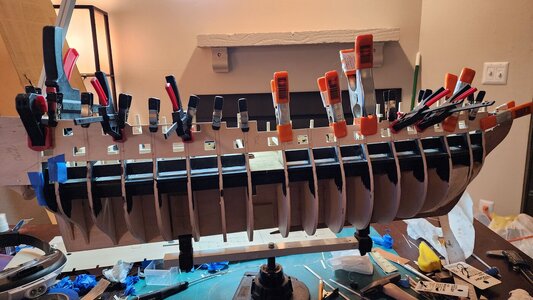
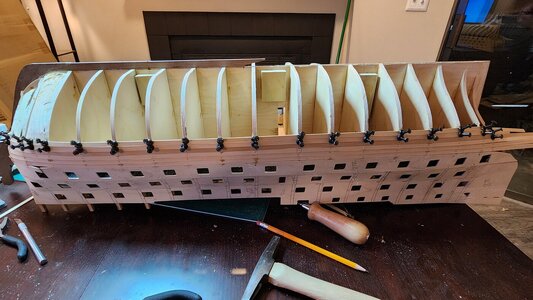
I know the instructions say to plank both sides of the hull at the same time to keep the bulkheads from skewing, but I decided to plank one side completely before doing the other side. My thought was that I wanted to make sure I got everything right and the right finished contours. Hopefully it will pay off. The 2nd planking I will do together.

20231216_193801.jpg20231217_112933.jpg20231223_152928.jpg

Time to clean up my workspace!

Thank you for watching. More to follow soon!
 
I am following your build and enjoying the photos. I am at the first planking stage of the Caldercraft kit so well behind you. It's great to have someone ahead to help guide and provide insight as to what is ahead.

Regards,

PeterG
 
Hi
Your at the start of one of the best kits on the market and it looks like your off to a good start.
I'm glad my log was of some help to you, I'll get round to ordering a replacement parts one day. I'm currently building the Constitution but looking forward to restarting the Victory.
Tony
 
Time for an update. First, thank you for everybody that has viewed my log and the great comments.

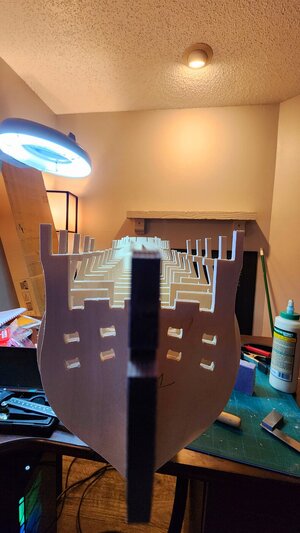
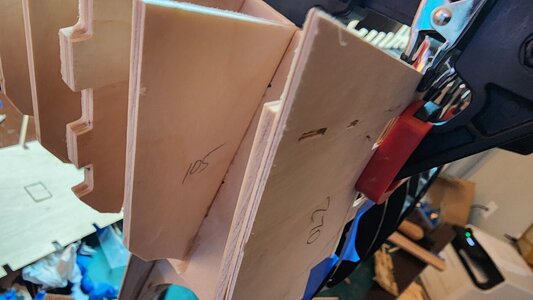
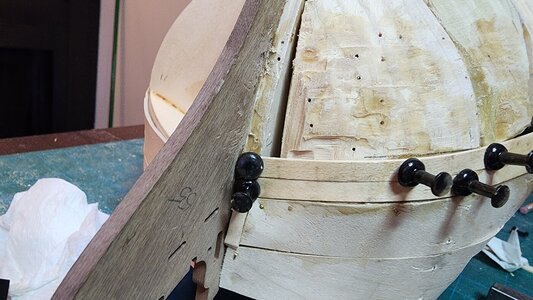
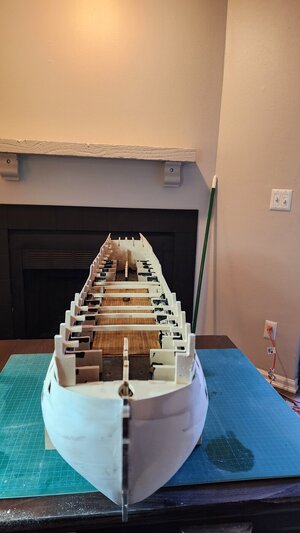
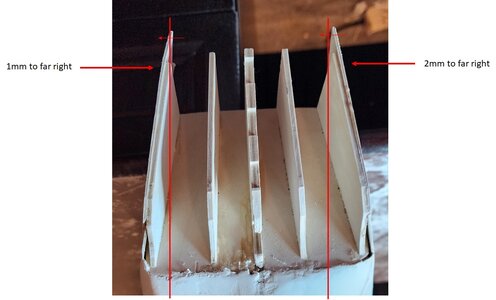
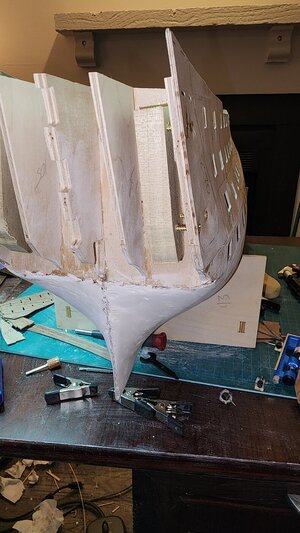
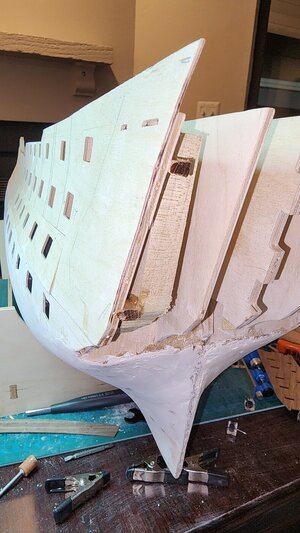
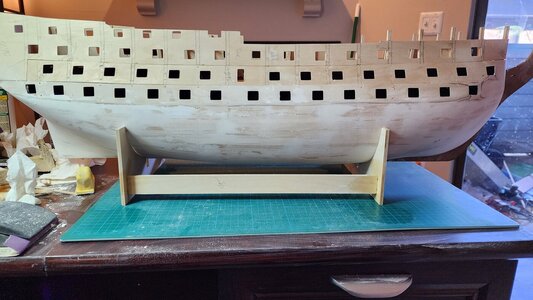
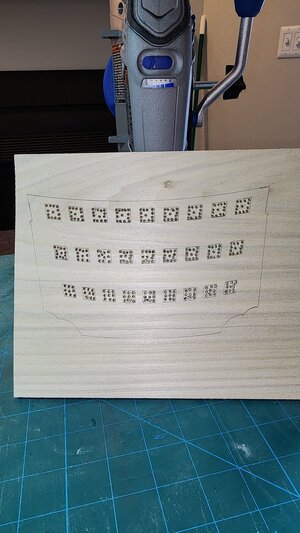
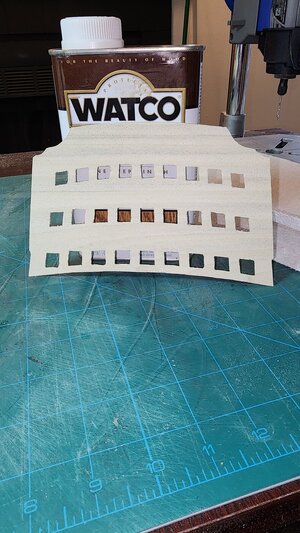
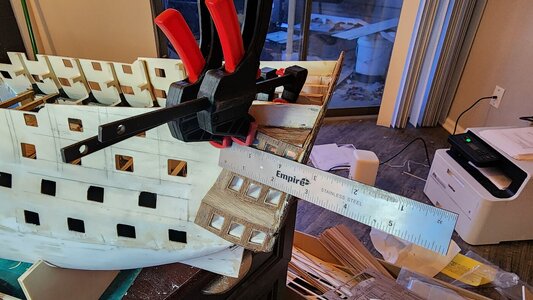
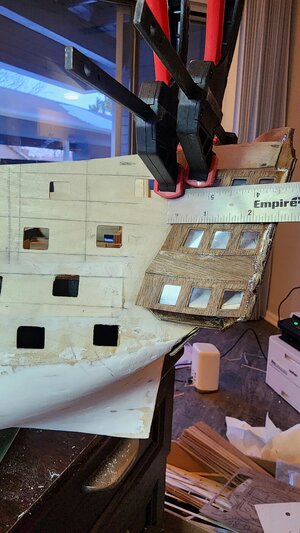
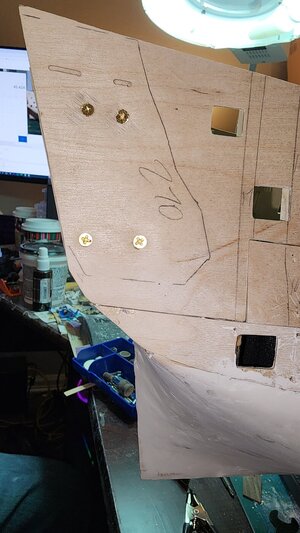
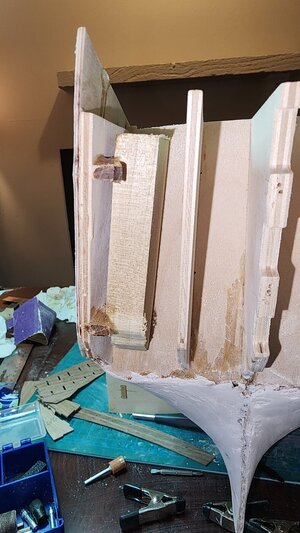
I finished the 1st planking and finally finished the quarter gallery templates and stern fascia. It definitely was tricky to say the least. It took a couple of hours of fiddling around to finally get it correct. When I started dry fitting, I couldn't figure out why the quarter gallery panels weren't lining up with the correct downward angles. The right side was good and the angles correct, but the left side angles were too much. I finally figured out what the issue was and how to fix it. I measured the gunport panels at 3 different positions for both sides (top/middle/bottom) from the center of the keel, and discovered that the right side was too far to the right about 2mm, and the left side was about 1mm too far the the right. To correct this, I glued two blocks and then carefully shimmed the left side out, and screwed the right side in (see pics). Once I finished that, the panels fit right in and the angles were spot on.

Currently, the quarter panel skin windows are drying, and then I'll attach those and begin the upper deck and inner gunport panels before moving on to the 2nd planking.

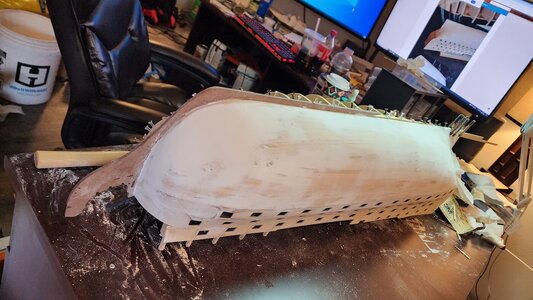
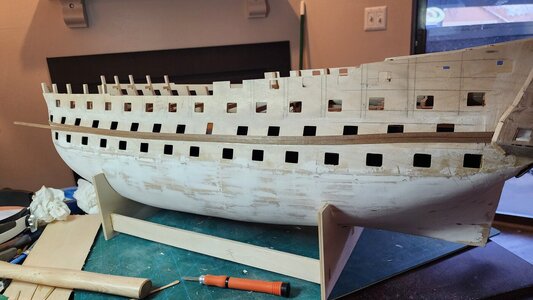
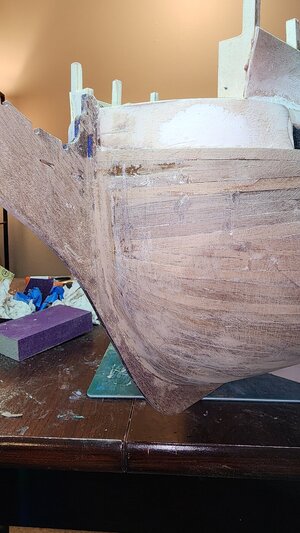
P.S. - As the pics show, I did use more wood putty than probably a more experienced modeler would use to smooth out the hull contours after the 1st planking, but I think I got all the contours correct in prep for the 2nd planking. However, I will probably need to do a little more work around the bearding line to get the required 4mm after the 1st planking.


20231226_105019.jpg20231226_105049.jpg00001.jpg20231227_190911.jpg20231227_190903.jpg20231227_190916.jpg20231227_190921.jpg20231229_132507.jpg20231229_132517.jpg20231229_132534.jpg

20231226_105059.jpg
 
Time for an update. First, thank you for everybody that has viewed my log and the great comments.

I finished the 1st planking and finally finished the quarter gallery templates and stern fascia. It definitely was tricky to say the least. It took a couple of hours of fiddling around to finally get it correct. When I started dry fitting, I couldn't figure out why the quarter gallery panels weren't lining up with the correct downward angles. The right side was good and the angles correct, but the left side angles were too much. I finally figured out what the issue was and how to fix it. I measured the gunport panels at 3 different positions for both sides (top/middle/bottom) from the center of the keel, and discovered that the right side was too far to the right about 2mm, and the left side was about 1mm too far the the right. To correct this, I glued two blocks and then carefully shimmed the left side out, and screwed the right side in (see pics). Once I finished that, the panels fit right in and the angles were spot on.

Currently, the quarter panel skin windows are drying, and then I'll attach those and begin the upper deck and inner gunport panels before moving on to the 2nd planking.

P.S. - As the pics show, I did use more wood putty than probably a more experienced modeler would use to smooth out the hull contours after the 1st planking, but I think I got all the contours correct in prep for the 2nd planking. However, I will probably need to do a little more work around the bearding line to get the required 4mm after the 1st planking.


View attachment 417344View attachment 417345View attachment 417347View attachment 417349View attachment 417348View attachment 417350View attachment 417351View attachment 417352View attachment 417353View attachment 417354

View attachment 417346
Great job so far
I'll be following your progress with great interest
Caldercraft Victory will most probably be the next ship I build
Happy New Year
 
Hi
Your at the start of one of the best kits on the market and it looks like your off to a good start.
I'm glad my log was of some help to you, I'll get round to ordering a replacement parts one day. I'm currently building the Constitution but looking forward to restarting the Victory.
Tony
Do you feel that Caldercraft produces a good all-round kit in general? Curious as to my next project.
Just completed a Master Korabel and the engineering was superb.
 
Do you feel that Caldercraft produces a good all-round kit in general? Curious as to my next project.
Just completed a Master Korabel and the engineering was superb.
Hi
I can only compare Caldercraft with the other kits that I have purchased (ZHL Corel Mamoli Model Shipways) and I'll put Caldercraft at the top by a long way.
 
And so I start my journey. I have always been interested in wooden model ships, and have always wanted to build one. The attention to detail, the research involved, the meticulousness of getting every detail right and accurate. However, age precludes some of that (at least for me). I attempted the Artesania Latina USS Constitution about 25 years ago. I had acquired the kit from a hobby store that was closing, and figured why not? I finished the 1st planking, and decided to put it down because at that time in my life and age, I didn't have the patience to do it proper justice. Unfortunately, years later, it was utterly destroyed in a move.

I always said I would build another ship, but not until I had the patience to build one accurately and with the attention to detail that was required. I am now ready to tackle that journey. I guess, for me, with age comes more patience. When it comes to doing something, I guess I have always been the kind of person to go big, or go home. I don't think I have seen a single post of someone choosing the Victory as their first model; definitely not to the level of the Caldercraft Victory. That is definitely not why I decided on the Caldercraft HMS Victory though. I did about a month worth of research, reading reviews, watching videos, etc before I decided on it. And although I have a little experience from attempting the Constitution so many years ago, I truly believe I can do this. I have done months of research on the Victory. I have Alan McGowan's HMS Victory and John McKay's The 100 Gun Ship Victory (2 books that I think are a must have for this endeavor). For me, my due diligence started way before I received the kit.

I started building back in early September. I photo-documented almost everything, but wanted to wait a little before posting a build log. Currently, I am getting ready to start the 2nd planking, and thought it would be a good time to begin posting my log. Comments, suggestions, and history are definitely welcome. Doing and re-doing things that aren't right doesn't scare me. I have been following many Victory build posts, obviously focusing on the Caldercraft model, and have learned so much, and have learned what to watch out for. I have been following TonyH's journey fixing the Victory he got half-built from Ebay. I can't tell you how much I learned from his going through everything that was wrong or misaligned.

Anyways, here is the start of my build log:
View attachment 416253View attachment 416254View attachment 416255View attachment 416257View attachment 416258View attachment 416260View attachment 416261View attachment 416262View attachment 416263View attachment 416264View attachment 416265View attachment 416266

And so to begin:

View attachment 416267View attachment 416268View attachment 416270View attachment 416271View attachment 416272View attachment 416273

As you can see, my workspace is getting more cluttered as the build goes on. I do need to work on keeping a cleaner workspace!
Looks really clean to me. Clutter is mandatory.
 
Great work and a nice set of photos to catalogue your build. Enjoying following your updates.
 
i will only said one name which for me make me decide very easily on which version of the victory i want and actually build , the name is CHRIS WATTON
 
Maybe the best Victory kit model on the market - Caldercraft / Jotika
I will follow your log with big interest
 
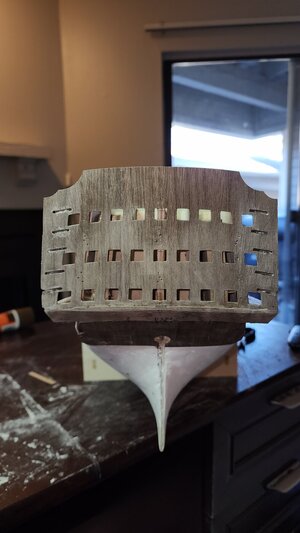
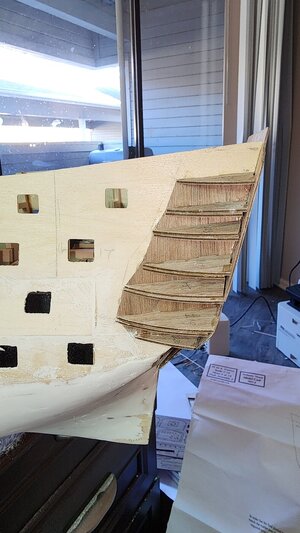
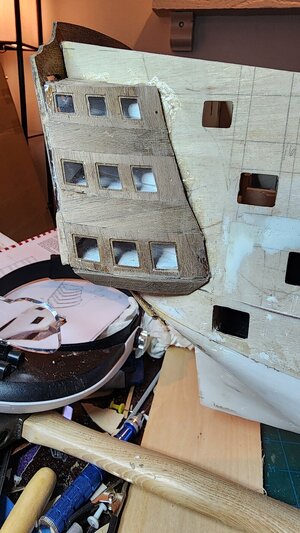
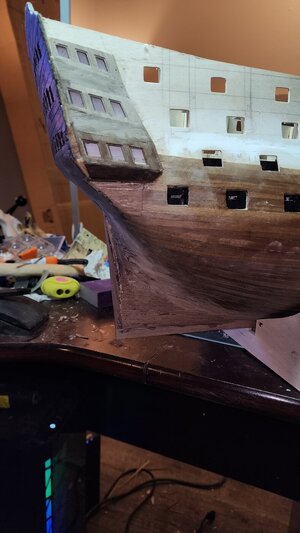
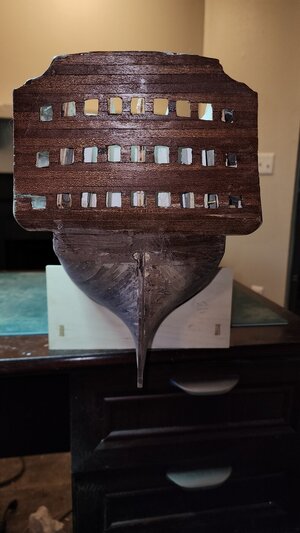
Hey all. Sorry for the long hiatus from posting on my build. So after I installed the inner stern fascia, I realized that it was not straight and level. I can't believe I didn't realize or see that previously. Not very easy to take it back off, so I ended up making a new inner stern fascia. I used a 1/4 in board of poplar, and then when finished, sanded it down to the 1/16th in of the original. Even though the outer fascia will go over it, I didn't want to leave it the light color of poplar. I had some walnut veneer from the 20 year old Constitution build that I attempted years ago, and planked it. It will be hidden anyways, but until I'm ready to put the outer fascia on, it doesn't look that great. I was able to get both of the side templates off and reapply them, however, the back of the port side template was somewhat damaged, so I had to glue it to a thin piece of basswood to make it flat so I could reinstall it. Even though I sanded it down as much as I could, it still sits about 1mm too much out from the gunwall, which means the window templates will end up not sitting flush with the gunwall, and the second planking won't butt up against them. So I ended up gluing little "extensions" which you will see in the pictures. I haven't yet sanded them, so they really look out of place right now. The good thing is is that when everything is painted later, that and the stern fascia will look fine. At least that is my hope.

Also, the glazing for the windows wasn't included in my kit. So what I ended up using for the galleries is plastic cupcake boxes. I just cut what I needed and glued them on. They actually worked perfect.
20231231_095500.jpg
20231231_145402.jpg

20240106_164334.jpg

20240106_164344.jpg

20240107_160914.jpg

20240107_160934.jpg

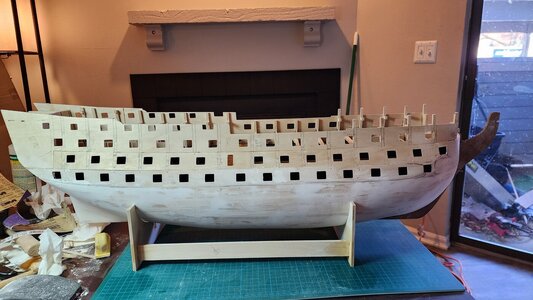
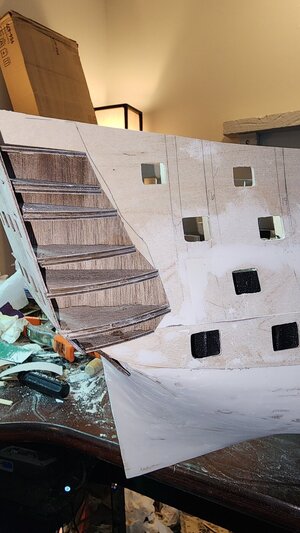
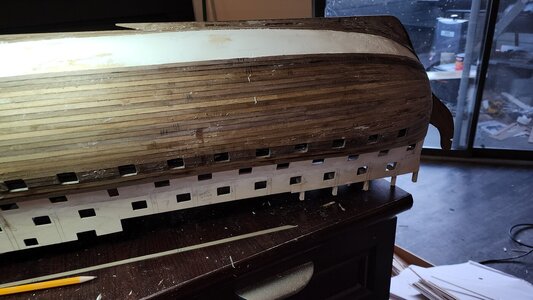
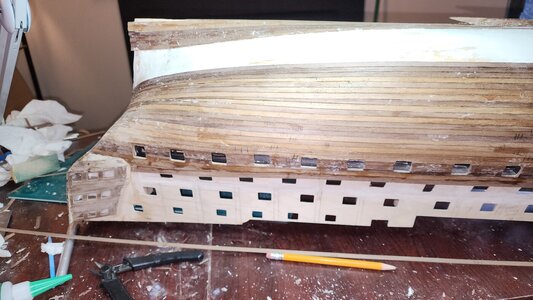
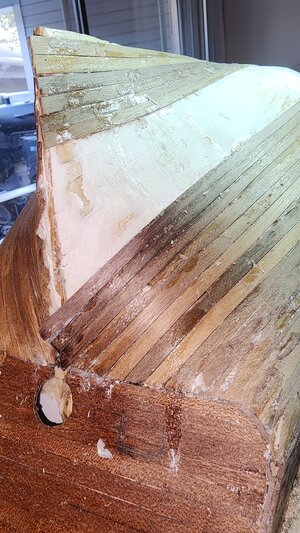
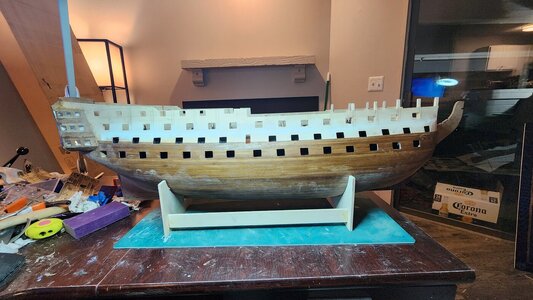
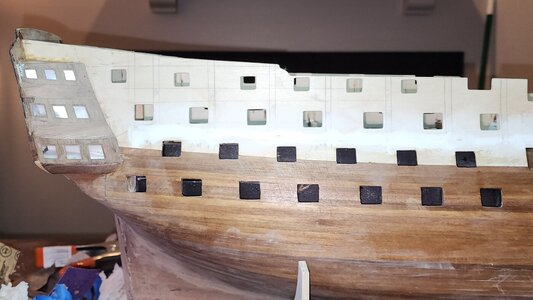
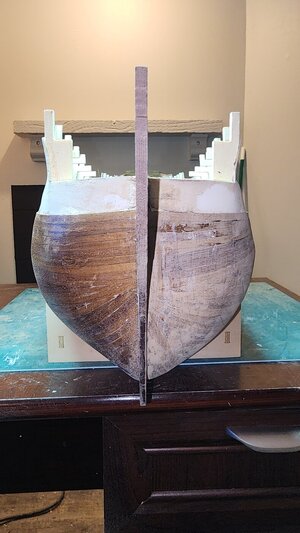
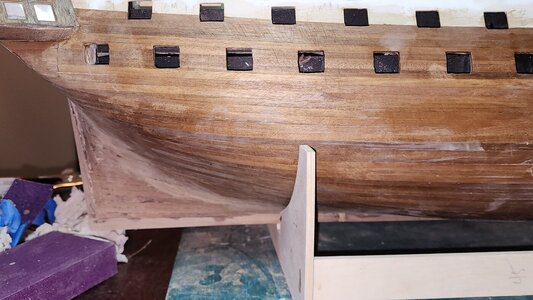
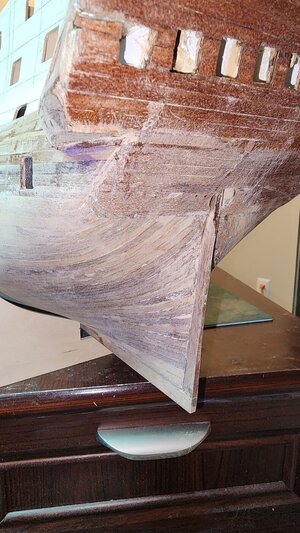
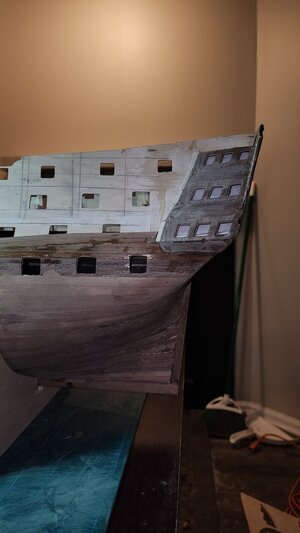
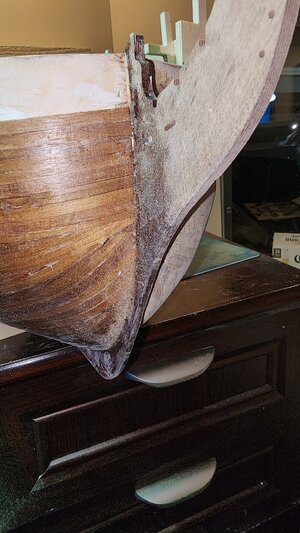
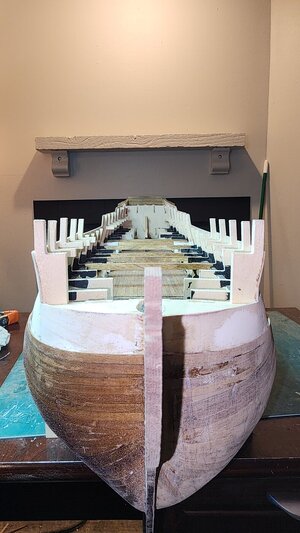
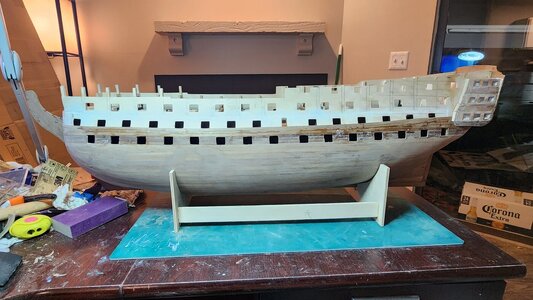
So after I finished fixing the stern and galleries, I was able to start on the second planking. I have a lot of respect for the modelers that can do a second planking perfectly, especially if it isn't going to be painted. For me, with my limited experience, I'm really glad the hull it going to be coppered and painted. I did use Paul Vickers suggestion of using contact cement, which worked great. Although, being in a small apartment with a gas furnace, I didn't really have enough ventilation and didn't want to risk blowing my apartment up with the fumes, so I had to go outside for every plank to apply the cement. I did end up having to use CA on the ends though. I know the planking in some of the in-progress pictures look like a mess, but everything sanded and cleaned up nicely. I can definitely see why this level of model is not recommended as a first build model. The learning curve is extremely high, but I am enjoying it, and working my way through it. I am definitely open to and would greatly appreciate any tips and advice from all of the veteran modelers out there. I did end up applying a coat of poly to one side just to see how it would look.

20240119_153321.jpg


20240119_153324.jpg

20240119_153341.jpg

20240120_175227.jpg

20240120_175243.jpg

20240120_175128.jpg


20240120_175249.jpg

20240120_175321.jpg

As I said, the inner stern fascia in this next picture looks ridiculous, but once the outer fascia it put on later, I think it will be fine.

20240120_175333.jpg

20240120_175347.jpg

20240120_175427.jpg

20240120_175443.jpg

20240120_175452.jpg

20240120_175522.jpg

I noticed in the bow pics, the bottom of the bow doesn't look symmetrical. I think it is the angle of the pictures because they actually are symmetrical.

So it still needs to be cleaned up a little, but there is the start of my 1st second planking of a wooden model ship.


20240120_175411.jpg


To be continued...
 
Last edited:
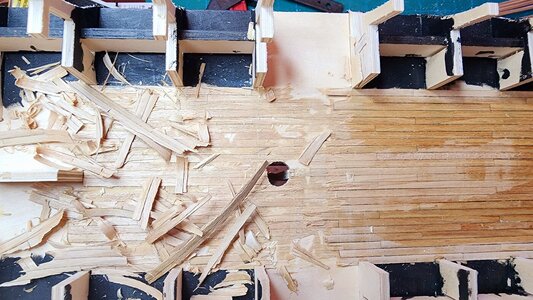
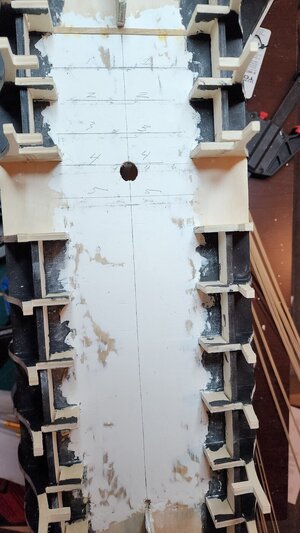
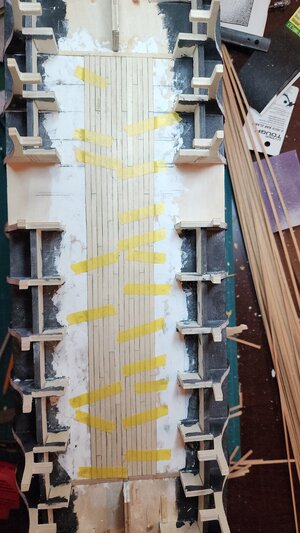
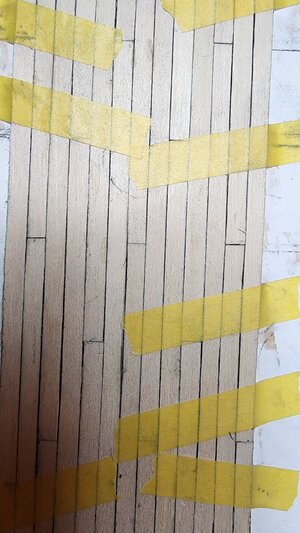
Just a quick update...sorta. I'm planking the upper deck, and then I'll move on to finishing the hull second planking and start coppering. I'll try to post pictures along the way, but might not until I finish the coppering.

One question. I've been working on the ship pretty regularly, but I haven't been keeping track of hours. Any thoughts as to what the average hours might be on a ship of this scale and complexity to the point that I'm at now?
 
Last edited:
Back
Top