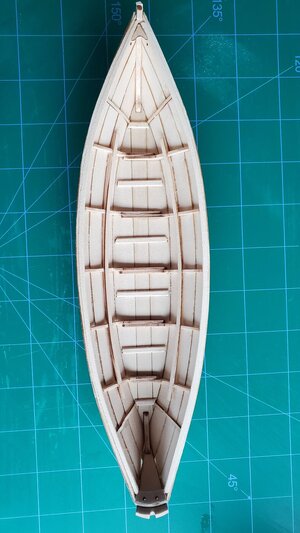
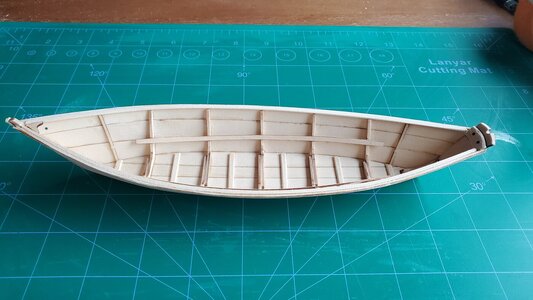
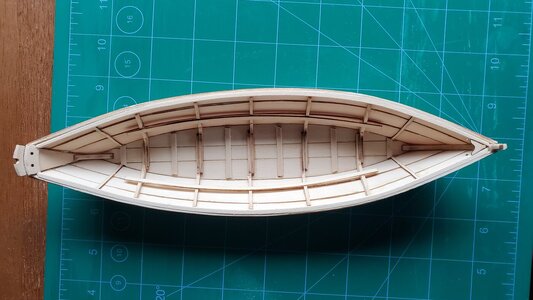
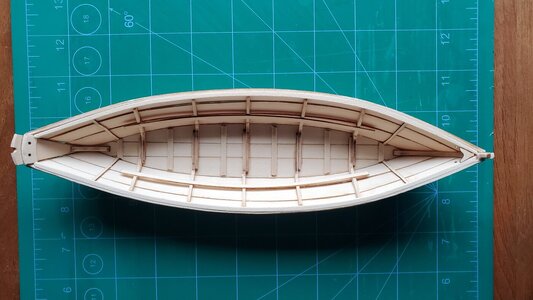
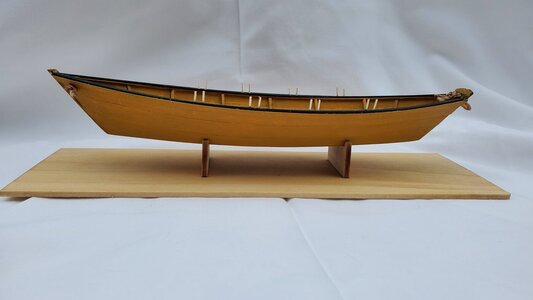
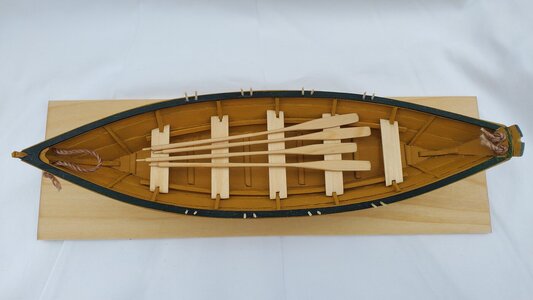
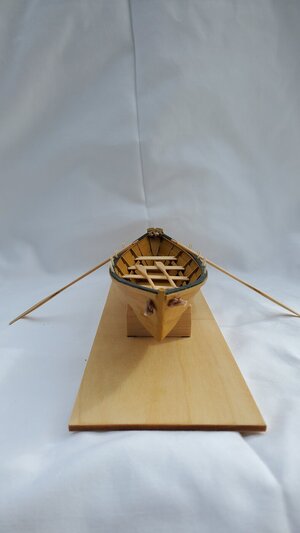
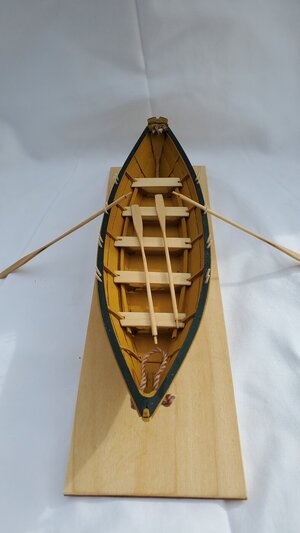
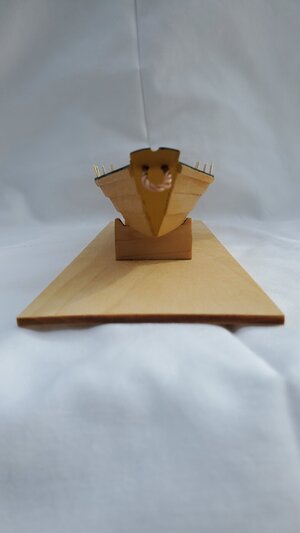
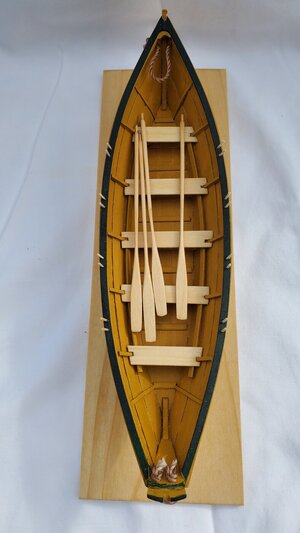
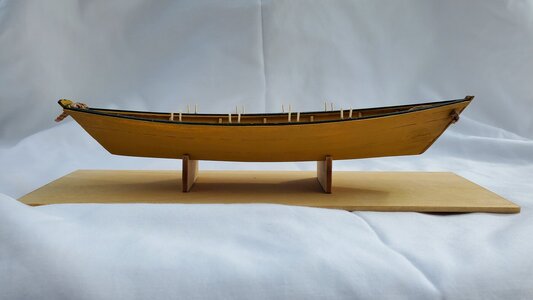
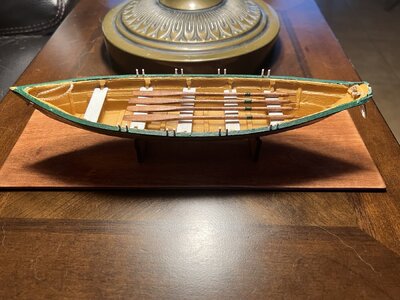
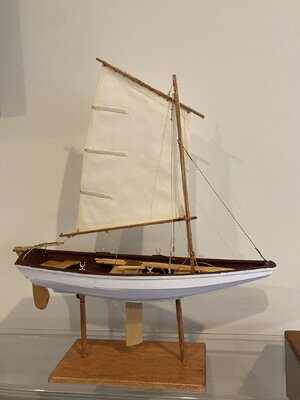
I recently retired and was looking for a hobby to do while snowbirding in my 5th wheel. My neighbor showed me a picture of his brother-in-law who was building a wooden ship model and I was impressed and interested. I enjoy wood working so I did a few searches and found a very good article about how to get into model shipbuilding. The article suggested starting with something small and easy to build confidence and skills. It suggested this dory model as a starting point. I ordered the kit and when it arrived I was surprised to discover this was the first ship in a 3 ship series. I ordered the Norwegian Sailing Pram the next ship, but decided to wait on the third ship in the series to find out if I like doing this. I found a u-tube video of someone showing the building process and they made it look easy. After starting I am discovering this is not just a quick glue together model. Part way thru my build I had a question on the stern of the boat and tried doing some internet searches and discovered this website. Next I spend many many hours reading thru threads and looking at build logs and have learned a lot thanks to everyone. I am having a problem with all the terminology so I have ordered a book Ship Modeling Simplified and it should be here tomorrow. So here is the progress I have made so far with my dory.
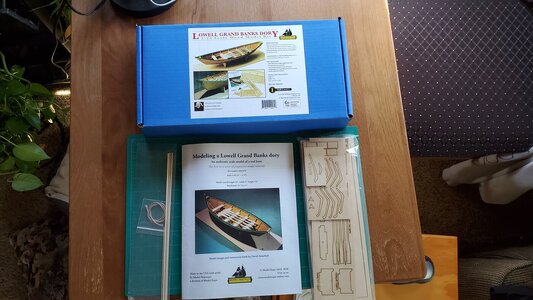
I decided to build the bottom vs. using the pre-made bottom.
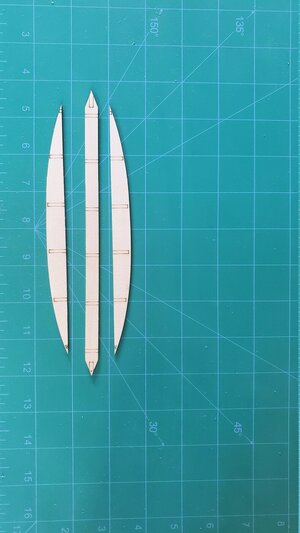
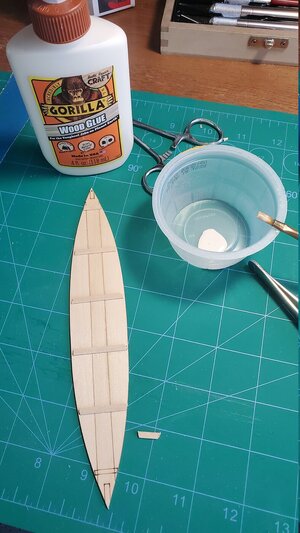
I added the transom and stern knee and curved the bottom
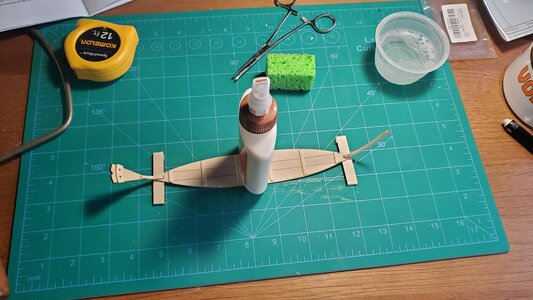
Next is building the frames. I forgot to take any pictures of this process. This went ok, but I may not have paid enough attention to details and possibly didn't square things up as they should have been. At this point in my build I didn't know what these were for and how it would effect the end product. When I was pushing the frames into the building board I snapped off the transom holder. I glued it back together filed the slot it goes in bigger and it then became sloppy instead of firm. I have to learn to go slow with sanding this soft wood. I didn't know what the 2 blocks were for on either side of the transom holder but soon discovered this when I put the bottom on the frames. I wish I would have waited and glued them a little more forward on the board because my transom was barely being held between them. Here is my bottom glued on to the frames.
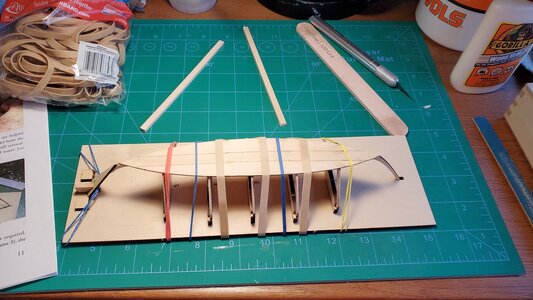
At this point I was starting to see how this was being built and this is where my question came when I discovered this site. The instructions showed to bevel the lower end of the transom but I missed this and I was now concerned if my stern was correct or not. There is a gap between the stern and bottom and I don't know if this is correct or not.
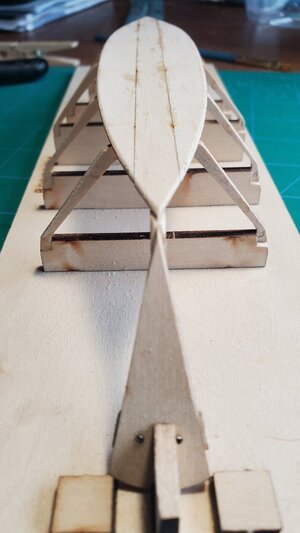
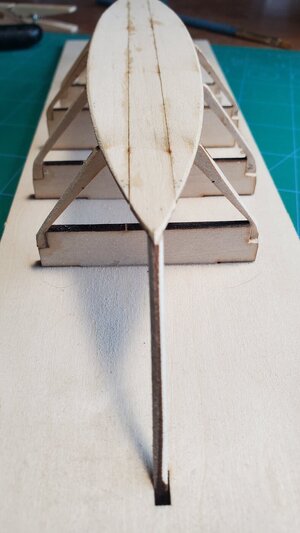
Starting the planking I discovered how small and thin these parts really are. You are supposed to bevel a 45 on a 3/32 piece of wood and leave 1/2 of it. Really... how is this even possible... Well I tried and I thought it turned out ok. At this point I can see how this is put together but it still is not clear to me the importance of being as precise as you can get it. I used the hot water method of bending the gabord plank and again realized how small and difficult it is to clamp and hold these pieces together.
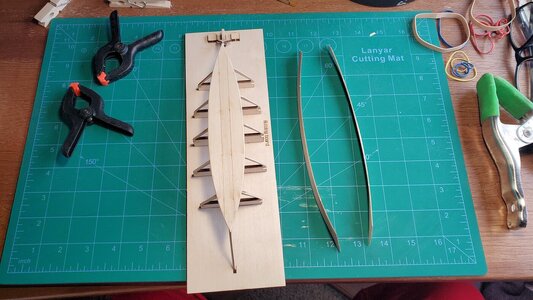
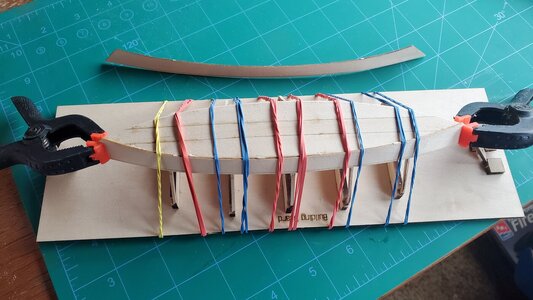
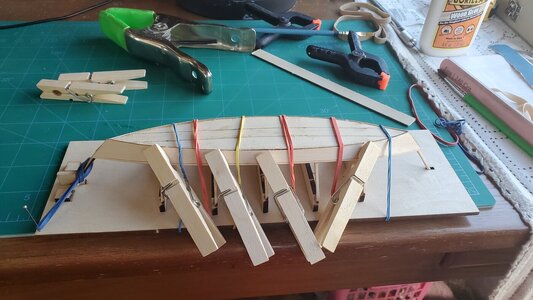
I bent and glued the broad plank but forgot to take pictures of it. I have bent both sheer strakes (upper plank - learning the lingo) and have the starboard side glued. I am trying to figure out creative ways to hold these pieces while the glue dries. I saw where someone was using super glue for a quick set but I still need the slower set time to adjust my pieces. I am sure the more I look thru threads on this website I will find suggestions and tips on clamping and holding.
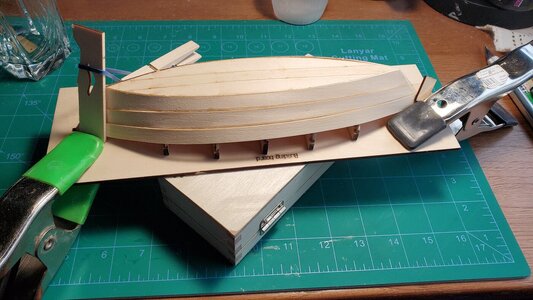
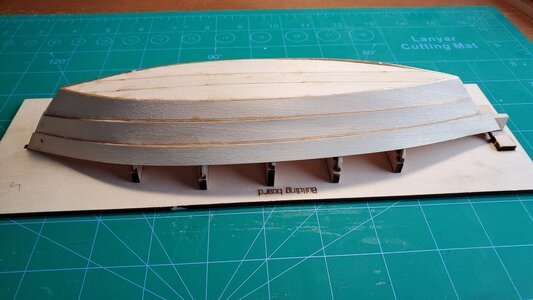
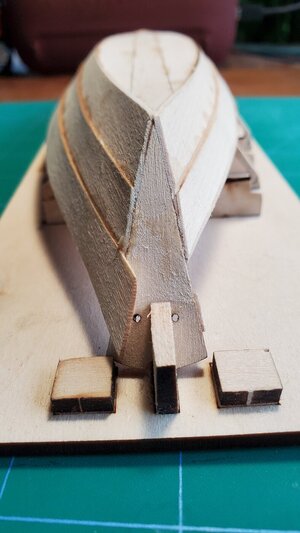
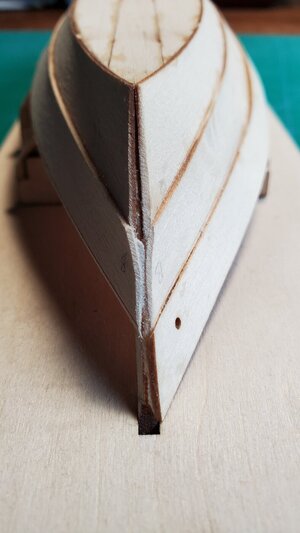
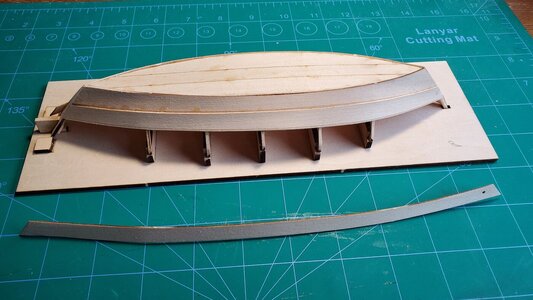
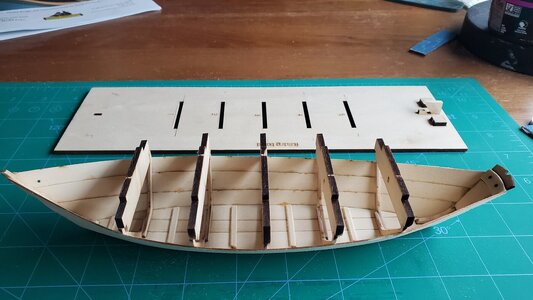
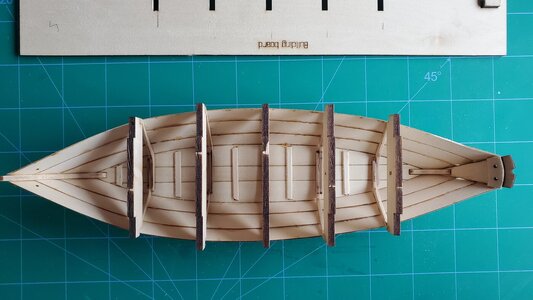
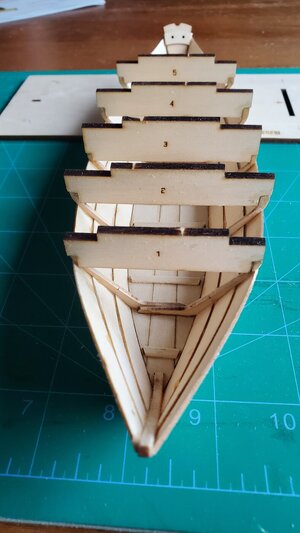
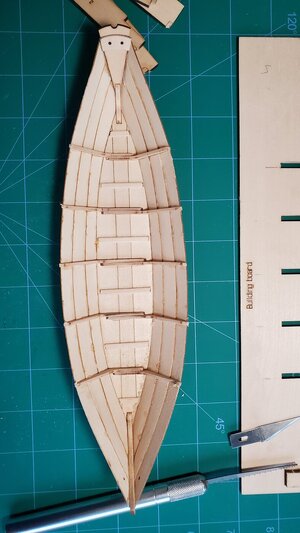
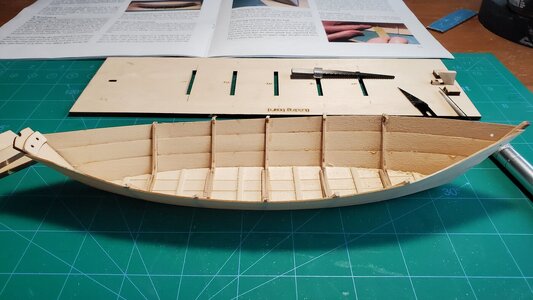
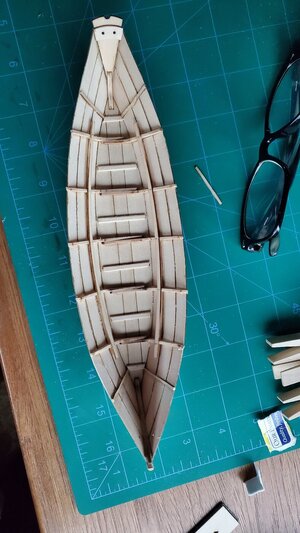
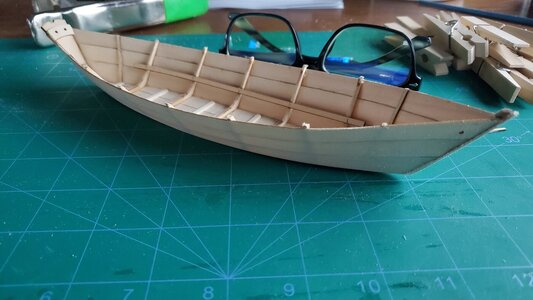
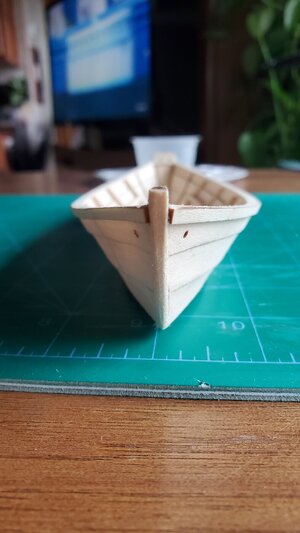
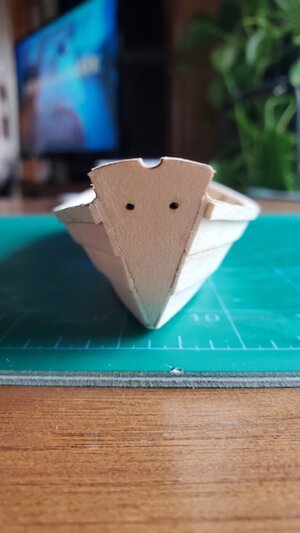
This is where I am at now. I saw another build where the planks did not come far enough up the stern and stern clete was not where it was supposed to be. I am concerned I might have that issue myself, but I really don't know until I can take it off the building board and actually see whats going on on the inside of the boat. The instruction manual has a tools and materials list in the back. It says to use a polyvinyl alcohol white glue.. what the heck is that.. I decided to use Gorilla Wood Glue and it is working good for me. I saw in other posts where you can use alcohol to un-glue pieces and I really don't know if this would work with the glue I am using. I probably am too cautious and leave the glue dry overnight before moving forward on the build, it seems to be very sturdy after a couple of hours but I am not really in a hurry. I will get the port sheer plank glued on today and am at the point for the big reveal and remove it from the building board. I will post the results. Looking ahead in the manual there is something called Bands. The manual does not say if these are glued on the inside or outside of the plank. I guess I will find out when I get there.
So far I am having fun.
Dave

I decided to build the bottom vs. using the pre-made bottom.


I added the transom and stern knee and curved the bottom

Next is building the frames. I forgot to take any pictures of this process. This went ok, but I may not have paid enough attention to details and possibly didn't square things up as they should have been. At this point in my build I didn't know what these were for and how it would effect the end product. When I was pushing the frames into the building board I snapped off the transom holder. I glued it back together filed the slot it goes in bigger and it then became sloppy instead of firm. I have to learn to go slow with sanding this soft wood. I didn't know what the 2 blocks were for on either side of the transom holder but soon discovered this when I put the bottom on the frames. I wish I would have waited and glued them a little more forward on the board because my transom was barely being held between them. Here is my bottom glued on to the frames.

At this point I was starting to see how this was being built and this is where my question came when I discovered this site. The instructions showed to bevel the lower end of the transom but I missed this and I was now concerned if my stern was correct or not. There is a gap between the stern and bottom and I don't know if this is correct or not.


Starting the planking I discovered how small and thin these parts really are. You are supposed to bevel a 45 on a 3/32 piece of wood and leave 1/2 of it. Really... how is this even possible... Well I tried and I thought it turned out ok. At this point I can see how this is put together but it still is not clear to me the importance of being as precise as you can get it. I used the hot water method of bending the gabord plank and again realized how small and difficult it is to clamp and hold these pieces together.


I bent and glued the broad plank but forgot to take pictures of it. I have bent both sheer strakes (upper plank - learning the lingo) and have the starboard side glued. I am trying to figure out creative ways to hold these pieces while the glue dries. I saw where someone was using super glue for a quick set but I still need the slower set time to adjust my pieces. I am sure the more I look thru threads on this website I will find suggestions and tips on clamping and holding.


This is where I am at now. I saw another build where the planks did not come far enough up the stern and stern clete was not where it was supposed to be. I am concerned I might have that issue myself, but I really don't know until I can take it off the building board and actually see whats going on on the inside of the boat. The instruction manual has a tools and materials list in the back. It says to use a polyvinyl alcohol white glue.. what the heck is that.. I decided to use Gorilla Wood Glue and it is working good for me. I saw in other posts where you can use alcohol to un-glue pieces and I really don't know if this would work with the glue I am using. I probably am too cautious and leave the glue dry overnight before moving forward on the build, it seems to be very sturdy after a couple of hours but I am not really in a hurry. I will get the port sheer plank glued on today and am at the point for the big reveal and remove it from the building board. I will post the results. Looking ahead in the manual there is something called Bands. The manual does not say if these are glued on the inside or outside of the plank. I guess I will find out when I get there.
So far I am having fun.
Dave


