Buccaneer by Occre - Second Build

Joined
Jun 20, 2022
Messages
48
Points
78

Location
Graz
Hi,

after finishing my Polaris yesterday I can't wait to build the Buccaneer. Let's see if I learned something in the first build.

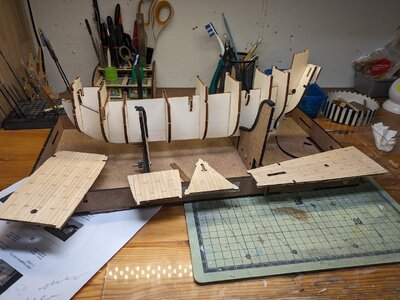
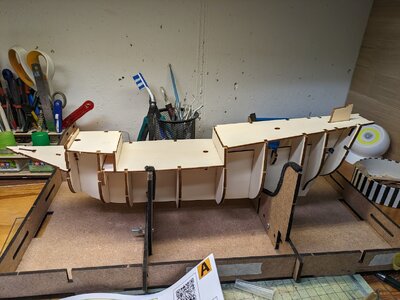
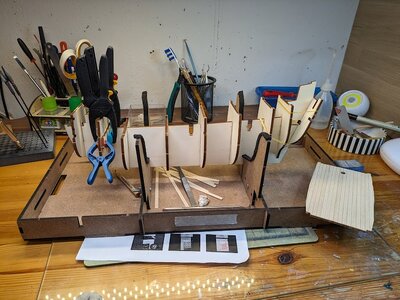
First step: Dry fit of the bulkheads and deck parts. Everything looks fine.
1708883656620.jpeg


Step A:
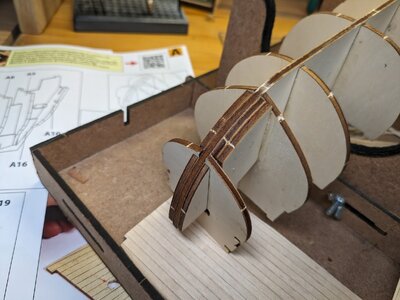
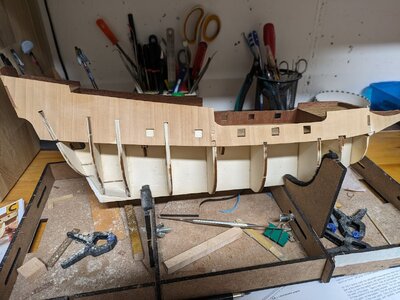
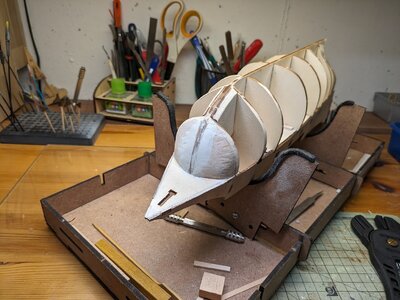
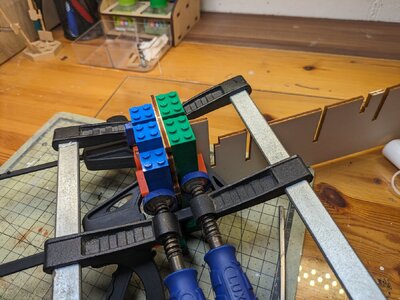
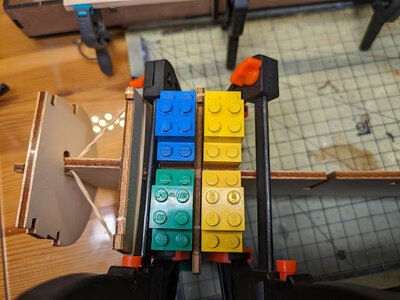
Glueing the bulkheads to the false keel in a right angle with the help of bricks.
PXL_20240217_191348523.jpg1708884392026.jpeg
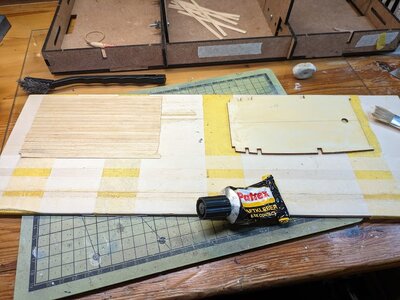
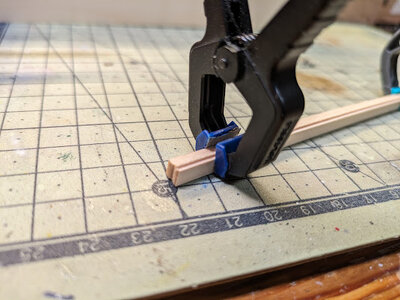
Parallel to this I already started with the planking of the first deck. When putting some planks together to blacken them with a pencil I notices one plank with a different size and removed this.
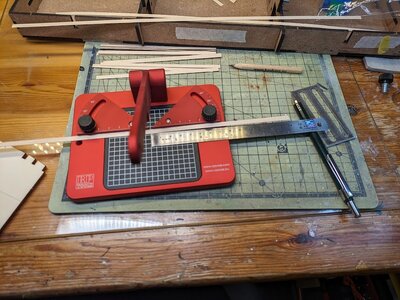
I cutted the planks in the correct length with my new (wonderful) cutter and glued the planks on the deck. I used contact glue, like I did it at the Polaris, as this worked fine for me.
1708884484041.jpeg1708884566311.jpeg

1708884622681.jpeg

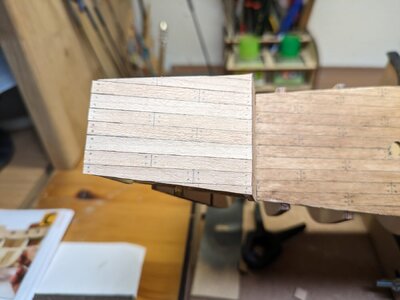
I really tried hard to halve the deck...but not 100%:mad: Room for improvement for the third ship?
1708884879405.png

The result after the first building day:
PXL_20240225_163634228.jpg
 
I find penciling a stack of boards edges a waste of time. I glue the master plank down. Once dried I pencil around it. Boards next to it do not need any pencil. They only need pencil around their exposed side. And so on and so on. I assume these are applied to a false deck of course.
 
Good, that you started immediately a new project - have fun
 
Finally weekend and the build went on

It was a little bit tricky to add the rearmost part straight
1709994470697.jpeg
Next step was adding the filler blocks
1709994503878.jpeg

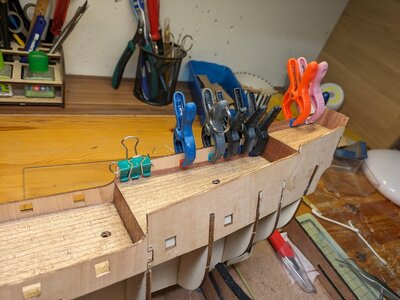
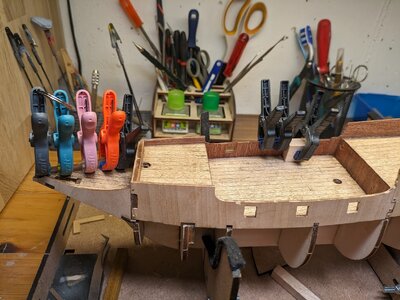
The decks were planked...
1709994524322.jpeg

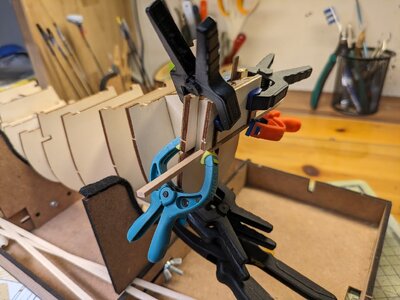
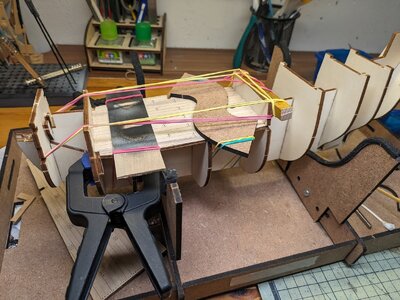
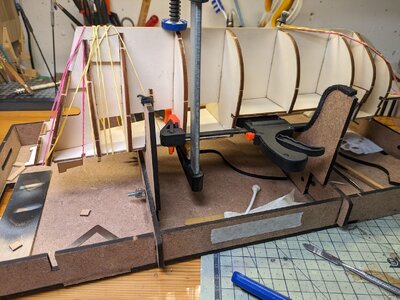
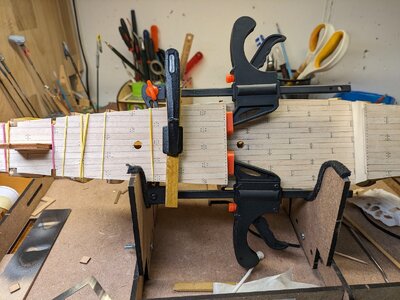
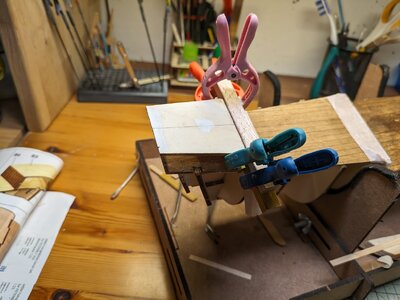
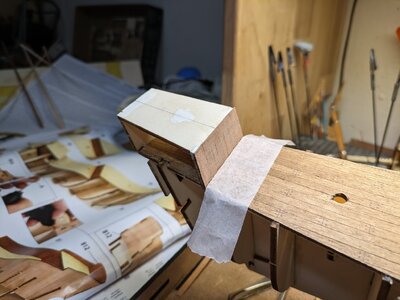
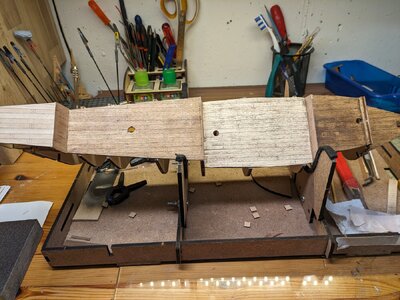
and glued the decks to the structure of the ship. It was really complecated to get every part reasonably straight.
1709994537581.jpeg1709994565032.jpeg
1709994591224.jpeg

....to be continued.
 
Last edited:
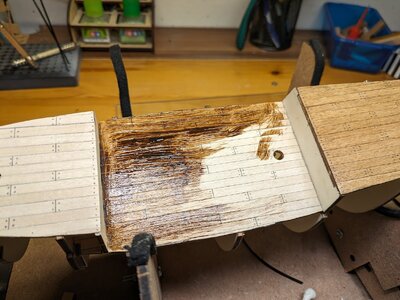
Inspired by the weathering from Endeavour thread from Glasetj I tried a weathering for the first time.
After varnishing I added a bitumen of judea acrylic wash.

(left: original, right: washing done)
1710011973940.jpeg

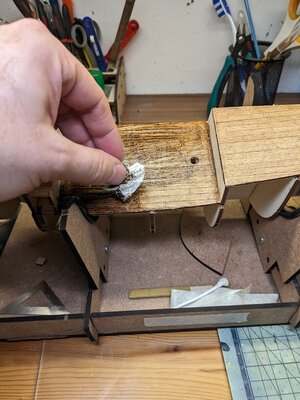
Added the bitumen with a brush and then removed it with a kitchen roll
1710012073623.jpeg

When letting it dry a bit the color gets much darker (the two parts on the left).
1710012272577.jpeg
 
Hi all,
I need your help to decide how to go on with the deck.

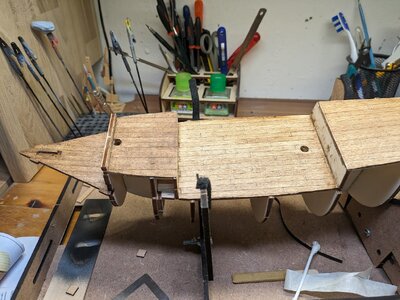
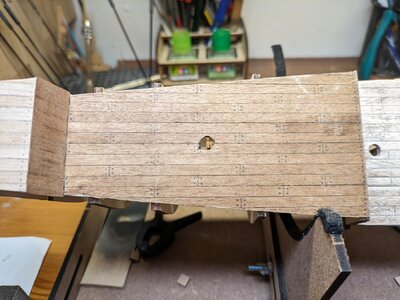
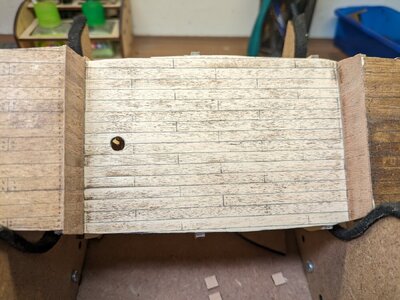
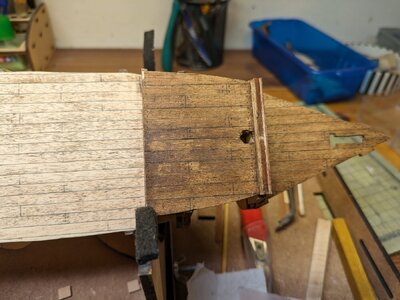
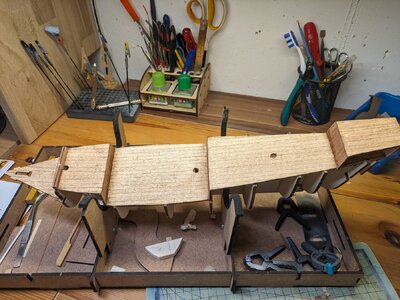
From the left to the right right decks:
without weatering; light weatherig; heavy weathering with sanding; heavy weathering

1000003737.jpg


1000003738.jpg1000003739.jpg
1000003740.jpg1000003741.jpg

I think every option is quite nice, but which one suits the buccaneer best in your opinion?
 
Last edited:
I also like heavy with the sanding. Looks like the crew tried to keep up with keeping the deck "ship shape".

Wonderful build! I will be following.
 
and looking realistic
deck planking on real ships is often getting over the years light grey or light brown due to the salt, sun and also scrubing the deck
deck.jpg
dark brown only when she ships are newly launched
 
Thanks Uwek,
so weathering the deck with a dark color is completley wrong. A pity, I liked the outcome.
It is noticable, that there is no sea in Austria ;)
 
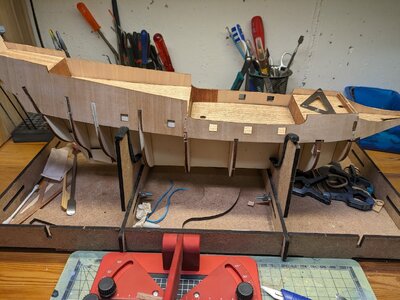
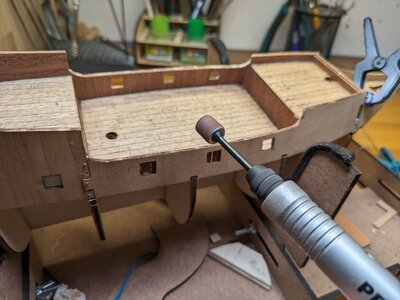
Adding the bulwarks was difficult for me. With my Polaris everything fits like LEGO and no sanding was needed apart from the first planking.

Here a lot of sanding and adding stripes to get it straight was needed to avoid larger gaps. No chance to get it nice without adding plankings on the inner side of the bulwarks like shown in the manual. I hope there are enough strips of Sapelli in the kit.
I'm already curious how the bulwarks will look like after planking because it is not very straight.

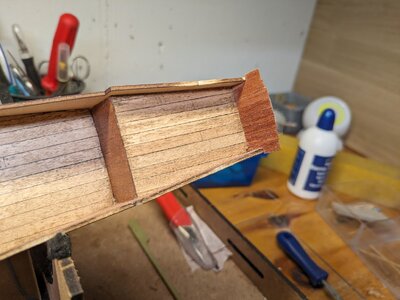
Started to add planking also on the inside, after finishing the deck I realized that the wood should have been horizontal not vertical. :) Doesn't matter for me.
1710616781891.jpeg1710617132990.jpeg
1710617199456.jpeg1710617164783.jpeg

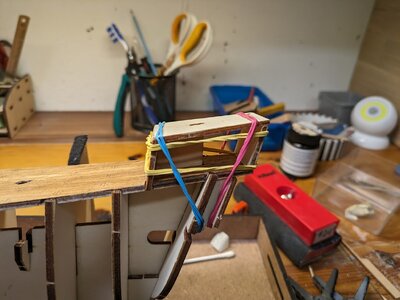
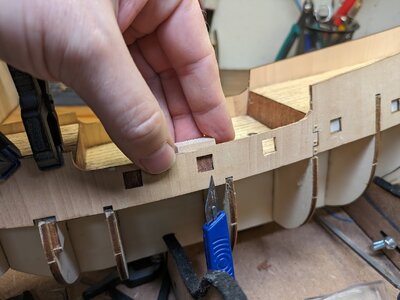
After destroying a plank I learned that holding a block against the plank makes cutting a lot easier.
 
Hi,

after finishing my Polaris yesterday I can't wait to build the Buccaneer. Let's see if I learned something in the first build.

First step: Dry fit of the bulkheads and deck parts. Everything looks fine.
View attachment 430685


Step A:
Glueing the bulkheads to the false keel in a right angle with the help of bricks.
View attachment 430686View attachment 430692
Parallel to this I already started with the planking of the first deck. When putting some planks together to blacken them with a pencil I notices one plank with a different size and removed this.
I cutted the planks in the correct length with my new (wonderful) cutter and glued the planks on the deck. I used contact glue, like I did it at the Polaris, as this worked fine for me.
View attachment 430693View attachment 430694

View attachment 430695

I really tried hard to halve the deck...but not 100%:mad: Room for improvement for the third ship?
View attachment 430697

The result after the first building day:
View attachment 430696
Love your Lego bricks idea. I think I am heading to my kids Lego collection.
 
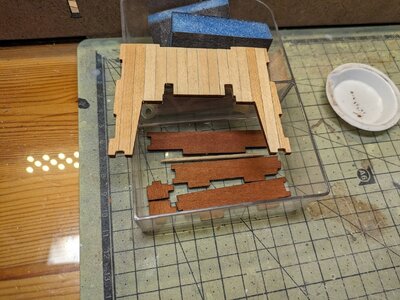
Last steps of planking the inner side of the bulkwark:
1711293303792.jpeg

Sanded down the planks to get it straigth

1711293359335.jpeg
Finished:
1711293422267.jpeg

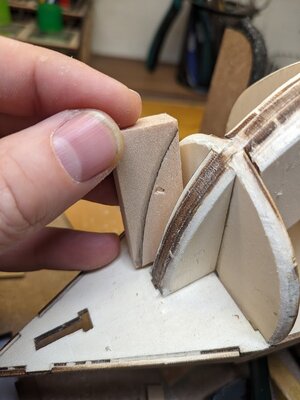
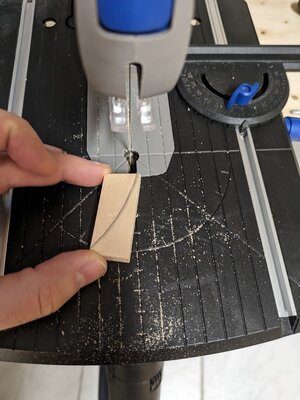
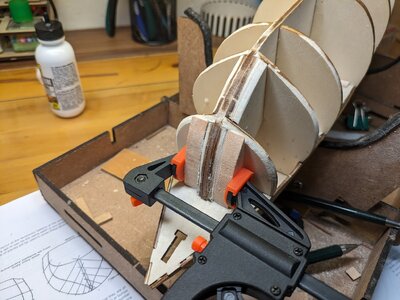
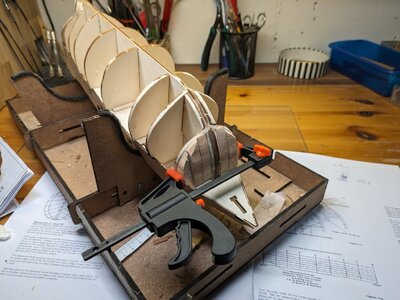
Next step was to insert some additional filler blocks, because of the bows angle:
1711293621360.jpeg1711293640667.jpeg1711293653893.jpeg1711293707664.jpeg1711293816411.jpeg


Preparing the balcony while the filler on the bow is drying:
1711293877054.jpeg1711293992812.jpeg

And now I'm not sure how to proceed. The instruction is very informativ...
1711294347214.jpeg1711294471758.jpeg
Thank god the video series gives more information and also the great build log of @HughLo that saved me from some errors.

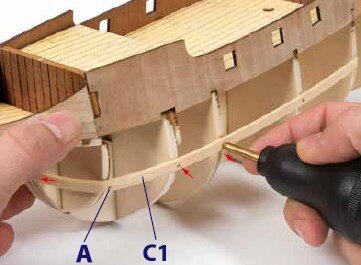
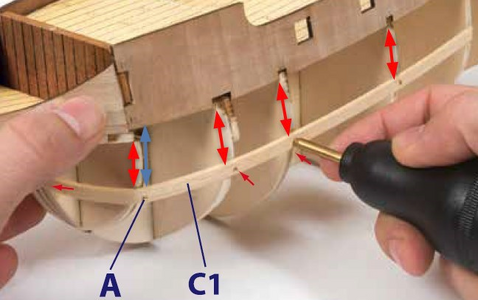
So the top side of the plank 20mm below the bulkwarks. I have racked my brain a long time why I shouldn't start directly below the the bulkwards, but found no reason. As I have no experience I will trust HughLo and the Occre videos. Has someone an idea why to start with the fifth plank? Are these the 20mm suggested for segment sizes in the planking project pdf @Uwek (temporary planking pattens shared with me here?

I'm not sure how the planking will work at the first bulwarks with this 'deck' starting below the bulkward. I guess it makes more sense to start the measuring of the 20mm below this deck (the red arrow instead of the blue one), even if the Occre video shows it different. In that case I would have a full first plank below this deck.
1711296908793.png
 
Back
Top