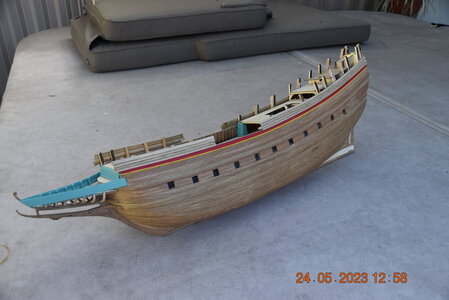
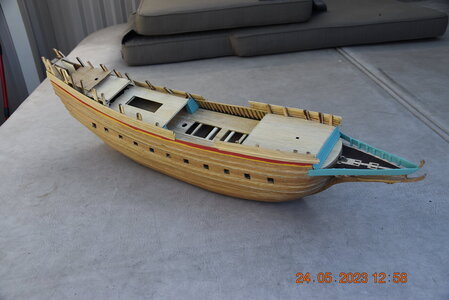
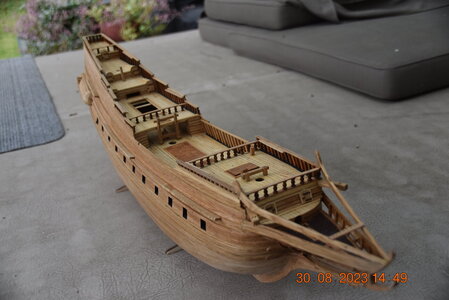
Com on. photos? Really?Struggling a bit with planking. I have to get used to Elm, which I am using the first time. Not very sandpaper-friendly but behaves very well while bending. The textured look is generally great but sometimes the grain is a bit too much. There are also flecks which can not be get rid of. And it does not tolerate instant glue... Unfortunately my planking material comes from at least two quite different species, one is reddish and the other is slightly blueish. I wonder how will they look after the wipe-on poly will be applied.
Generally I am happy with the kit until now, it starts to take shape.
János
You are using an out of date browser. It may not display this or other websites correctly.
You should upgrade or use an alternative browser.
You should upgrade or use an alternative browser.
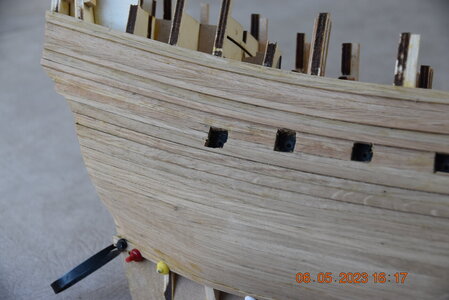
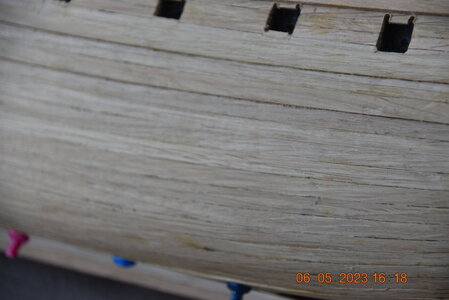
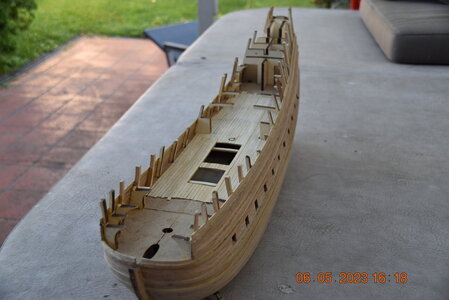
A few pictures about the current state of Batavia. The hull planking - at least the bottom part - is nearly finished now. The colour variation (mentioned earlier) of the planks does not show that much in the pictures, although I took them in natural light (is it possible that the artificial lights in the workshop enhance this difference?). My clumsiness shows: only 10 out of 36 frame sides remained in their original state, I managed to break the majority so they had to be replaced or supported with a crutch. I have to be more clever next time, to break all of them!
I partially deviated from the manual and back then, without looking into the manual I started planking with the garboard strake and the first plank, in Holly (what I had in 2x6 mm) fearing that I would run out of planking strips (falsely estimated). Then I followed the manual by planking from top to bottom and now I have to finish the planking by modifying the shape of the Holly plank to accommodate the Oak ones. The bottom of the hull will be painted with the 'white stuff', so the difference in the colours won't be seen.
There are a few ugly black spots on the planks where I nailed them with the pegboard pins to fix them to the frames while drying - most likely a chemical reaction between the Oak plank, the glue, and the nail in the pegs. I have to try to get rid of them later.
Janos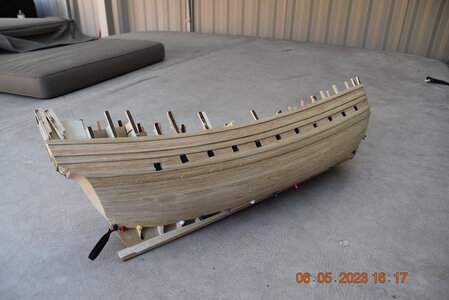


Awesome work Janos and quick !
Just received the kit as well yesterday and familiarise myself with the frames etc , the suggestion was frames on the keel first following by the deck , causes problems I noticed so I will add the frames to the deck and lower deck and frames onto the keel , what do you think?I started to put the frames, false keel, and floor together. The laser cut quality of the kit is simply astonishing. Among others, the kit provides so beautifully detailed keel parts which I haven't seen in any other kit yet. The plywood (frames) could be stronger (I know compromises to weight and laser cutting costs). The manual suggests a sequence that can not be followed and doing it in the correct way makes it very difficult (and causes some damage which can be seen in the photos). Well, model building is an endless learning curve...
Janos
View attachment 369196View attachment 369197
View attachment 369194
View attachment 369195
Hi RobertJust received the kit as well yesterday and familiarise myself with the frames etc , the suggestion was frames on the keel first following by the deck , causes problems I noticed so I will add the frames to the deck and lower deck and frames onto the keel , what do you think?
Sorry about the late response, I was on my holidays...
Yes, I had the same problems when I started to build the hull. The way the manual describes it does not work. I had to make some disassembling because at first, I wanted to follow the manual. In the end, I used a different sequence, by assembling the frames and decks combined.
Janos
One step ahead, three steps back... Following a late request I had to remove the paints from the hull. I did it mostly by scraping and now I have to replace a few planks on the hull inside and out as well as at the bow to replace those which could not be 'de-painted'. So I am still in recovery mode, losing most of the results of the early 'quick' build. From now on I will 'build' again at which I am quicker than at destroying...
Janos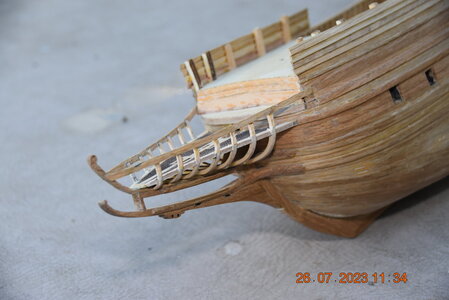
Janos


Hi Heinrich,Hi Janos. I just love to see your progress on the Batavia. Have you decided to change the color scheme?
Thanks! It was not my decision, but my Client's!
Janos
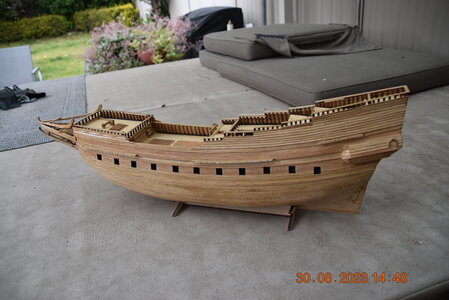
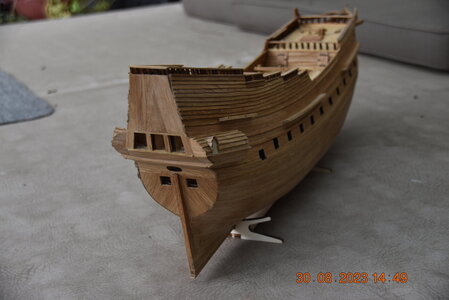
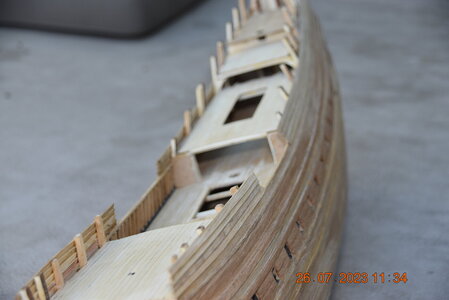
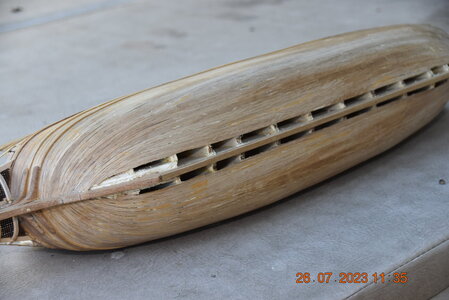
A bit of progress with Batavia. I got rid of all painting now and replaced the Oak planks in a few pots. (As usual, one step ahead and two steps back). This caused a considerable delay in the building of course. The 'blank' spot at the aft of the ship on the second image is for the gallery which I am building with a solid body (jelutong), different from the kit.
Janos
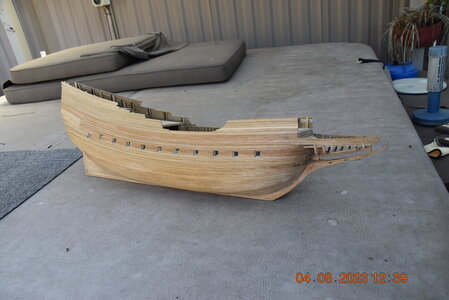
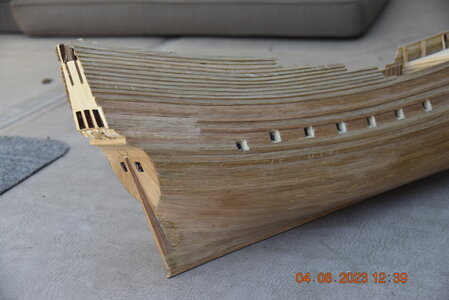
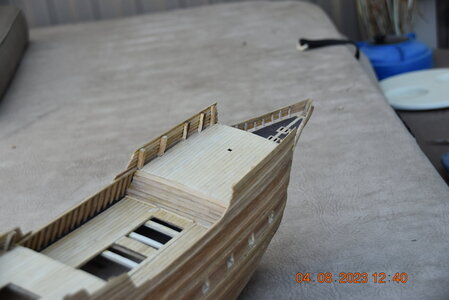
Janos


But you have got a very good looking ship here!As usual, one step ahead and two steps back
Lots of work there. But she’s looking good!
I am interesting in the outcome Janos , a look a la Natural ? she is a real beauty for sure
Brilliantly modelled.A bit of progress with Batavia. I got rid of all painting now and replaced the Oak planks in a few pots. (As usual, one step ahead and two steps back). This caused a considerable delay in the building of course. The 'blank' spot at the aft of the ship on the second image is for the gallery which I am building with a solid body (jelutong), different from the kit.
Janos
View attachment 388146View attachment 388147View attachment 388148
You prepared a very good hull - very accurate work 
Svelte!


