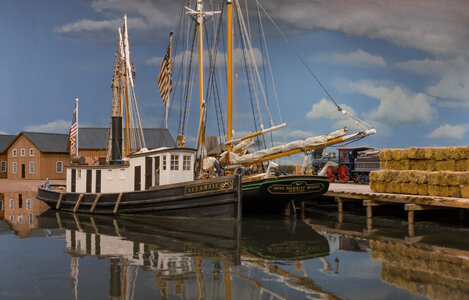
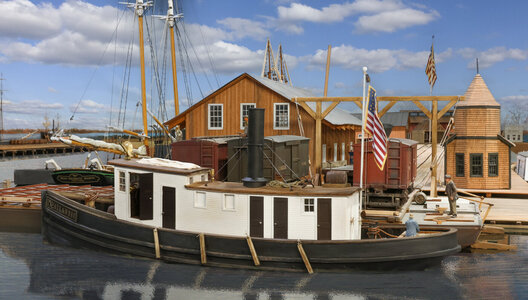
American Civil War era Tug Boat circa 1863 - [COMPLETED BUILD]

Joined
Apr 17, 2022
Messages
18
Points
48

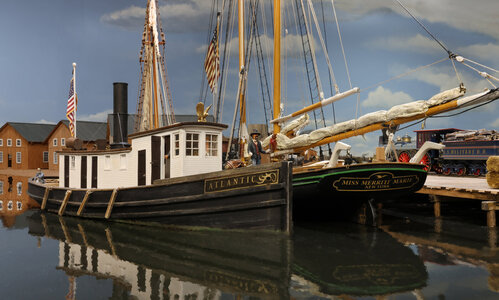
Tug Atlantic Aquia Landing2.jpgI just completed a 1/48th scale model of tug boat used by the US Military Quartermaster Corps during the American Civil War. The model is a waterline type for use on my model railroad set in Virginia in March of 1863. I will post some photos of the build and the completed model on the model railroad. I have not built a lot of ship models in the past, so I learned a lot during this process. Hopefully, my next ship model will come out better.

Prototype Pictures and Plan
I could not find any plans of the specific boats, so I developed my own based on some photos of several actual tugs in the war. These three photos were my primary references, though I also looked at other photos of ships to get a better idea of some of the details. George Matterson's book, "Tugboats of New York," was a useful reference as it has a chapter on tugs used in the civil war. I also searched ship model forums for tips and ideas.

My model is not an exact copy of any particular tug, but a composite based on the photos and other research I could do. I named the tug, "Atlantic" as my research indicated that the US Military Railroad used a tug with the name to haul their railroad car ferry.
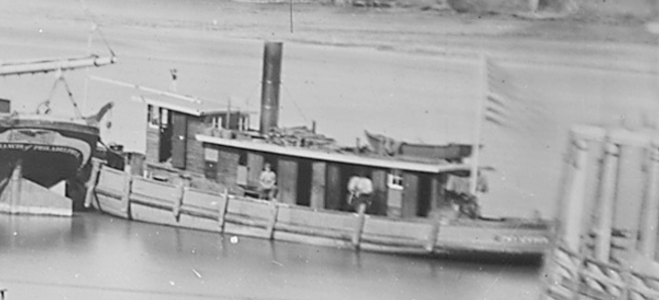
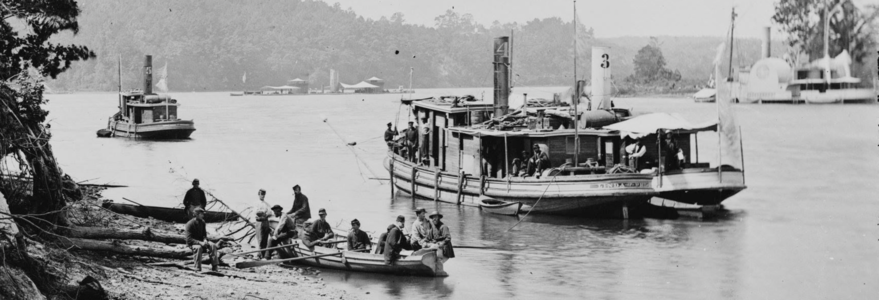
Prototype1.pngTugs James River.png

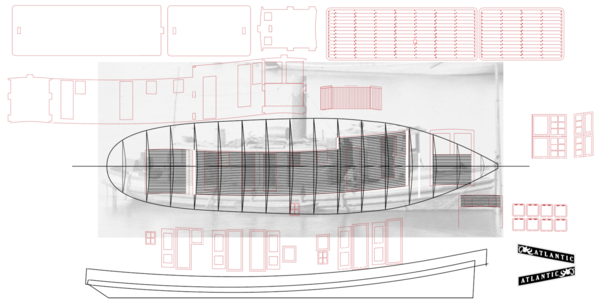
From these photos, I drew up this set of plans in Adobe Illustrator. I then imported each part into my laser cutter software to produce many of the parts. Since this was a waterline model, the hull is quite simple.

I have a Epilog Fusion 40W, 12 by 24 inch laser cutter. It can cut up to ¼ inch thick stock.Plans.png

Making the Solid Hull

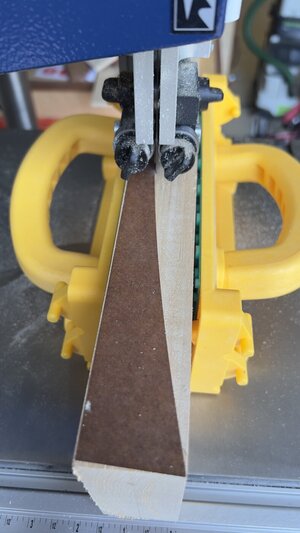
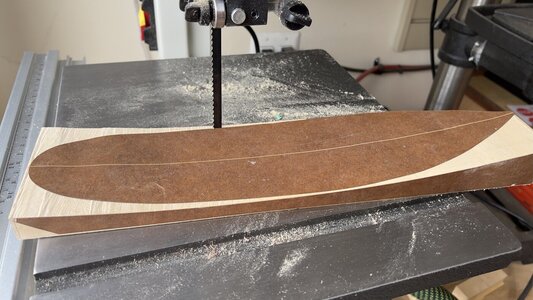
I used my laser cutter to make templates for the sheer and overhead view. I used these to cut an appropriate size block of basswood on my band saw. I cut the sheer profile first. Then used the flat bottom side to cut the overhead profile.cutting sheer.jpegCutting top view.jpeg
(to be continued on next post)
Bernard Kempinski
My blog
 
Last edited:
Shaping the Hull
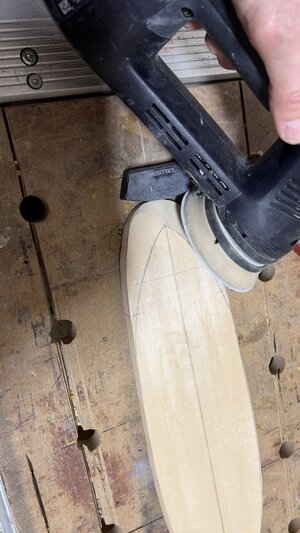
Next I used my power sanders to shape the hull.
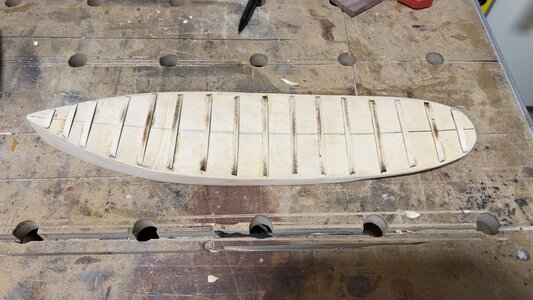
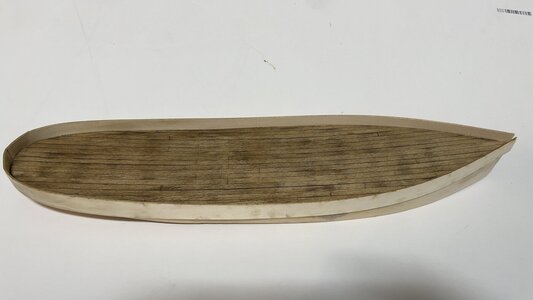
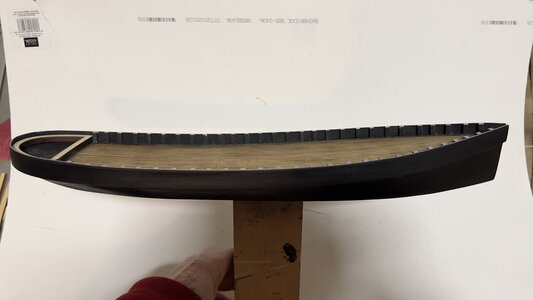
Shaing Hull.jpegTo add the camber, I cut demi-sections and glued them to the flat deck of the solid hull.I then added planks made from two ply maple veneer. I used my laser cutter to engrave the treenails into the planks. I the future I will probably just use a single sheet of wood and laser cut the overall deck, as the grain in the wood is not that obvious, especially with all the deck clutter, so individual planks was unnecessary work.Camber sections.jpeg I cut the bulwark from pieces of basswood. I wet it and shaped it to fit the hull.
Bulwark.jpeg
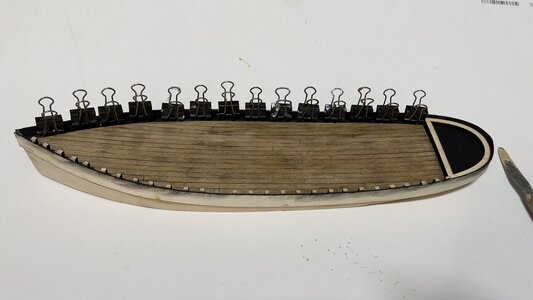
I used paper clips to glue on the bulwark frames.
Gluing Bulwarks.jpeg
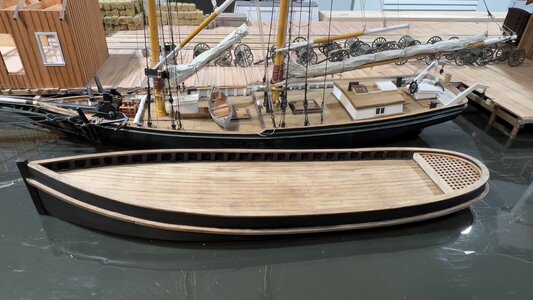
I added the grating on the aft end using parts I cut on the laser with basswood. These came out nicer than I expected.
Then I added a handle to the bottom toallwo me to handle it to paint. I used several coats of Krylon high build primer, sanding in between coats. Then black acrylic paint.

Handle fro painting.jpeg
Here is the hull with one of the rubbing planks (I'm not sure what they are called) I ended up with 2 of those rub stripes as the prototype photos show.
Hull erady for deckhouse.jpeg
 
Making the deck house

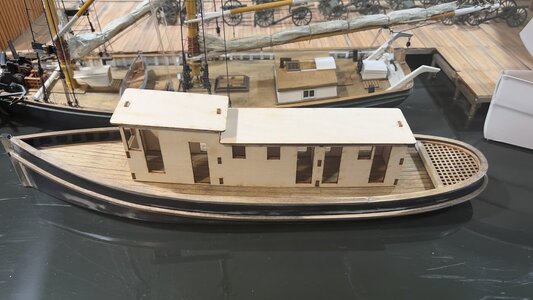
I used the laser cutter to make the deck house core from 1/8th plywood. I used slots and tabs to help construction. The core follows the sheer and camber.
Deckhosue Core.jpeg
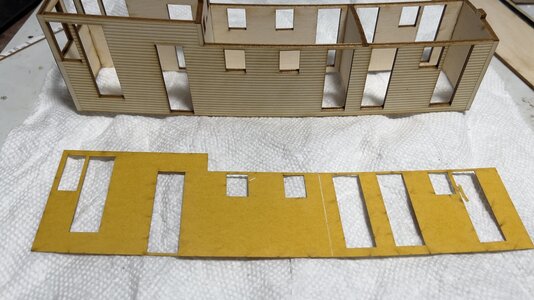
Next I cut the deck house siding using 0.020 in thick layer board with self adhesive double sided tape. Laser board is resin impregnated paper. It can be laser cut and engraved very finely. But it doesn't have grain.
Deck hsoue siding.jpegI painted the deck house. Added the doors and windows. Many of the prototype pictures do not show windows on tugs, but one very clear image shows how the windows were lowered into the wall framing. So I added windows as the model looked incomplete without them.

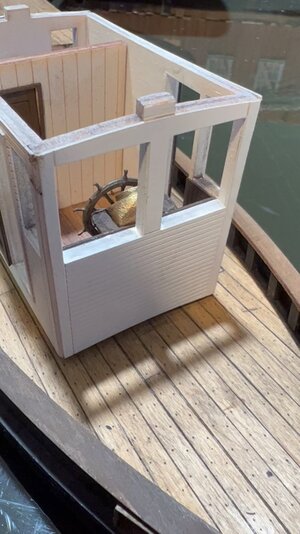
The wheel is a model I 3D printed from a file I downloaded. I scratch built the binnacle from wood. I also added a speaking tube from brass tube.
Wheelhouse.jpeg

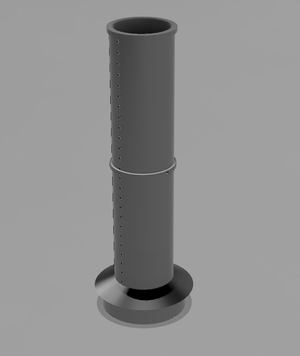
Smoke Stack.png
The smoke stack is a 3D print that I drew and printed at home.
 
Completed Model
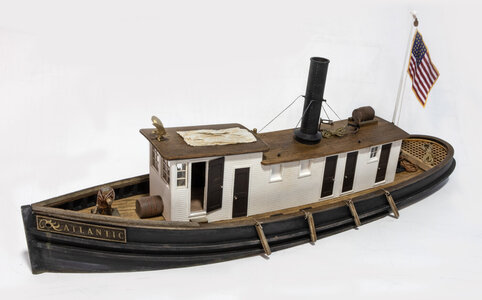
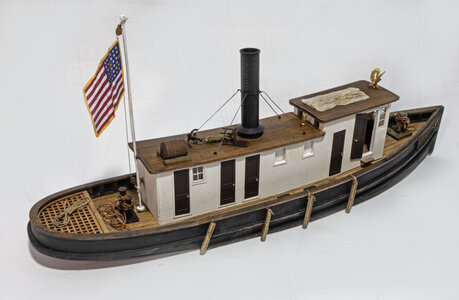
Here is the completed model. I made the flag by printing it on paper and attaching to the lanyard. The flag pole is a brass rod with a craft bead on top. The guy wires for the stack are lycra string. I made eye bolts 0.032 inch thick using laser board. The eagle is a 3D print from a file I downloaded. The fenders are scraps of wood. I could not tell from the photos how they were tied onto the tug, so I drilled small holes in the bulwark. I added other details that I could see in the photos including a grappling hook, a chair and several barrels. The name plate is laser engraved and cut.
TUG ATLANTIC 1.jpg
TUG ATLANTIC 2.jpg
Here it is installed on my model railroad layout.Tug Atlantic Aquia Landing.jpgI hope you enjoyed this build. Please let me know of any suggestions comments. I have plans for about 10 ships in total on this part of my model railroad.
Bernard Kempinski
USMRR Blog
 
Last edited:
Congratulations for finishing this model - Very good work Thumbsup
 
Do you own your own laser cutter, or did you locate a commercial one that accepted small jobs? If your own, can you provide some specifics? The finished product is fabulous.
 
I just completed a 1/48th scale model of tug boat used by the US Military Quartermaster Corps during the American Civil War. The model is a waterline type for use on my model railroad set in Virginia in March of 1863. I will post some photos of the build and the completed model on the model railroad. I have not built a lot of ship models in the past, so I learned a lot during this process. Hopefully, my next ship model will come out better.

Prototype Pictures and Plan
I could not find any plans of the specific boats, so I developed my own based on some photos of several actual tugs in the war. These three photos were my primary references, though I also looked at other photos of ships to get a better idea of some of the details. George Matterson's book, "Tugboats of New York," was a useful reference as it has a chapter on tugs used in the civil war. I also searched ship model forums for tips and ideas.

My model is not an exact copy of any particular tug, but a composite based on the photos and other research I could do. I named the tug, "Atlantic" as my research indicated that the US Military Railroad used a tug with the name to haul their railroad car ferry.

From these photos, I drew up this set of plans in Adobe Illustrator. I then imported each part into my laser cutter software to produce many of the parts. Since this was a waterline model, the hull is quite simple.

I have a Epilog Fusion 40W, 12 by 24 inch laser cutter. It can cut up to ¼ inch thick stock
Making the Solid Hull

I used my laser cutter to make templates for the sheer and overhead view. I used these to cut an appropriate size block of basswood on my band saw. I cut the sheer profile first. Then used the flat bottom side to cut the overhead profile
(to be continued on next post)
Bernard Kempinski
My blog
Hallo @bkempins
we wish you all the BEST and a HAPPY BIRTHDAY
Birthday-Cake
 
Back
Top