A traditional fishing boat of the eastern Sicily

Joined
Dec 2, 2020
Messages
42
Points
78

Location
Italy
I will present the construction of a couple of fishing boats typical of the Gulf of Catania.
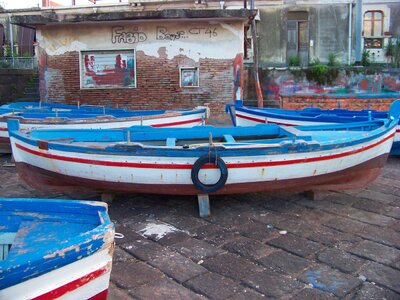
The original idea was to build the boat commonly used today with oars or outboard motors.
My projects are based on my own photos taken in local ports so I have the habit of making boats that are still available today.
Visiting the italian forum of ship modelers made me want to build something more important and with sailing.
I then documented myself on the oldest boats, when fishermen used the latin sail and I tried to adapt my hull to that use.
This type of boat has almost completely disappeared, only a few enthusiasts still use it.
Near Catania, in Acitrezza there is still a shipyard that works in the old way, you can find their story here, unfortunately only in Italian but the opening video is very nice.
In the same town there is also an artist, passionate of the ancient way of decorating these boats which had unique colors and decorations visible only in this area.
The project was carried out in two units, one, already completed, seen in my presentation, equipped and colored in modern use, the other, equipped with sail and decorated with traditional colors, is still in progress for the sailing equipment
A boat was born that is a reduced version of the typical sardara, the larger version will be the subject of a future project that I have already started to design.
the type of boat is of the type of "la Provvidenza" described by italian writer Giuseppe Verga in the masterpiece "I malavoglia".
My version is a 5m boat in real size and about 20cm in 1/24 scale. All my models are in this scale to be able to compare the dimensions, except maybe a next project that in that scale would be 80cm but this is another story.
Unfortunately I hardly know any technical terms in English, I will need some help on that.
100_1574.JPG
 
Last edited:
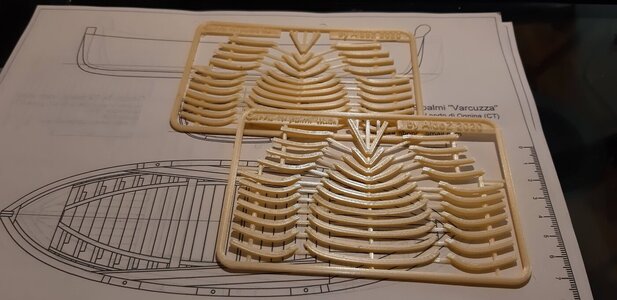
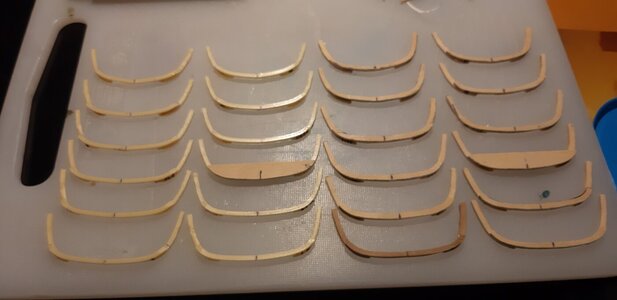
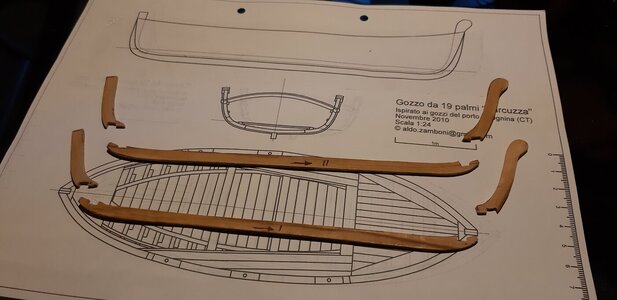
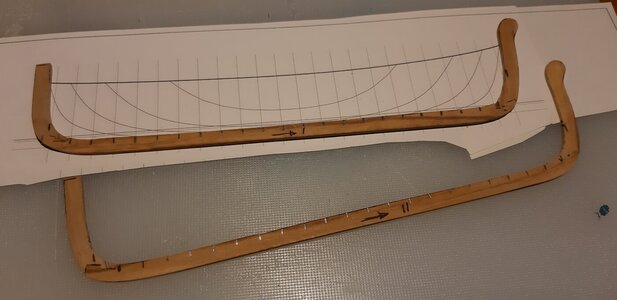
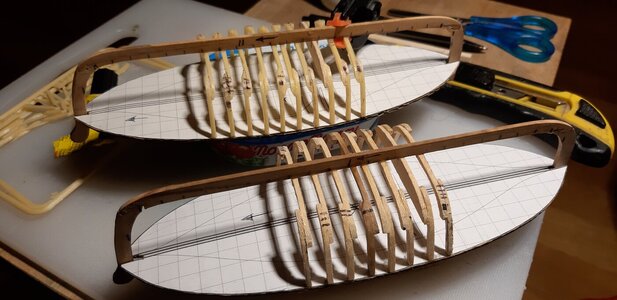
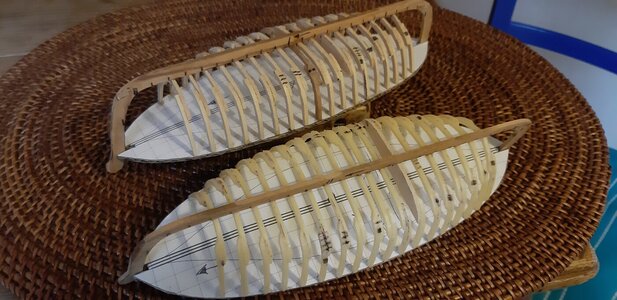
With this project I experimented with the realization of frame parts, madieri and staminali in italian, in 3D printing. These will be used directly for one of the two models and as a template for the wooden parts of the second one.
The parts are aligned using the drawing as a reference.
Each boat has 22 sections.
20201115_100024.jpg20201115_235910.jpg20201116_000344.jpg20201116_000422.jpg20201122_081921.jpg
 
Last edited:
I am very happ to see, that you started your building log of this boat.
Very interesting the idea with the printed frames, especially because they are relatively thin in this small scale :cool:
 
Actually the frames are about 5cm in real size that is 2mm in 1/24 scale.

I'm working to have as much parts as I can in cad format for my next builds so that I can contribute with a detailed project to every friend that would like to build the same models. Since I don't have a laser cutter I will test the templates with the 3D printer, the vector format used to 3D print could be converted to laser cut with minor changes in the future.
 
It's time for the keel and then to assemble it with the frames.
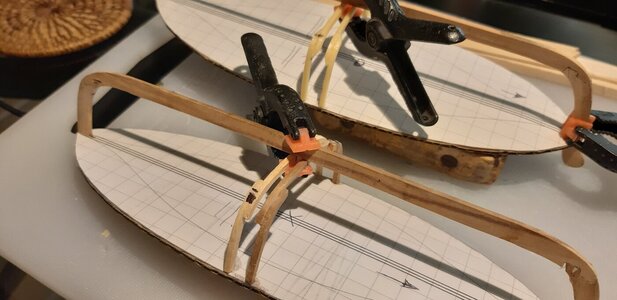
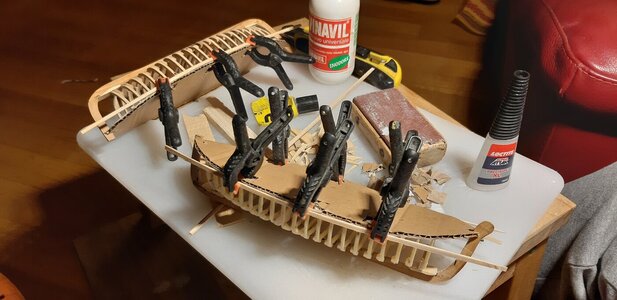
I usually don't use a complex framework to build up the main structure, I simply glue the frames between the keel and a cardboard template with the boat plan view and frame spacing.
20201115_161130.jpg20201122_082618.jpg20201122_094653.jpg20201125_233121.jpg20201128_084821.jpg
 
It's time for the keel and then to assemble it with the frames.
I usually don't use a complex framework to build up the main structure, I simply glue the frames between the keel and a cardboard template with the boat plan view and frame spacing.
View attachment 259123View attachment 259124View attachment 259125View attachment 259126View attachment 259127
You have used you experience and knowledge to use a CAD and 3-D printer to guide you to the skelaton structural system that I was struggling with to do with manual drafting and take off of the lines that I had for a Phoenecian trade boat. Put that into dry dock for a later Kyrenia boat kit. I still may later go back to the prior one manually with some experience from the kit. Very nice start on your fishing boats. Rich (PT-2)
 
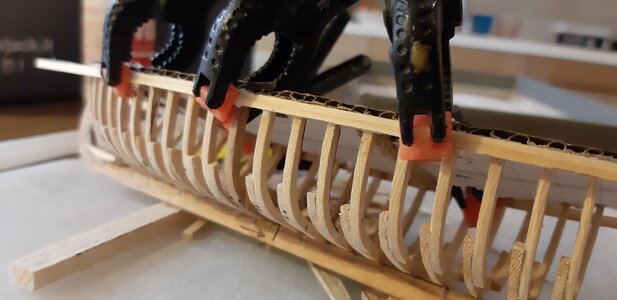
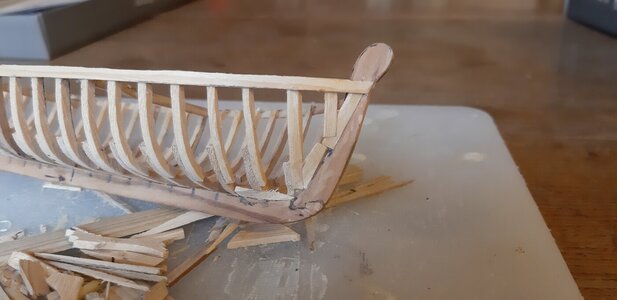
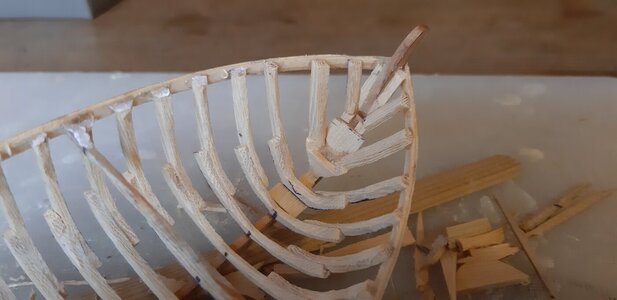
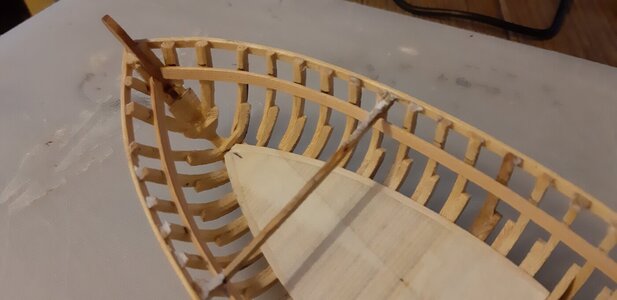
Then wanted to work on the interior and not immediately on the planking, so I needed to stabilize the struct and remove the cardboard template.
At that time I didn't know if that first line of plank would be definitive or temporary... Now I know that it has been temporary :)

20201201_225350.jpg20201202_091009.jpg
 
Last edited:
Then wanted to work on the interior and not immediately on the planking, so I needed to stabilize the struct and remove the cardboard template.
At that time I didn't know if that first line of plank would be definitive or temporary... Now I know that it has been temporary :)

View attachment 259153View attachment 259154
For this type of a fit I have in the past done a gentle moist and heat bend to approximate the curve of the piece to be secured so that less compressive strength is needed in securing the more curved portions with their smaller radius. I like to keep the stress in the wood as low as feasible. Just one option. Rich (PT-2)
 
Yes, you are right I applied that technique later in the build, you will see. Actually, not so gentle :) I soaked the strips in water for a few minutes and then, after putting them in shape, on the radiator to heat, it was last winter
 
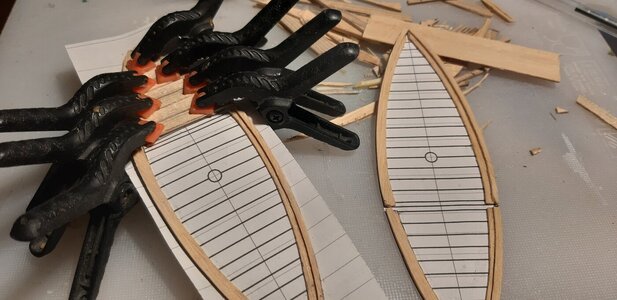
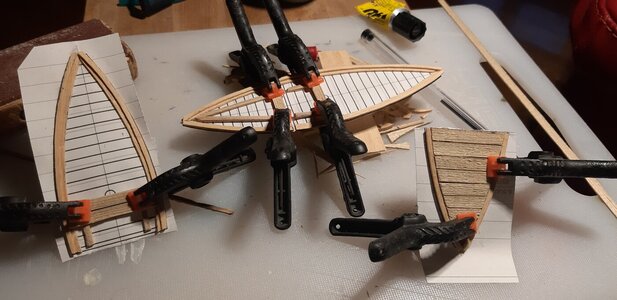
Preparing the floor. I always like to have some moving part in my models so the floor is the first part to be removable.
I use one more cardboard template to fit the side rails. The rails are two layers of different width, resulting in a "L" section.
The floor panels are laid down on the side rails and fixed one another with longitudinal connectors but not glued to the rails.
When all the floor is complete I cover all with paper tape and remove the underneath template.
The assembly can be glued to the frames leaving the right space between the rails. When I will remove the paper tape the floor will be removable and the rails fixed to the frames.

20201206_154342.jpg20201206_162539.jpg20201210_162006.jpg
 
Preparing the floor. I always like to have some moving part in my models so the floor is the first part to be removable.
I use one more cardboard template to fit the side rails. The rails are two layers of different width, resulting in a "L" section.
The floor panels are laid down on the side rails and fixed one another with longitudinal connectors but not glued to the rails.
When all the floor is complete I cover all with paper tape and remove the underneath template.
The assembly can be glued to the frames leaving the right space between the rails. When I will remove the paper tape the floor will be removable and the rails fixed to the frames.
Very nice progress and use of temporary holding/placement templates. Rich (PT-2)
 
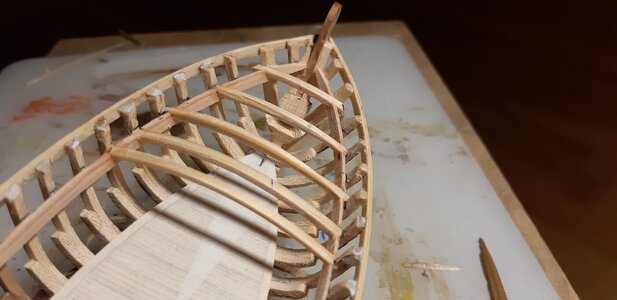
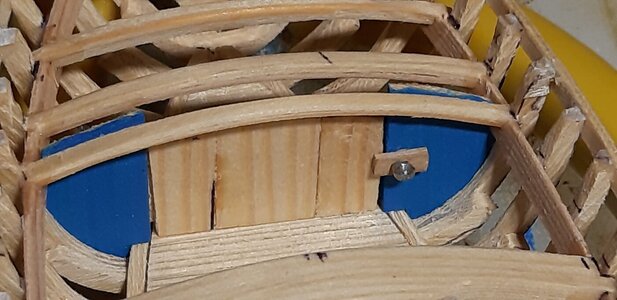
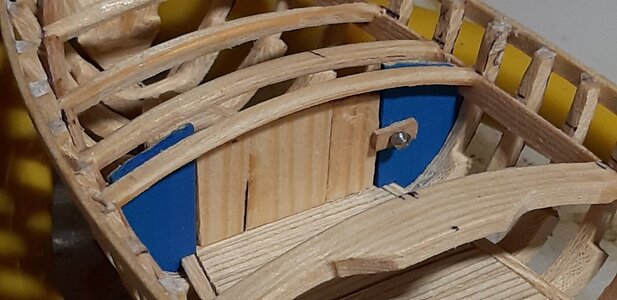
Time for the beams and the hatch, the hatch has a working lock and can be removed.
Nice progress. When you insert the photos can you also, below the insert button, wait and when the Full SIze button appears click on it? We can see a larger image. It downloads very quickly so then scroll down and insert your cursor at the lower right corner, hit return and add any comments that you want before inserting the next photo. Just a suggestion for easier viewing of your work. I'll continue watching as you finally put on the finishing paint and detailing. Rich (PT-2)
 
Yes, I'm trying the various options, I used that option in the previous post but I thougt that browsing was worst with that big vertical size, the tumbnails can be selected to view full size.
 
Yes, I'm trying the various options, I used that option in the previous post but I thougt that browsing was worst with that big vertical size, the tumbnails can be selected to view full size.
You are right and I think that you can place comments between each image thumbnail as you proceed. I was just being lazy I guess. Rich
 
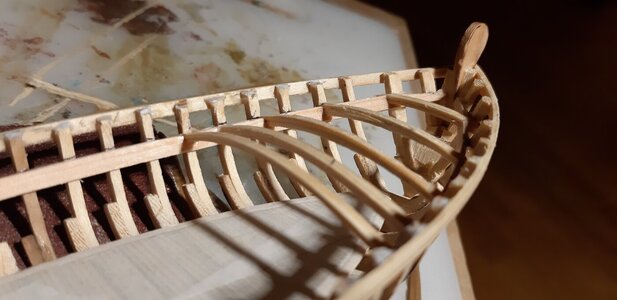
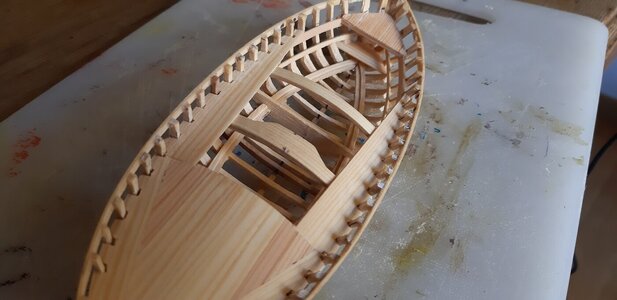
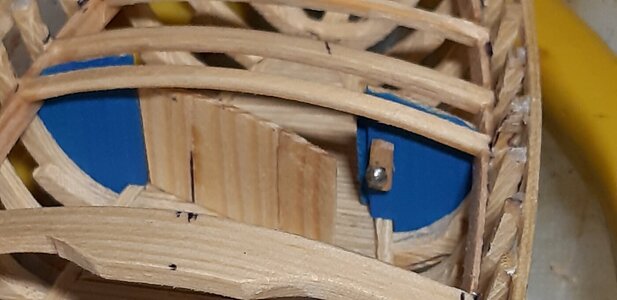
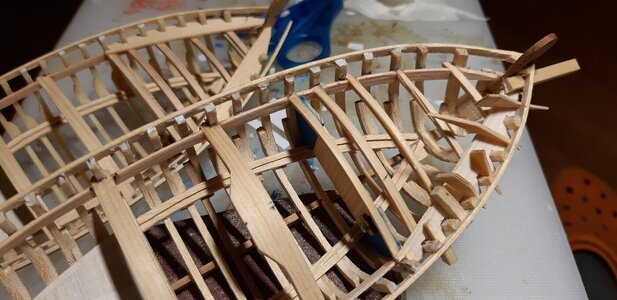
Added the seats, the forward one is larger it will be sculpted to support the mast.
In the background the sister one with a simple front seat, not intended to be rigged.
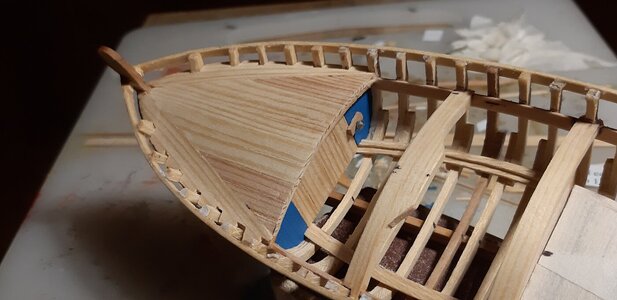
You can also see the first planks of the front deck in position, they must intersect the frames (in italian "trincarino").

20201224_232724.jpg

Then the other planks of the front deck.

20201226_001926.jpg

And the side corridors, with the front deck they form the "wet" part of the boat. These must intersect the frames too so the shape is a little hard to get.
And the little triangular back seat.

20201230_001310.jpg20210104_112741.jpg
 
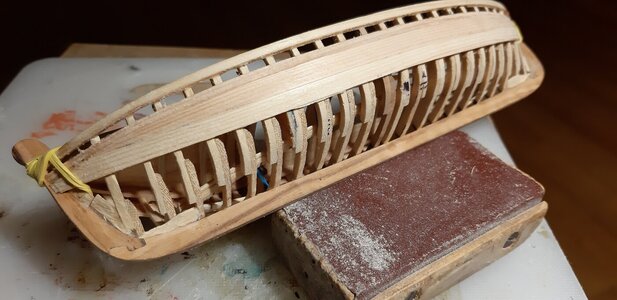
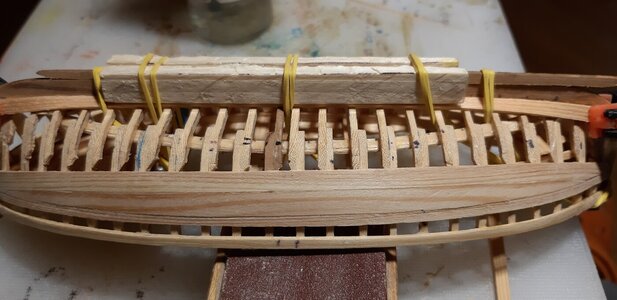
The interior is not complete but is suitable to start the external planking.

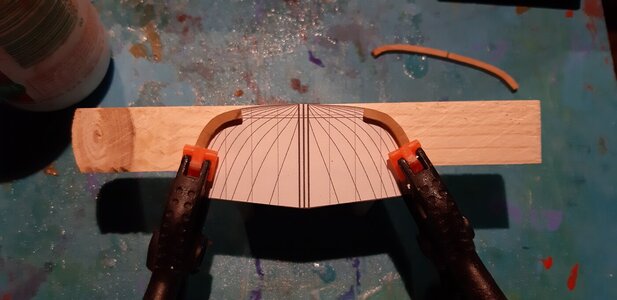
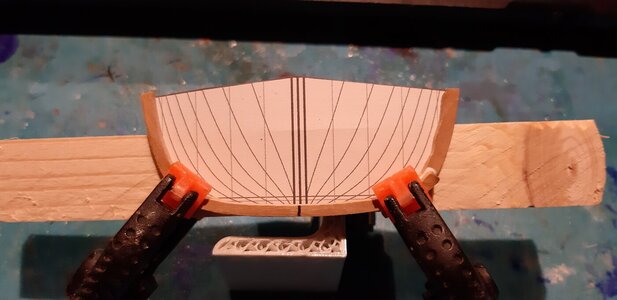
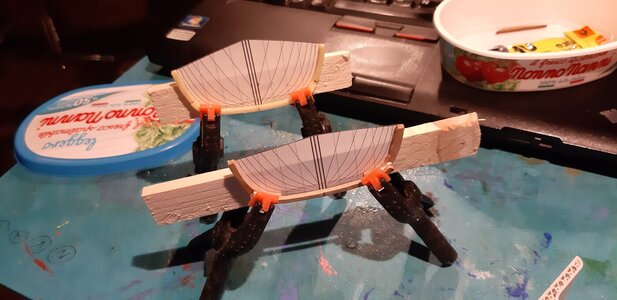
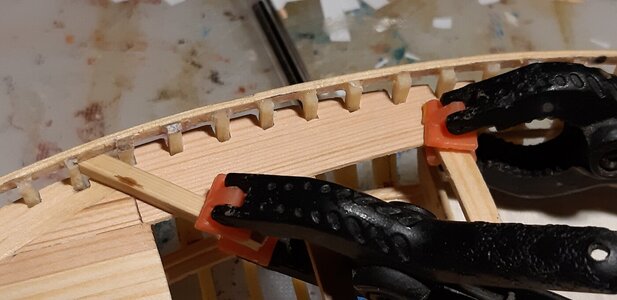
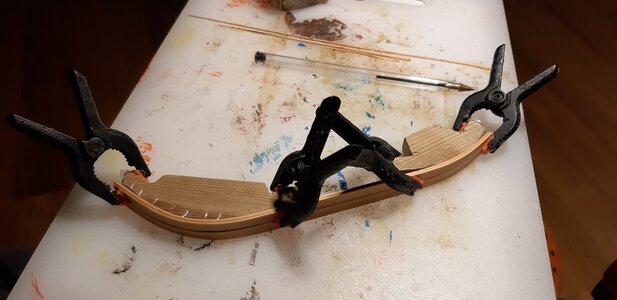
I used a pair of wood template blocks to curve the plankings. They actually are two different version of the one used to curve the seats so they have two different profiles but they were usefull also for the planking.

The planks were soaked in water for some seconds and then pressed on the templates and put on a cooler for some time, the coolers were very hot at the time since I made this work during last winter.

20210106_152613.jpg

The planking work will follow the sequence used on the real boats as reported by the memories of old craftmen.
I started with a thinner line, "incintone" and then with the first two line of plank from the top.
The uppermost line is the one used to lock the frames in position and will be replaced with a more suitable plank.
The "incintone" should be thicker than the others in real life but I used the same thicness for convenience in hull sanding, It will be doubled after the hull has been sanded.
All the planking has been taken in place with rubber bands.

20210109_232851.jpg

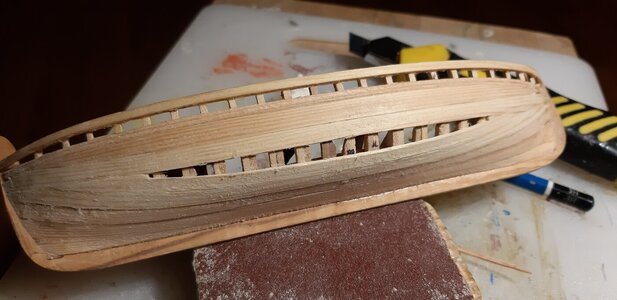
When the two uppermost line of planking are done you will restart from the bottom.

20210110_104747.jpg

From what I know the planks are not tapered going to the bow and to the stern, this has been a source of some discussion but I have evidence of this scheme from the same old memories and from my live reportages.
So the planks are going to be shorter from the bottom to the top till the last space remain open in the middle.
This last plank is called "key" as is the archs. The positioning of this last one constitutes the end of the planking of the live work and in ancient times it was celebrated with large banquets offered by the owner of the boat

20210125_233714.jpg
 
The interior is not complete but is suitable to start the external planking.

I used a pair of wood template blocks to curve the plankings. They actually are two different version of the one used to curve the seats so they have two different profiles but they were usefull also for the planking.

The planks were soaked in water for some seconds and then pressed on the templates and put on a cooler for some time, the coolers were very hot at the time since I made this work during last winter.

View attachment 260618

The planking work will follow the sequence used on the real boats as reported by the memories of old craftmen.
I started with a thinner line, "incintone" and then with the first two line of plank from the top.
The uppermost line is the one used to lock the frames in position and will be replaced with a more suitable plank.
The "incintone" should be thicker than the others in real life but I used the same thicness for convenience in hull sanding, It will be doubled after the hull has been sanded.
All the planking has been taken in place with rubber bands.

View attachment 260619

When the two uppermost line of planking are done you will restart from the bottom.

View attachment 260620

From what I know the planks are not tapered going to the bow and to the stern, this has been a source of some discussion but I have evidence of this scheme from the same old memories and from my live reportages.
So the planks are going to be shorter from the bottom to the top till the last space remain open in the middle.
This last plank is called "key" as is the archs. The positioning of this last one constitutes the end of the planking of the live work and in ancient times it was celebrated with large banquets offered by the owner of the boat

View attachment 260621
I think that it is remarkable and commendable that you have brought forth from your recollections the actual manner in which the hull is planked. It gives it a deeper and more meaningful presentation which other viewers, without your background knowledge and commitment, will likely not be aware of or even be critical. You are giving us a lesson and visual treat. Rich (PT-2)
 
Back
Top