1930 Bentley Blower by Aifix 1/12 build log

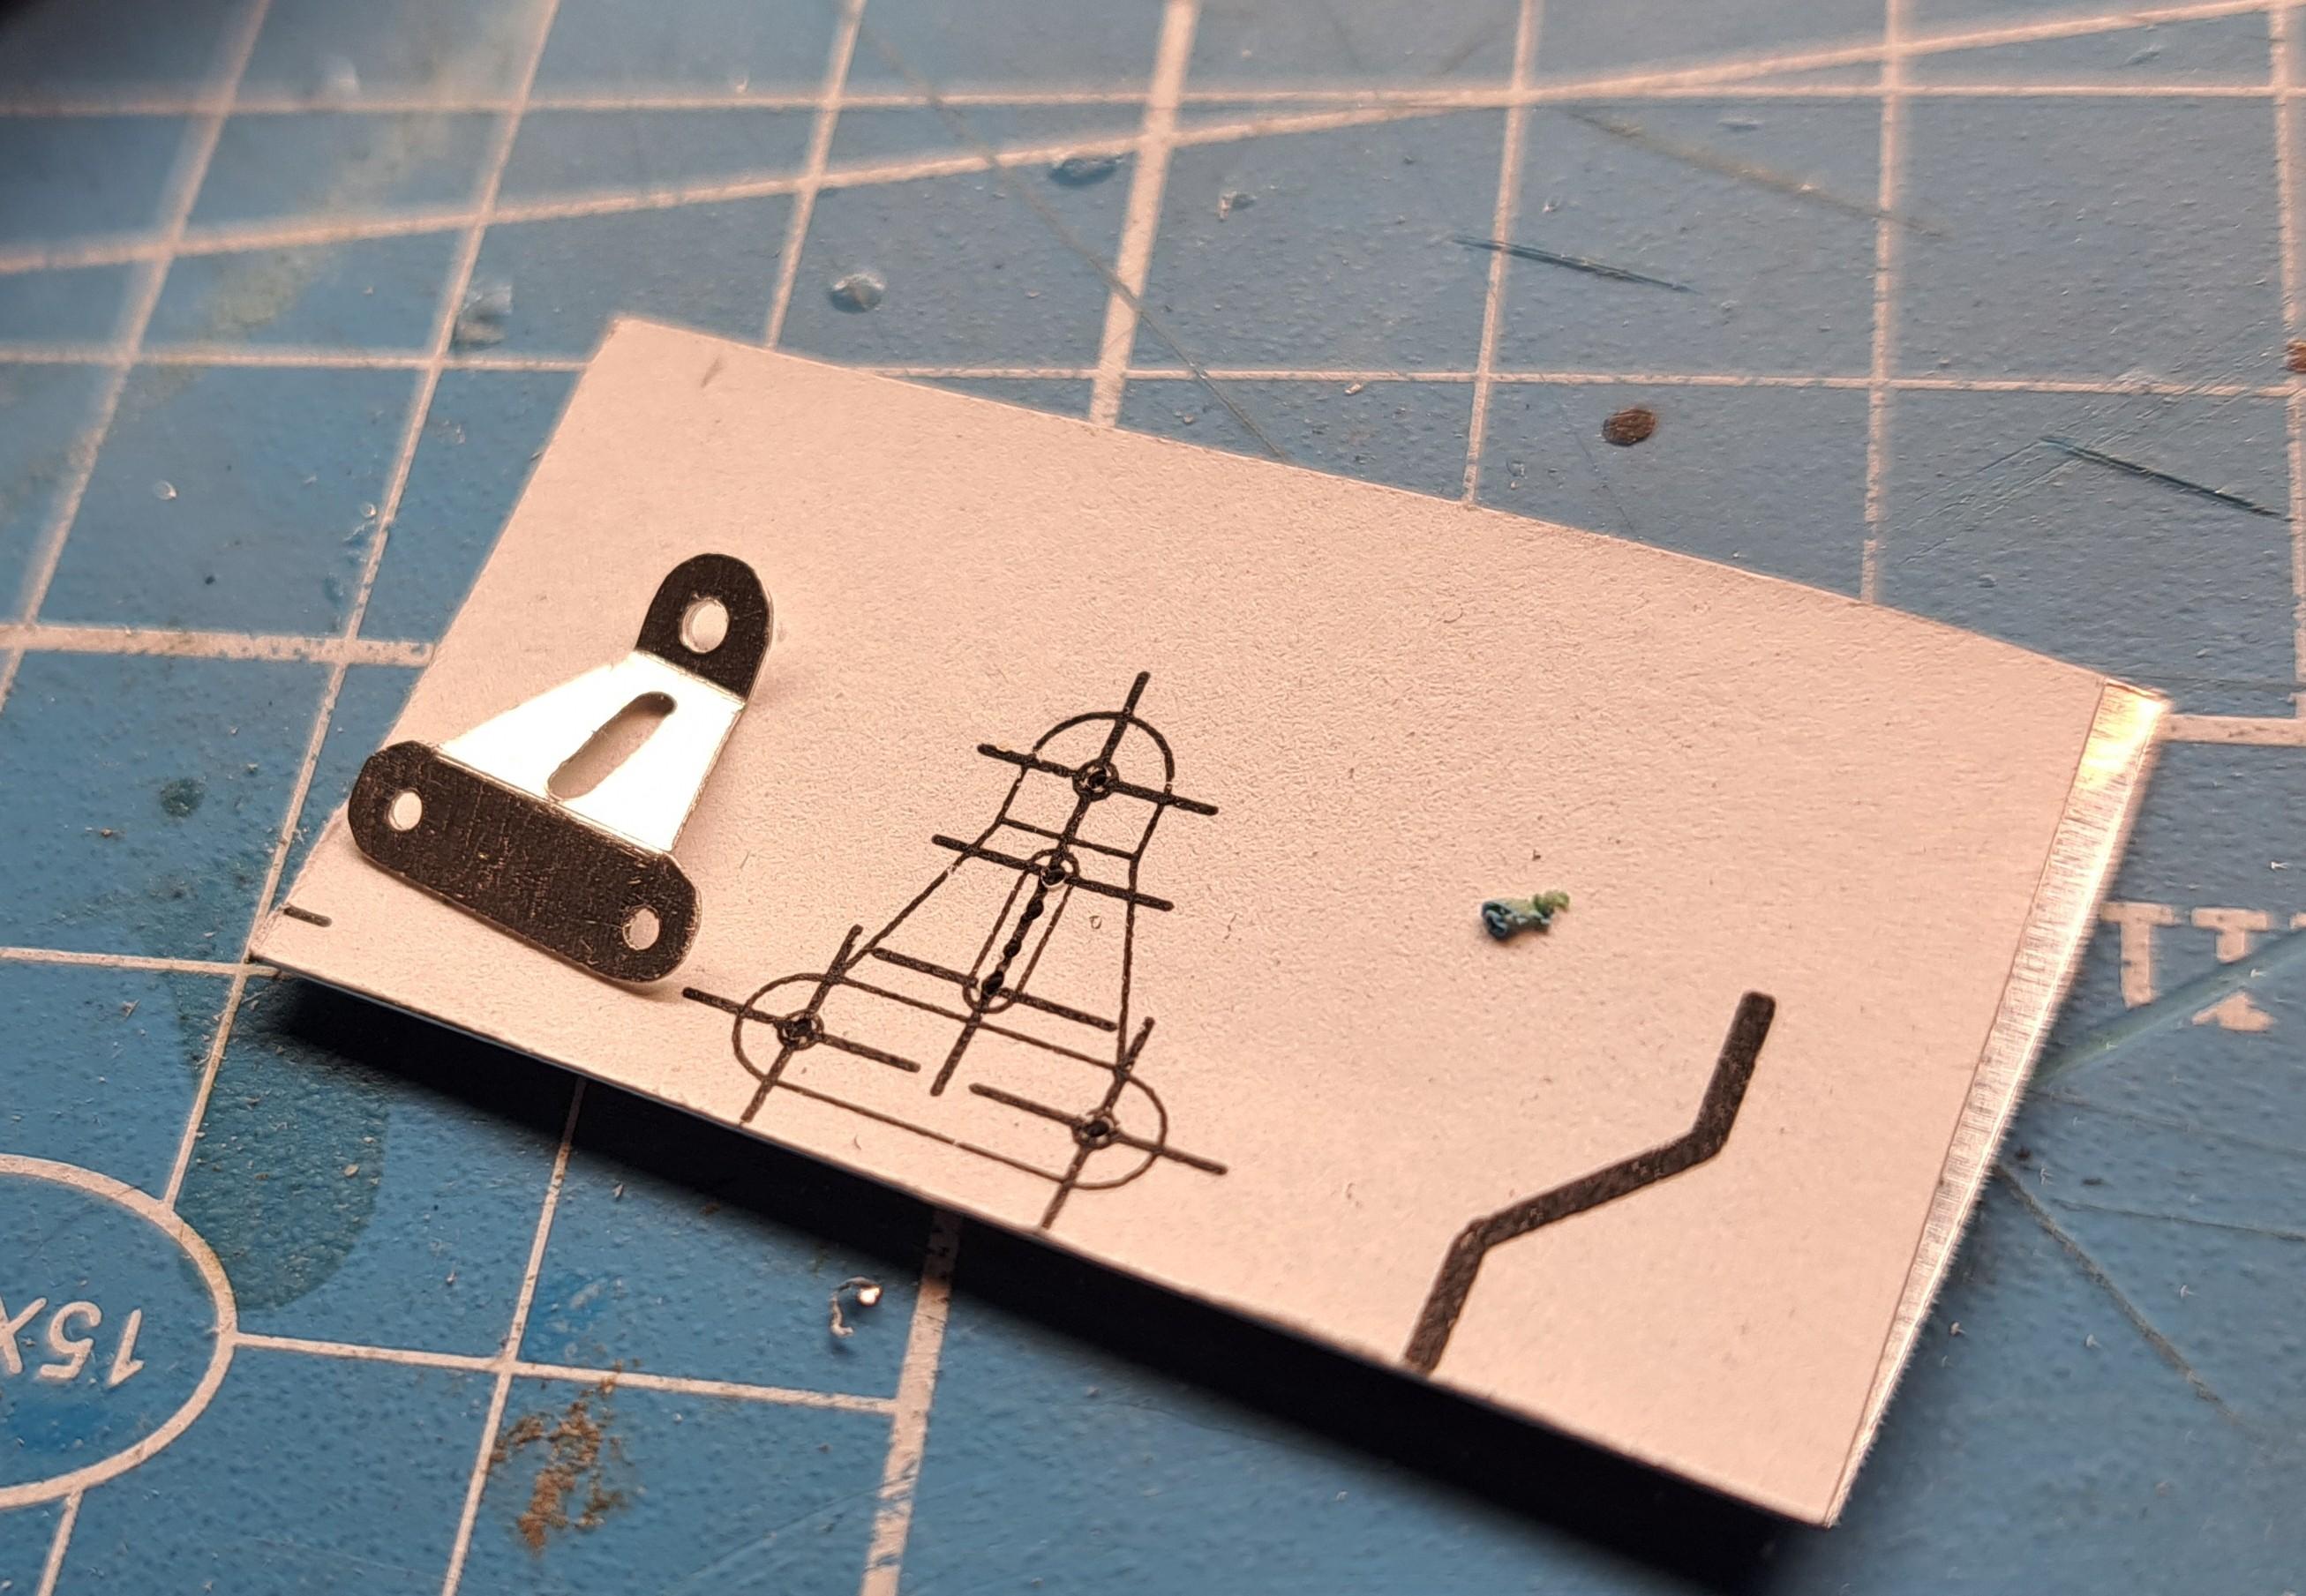
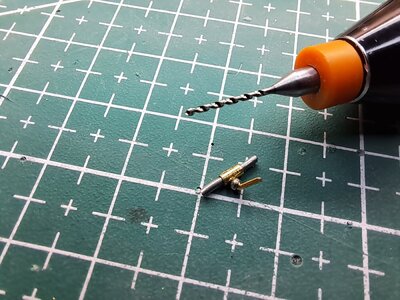
Thanks! I made a trial fit of the hose clamp and support bar. Should be ok.View attachment 376551View attachment 376552
Francois, your fabrication skills are outstanding! And I appreciate how hard that is at scale. Just making plug wire looms on my build I realized that some parts are so small that you can barely handle them, which required putting the pieces in a vice so I could file and sand. So I appreciate the challenges to make these parts. Keep up the great work! ;)
 
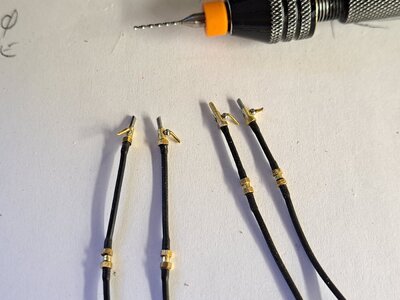
got all 4 fuel hoses done complete with a better looking petcock than my first try and splicer coupling.20230529_164114.jpg20230529_170855.jpg

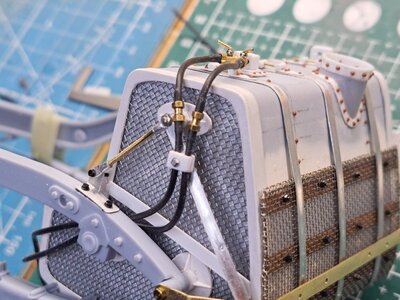
and on tank with hose clamp20230529_200004.jpg

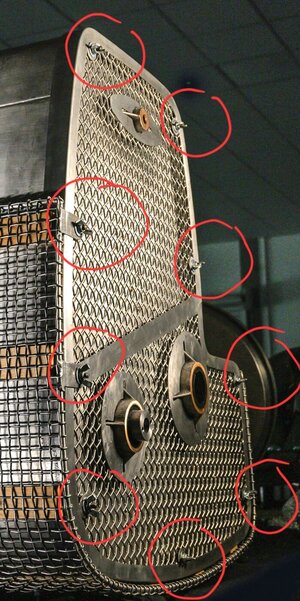
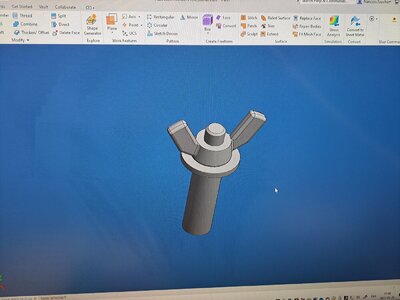
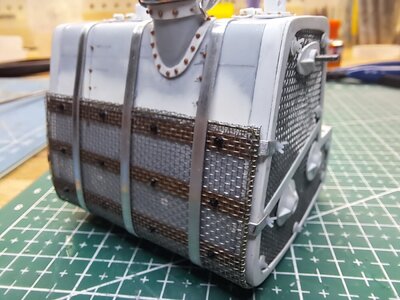
only one more detail to add to the tank before primer and paint. The wire mesh on the real tank is held in place with wingnuts screwed thru welded tabs. I tried finding 3d printed wingnuts but all l could find came from europe (so very pricey onces delivered) and I really wasn't sure that the size would be ok. So I 3d modeled a properly sized wingnut for my application and will have it printed locally.

Wingnuts on real tankBlower Continuation Series - 4 - Fuel Tank.jpg

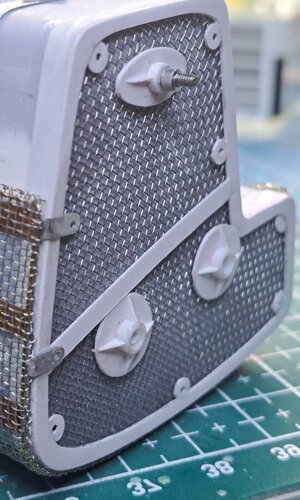
tabs installed20230529_204155.jpg

3d modeled wingnut ready for printing20230529_210824.jpg
 
got all 4 fuel hoses done complete with a better looking petcock than my first try and splicer coupling.View attachment 376987View attachment 376988

and on tank with hose clampView attachment 376989

only one more detail to add to the tank before primer and paint. The wire mesh on the real tank is held in place with wingnuts screwed thru welded tabs. I tried finding 3d printed wingnuts but all l could find came from europe (so very pricey onces delivered) and I really wasn't sure that the size would be ok. So I 3d modeled a properly sized wingnut for my application and will have it printed locally.

Wingnuts on real tankView attachment 376985

tabs installedView attachment 376990

3d modeled wingnut ready for printingView attachment 376986
Francois, that’s a crazy gas tank as far as complexity goes! You’re doing a fantastic job detailing it, as usual! ;)
 
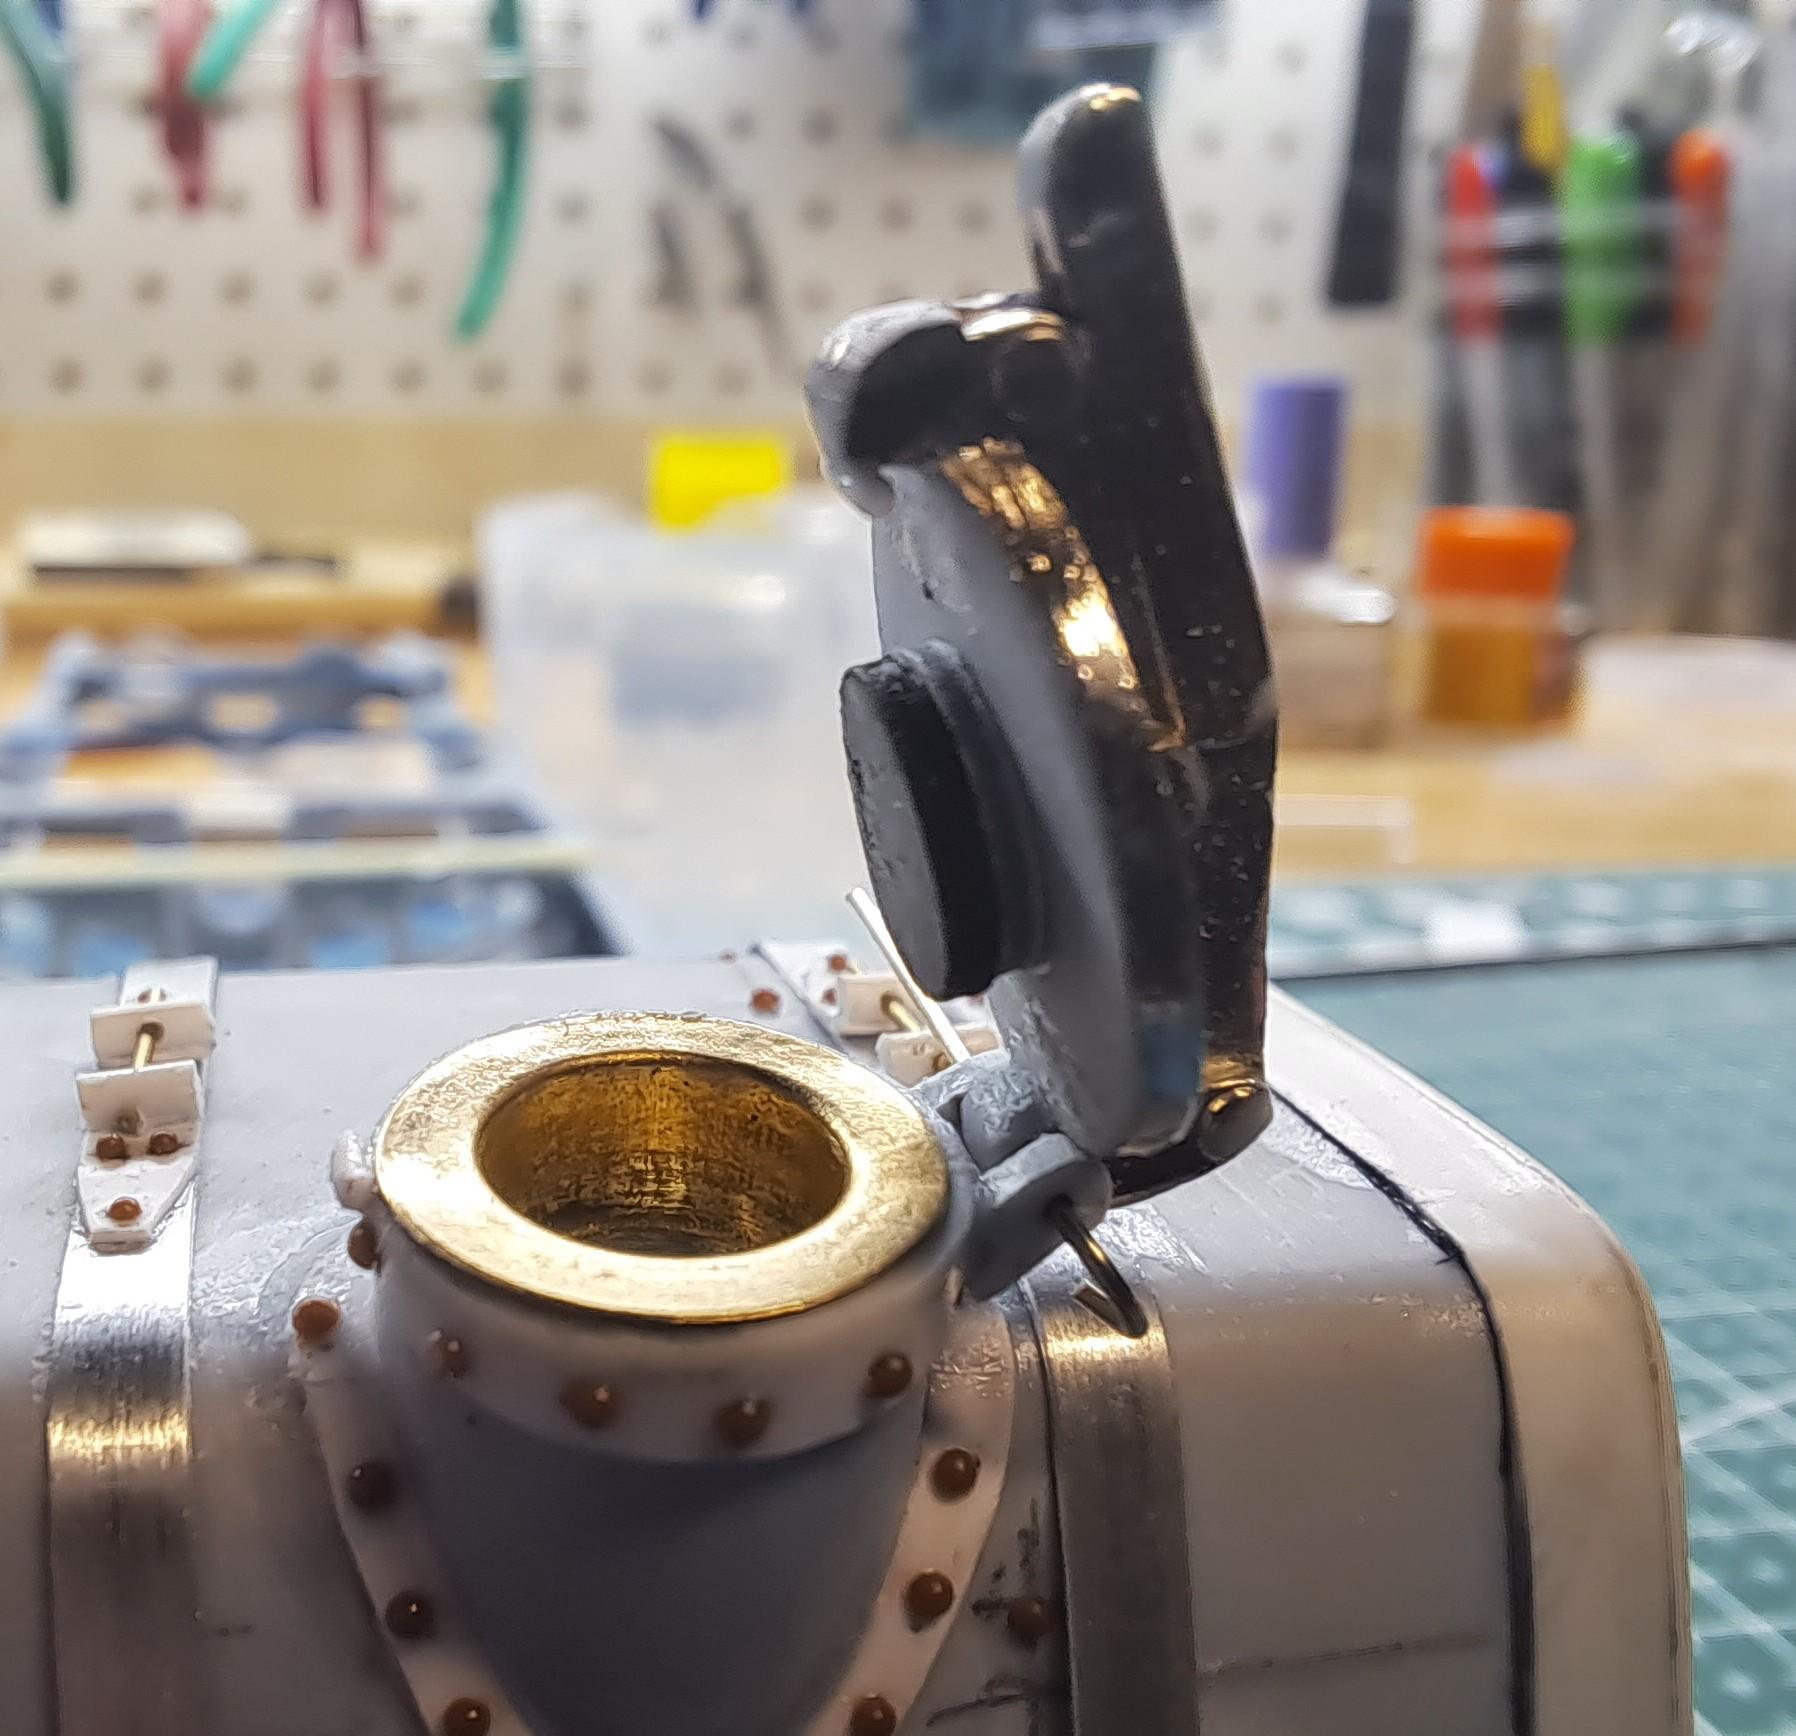
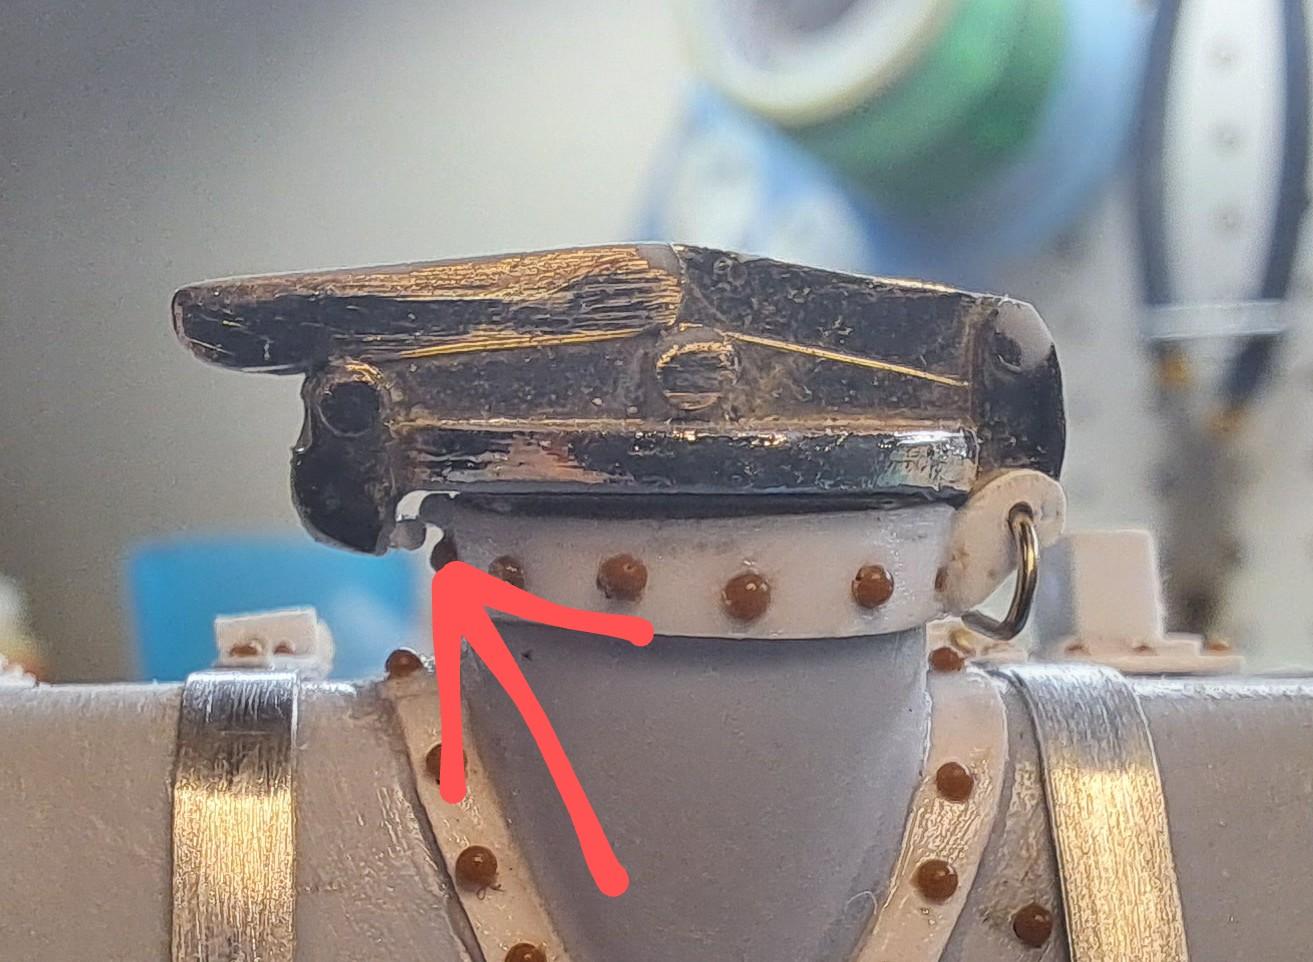
Did a bit more work today. I made a sort of closing latch for the gas cap.

I glued 2 tiny (.020 dia) styrene rod, 1 on the cap and 1 on the spout. The cap, when pushed in place makes à very satisfying click.
281838744_20230601_2204152.jpg.29c3235783994af4ee1e17a3384a6181.jpg
20230601_220555.jpg.efb9106c170ebb51c0f004fa93262cd7.jpg


Next up will be the tail lights assembly. Here's what will be done.

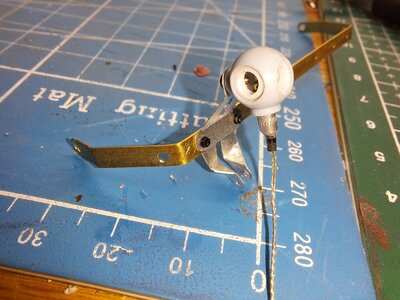
Fabricate the mounting brackets

Modify the light itself by drilling 3 holes to create an inner cavity and adding a light bulb (fake) inside

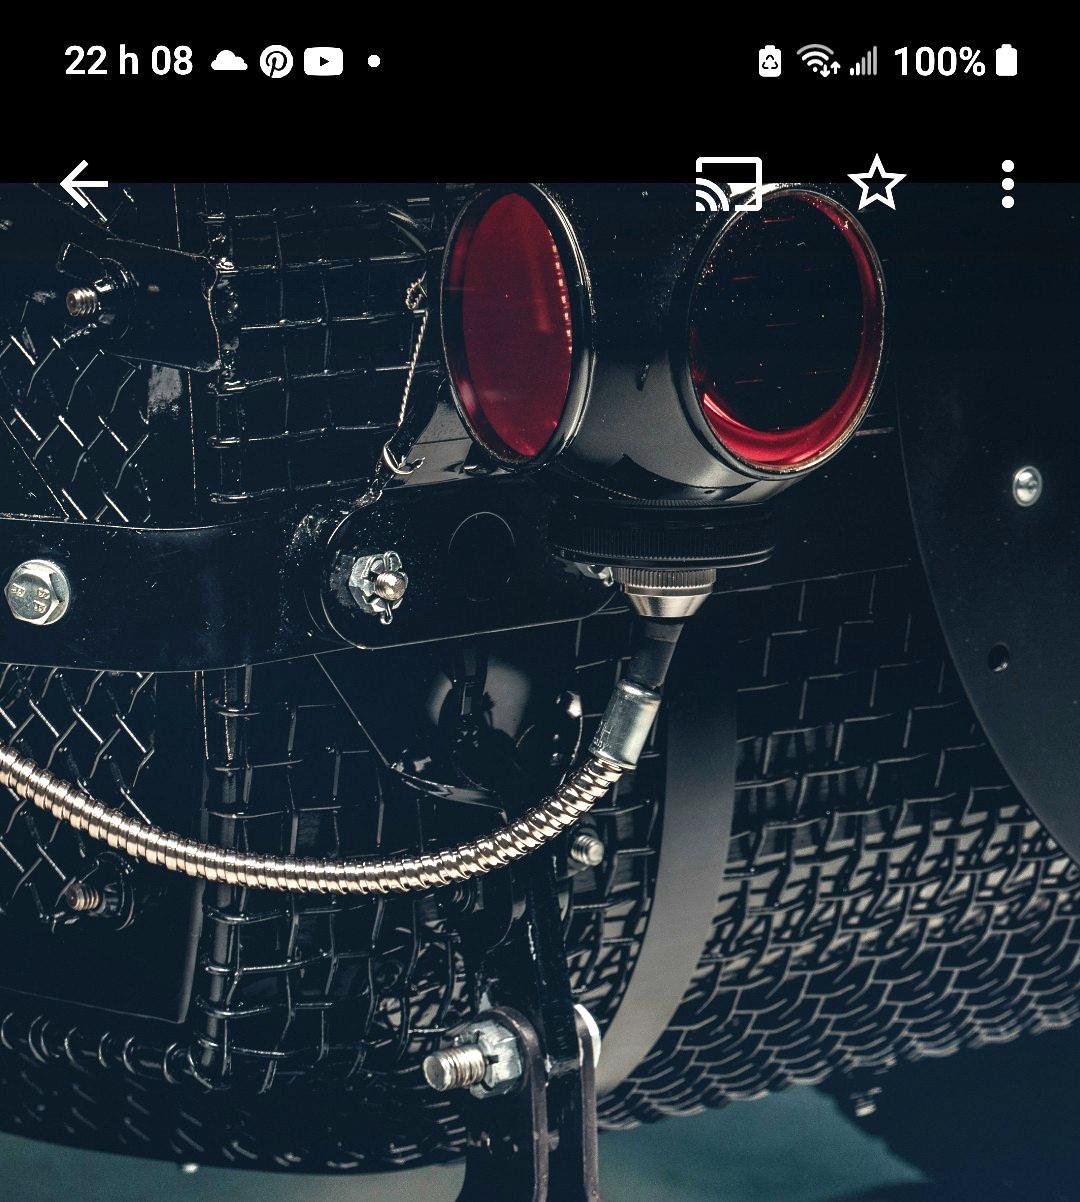
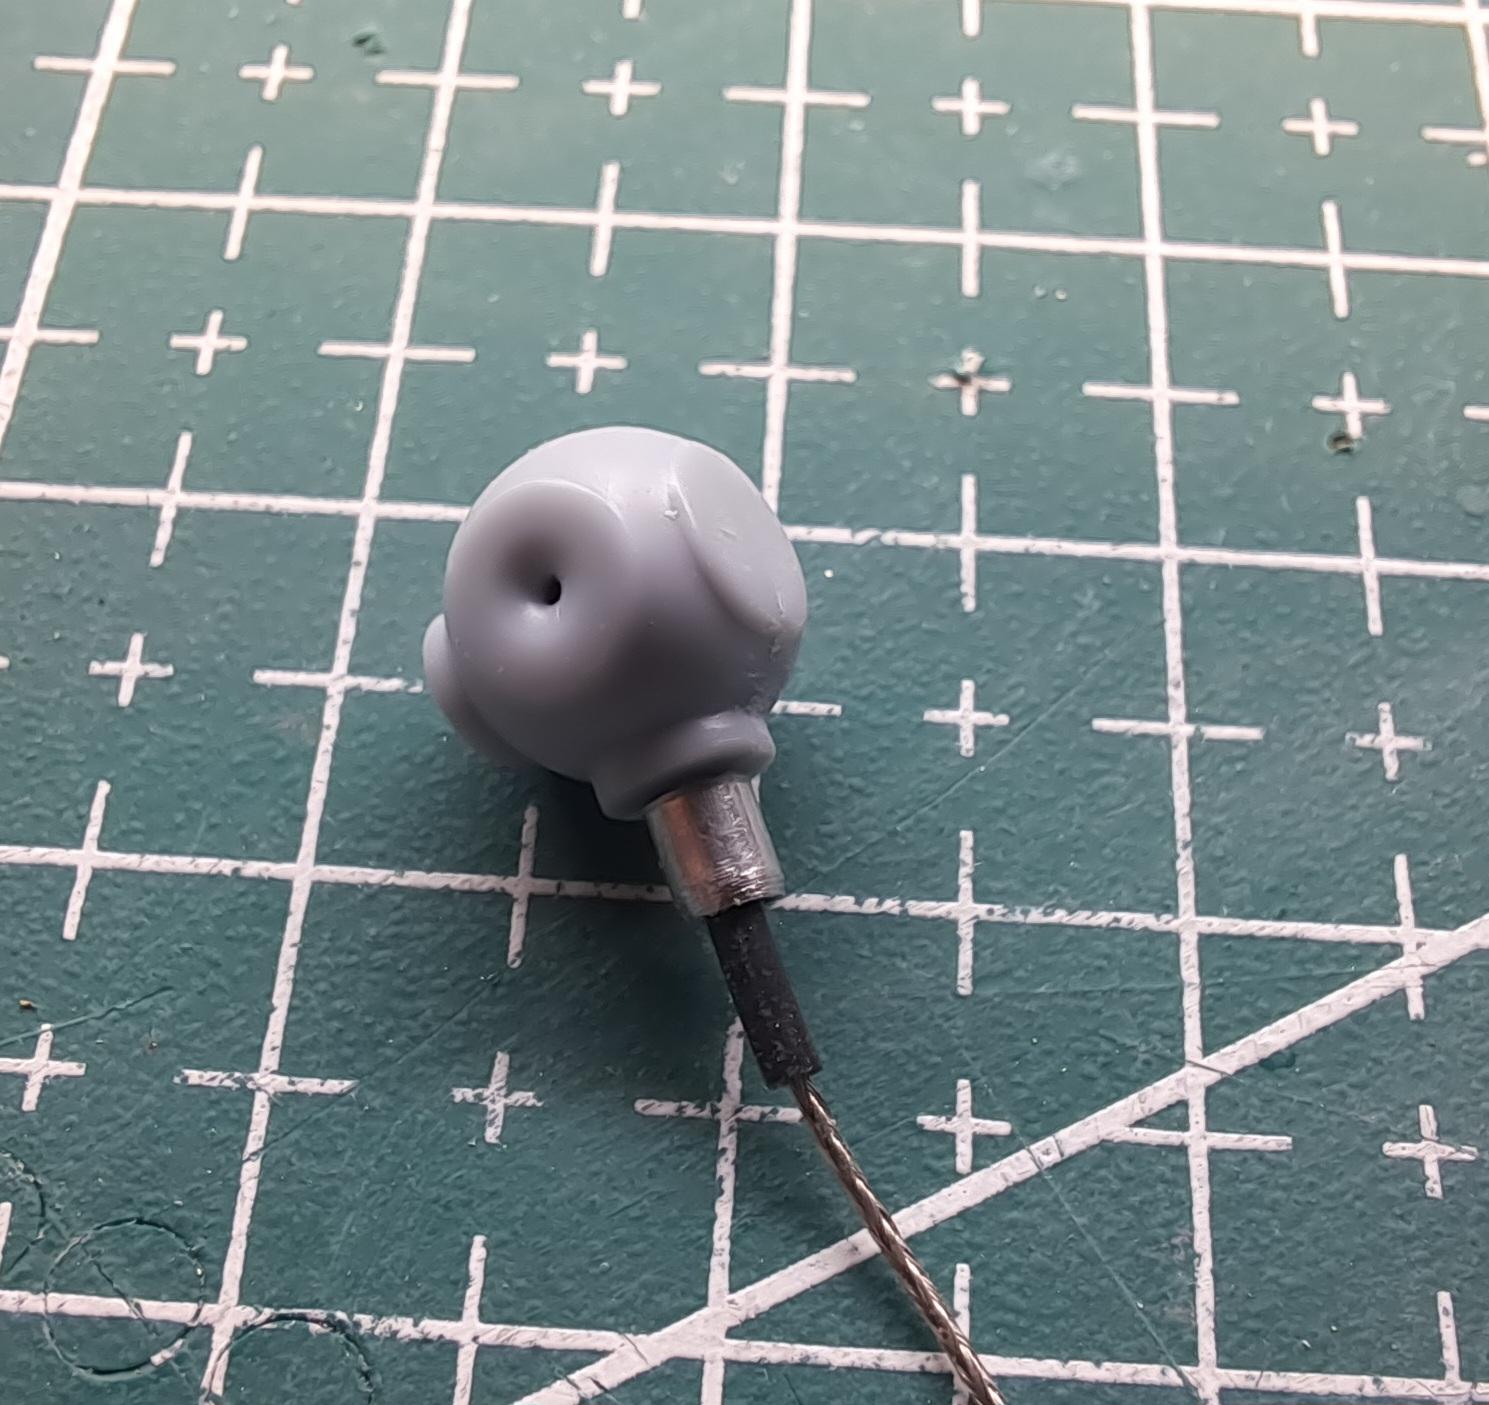
Make the wire connection with braided line, rubber grommet and knurled nut.

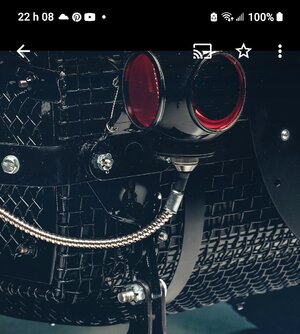
Here's what I'm aiming for
Screenshot_20230601_220848_Photos.jpg.abcb5dc722ebba57bb4155f1339a051d.jpg


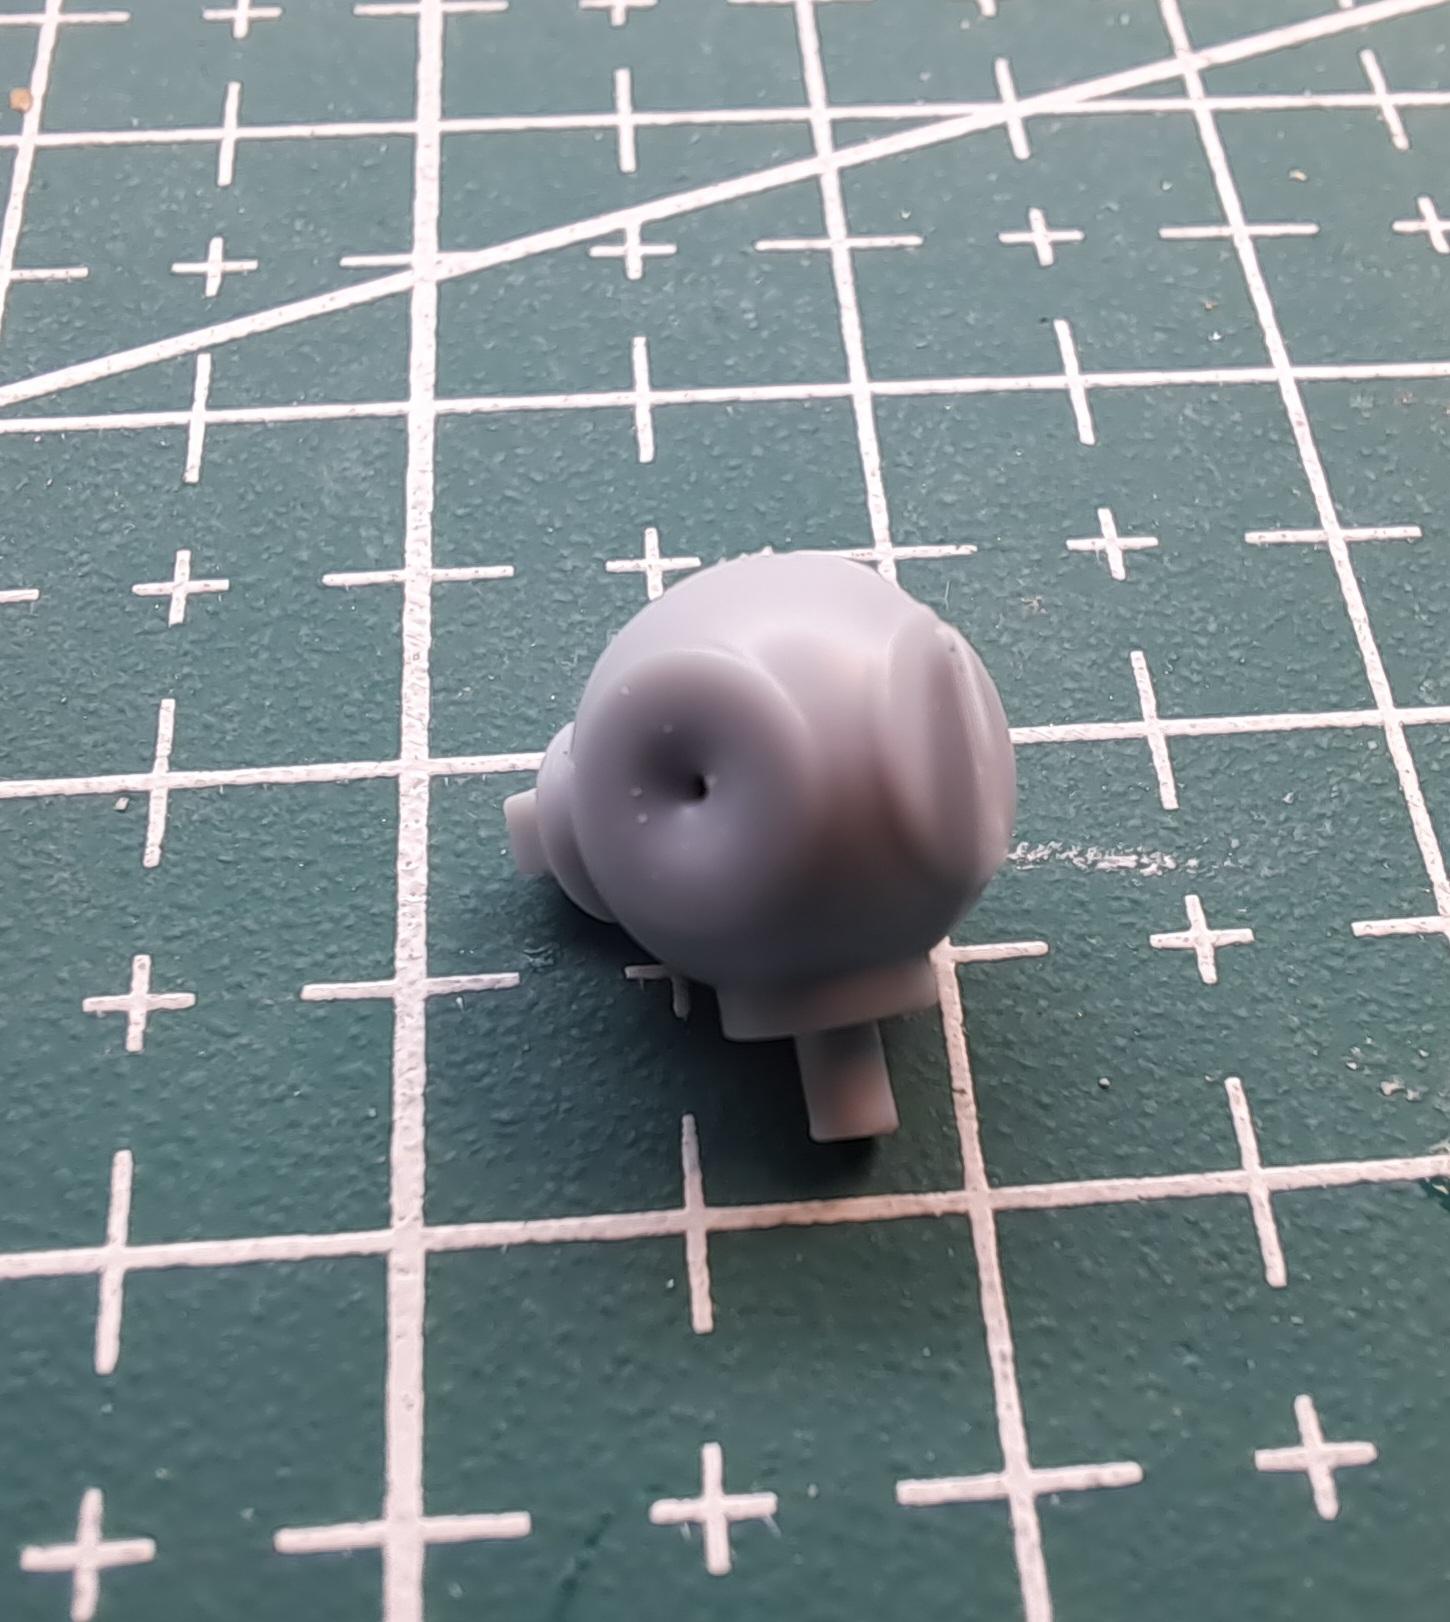
Here's what the kit provides (yikes!!)
20230601_220251.jpg.cc0c236b121395374d9ae54d3f88e239.jpg


First test with wire
20230601_220323.jpg.55ca7d914493a512cd662308ff50cfe5.jpg
 
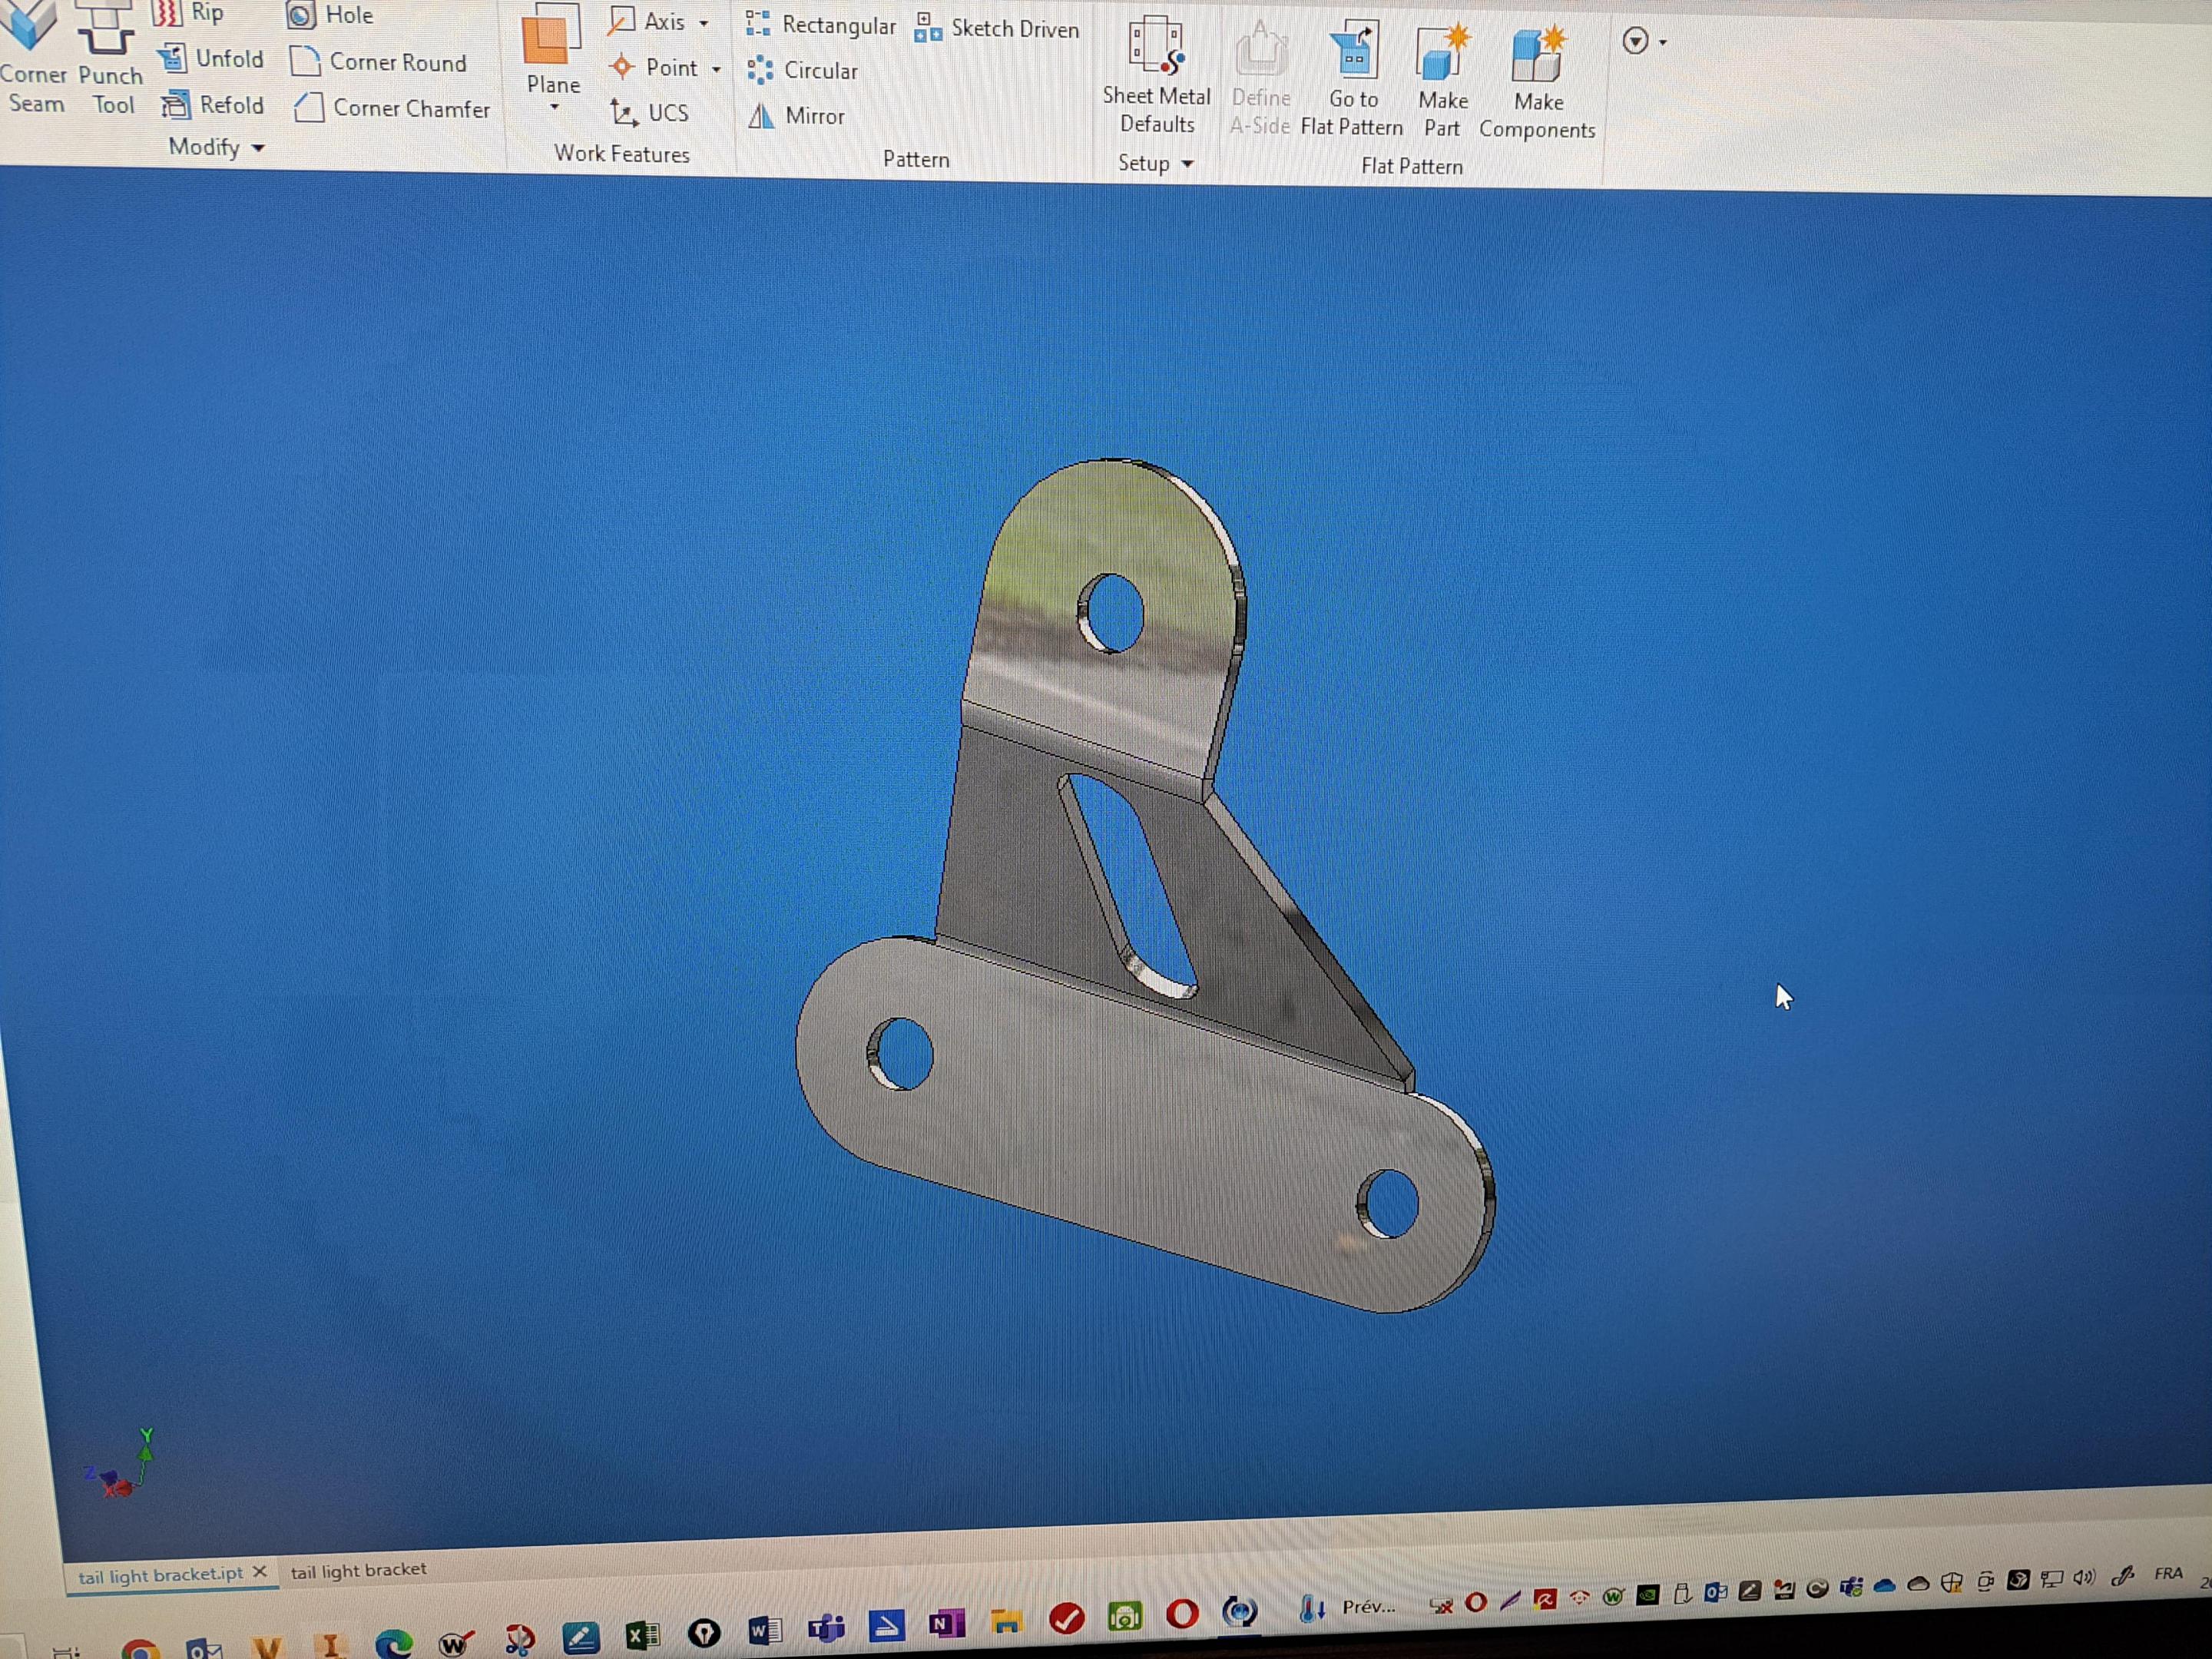
I did the tail light brackets today. For those interested, here's how I proceed with the fabrication of a small sheet metal part.

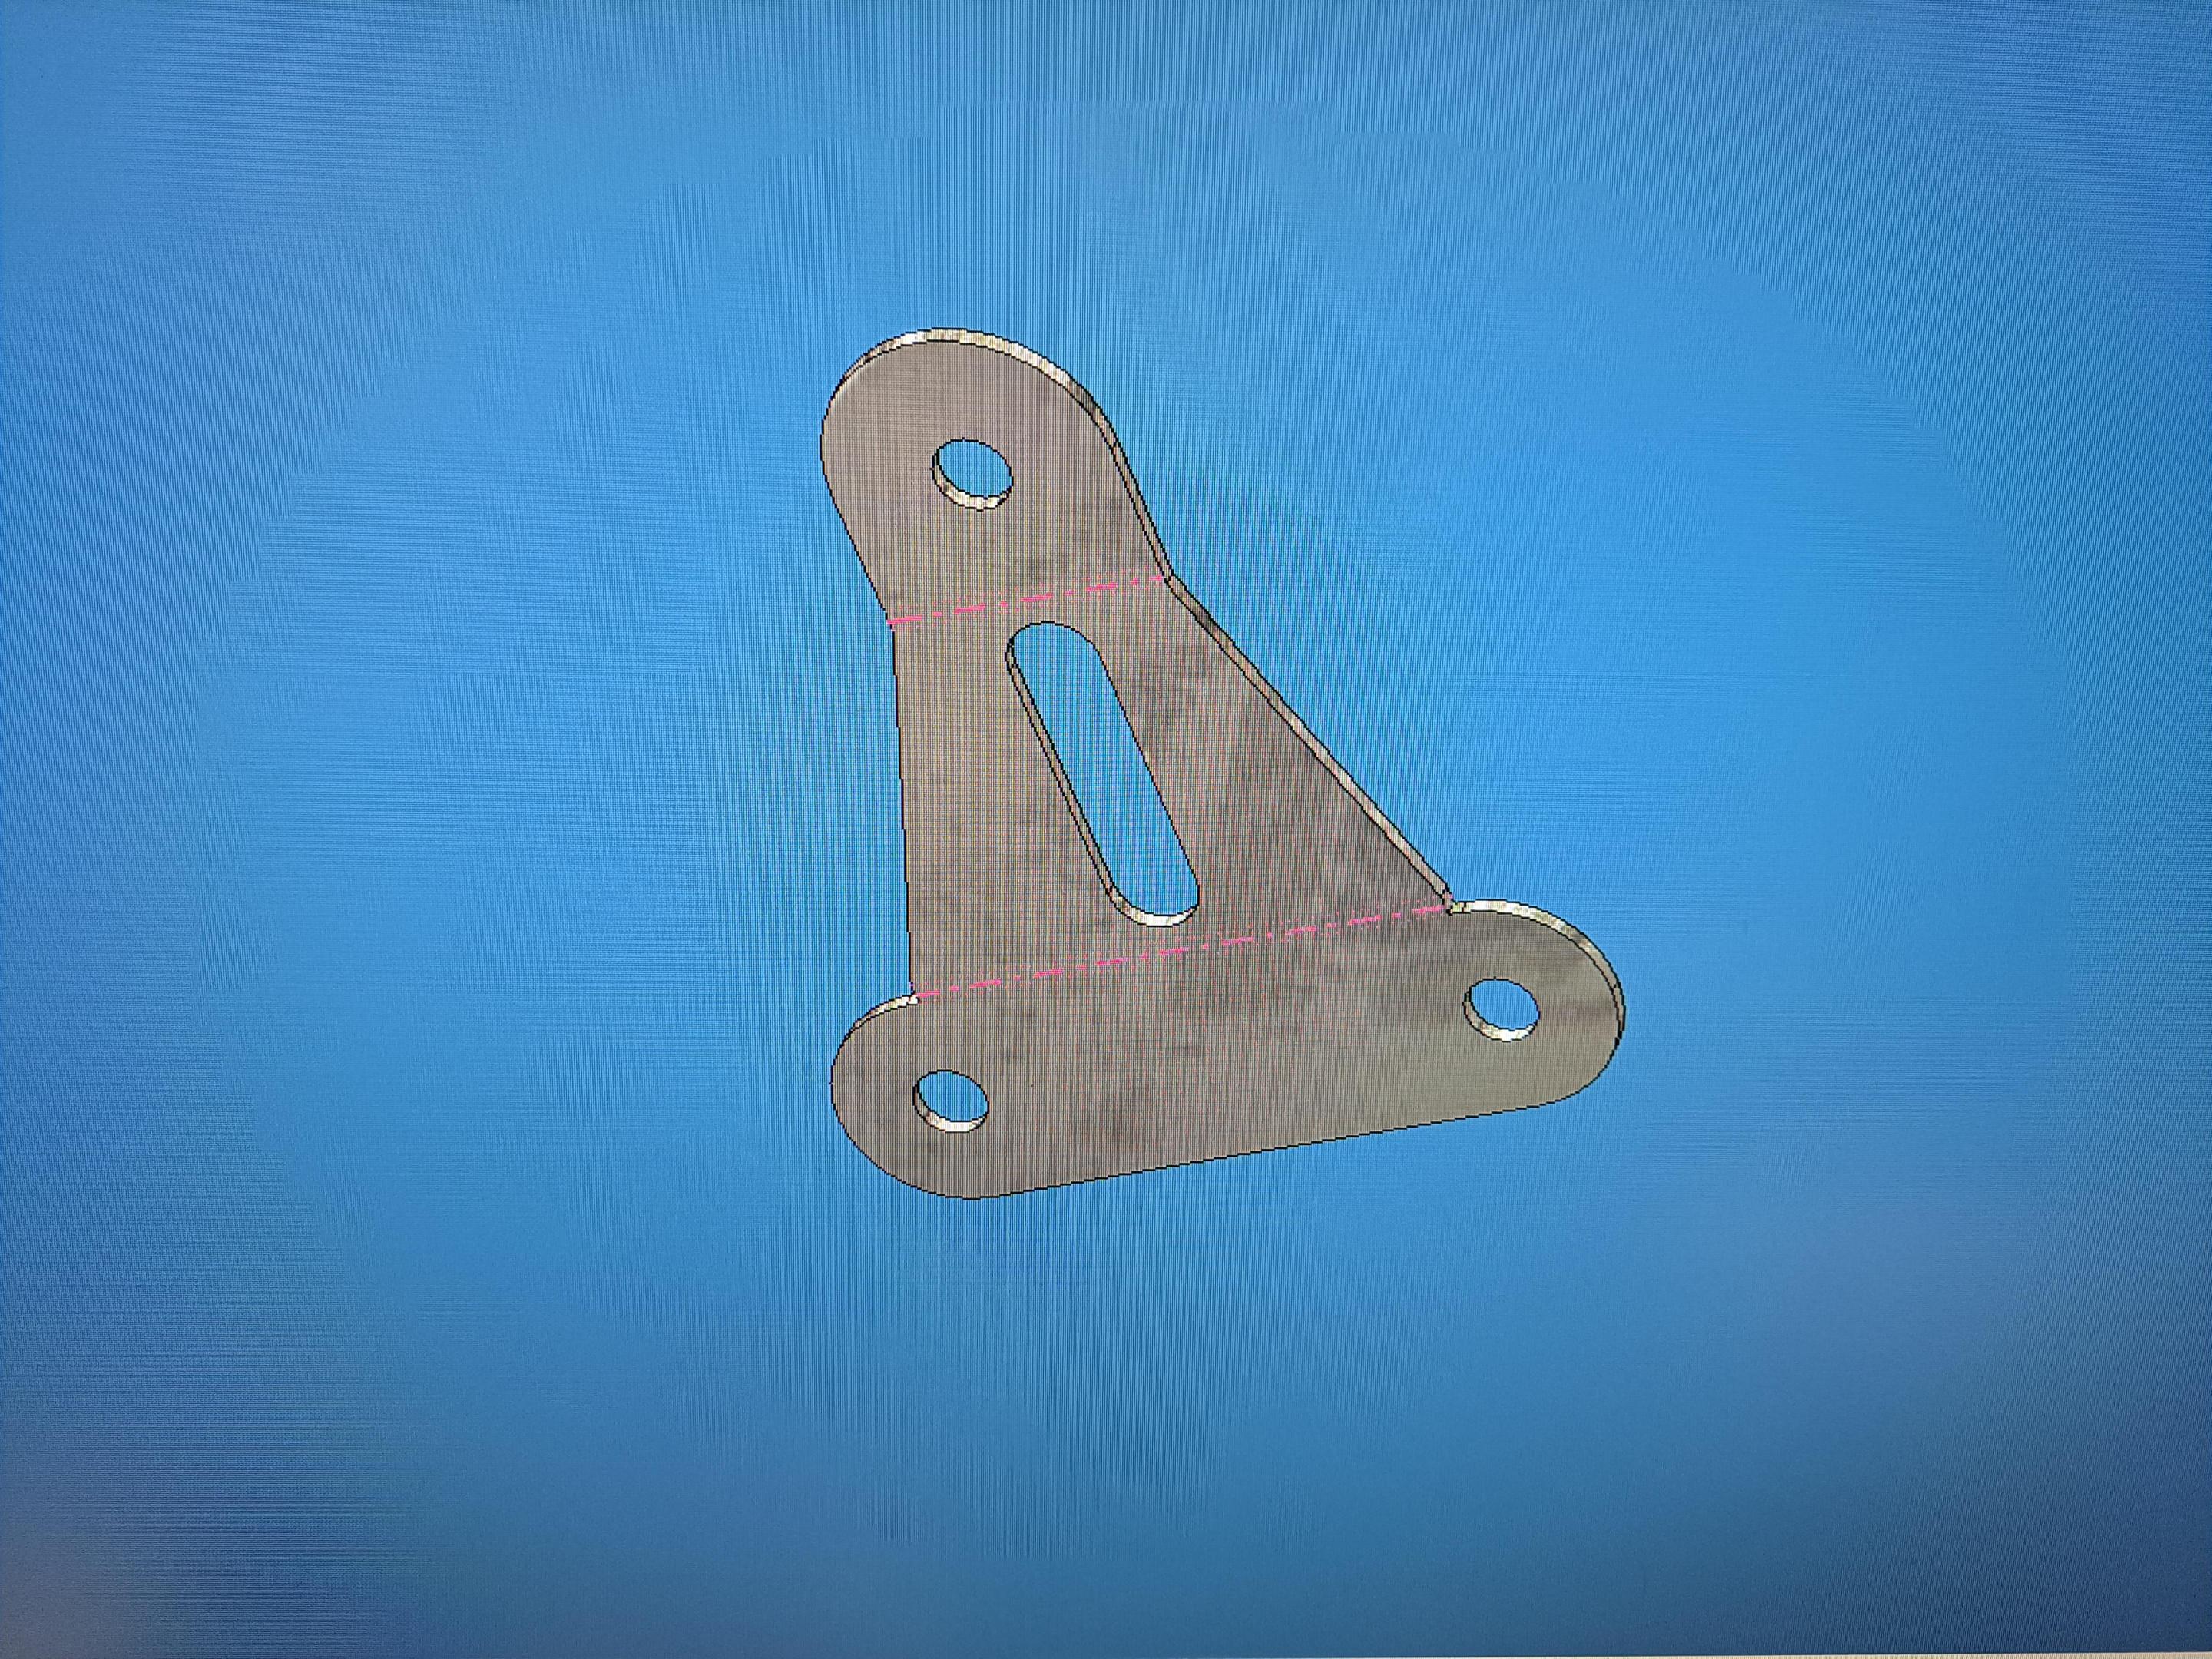
First I 3d model it using the sheet metal section of my cad program which provides me with a flat pattern (pre-bending) of the part.

3d part20230602_220321.thumb.jpg.086d6cf3e7203a231e4ff374b5538ac5.jpg

Flat pattern 20230602_220344.thumb.jpg.c01d228f172fd1a9b514439acbad0293.jpg

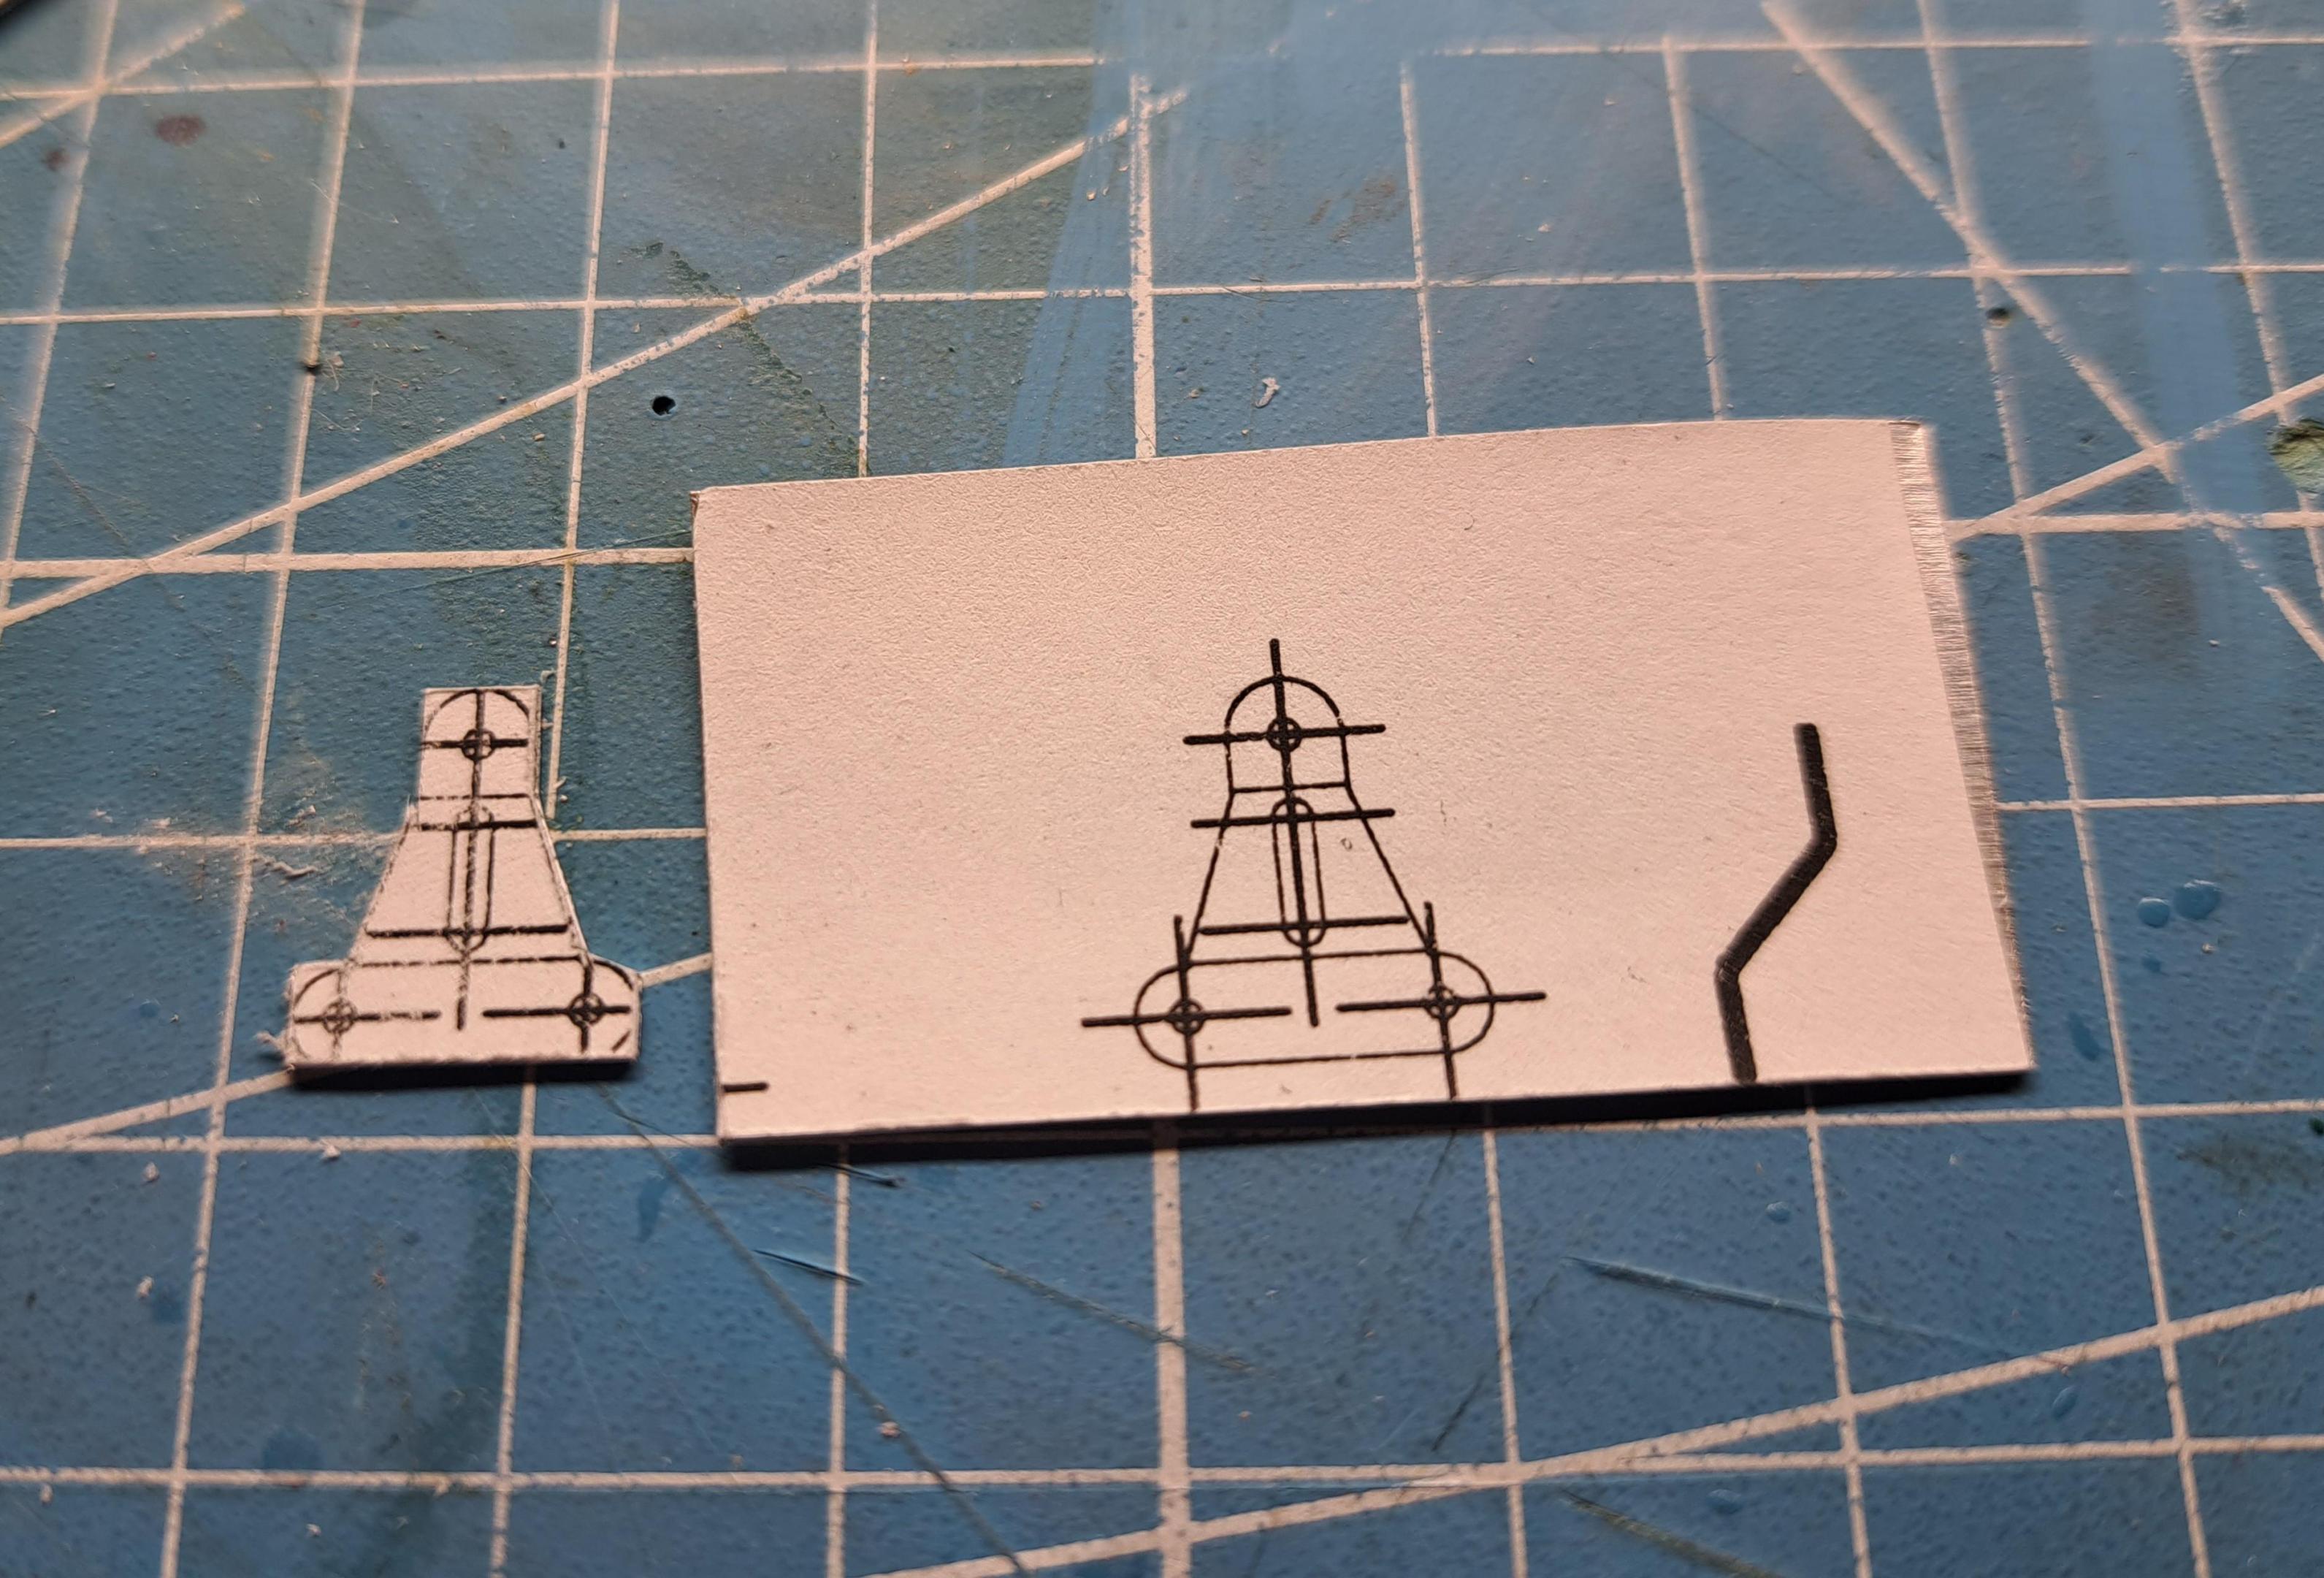
I then print it 1:1 on a sticky back paper and stick the paper to a sheet of aluminium. I can now cut it and drill the holes by simply following the print 20230602_154504.thumb.jpg.d75e4b80f8339642e0000864dfe35ab6.jpg

then comes the bending and voila, a nice little bracket
20230602_155933.jpg.7442d2fcd88d6d22fac108b6d2332587.jpg


Test fitted
20230602_160320.jpg.6d580d143ddea45977f945d8f5373439.jpg
 
Francois, I really like the technique you are using …making a Cad file and then printing to scale a template, and then making the part using the template. Very clever approach! And fortunately you have all the tools to do it.
You could also just print the part and paint it to look metal. But you have chosen to go the extra mile and fabricate the part out of metal instead. Your willingness to put in extra work shows in the end result. Kudos! ;)

Ps - this also tells me you really enjoy what you are doing, which ultimately makes for a better model in the end. I am certain she will be a beauty!
 
Thanks Dean. Aside from the actual tank itself which I sanded bare and the light fixtures that will be greatly modified, every feature currently on the tank was scratch built since the kit doesn't provide any of them and what little is there is not accurate to my ref car. Yes, I trully enjoy this and I like to push the enveloppe so to speak. This also applied when I used to design custom automation machinerie, I rarely did the same thing twice and was always thinking out of the box. Maybe that's why I don't work anymore, my designs where always very nice looking and exotic but also very expensive to build. Now at least I can try whatever I fancy!!
Ps: love your pocher formula 1
Thank you Francois! I have seen many builds where people put the Pocher Lotus 72 together out of the box, which still looks nice. However, in my opinion, due to all the parts being a single color, silver or black, it should be treated just like any other model, and each and every part should be painted and detailed appropriately. ;)
Your passion for model building and adding scratch built components, along with your talent for doing so, yields a great model. I enjoy watching you work!
 
So, here's what has been done on the fixtures today. Let me remind you of my goal.Screenshot_20230601_220848_Photos.jpg

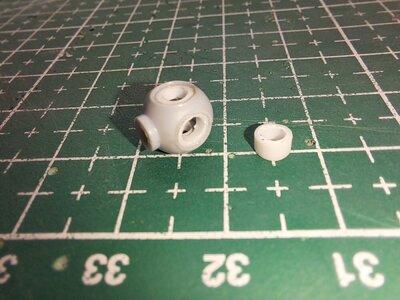
And here's what I did. After drilling out all the holes, I inserted 3 small sleeve, 1 per hole, that will give me a shoulder for the lenses to sit agaist.20230605_100413.jpg

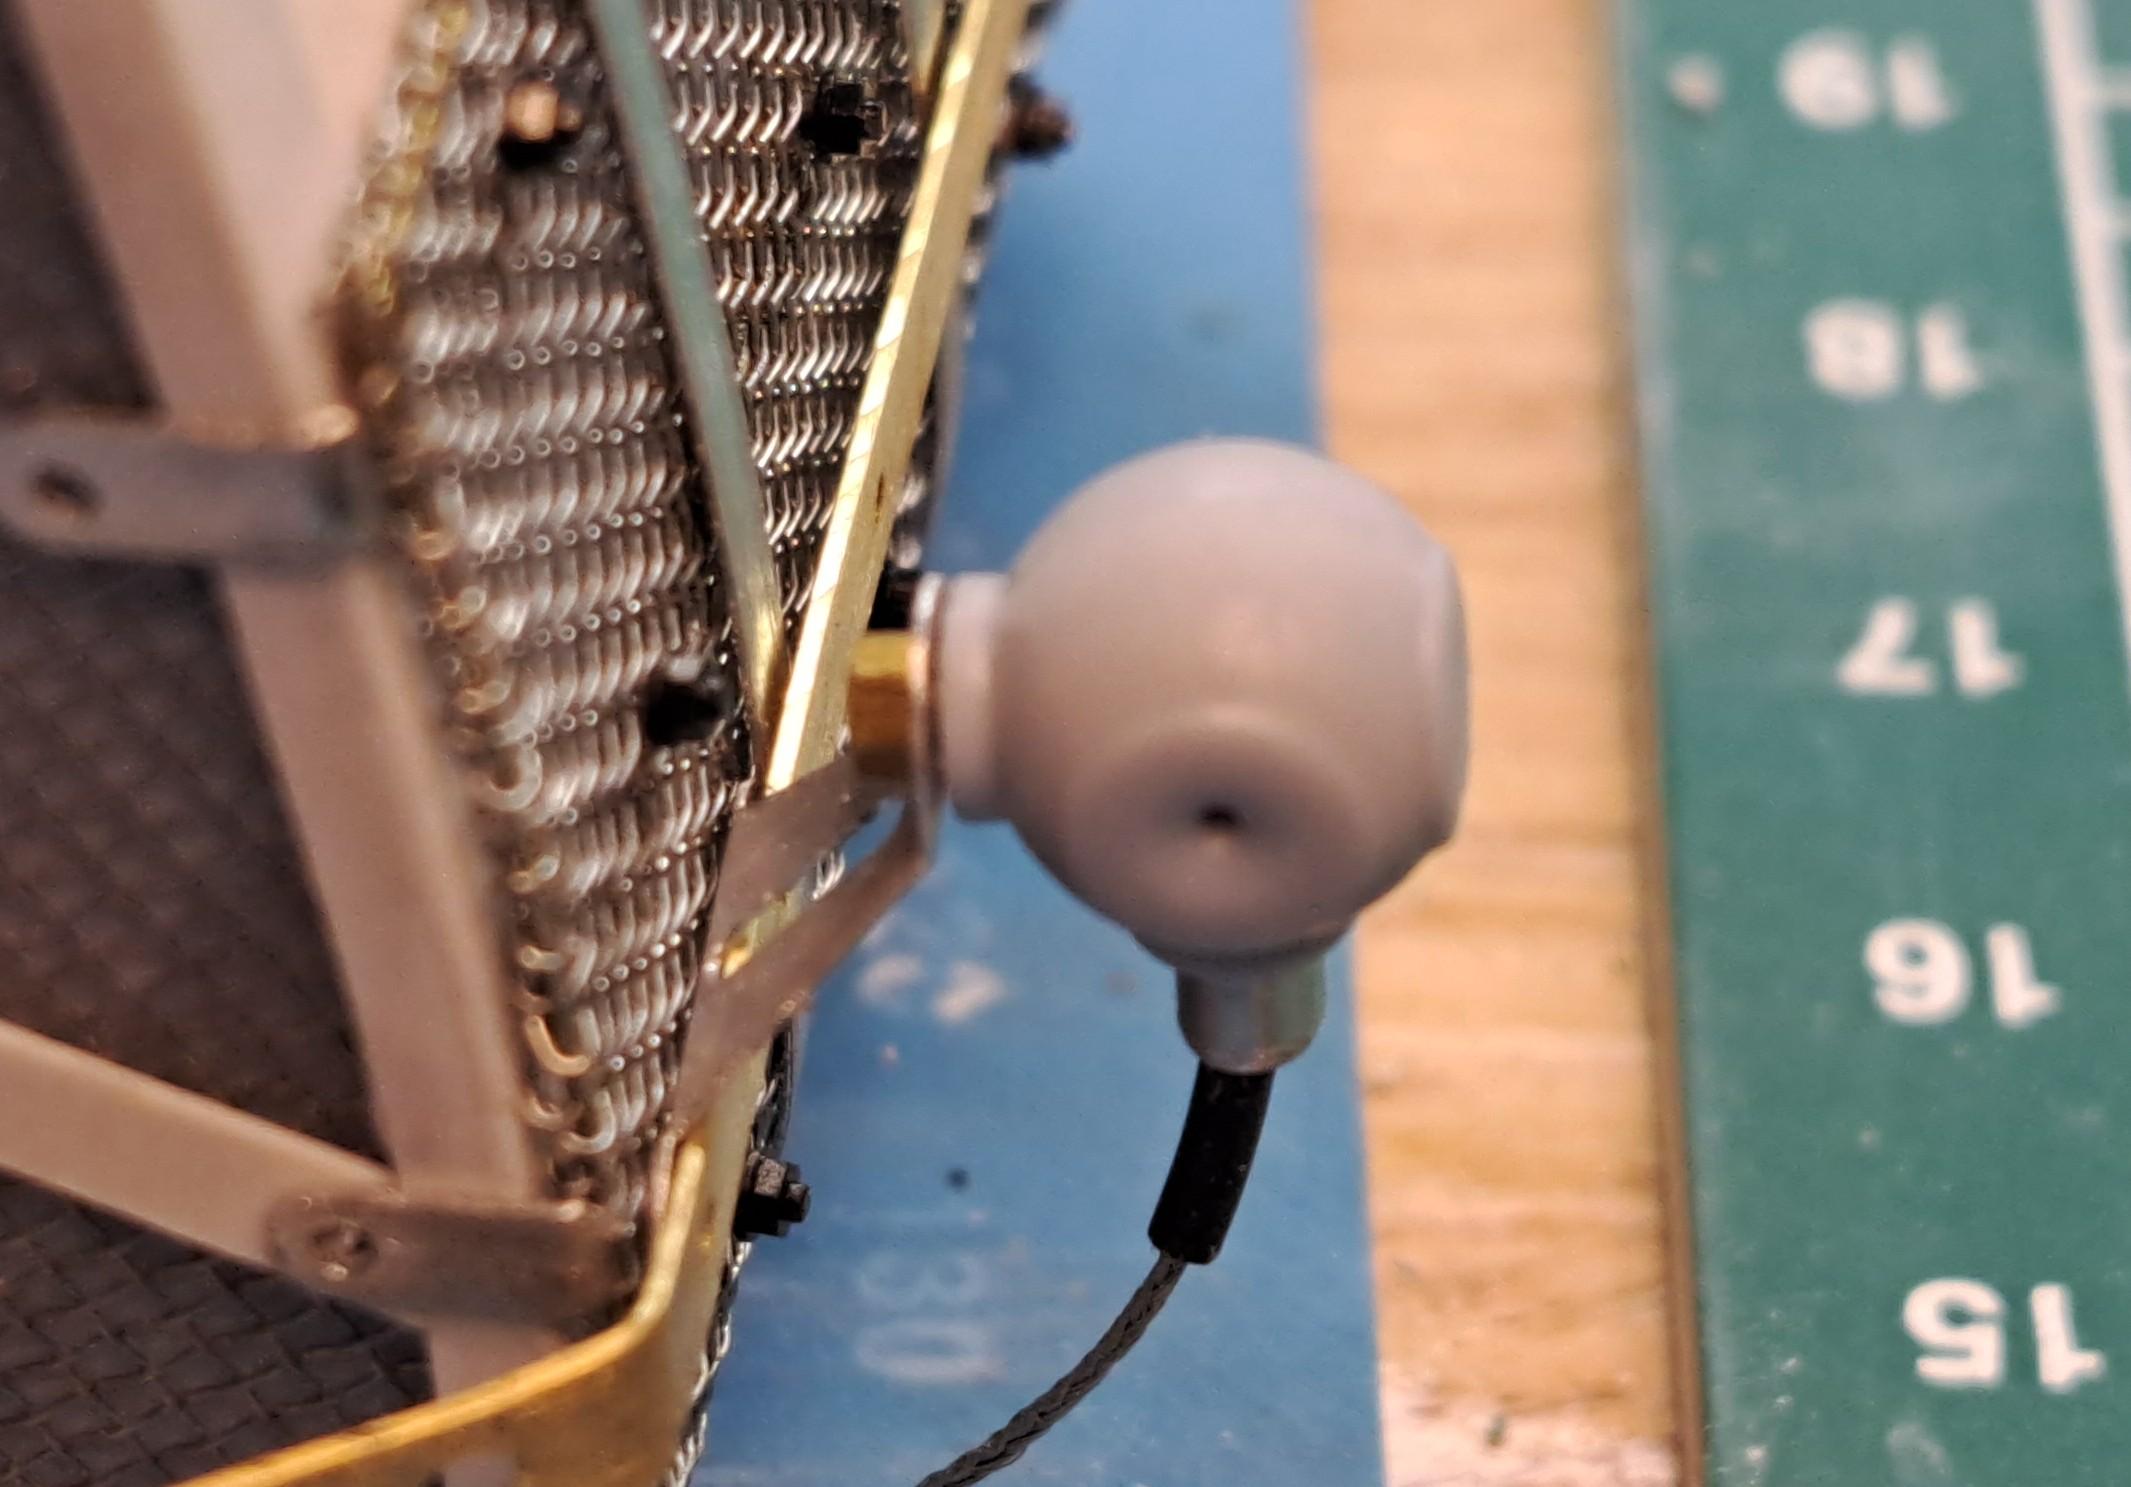
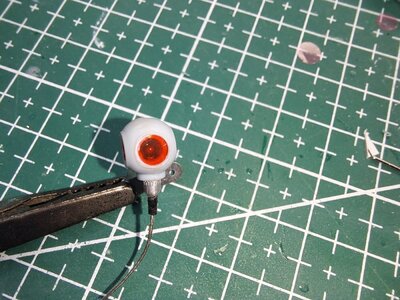
next, I made the buld socket with knurled nut, rubber grommet and wire. I'm pretty sure the this is how it would be in real life since the buld would be unreachable thru the lens hole.20230605_093222.jpg

I also made sure the buld is fisible once installed20230605_101427.jpg

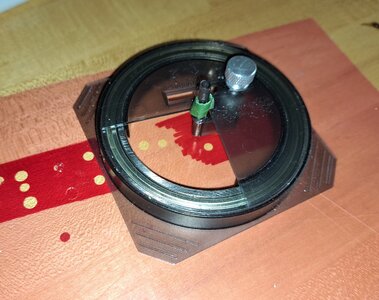
next, using a disk cutter, I cut the lenses out of a red sheet protector. I increased the red effect using a Sharpie pen. Getting the correct diametre was a bit of a pain but I eventually got it.
20230605_095059.jpg
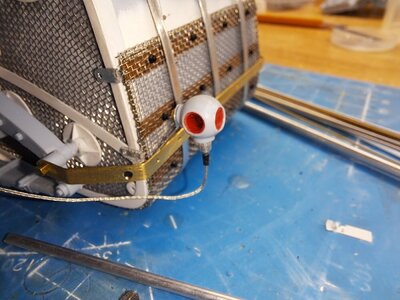
and this is how it looks with buld and lenses installed. This is only a trial fit, the fixture will be painted gloss black besofe final assy20230605_095712.jpg20230605_100600.jpg

I also did the exhaust support bracket20230605_161504.jpg
 
Back
Top