The African Queen - With Live Steam - Billings - 1:12 - by Wayne

Hi Wayne,

Yeah, so this was in 2001 and we'd been in Melbourne for about 20 minutes not knowing where we were going when we stumbled upon the MCG and all of those Essendon and Collingwood fans streaming in. Not knowing what was happening, we parked, went to the ticket booth and asked what was happening and could we get tickets. They almost laughed at us and said it had been sold out for at least two weeks. Then a guy behind us asks where were we from, we said Canada, he said I'll get you into the members section for $25 each. Sold! So it was meant to be. Great game. Essendon won.

Cheers mate,

Todd
Yes I was wondering how you got in on Anzac Day, yes booked out weeks ahead.
But you were in the right place at the right time, re the guy that got you into the Members.
Wow the Members, the Holy Grail, no one gets in there, and the best view of the game.
A Good Karma pay back.

Now the boat, I must say I more enjoy building models than actually running them. I hardly ever run my very many RC Tanks and Cars.
So this boat may never get in the water ………….
But there is a very good boat club that sail on a very pretty lake not too far away, actually more inner suburb.
Yes steering is most important, but I could just have the engine running and put it in the water. They are not all that fast anyway. And I don’t really need reverse.
The only issue might be bringing it back to the dock. If I or someone can grab it.
At worst I could run it up on the bank.
It can be a bit of an issue setting up servos for the engine, and hiding them.
Yes hiding them in crates could be good.
 
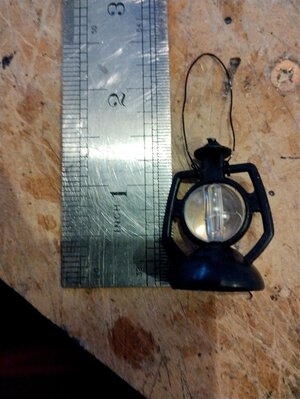
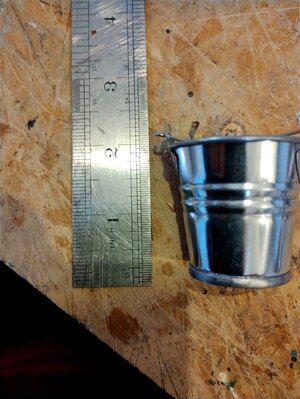
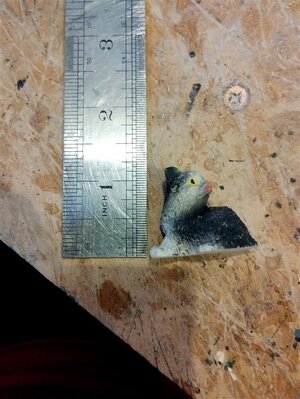
Hi John, Thanks for your offer mate.
Yes I'll have the Lantern and the Bucket, but I don't want the cat.
Now how do I PM you, please help me here ..........

I will send you a PM Wayne no worries,

best regards John.

PS if you click on my avatar a little box opens with start a conversation.
 
Last edited:
Hello Wayne, Very nice job you have done on your African Queen. I built this kit many years ago, I built it for my Admiral Bernadette. She did not like the plastic hull so I built her one out of wood. I wanted to weather it like the movie but then again she would have no part of that so I panted her up like she was new.
I just love your stem engine, you sure did an excellent job on that and it makes me very envious. Well Done.
Regards Lawrence
 
Ok a question on PLANKING, yes I hear you, “You must be joking mate”.
“There have been a million Posts and Tutorials on every boat site, and heaps on YouTube”. “So what more do you want to Know” ………..
And yes I have spent the time and read these great tutorials and Videos.
But they did not really answer my question./ dilemma.

Yes you can draw up a paper with lines and numbers on it, you can put lines and numbers on the ribs, you can print off a fan tool thing, and more and more.
And you can use dividers and all sorts helpful tools.
And you can put the planking strips in hot water, or steam them and use a hot iron thing. And you can use pins and clamps of many different designs, for various situations. And all the other very many tools that are available

Now I must explain I’m not asking about bending the planks horizontally / around the hull.
I’m asking about “Bending” the strips Vertically………….
And yes I understand, that because the center part of the hull is the widest, so you need to trim the strips, fore and aft, to get them to fit in, and look nice ……
But again that does not help me.
What I want to know is how do you bend, “vertically”.
How do you bend 6, 8, 10 x 1, 2, mm strips up at the ends ………………??

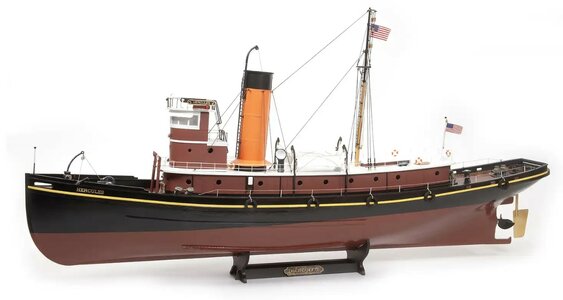
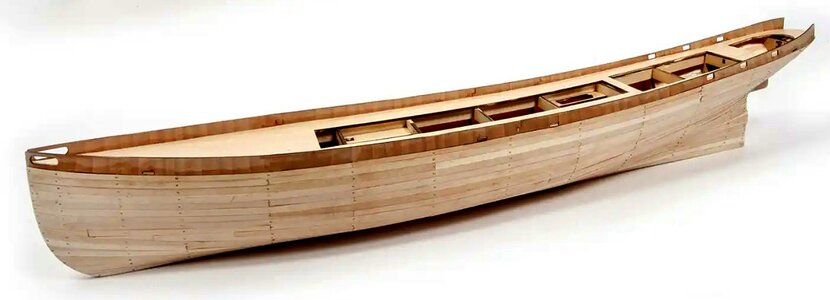
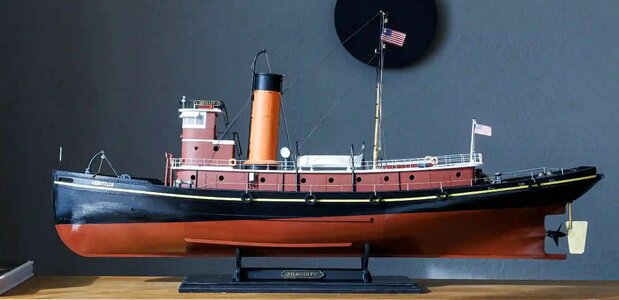
Look at the curve of the deck on this model.
Look at the top couple of rows of planks on this boat, they are bent up at the ends …………..”How do they do It “…………

HERCULESRCLateralPeanaOcCre (2).jpg

HERCULES RC 1 OcCre 1.jpg

HERCULES_RC_Exposicion_OcCre (2).jpg
 
Watch this video series by Chuck Passaro. The third video shows his bending technique but watch them all for how he planks his ships. Here's a link to that bending video.

Cheers,

Todd
 
Last edited:
Watch this video series by Chuck Passaro. The third video shows his bending technique but watch them all for how he planks his ships. Here's a link to that bending video.

Cheers,

Todd
Hi Todd, Thankyou Thankyou, that is a fantastic video, Chuck is great, told me exactly what I wanted to know.
And yes I watched from Vid 1 to 4.
And he shows you his bending tool that he made, then bends the plank, and then uses a small iron to heat the plank.
I will make one of flat boards bending jigs.
And no waiting overnight for Wet planks to dry, so say 20 planks a side, that is 20 nights / days to do the planking, yea 3 weeks.......

But I will have to now say, that his process, and anyone else's process, its success is influenced by the plank size, and the type of wood.
I would suggest the maximum width is 6mm and ideally less than 2mm in thickness.
Because I was planking my 1:12 scale African queen, and to keep things looking scale, I was using 10mm x 1mm strips over the plastic hull.
And 10mm does not want to bend vertically .
 
Good luck with it mate. I’ve never planked anything… yet. But I did recall Chuck’s videos. Let us know if you get it working.
 
Yes continuing on from the above Post about Planking
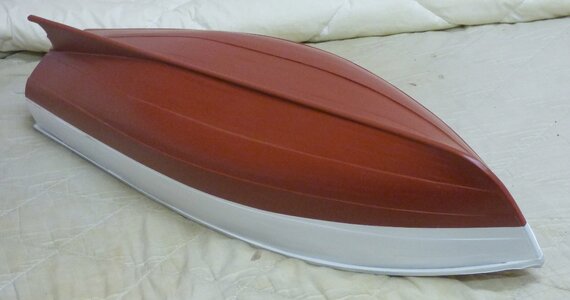
As I have discussed above, this was a steel hull boat, but I have decided to timber plank over the plastic vacuum formed hull.
I guess most smaller boats of that time were timber hulls anyway.
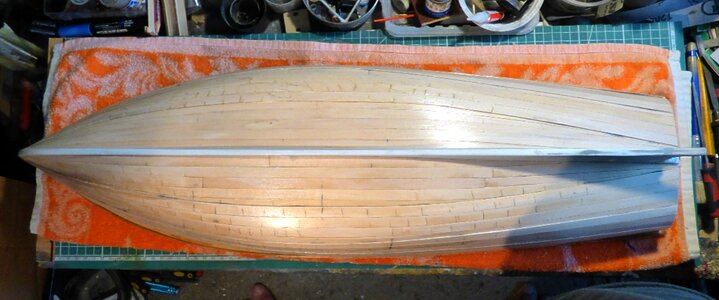
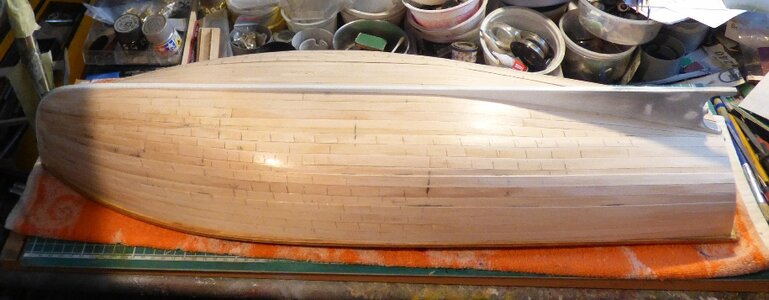
I’m using 0.5 x 10 mm strips, as 10mm looks to scale for this 1/12 scale boat, and this is the first time I have done ship planking. so a big learning curve.

But I’m probably not doing it in the correct or normal way.
But at least all my planks go the full length of the hull. No ‘fill in’ bits here, whatever you guys call those bits.
And yes I tapered the planks fore and aft.

And as the planks also need to curve / bend up and down, I came up with my own solution for that.
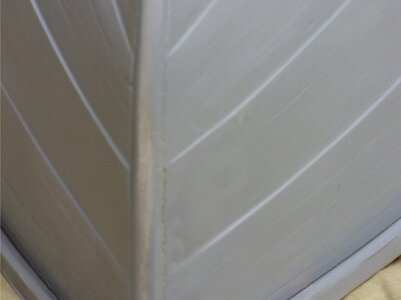
I cut thru about 7mm on the 10mm planks, on the opposite edge to that that needs to curve up.
And yes this leaves gaps that need to be filled, the wider ones with wood filler, and the very close ones just fill with the Seal & Sand.
Yes this method would be unsightly if the hull was going to be stained, But as this is going to be painted, all these expansion cuts will not be seen.
It has been filled and 2 coats of sealer on it here.
Will then Grey Primer it, and I suspect more imperfections will then show up, so a little more filler and primer.

P1080824.JPG

P1080830.JPG
 
Back
Top