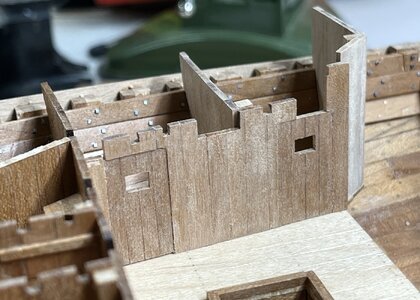
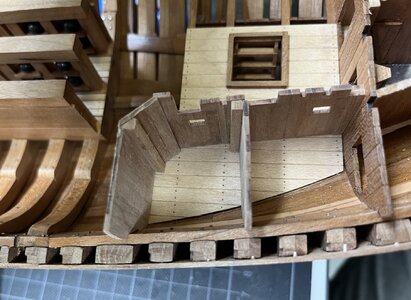
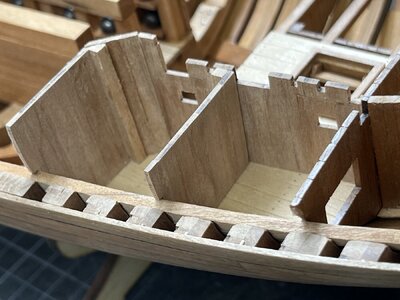
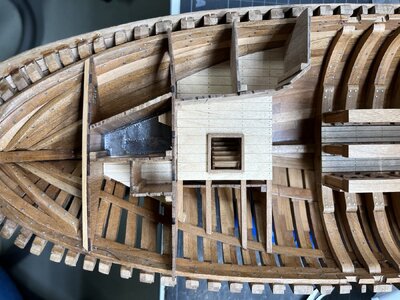
HMS GRANADO - full hull - POF kit by CAF in 1:48 - by Uwe

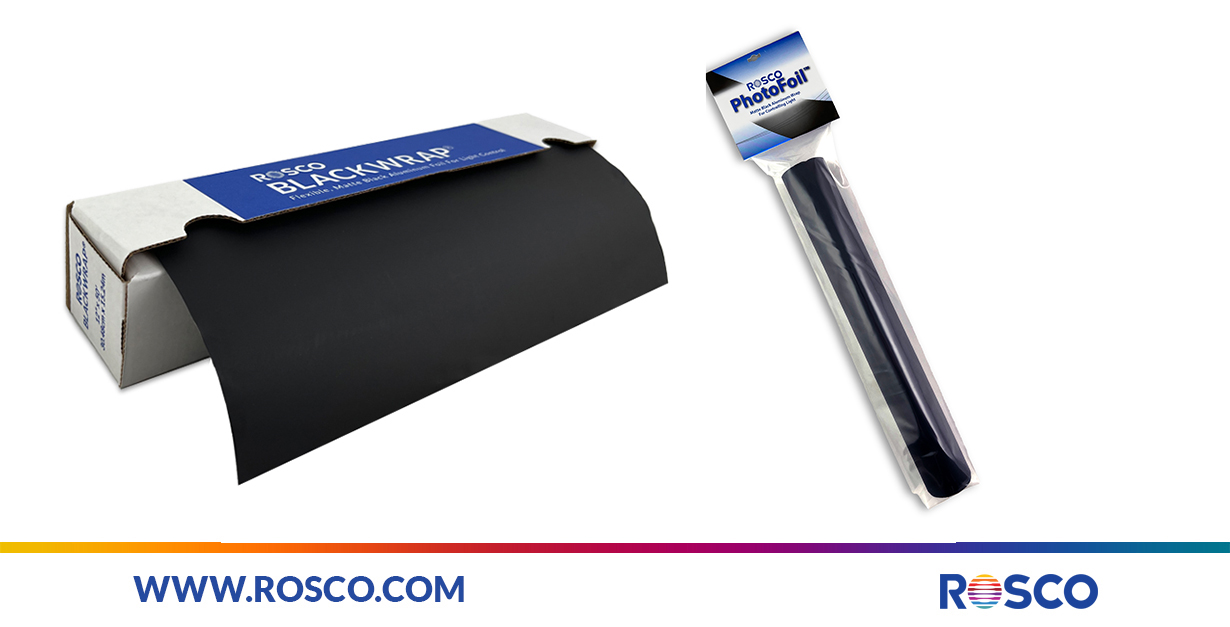
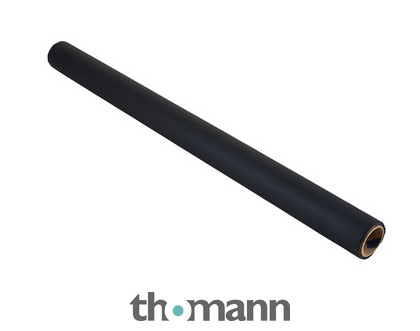
Instead of actual lead, have you tried the thicker aluminium foil called "cinefoil"? It is used in the film industry, is very easy to mold around objects, and is widely available. It is the same thickness as the foil that used to come around wine bottle corks and that Fröhlich recommends. For example here:
or here:
 
Witaj
Bardzo fajnie wyglądają te płyty ołowiowe ale w jakim celu były montowane czyżby skład na proch? . Pozdrawiam Mirek

Hello
These lead plates look very nice, but for what purpose were they assembled? Was it a powder composition? . Regards, Mirek
Hallo Mirek,
many thanks for your interest

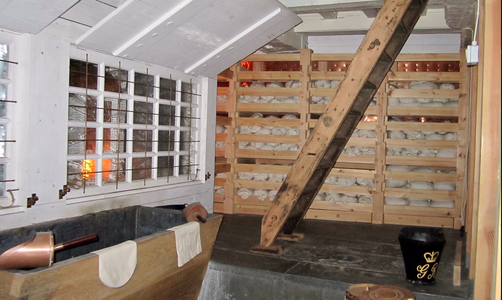
Yes - you are right with your suggestion. These sheeting of floors and walls was done to pretent sparks

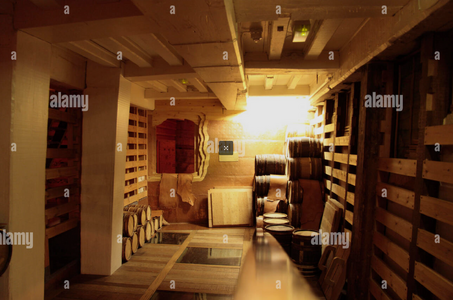
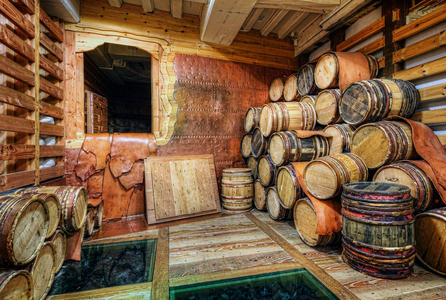
You can see this still in the HMS Victory Grand Magazine

The powder storage - here the walls are protected by copper sheating

Screenshot 2024-04-05 133738.png

Screenshot 2024-04-05 134037.png

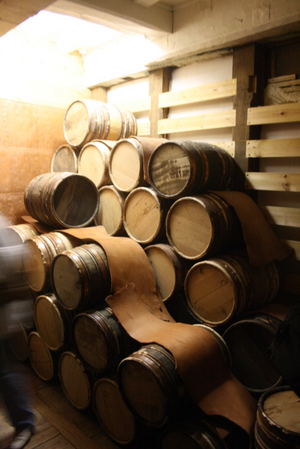
interesting here also are the leather strips between the baskets - the rings of these baskets were made out of copper (I think)

Screenshot 2024-04-05 134125.png

andt the filling room was often floored by tin for the same reason

Screenshot 2024-04-05 134711.png

Here you can see also that the filling bassin was sheated, the filling shovel was made out of copper

 
Instead of actual lead, have you tried the thicker aluminium foil called "cinefoil"? It is used in the film industry, is very easy to mold around objects, and is widely available. It is the same thickness as the foil that used to come around wine bottle corks and that Fröhlich recommends. For example here:
or here:
Many thanks for this tip - I just ordered a smaller piece (enough for several models) and will give it a try
 
Witaj
Dzięki za szczegółowe wyjaśnienie. Pozdrawiam Mirek

Hello
Thanks for the detailed explanation. Regards, Mirek
 
Last edited by a moderator:
Super réalisation. BRAVO.
Est-ce que vous allez aménager l'intérieur (tonneaux, équipements divers...) comme dans votre modèle 'Le Coureur' ?


Great achievement. WELL DONE.
Are you going to fit out the interior (barrels, various equipment, etc.) as in your 'Le Coureur' model?
Hallo my friend,
many thansk for your interest in my build
as I can talk only about the actual status, I am not planning to make too much stuff inside - only maybe some barrels for gunpowder, maybe a small wooden bassin in the filling room, the stove will be installed in short time and off course the end of the anchor cable which will lay in the hold. Defintely I will not make any furniture etc. - but time will show
The big advantage is the fact, that the ship will be displayed open with the horizontal cut - so even in years I can add some things :cool:
 
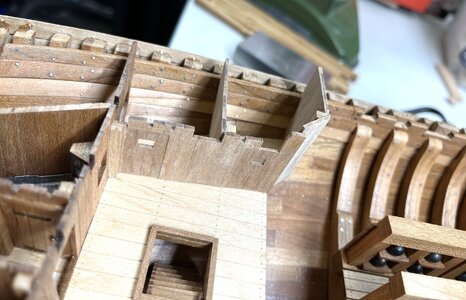
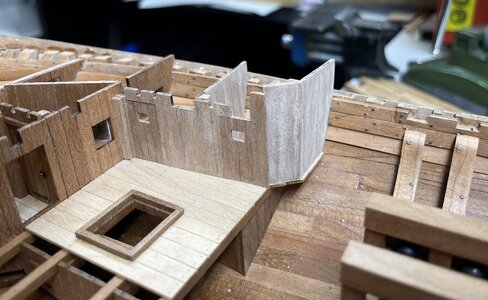
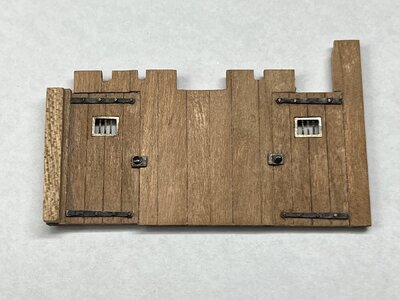
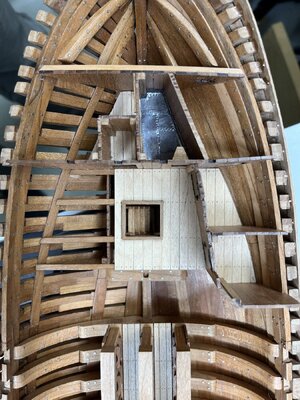
I finished the small metal works on the two doors

IMG_4387.jpg

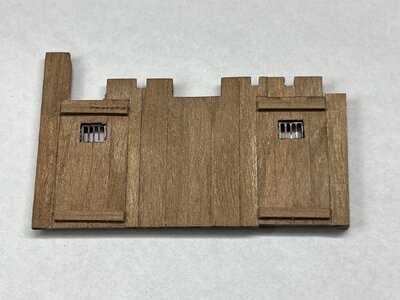
and the backside

IMG_4388.jpg

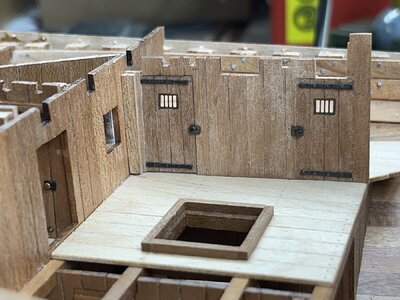
this will be the final location

IMG_4389.jpg

IMG_4390.jpg

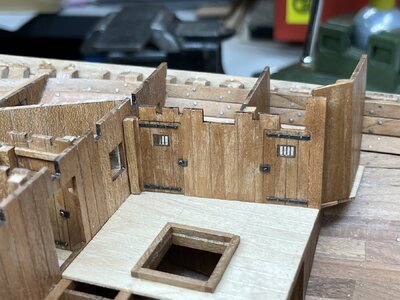
and the final situation

IMG_4391.jpg

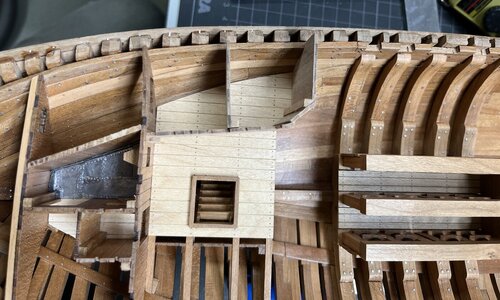
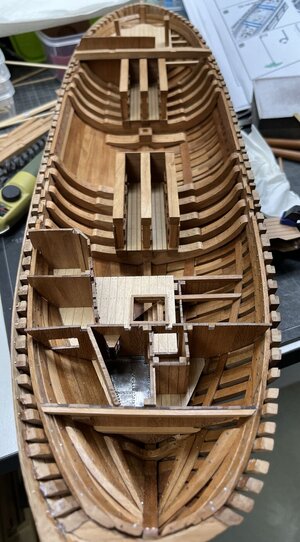
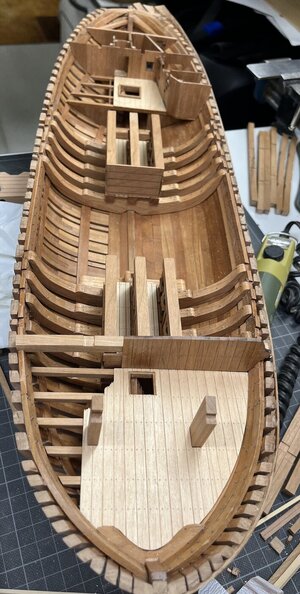
as requested here you can see an overview of the status

IMG_4392.jpg

IMG_4393.jpg

IMG_4394.jpg

mayn thanks for your interest .... to be continued .....
 
I finished the small metal works on the two doors

View attachment 441084

and the backside

View attachment 441085

this will be the final location

View attachment 441086

View attachment 441087

and the final situation

View attachment 441088

as requested here you can see an overview of the status

View attachment 441089

View attachment 441090

View attachment 441091

mayn thanks for your interest .... to be continued .....
Good evening Uwek. Quality work as always. The lead on the floor of the munitions store is super effective in the overall pic. So good. Cheers Grant
 
Will there be any human figures there?
I do not think so (in moment)

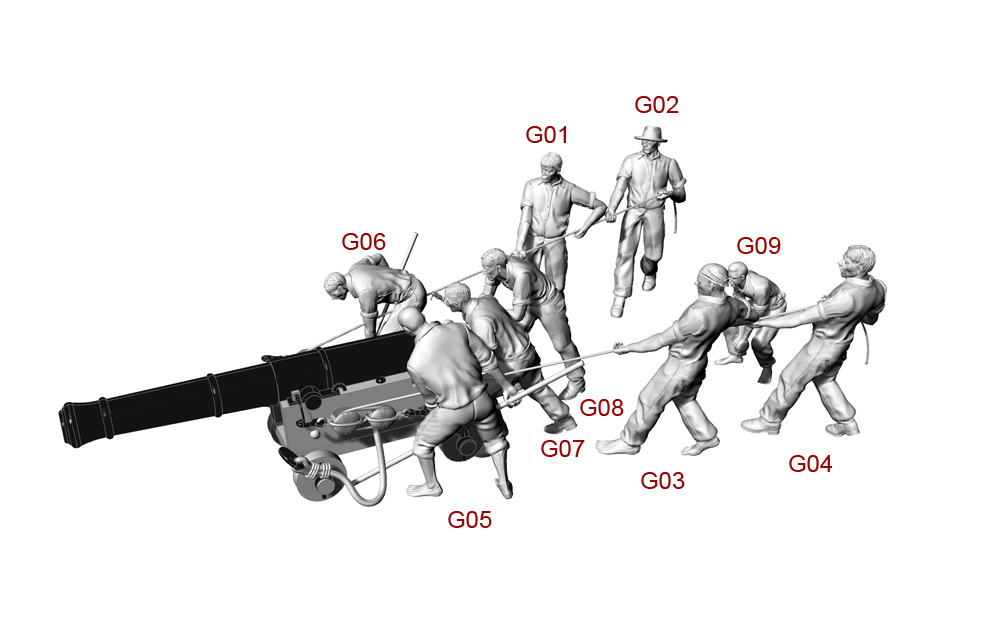
I have some figurines from CAF - maybe I man one of the guns and / or if possible one mortar with some stuff / gunners


Absolute grand model Uwe. Congratulations and something really nice to aspire to. Great workmanship.
Just love the nail detail / Bolts.
I ordered the Print for the Bounty that I am doing from scratch. I went for the original from NNM as that should be the closest drawing to use.
Your model like many others on this channel gives me an aspiration and the energy to follow.
This sounds very interesting with your project of building a Bounty from scratch

I guess you have ordered these drawings?

For your project is maybe also this topic of some interest - the Anatomy book, but also scroll down with some additional information about historical information
 
This sounds very interesting with your project of building a Bounty from scratch

I guess you have ordered these drawings?

For your project is maybe also this topic of some interest - the Anatomy book, but also scroll down with some additional information about historical information
Yes Uwek, I have ordered the drawing. Don't know when it will get here. The museum says all measurements can be seen. Let's hope so. As I get into the model I will follow up on the information of what needs to happen and hopefully, there is that info available. I will take a look at the "Anatomy of the Bounty" for help. I guess that means buying the book. Whatever it takes, I will endeavor to do. Thanks for that.
 
Many Thanks for your interest in my work and the building log of the HMS Granado


Yes - when the pads are also fixed to the paper, so the small necessary adjustments / movements during positioning of the parts are going easier, when the pads are not moving. Afterwards the rubber cement and rest of paper can be removed from the wood easily by rubbing with the fingertips.
Important is, that the thickness of the glue shall not be too much , so some pressure is necessary to reduce the thickness. the pad plus the two layers of fixogum-rubber cement should be the 1mm thick

I try to show this sandwich in the small sketch (without scale)

View attachment 298523

red are the two wooden frame elements, yellow between is wood glue
under it in green fixgum layer - in blue the pad and under it in green the base layer of fixogum, orange is the drawing
so the two green fixogum layers plus the blue pad should have a thickness of 1mm or 2mm
BTW: at the frame elements I marked in orange the later beveling, which are marked with a laser mark on the farme elements


I am using a wood glue, called "Ponal Express" which is fix already after some minutes, so during the installation with fresh glue I press them with the fingers down, with this the thickness of wood glue between the two wooden parts is reduces as much as possible. and usually the glue is starting already to get adhesive.
In the beginning with the first frames I put some small iron elements / cubes on top, slightly probelematic, because you have on top of the frame also the steps by 1 or 2mm - later on with other frames I did not put any weights on top - the same result.......
So I guess it should be tried, because it will depend on the glue you use....
I can remove the finished frmaes already after 5 to 10 minutes from the drawing
Hi Uwek, Ponal Express can be very dear if you get it from eBay but from Amazon, it is 1/4 the price. Ridiculous!
Can you tell me why not use Super Glue than other glues?
I guess you just go down to the Hardware shop and buy it.
 
Back
Top