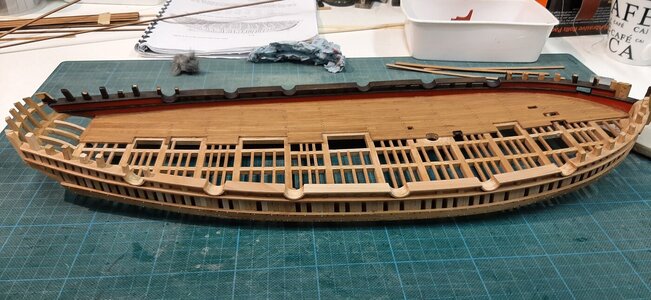
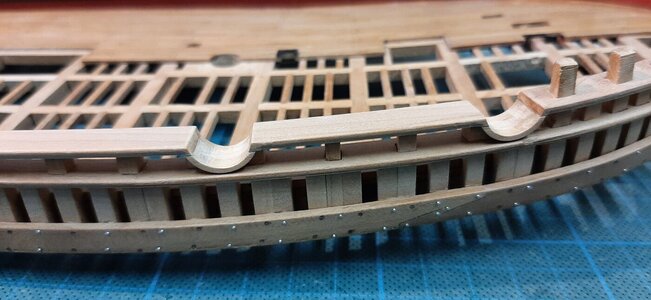
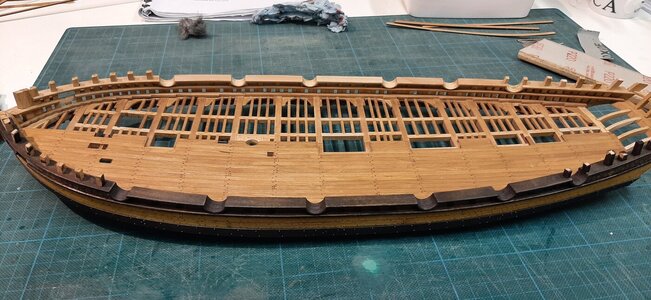
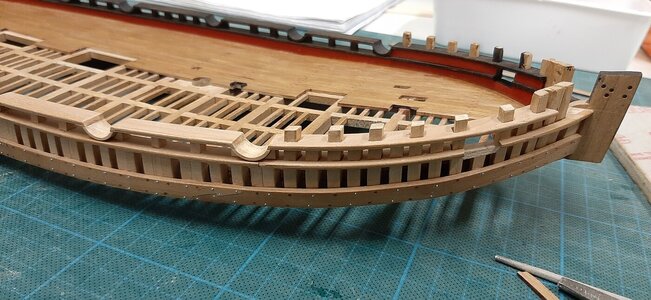
Hms Alert by Maarten [COMPLETED BUILD]

GReat appearance - Very good and interesting model and presentation

BTW: Make a lot of photos during the exhibition ......
 
Thx gents again for all comments and likes.
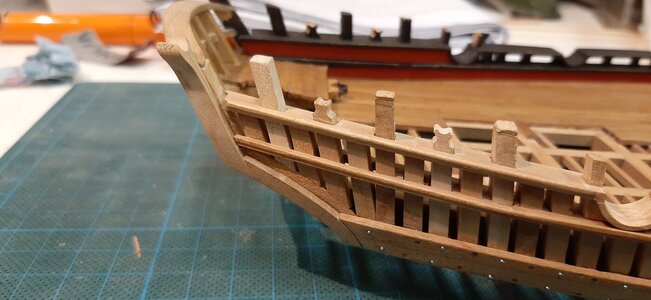
In the mean time I am working on the SB bullwark.
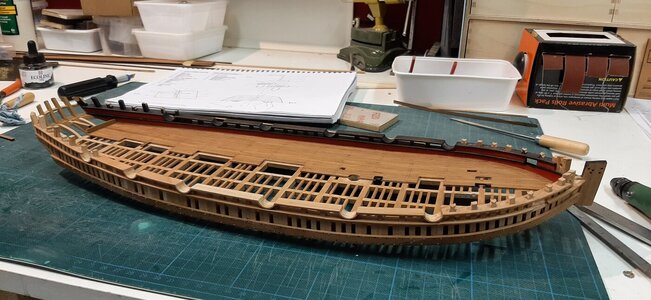
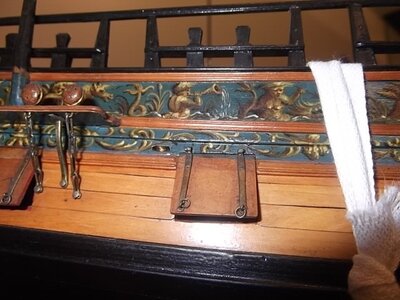
As the ship will join me to the Dutch modelbuilders exhibition next week I already prepared the studs for the top deck display.
View attachment 327550View attachment 327551View attachment 327552View attachment 327553
Very nice display, Maarten.
What a coincidence: was just practicing how to place my BN on the uprights after transport:
877 2022-09-09.jpg
But I have not such a nice background as yours!
See each other next week! :)
Regards, Peter
 
Last edited:
Dear Maarten
Amazing work in beauty, professionalism and accuracy! As I wrote, your construction journal is a professional compass for me and I covet it a lot
There is no doubt that even at the exhibition you are going to present in the Netherlands, you and the model will receive considerable respect and recognition for your creativity
Thank you very much and all the best
 
Very nice display, Maarten.
What a coincidence: was just practicing how to place my BN on the uprights after transport:
View attachment 327562
But I have not such a nice background as yours!
See each other next week! :)
Regards, Peter
Hi Peter,

The background is by courtesy of Ab and Emiel Hoving, printed this on perspex.

See you next week, looking forward to it.
 
Hi Maarten. It was nice to meet you and see the Alert in real life. As a wrote in other posts today, what you see in real life can’t compare with the photos. What a stunning details and impressive transparant water imitation block beside the ship.
Regards, Peter
 
Thx Peter for your comment, same is valid for your BN with its fine scale interior, luckily I build in 1:48 :) .

In the meantime little progress on my alert.
I have been cutting and freezing boxwood mainly this week in my spare time.

But today some time to continue on the bullwark.
The SB side is now also finished.
20220922_204722.jpg

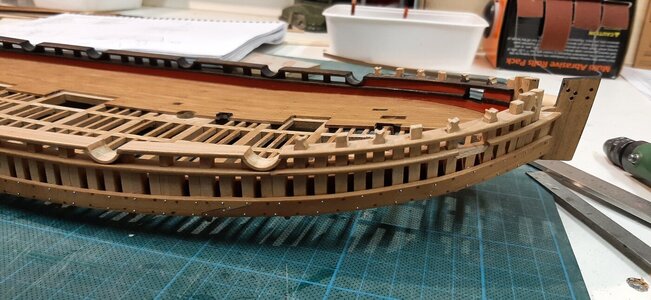
The gun ports are sanded flush.
20220922_204745.jpg

This inside and outside is ooen so the framing is visible.
20220922_204807.jpg

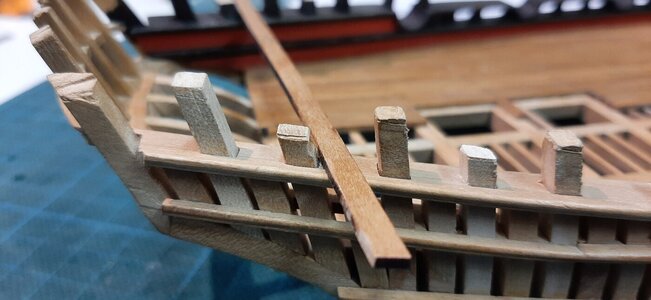
The frame tops are sanded to the correct height.
I use a strip of wood as a template to file all these at the same height.
The files are diamond jewelers files.20220922_222224.jpg

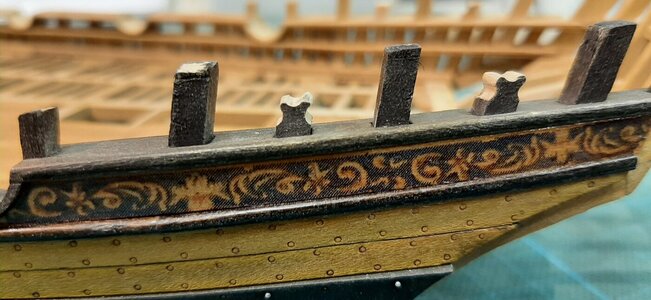
The tops of some of the frames have this bollard type of head. I file these using a round jewelers file and use a strip of wood to fille these all at the same height.
20220922_212130.jpg
20220922_214218.jpg
 
In the meantime work on my alert progresses slowly.
The work on the bullwark is finished except for the finish in schellack and Ecoline.
20220929_203542.jpg20220929_203546.jpg

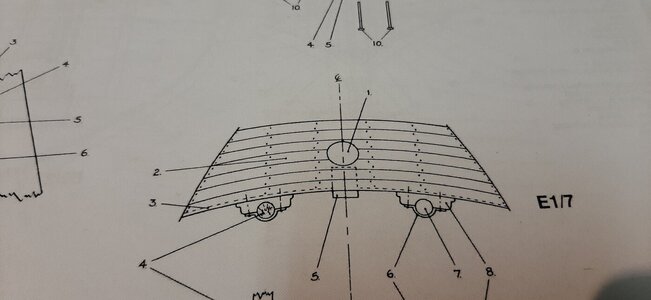
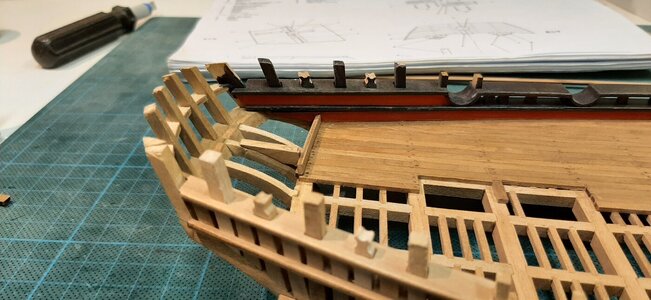
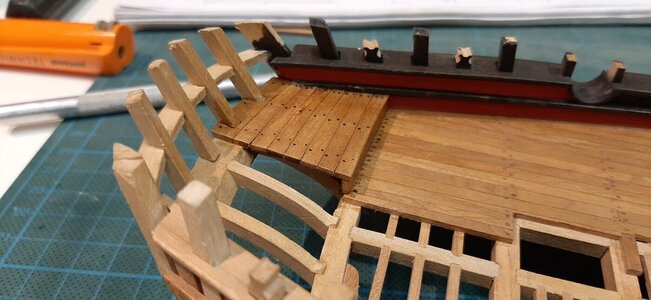
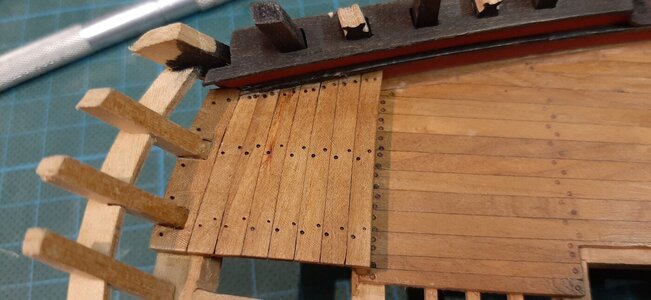
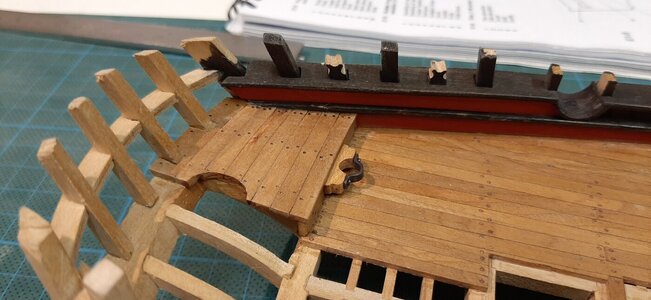
I started with the small stern deck which is not part of the kit.
In the AotS book this deck is shown above the transome frames.
20220929_222705.jpg

The carry the deck I have added additional beams, one on each transome frame.
20220929_203552.jpg

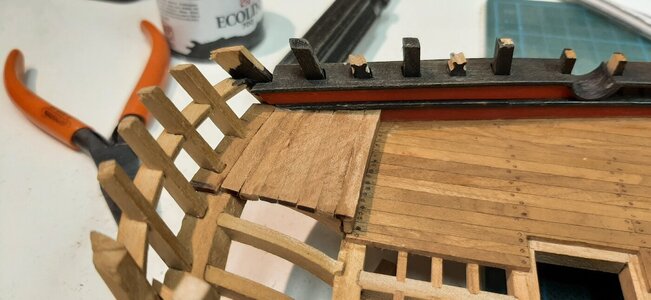
On top of those I have added deck planking which is following the curvature of the stern.
20220929_222654.jpg

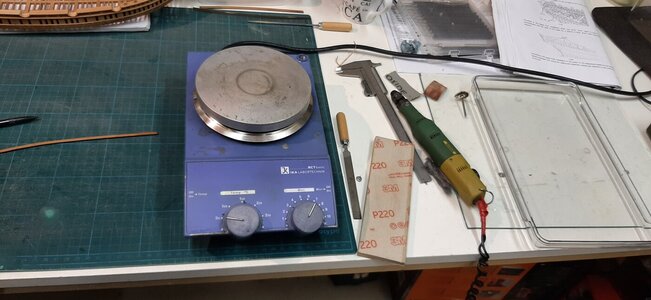
To shape the planks I use some water and a laboratory type of heat plate.
I soak the plank shortly in water and bend the wet plank on the heat plate.
The laboratory heat plate can be set at any given temperature between ambient to 300 deg C.
I normally set it to 50 deg C so I can easily bend the planks without burning my fingers. You can shape them on top of the plate by bending and twisting them and due to the heat they will dry quickly in the shape as formed.
20220929_210448.jpg

After burning the nail marks this is the result finished with a touch of Clou.
20221002_154148.jpg
20221002_154155.jpg

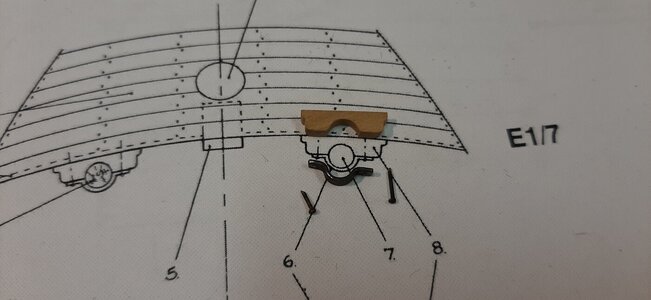
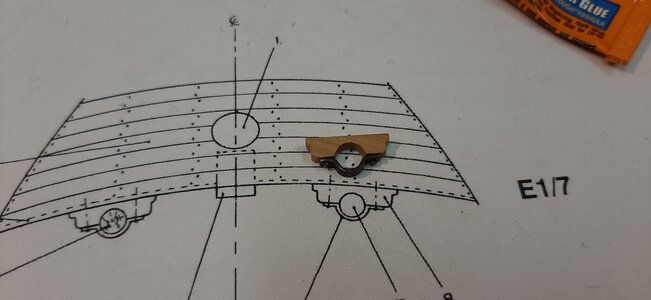
The drawings also show a mast step for the mizzen mast. Yes the Alert had seemingly a removable small mizzen mast which coulde be set up on PS or SB side at the stern.
From scratch of a piece of removed frame timber and some copper strip I made a mast step.
20221002_172620.jpg
20221002_173135.jpg

And fitted it in place.
20221002_182611.jpg
 
Last edited:
Work progresses on the upper transome with the top of the stern railing.
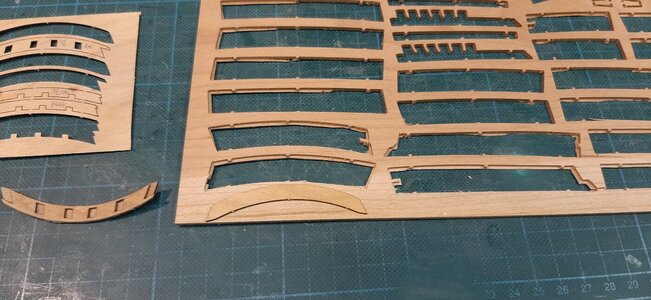
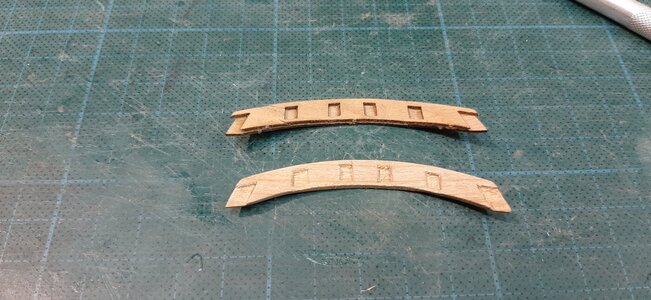
The kit uses a construction of two cherry strips for this.
20221006_201902.jpg

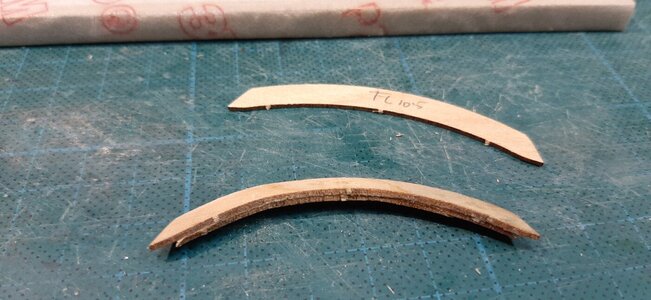
As I wasn t happy with the result of this contruction I made my own from a single strip of scrap cherry of a board of the correct size.
20221006_202826.jpg

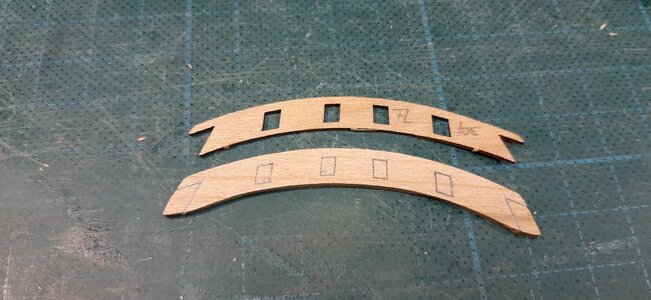
After sawing a strip in the correct size I traced the recess from the original.
20221006_204553.jpg

Followed by removing the wood of the recess. With the original ontop and the new strip at the bottom.
20221006_211308.jpg

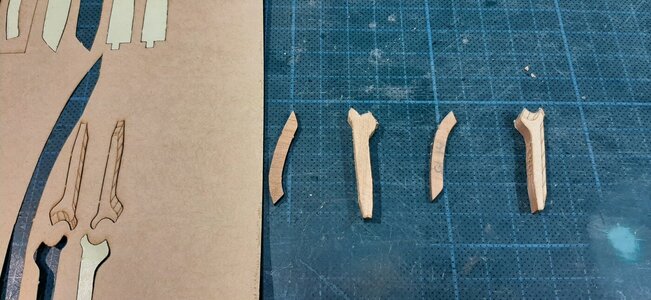
Next are the stanchions on the side.
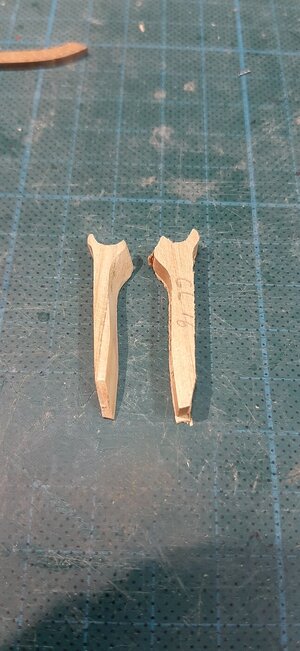
The complex shape of these is created using a template sticker.
20221002_175106.jpg

And removing the material using my disk sander and a diamond file. Left finished, right rough miilled part.
20221002_182040.jpg

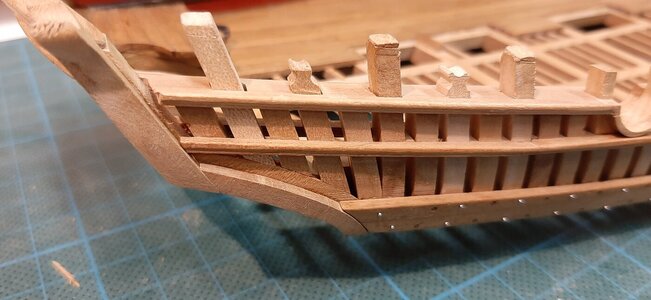
The parts fit perfectly, however the top side railing is relatively short and I need to fix that.
20221006_215829.jpg
20221006_220009.jpg
 
Work progresses on the upper transome with the top of the stern railing.
The kit uses a construction of two cherry strips for this.
View attachment 333698

As I wasn t happy with the result of this contruction I made my own from a single strip of scrap cherry of a board of the correct size.
View attachment 333701

After sawing a strip in the correct size I traced the recess from the original.
View attachment 333702

Followed by removing the wood of the recess. With the original ontop and the new strip at the bottom.
View attachment 333703

Next are the stanchions on the side.
The complex shape of these is created using a template sticker.
View attachment 333700

And removing the material using my disk sander and a diamond file. Left finished, right rough miilled part.
View attachment 333699

The parts fit perfectly, however the top side railing is relatively short and I need to fix that.
View attachment 333704
View attachment 333705
Scratch made parts are sometimes/often better. Especially if they are so prominent in view and catch the eye. That is entrusted to you, Maarten.
Regards, Peter
 
Baby steps on Alert at the moment, too much work in the office and around the house.

But today a little progress on the stern.
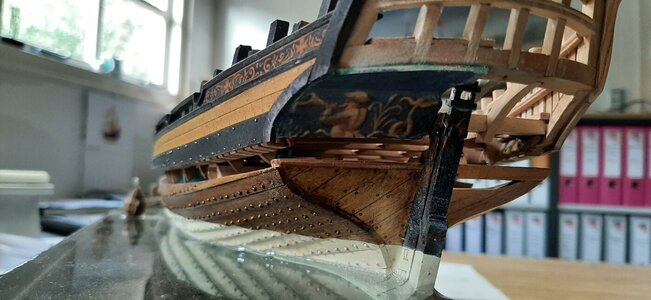
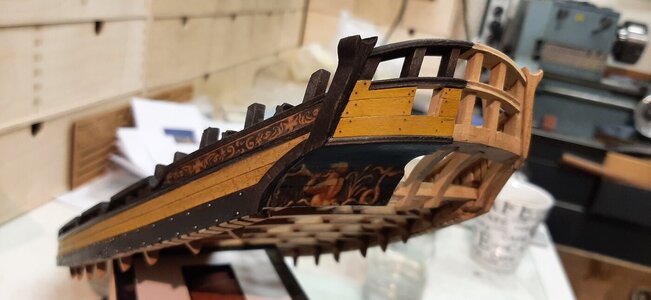
For the lower transom I have made curved planks from scratch to plank the SB side.
On this lower transom I create a painted sea creature with a putty inspired by the contemporary Alert painting.
99761.jpg

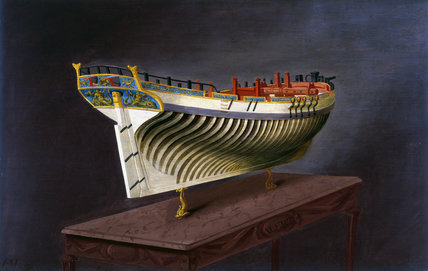
I have taken this image from a nmm model found online and reworked it.
DSCF5495.JPG.fbb448b1e0570436b24d774818f800dd.jpeg

Via the clear varnish laser printer paper methode I tranfered it to my lower transom.
20221020_112550.jpg

The upper transome I planked an coloured with ochre from Schminke.
No tree nails but regular nails fitted.
20221025_212356.jpg
 
Last edited:
Baby steps on Alert at the moment, too much work in the office and around the house.

But today a little progress on the stern.
For the lower transom I have made curved planks from scratch to plank the SB side.
On this lower transom I create a painted sea creature with a putty inspired by the contemporary Alert painting.
View attachment 336472

I have taken this image from a nmm model found online and reworked it.
View attachment 336473

Via the clear varnish laser printer paper methode I tranfered it to my lower transom.
View attachment 336474

The upper transome I planked an coloured with ochre from Schminke.
No tree nails but regular nails fitted.
View attachment 336475
I had the privilege to see this last Sunday with my own eyes. It’s looking so nice and delicate. Nice work, Maarten.
Regards, Peter
 
Back
Top