H.M.S. Victory by Caldercraft - Build Log

Spent as much time as I could over the past few days, juggling my desire to go down in the basement and work on the boat and visit with my daughter and granddaughter who are up from Tampa for 2 weeks. Thankfully, she's only 13 months, so I can steal some time during nap time!!!!

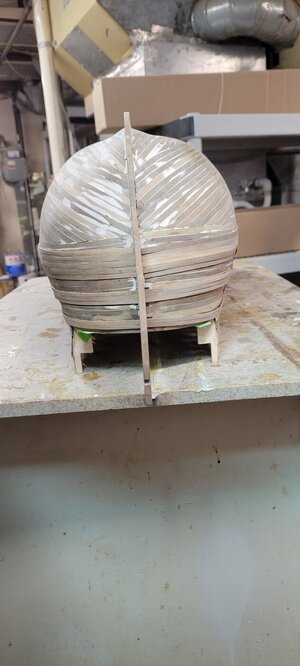
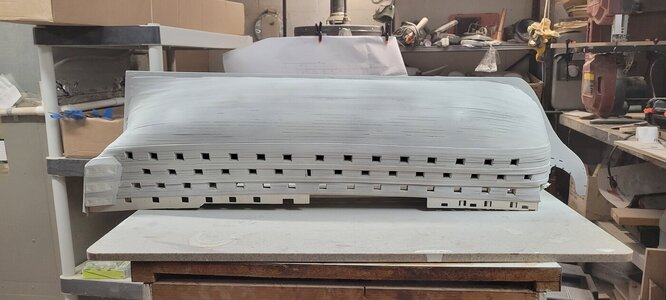
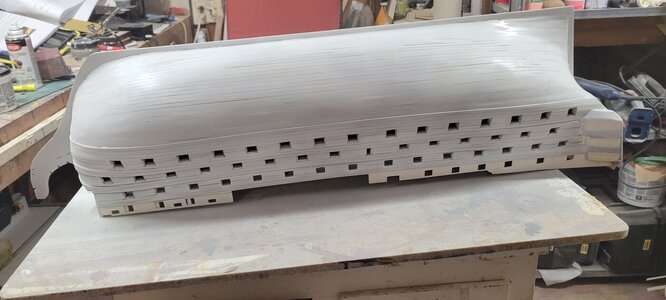
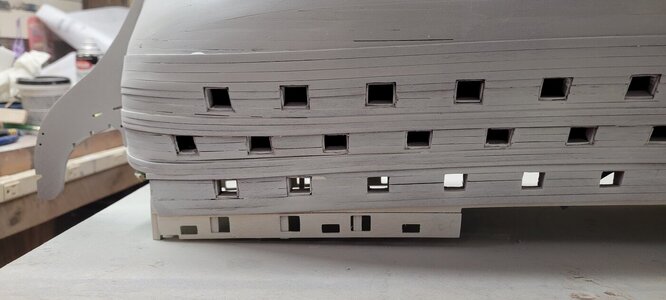
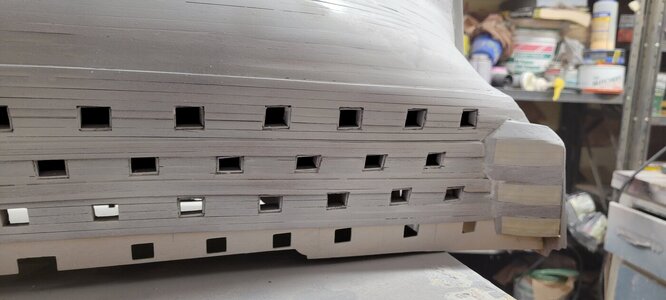
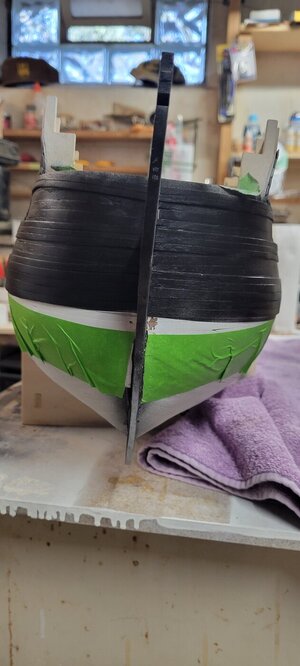
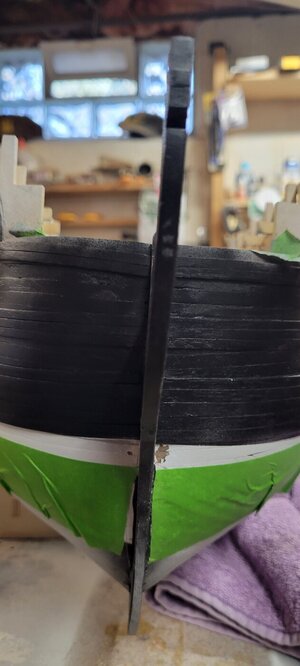
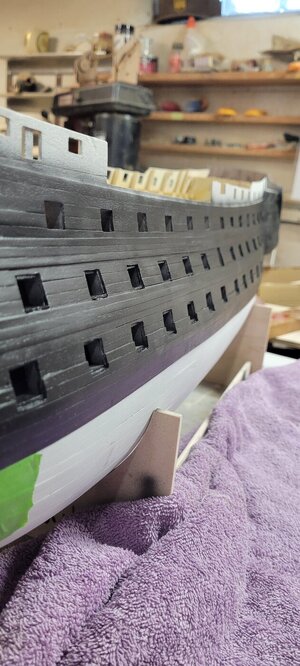
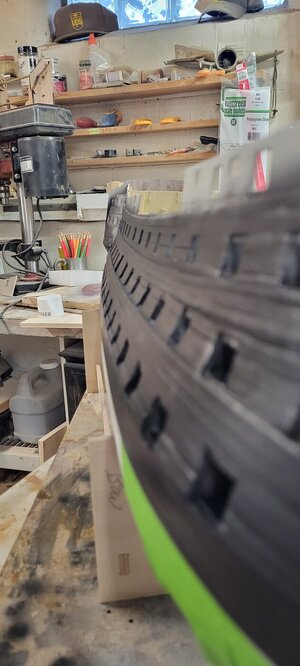
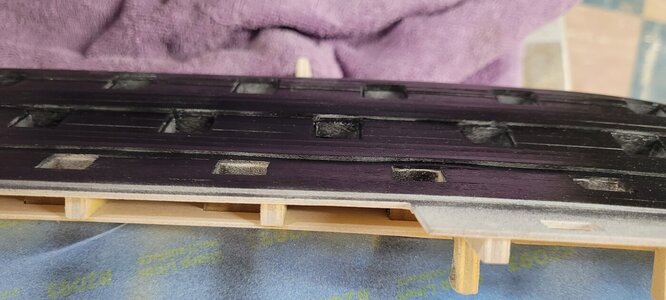
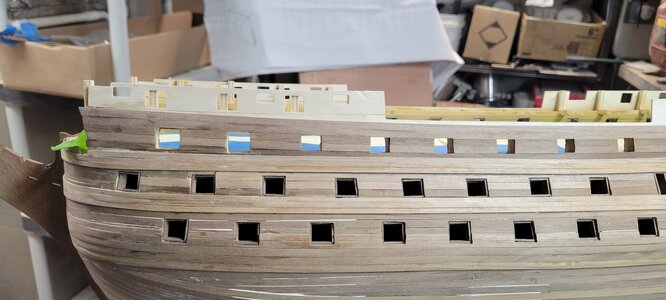
I finished the liners on the port side, have to do the upper gun ports tomorrow, did a few lowers up there and they seem to fit pretty good. I am optimistic!

After reading and saving up a bunch of other Victory build logs in my library and spending a couple of hours last night digging my way down many rabbit holes I see a learning curve trend here.

Everything I do on the starboard side prepares me for doing a better job on the port side.

So that will be my beauty shot side and I will make sure when doing symmetrical work to work from starboard to port. I remember that when I was working on the Titanic model. I spent weeks cutting, priming, painting and fiddling with tiny photo etch parts on the B and A decks. Fortunately they remain mostly hidden from direct view, but provide vast experience for the boat deck and fore and poop decks where all the visible and recognizable areas are.

I would like to get the final liners done, do a final sanding and smoothing of any issues and prime the whole hull with the hope that doing so will bring out the nice lines and wales.

See you soon!
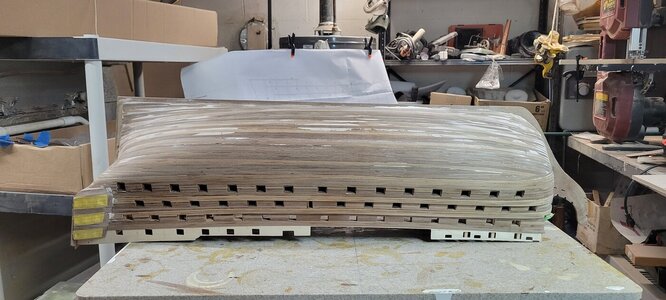
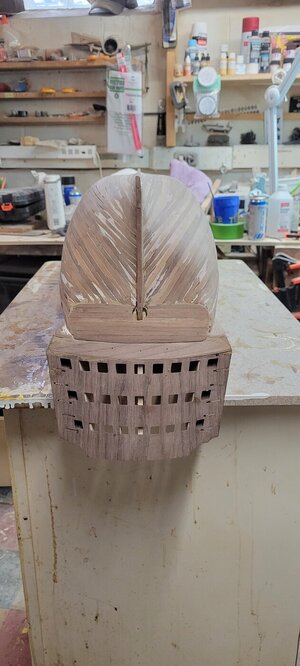
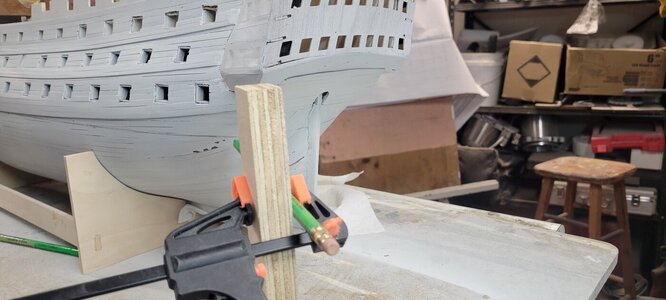
20240325_170452.jpg20240325_170456.jpg
 
Coming along nicely. Like your progress. I do see some major flaw. You are way ahead of me!
Major flaws!!!! She's a beauty!!!!!

Lol....I believe as I move along and get my 'wooden ship skills' honed, it will continue to evolve and look better and better.

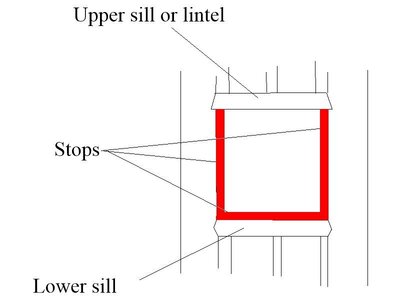
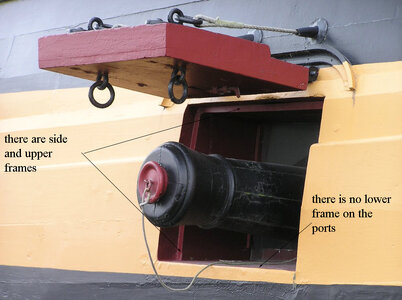
I did have someone suggest that the upper gun port liners do not need to recessed. Interesting observation.
I didn't do that.

Portandstops1.JPG.fa381396534beb0f7fd374cd50ebdf16.jpg
 
Spent as much time as I could over the past few days, juggling my desire to go down in the basement and work on the boat and visit with my daughter and granddaughter who are up from Tampa for 2 weeks. Thankfully, she's only 13 months, so I can steal some time during nap time!!!!

I finished the liners on the port side, have to do the upper gun ports tomorrow, did a few lowers up there and they seem to fit pretty good. I am optimistic!

After reading and saving up a bunch of other Victory build logs in my library and spending a couple of hours last night digging my way down many rabbit holes I see a learning curve trend here.

Everything I do on the starboard side prepares me for doing a better job on the port side.

So that will be my beauty shot side and I will make sure when doing symmetrical work to work from starboard to port. I remember that when I was working on the Titanic model. I spent weeks cutting, priming, painting and fiddling with tiny photo etch parts on the B and A decks. Fortunately they remain mostly hidden from direct view, but provide vast experience for the boat deck and fore and poop decks where all the visible and recognizable areas are.

I would like to get the final liners done, do a final sanding and smoothing of any issues and prime the whole hull with the hope that doing so will bring out the nice lines and wales.

See you soon!
View attachment 437514View attachment 437515
Good evening. Awesome work on those frames. Looking impressive. Cheers Grant
 
I still can hardly comprehend the speed with which you are accomplishing this task, OR the time you must be devoting to it!
Impressive in all aspects! Thumbsup
 
I still can hardly comprehend the speed with which you are accomplishing this task, OR the time you must be devoting to it!
Impressive in all aspects! Thumbsup
Thank you! It's still cold and rainy up here in western NY. Not much to do, so I do spend a few hours (4-6 or so....) every day doing something.
That will probably come to a slow halt in a few weeks once the weather starts to hit 60 or so everyday.

Then I'll be down waxing and cleaning the boat getting her ready for the summer!
 
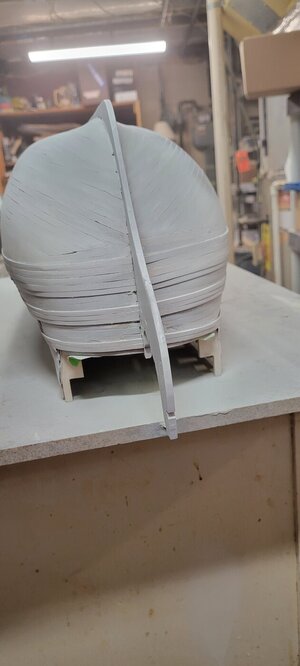
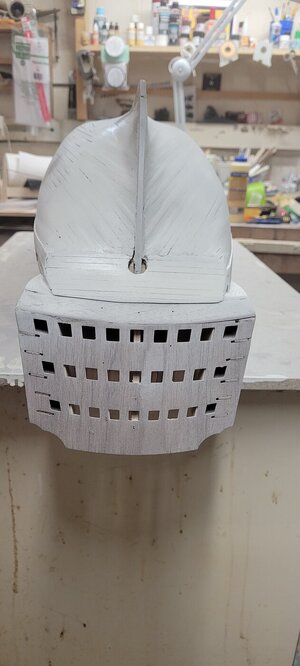
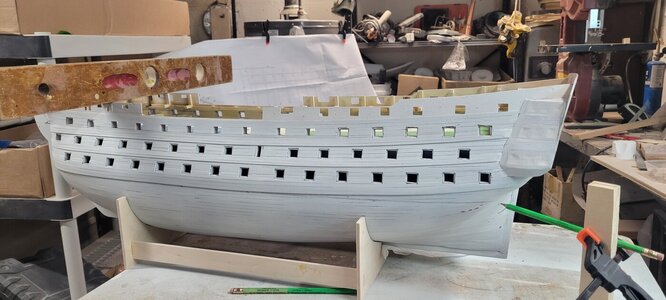
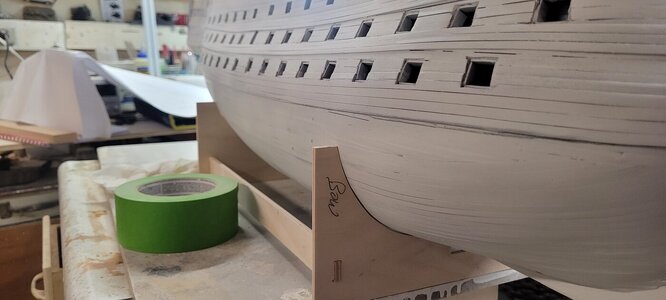
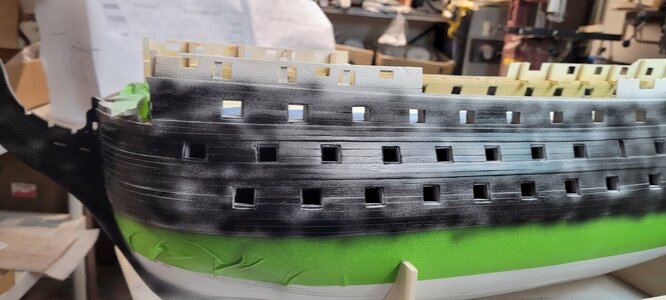
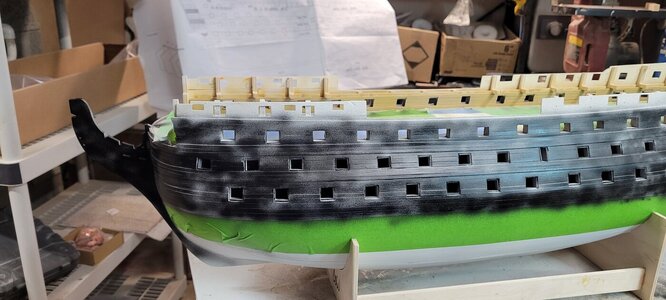
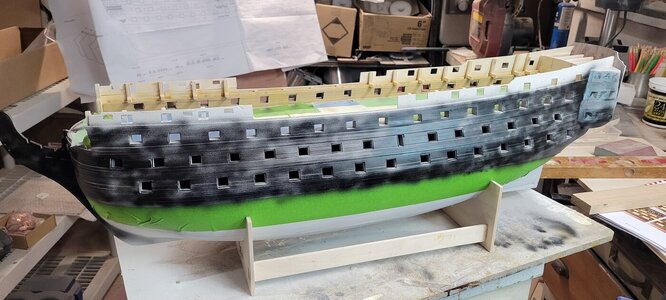
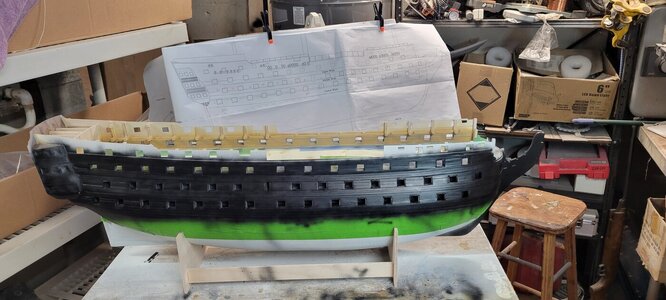
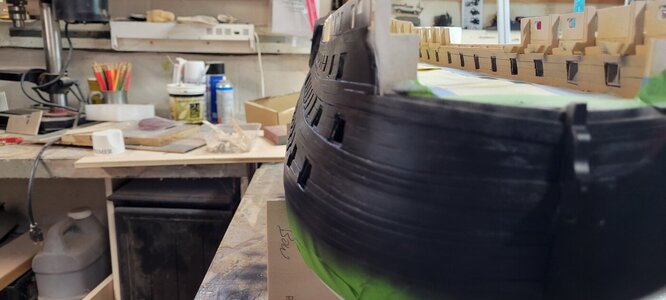
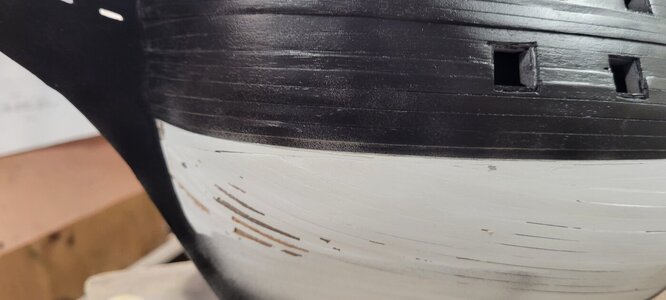
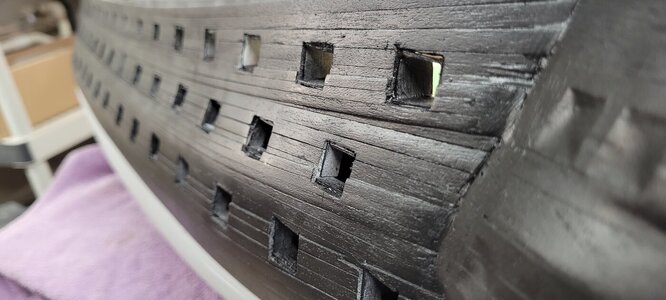
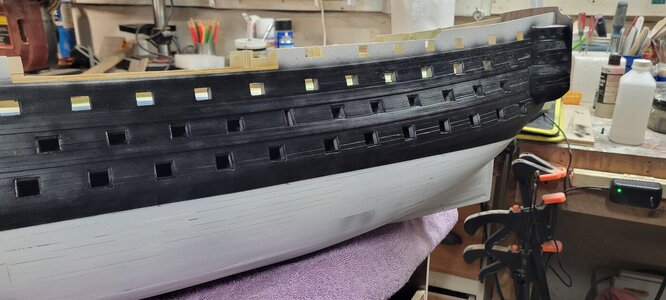
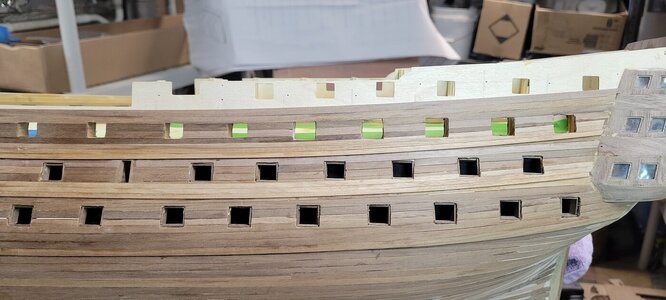
I finished all of the gun port liners. I did go over some of them again to try and square them up, but opted to put a coat of primer on to bring out any issues easily. The dark woods tend to hide issues and as can be seen here, once everything is white, you can see where I may need to make accommodations.

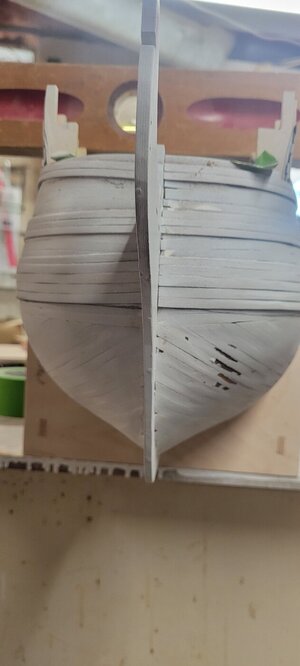
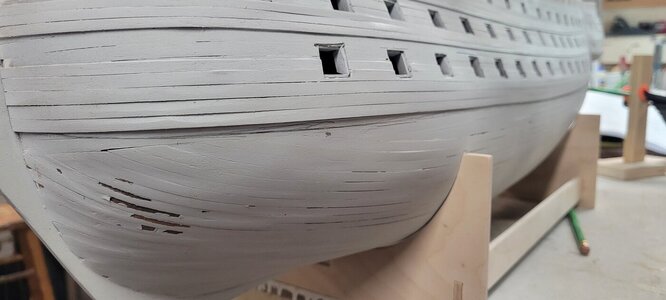
I did notice that some of the 2nd planking doesn't fit tightly together. I know much of it will be hidden by the copper plates. And there are also gaps in the upper planking that will be visible.

I want to add one more coat of primer after this one dries and I have had a chance to quickly and lightly sand it in a few days. If it appears that a 2nd coat of primer will help smooth the sides of the hull, then perhaps once I also apply the two stripes on, that will do the trick.

There is so much that will be going on with the boat, lids, rigging, cannons, MORE rigging that a lot of the nit picky issues I have with the hull may not be not as noticeable. I have notice20240327_111736.jpg20240327_111743.jpg20240327_111753.jpg20240327_112628.jpg20240327_112633.jpg20240327_112640.jpg20240327_112645.jpg20240327_112648.jpg20240327_112651.jpgd on my Titanic build that people don't see any of the flaws or mis-fitting pieces. They just see this 4' long model with all these little life boats and funnels and such and don't care about the rest.

I also notice some of the wales are bulging out and will have to be sanded back a bit.
 
You, like many of us, are your most stringent critic. You have everything to be very proud of on this, your maiden voyage into this craft, with a very large and ambitious project. I would never have been so bold. I have no doubt that the final product will be a pleasure to behold (and will probably never completely measure up to your expectations. But then, you have set yourself a very high bar). Remember, when you are finished, accept all the compliments you will, no doubt, receive with gracious gratitude and don't point out any of the flaws which you alone will perceive.;)
Great work!

Pete
 
I had applied 2 coats of primer. It did bring out more areas that I could address, but decided to try and see if I could apply the first run of striping to the hulls.

I've seen builds go either way, black over yellow or yellow stripes after the hull has been painted black.
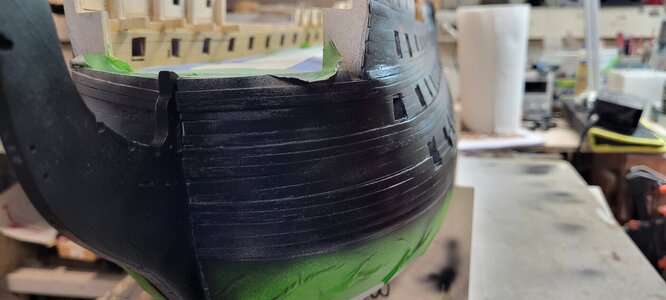
I opted for going black first. If the paint dries correctly, my hope would be that Tamiya masking tape will make the yellow strips very crisp. In the past, I have painted an area....in this case the black, laid out the masking for the next layer and then before painting that, I run a coat of the base paint over the newly taped line to keep any underflow at a minimum.

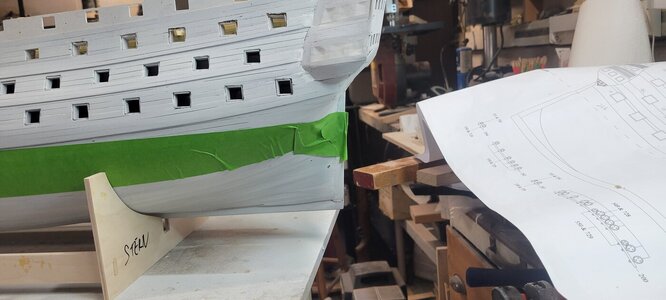
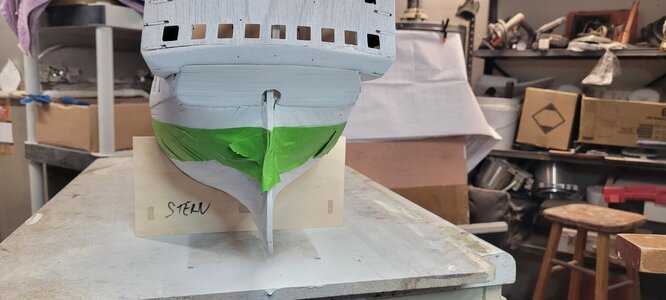
Anyways, I spend a lot of time measuring out where the water line is. At first, I just took measurements every gun port or so and then laid out masking tape. I wasn't comfortable with that, so I built a quick piece of wood to hold a pencil and a specific point near the stern and just drew a line all the way around.

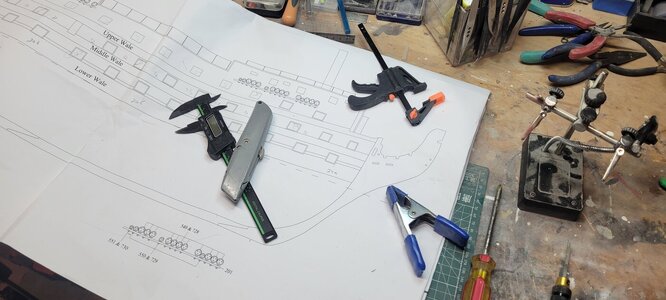
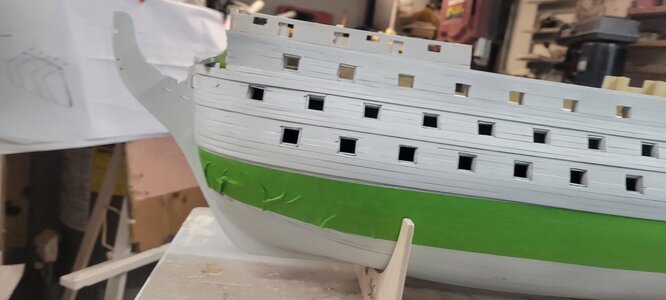
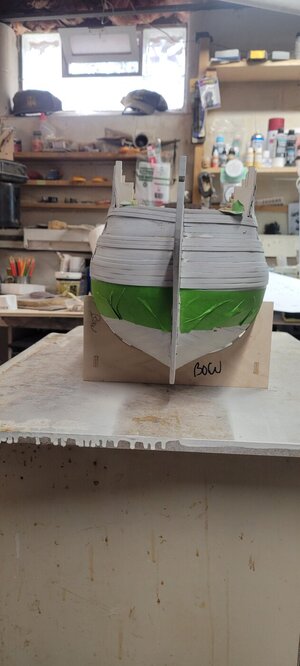
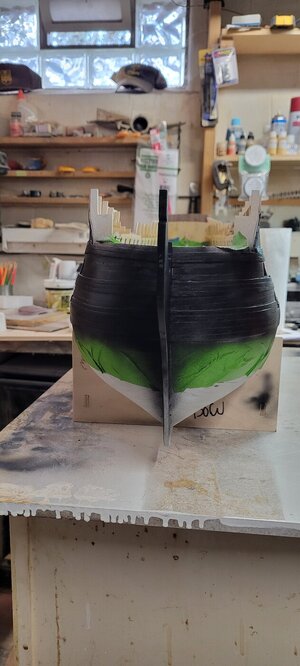
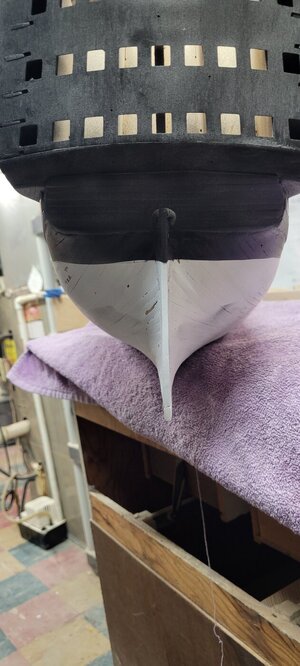
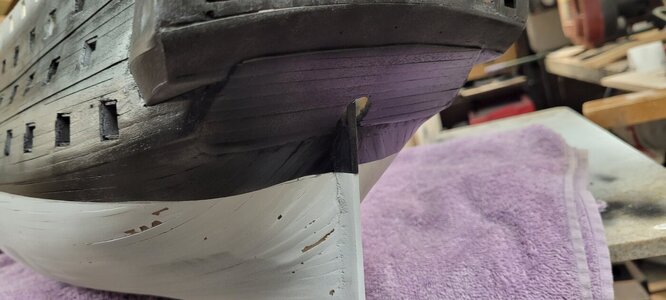
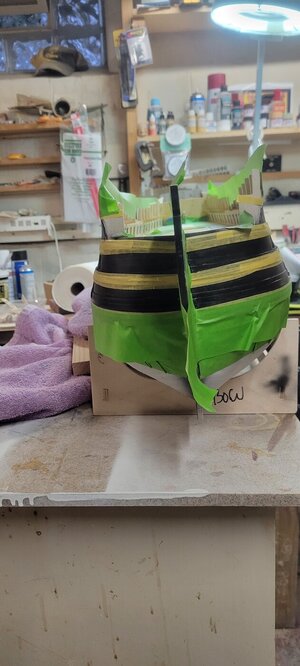
The drawings show that the lower wale kind of dips upward at the bow. Ironically, that was how most of my planking seemed to run except when I did the wales. I have taped the water line too high at the very bow. It's not the end of the world, I can straighten that line out so that it goes lower.
I'm not sure why that happened, the boat was almost perfectly level fore and aft and side to side. The water lines appear to be consistent at the stern.

I'll have to go back and repaint the bow a bit to straighten that out. Jotika's web pictures look to show about 2-3 planks between the bottom of the lower wale and the water line at the bow. So 10-15mm, which is significant and much more than I am showing.
20240328_104553.jpg20240328_104600.jpg20240328_104606.jpg20240328_104622.jpg20240328_104625.jpg20240328_104630.jpg20240328_105259.jpg20240328_105302.jpg
20240328_105317.jpg20240328_105337.jpg


20240328_104622.jpg20240328_104625.jpg
 
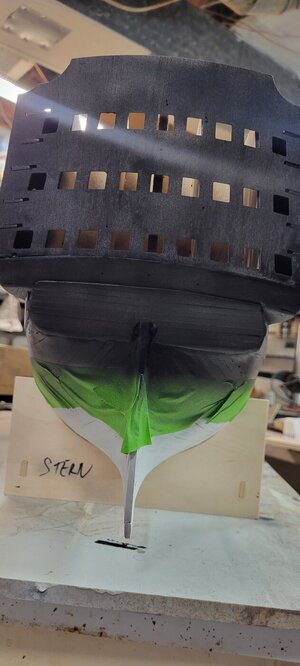
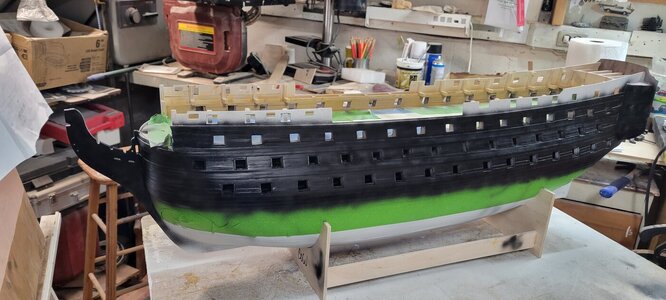
Taking a first stab at painting the hull required a bit of experimenting with the paint. I have never had good luck using either water or isopropyl alcohol as a thinner.
An email to Jotika recommended using 50% water to thin.

I still wanted to see if any of the other thinners would work. I had tried Tamiya's and it was ok. I tried Vallejo's today and it was about the same. The flow out of the brush was very bad, it wouldn't spread out and only came out in an almost pin point pattern.

I did a bit of the stern, just going back and forth for a very light coat and decided to try water.

That did seem to work very well. After a bit though, I had to clean the brush between fillings of the pot. The 2nd and 3rd pots didn't flow as nicely as the very first pot with water. I am sure it is operator error.

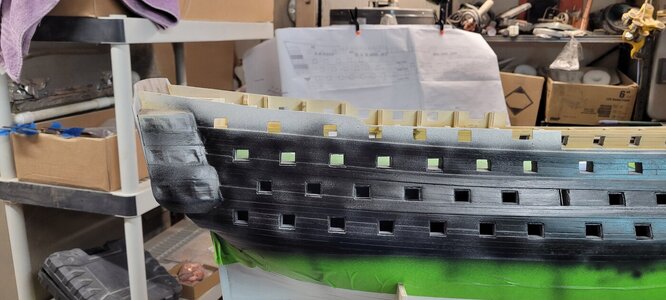
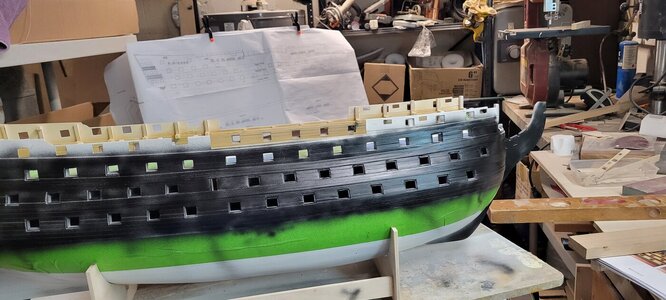
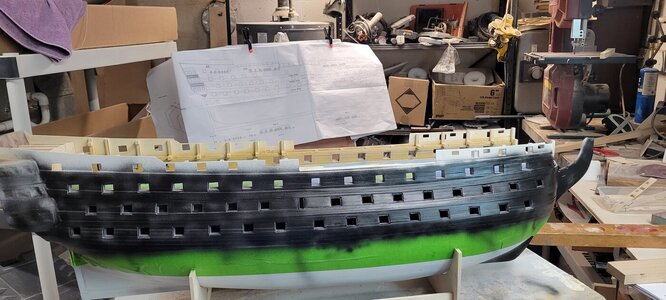
I put down 3 or 4 very light coats, alternating between sides. In the end, the coverage is quite good. I will let it dry for a few days and if needed, I will apply one more coat. If not, I will try and tape off for the yellow ochre stripes.

And....fix the waterline issue. I am in a pickle there, I can't just lower the water line a bit as then the copper plating doesn't meet the lower wale at midships. I hope that I can just turn down the line a bit at the bow....20240328_112104.jpg20240328_112107.jpg20240328_112109.jpg20240328_113214.jpg20240328_113220.jpg20240328_113223.jpg20240328_115144.jpg20240328_115151.jpg20240328_115200.jpg20240328_115206.jpg20240328_115209.jpg20240328_115224.jpg


It's funny looking at the 2 shots below, the upper wales match, but there is a pic in the post just above this showing the bow head on and the wales look atrocious! I assume that's the camera angles giving me agita.
20240328_115227.jpg20240328_115231.jpg


Not sure who this belongs to. But I have various other builder pics on my computer for reference. I feel my stern lines are similar and the my waterline at midships appears accurate too. I just didn't taper the bow wales up enough. Damn!!!!!!
DSCN0737.JPG
 
WHEW!!!!

Crisis averted, I think!

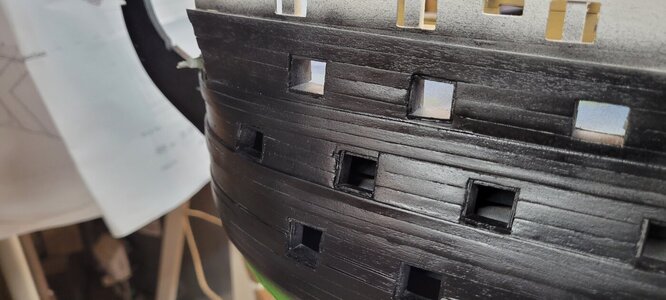
I pulled the tape off, yes, I lost a bit of primer. Good tape!

I love the line though, very little bleed through. I just love the stern right now. I think that is pretty close to where it should be. Obviously, the picture just below us shows that the bow is off.

I redid the very front water line, a pics down and I think that is very close to the manual and all three books that I have (McGowan, Longridge and McKay...which are just gorgeous books, BTW).

I will go back and retape the rest of the line just to keep everything good for the copper plating, but I think this will solve the problem.

I do need to add a final coat, which I'll do either late tonight or tomorrow, the paint dries pretty quickly, very much like Tamiya paints.
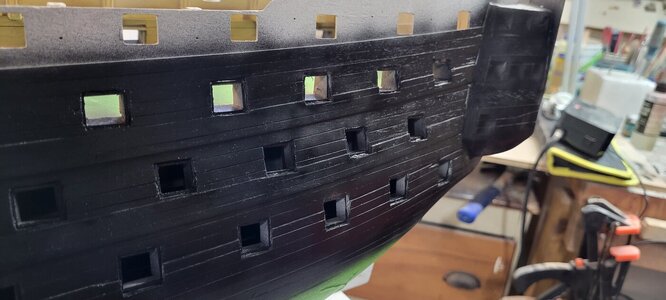
It really brings out the planking while hiding any flaws in the black shadows. Hopefully the ochre doesn't make them reappear. I see some spots on top of the wales that are still white and around some of the gun liners and some faded areas. The white does help to show that.

Once done with the yellow, I will take a brush to add the red ochre to the gun liners with a paint brush. I really want the paint to dry, so I'll test it in a few days to be sure tape won't pull it off, then I will lay out the yellow stripes. If not, I will let it cure longer and begin work on the various upper deck gratings, etc.

20240328_160014.jpg20240328_160437.jpg20240328_160441.jpg20240328_160446.jpg20240328_160453.jpg20240328_160506.jpg20240328_160511.jpg20240328_160526.jpg20240328_160537.jpg20240328_160616.jpg
 
Fantastic progress Chris. You have almost completed the hull of the Victory in three weeks. Your work rate is mesmerizing.
The paint is hiding some flaws and it’s looking really good.
I think you may need several coats of the yellow ochre to show up over the black base.
Also having built a hull with 74 guns, I admire your resolve to paint the gunport liners having already installed the second planking layer and the black paint. It will require a steady hand and great resolve, much like the copper plates.
Given your achievements so far, I’m betting you will make it look easy.
I will watch with interest and be cheering your progress.
Michael
I concur!
 
I am so frustrated. I've been sick as a dog for the past few days, which was ok because it allowed the black paint to really dry.

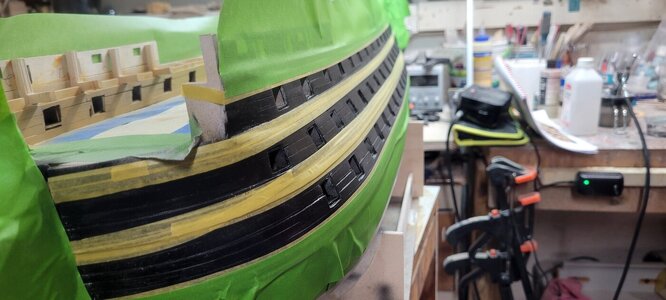
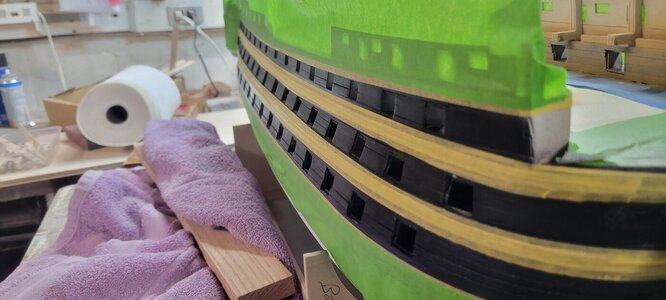
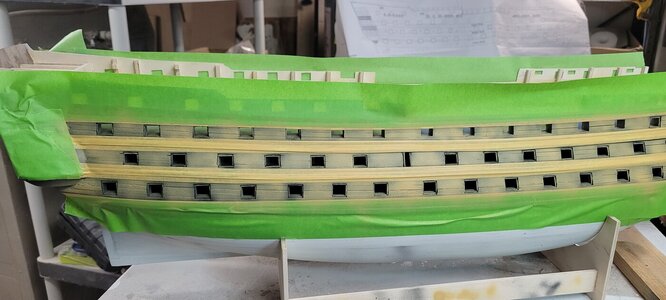
Last night I took a stab at taping off the yellow ochre striping. I think it came out close to the instructions and seems to look pretty close to other builders.
This morning, feeling better than I have in a few days, I decided to go down and take a stab at the yellow.

I thought I had cleaned the airbrush pretty good, but after mixing up a batch of paint, it wouldn't come out at all. Now I had quickly taken the airbrush apart before, removing the needle to give it a good cleaning and figured that would be ok.

The needle was binding up inside and I had to break the whole gun down. I wasted a pot of paint, but oh well.

Then I dropped the G%^D D&*#M chucking nut that hold the needle in tightly. I heard it drop, hit some things, roll and hit some more things.
Not a chance! I had done the same thing last year painting the Titanic and never found it. So now there are two floating around in my basement and the next owner of my house is going to be so happy!!!!

I swept, and cleaned and was on my hands and knees and I couldn't find it. There was a tool drawer that was just a bit open and and I went through that too....nope.

I tried to paint without the nut, but once you apply air, you have to manually pull the needle back to get flow. Without that fine control, the paint comes out pretty quick. I did try, holding the brush farther away to keep the paint from wetting up too fast. But in the end, there was only so much I wanted to risk.

Ordered 2 more from Amazon, but since it's Easter, I won't get them till Tuesday. I could try brush painting, but I was really happy with the result using the airbrush.

Oh well!! I will post my sad pictures later....
 
Sorry to hear you’ve been unwell Chris, but good you survived.
Cleaning airbrushes is definitely a drawback but I agree the evenness of the painting is pleasing, especially on large areas.

It is incredibly frustrating when small parts fall on the ground and it happens on a regular basis to me, and other modelers also comment on the frustration it causes.

Look forward to your new parts arriving and seeing the yellow bands you create.
 
Fallen or little flinging parts after they're cut, I probably have enough of them all over my shop to build TWO Titanics.

I resorted to wearing an apron for this build most days. With all the sanding, gluing and painting, I thought it would save my clothes and marriage. Ironically it also helped catch a lot of things that I dropped.

Of course today, I wasn't wearing it.

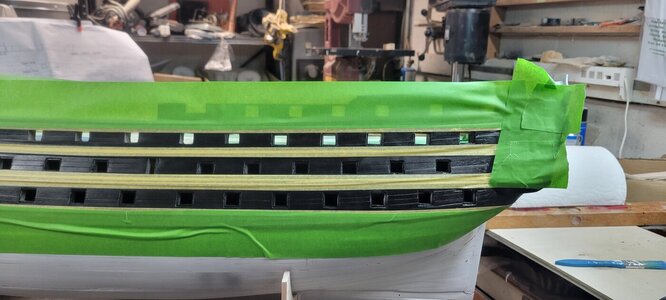
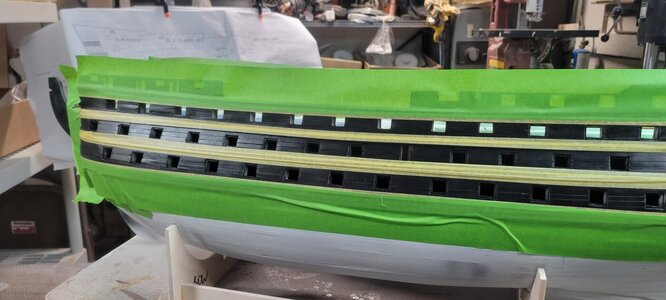
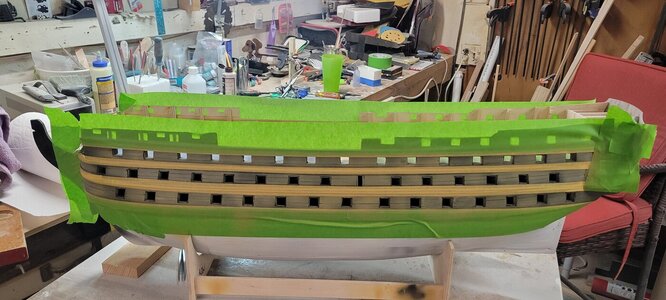
So I lined the three yellow courses with Tamiya and then over filled it with regular masking tape. I'll circle back after to catch that little bit of black at the bow, water line.

I think they line up pretty good and there may be a bit of touch up, but nothing too bad.

You can see when I started the yellow that there is a flow issue and it lays done 'wet' in some areas that cause dripping. Since I'm not getting the locking nut now until this Wednesday, it will be pretty dry and I can lightly sand any drips or flow before finishing up.

20240330_190818.jpg20240330_190821.jpg20240330_190836.jpg20240330_190842.jpg20240330_190846.jpg20240331_124707.jpg
20240331_131641.jpg20240331_131649.jpg
 
I am so frustrated. I've been sick as a dog for the past few days, which was ok because it allowed the black paint to really dry.

Last night I took a stab at taping off the yellow ochre striping. I think it came out close to the instructions and seems to look pretty close to other builders.
This morning, feeling better than I have in a few days, I decided to go down and take a stab at the yellow.

I thought I had cleaned the airbrush pretty good, but after mixing up a batch of paint, it wouldn't come out at all. Now I had quickly taken the airbrush apart before, removing the needle to give it a good cleaning and figured that would be ok.

The needle was binding up inside and I had to break the whole gun down. I wasted a pot of paint, but oh well.

Then I dropped the G%^D D&*#M chucking nut that hold the needle in tightly. I heard it drop, hit some things, roll and hit some more things.
Not a chance! I had done the same thing last year painting the Titanic and never found it. So now there are two floating around in my basement and the next owner of my house is going to be so happy!!!!

I swept, and cleaned and was on my hands and knees and I couldn't find it. There was a tool drawer that was just a bit open and and I went through that too....nope.

I tried to paint without the nut, but once you apply air, you have to manually pull the needle back to get flow. Without that fine control, the paint comes out pretty quick. I did try, holding the brush farther away to keep the paint from wetting up too fast. But in the end, there was only so much I wanted to risk.

Ordered 2 more from Amazon, but since it's Easter, I won't get them till Tuesday. I could try brush painting, but I was really happy with the result using the airbrush.

Oh well!! I will post my sad pictures later....
Somewhere, in your basement, dwell a clutch of gremlins, no doubt playing with the two nuts from your airbrush and giggling gleefully over your dilemma. They snatch them as soon as you start looking, and will, no doubt, replace them (in plain view) on your basement floor as soon as the replacement parts come from Amazon. I believe they get kickbacks from Jeff Bezos. I believe, also, that they must be related to the clutch of gremlins living in my basement and in the USNA model workshop, the modus operandi being uniformly the same. :rolleyes:
 
Back
Top