Bluenose 1:100 by Amati

Peter, @Peter Voogt , has some examples of how the planking, and in your case the second planking, could look like:

Take your time, look at as many examples as you are willing to commit time and effort into, ensure you have a smooth first layer, free of bumps, etc and determine your second layer pattern in advance and stick to it. If you're not comfortable with complex patterns: keep it simple, the Bluenose hull's shape is fairly straightforward and is doable for rather inexperienced modelers.
 
Again, another reason I love this site. So much/many helpful builders willing to share skills and expertise.
Please keep adding ideas and constructive criticism.
Thanks to all.
Good evening Kurt. Just had a catch up with your BN. Lovely detail and description. At 1:100 scale it is a small model and I compliment you on what you have achieved so far….I can’t to little ships;). I love this site and they guys have help me so much with my 2 ships. Not only that but I have made on line friends here as well. So far your BN is looking good. Johans @RDN1954 advice above is invaluable with getting the first layer spot on. Cheers Grant
 
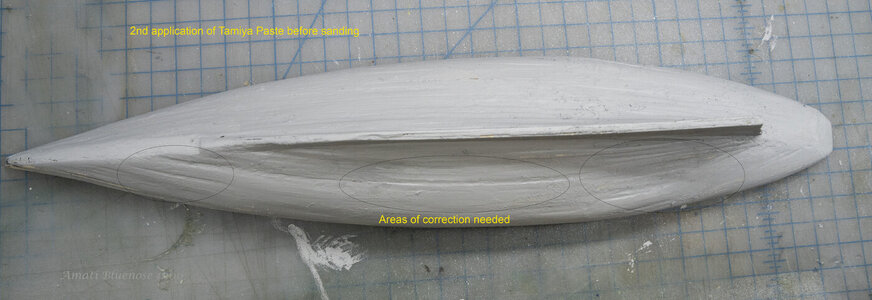
1st hull planking completed. "Yea" 1st and 2nd application of Tamiya paste (with sanding in-between) applied. Allowing to dry overnight before sanding.
I have some areas that are in need of more work to get smooth.
Will keep applying paste and sanding. Looking forward to the final planking.
As always, any tips/tricks are welcomed.

BN_Construc_037.jpg

BN_Construc_038.jpg
 
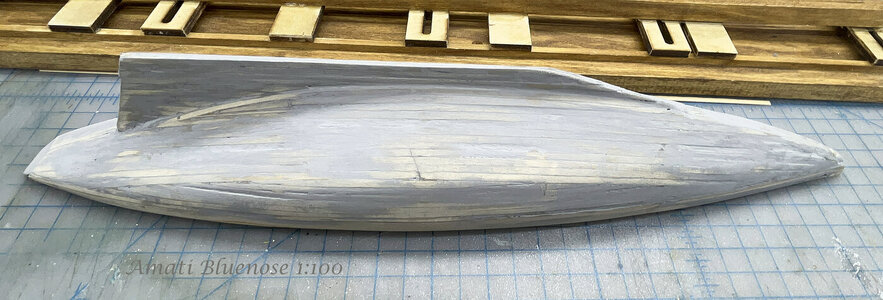
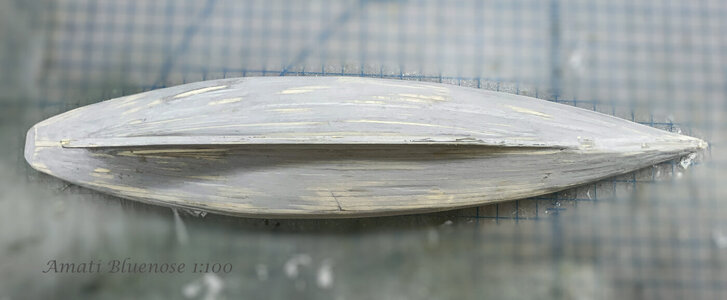
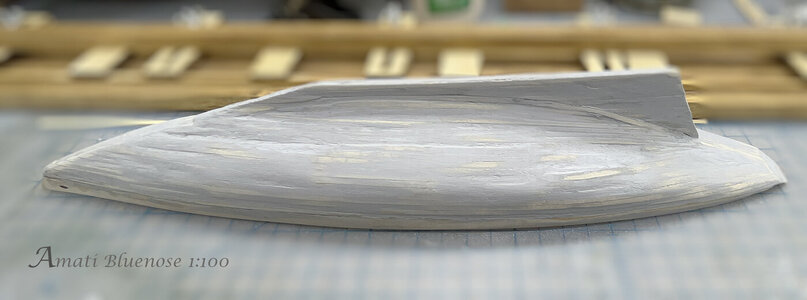
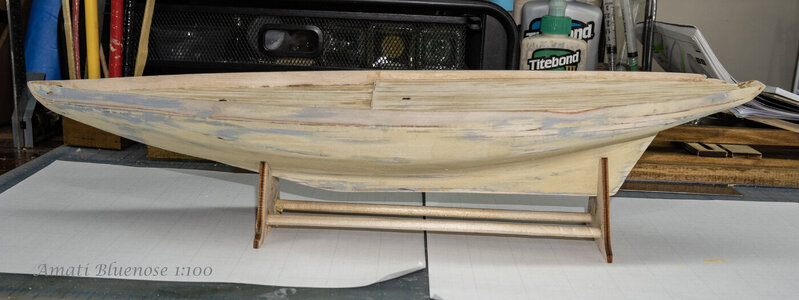
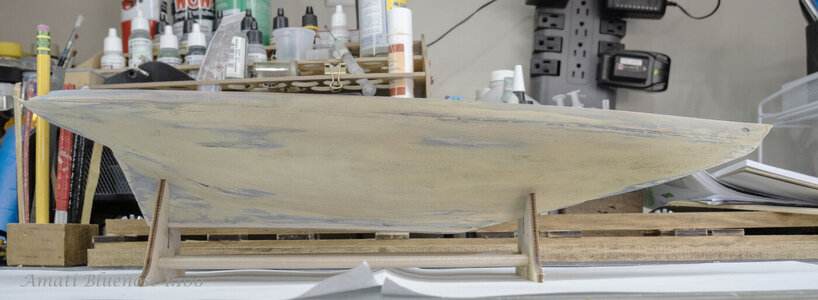
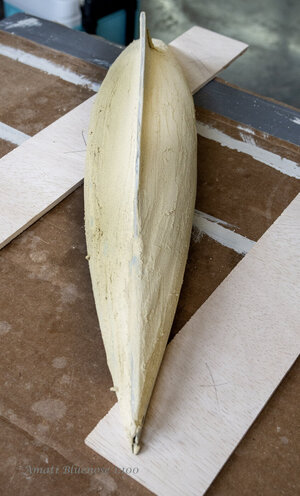
I have applied two (2) layers of Tamiya paste to fill the existing gaps. I have sanded with 100 and 120 grit sandpaper. The photographs demonstrate the results of the sanding. The hull is smooth to the touch in many locations. I have some work to do to improve other locations.
I have ordered some wood glaze. I will use it over the deeper/unlevel locations. Results to follow.
As always, all critiques and criticism are welcome!

BN_Construc_039.jpg

BN_Construc_040.jpg

BN_Construc_041.jpg
 

Liquitex Professional Gloss Varnish,​

I would like advice from actual users before I start on the Amati Bluenose hull.
Thanks
 
Hi Peter, on the subject of varnish, I'm finding it very difficult to find a really matte matt varnish over here. I used a Paint Factory matt aerosol on Bounty & now on Nina, but it was no more like satin/semi gloss, so had to give both a coat of Testors Dulcote (now unavailable outside, but now re-manufactured by Rustoleum but only available in US - so far) Luckily I still have 2 or 3 in stock but always looking out for a substitute. I'd appreciate any suggestions from UK 'Ship Mates'.
I'll look at your photo again tomorrow to see how matt it's dried to! ROTF
Peter, at last I've located some really matte matt varnish: it's Liquitex Professional Matte Varnish recommended by one of the guys on 'Woodworkers Forum'.

Found this on search, Peter, how did it work for your model?
 
Several friends said to not over think it and just use wood filler.
Wood filler and sanding might be the method of choice.
 
Several friends said to not over think it and just use wood filler.
Wood filler and sanding might be the method of choice.
As long as you obtain a smooth, continuous surface, everything goes. It is the base of your second layer and any imperfection in your first- will show in your second layer.
 
Decided to use wood filler. Applied liberally to hull and waited 24 hours to dry thoroughly.
Started sanding with 100 grit, then 120 grit and 400 grit until smooth.
I think I have achieved an acceptable surface for 2nd planking.
Wiped the surface with alcohol to clean surface. I "baked" the hull in the sun for a few hours
to insure everything was dry.
As always, constructive advice is welcomed.

BN_Construc_043.jpg

BN_Construc_044.jpg

BN_Construc_042.jpg
 
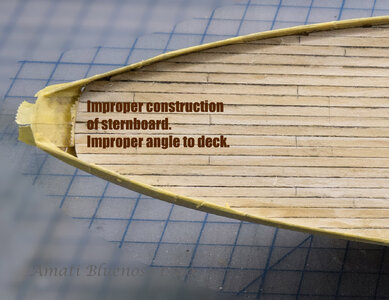
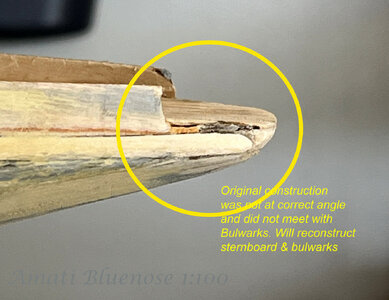
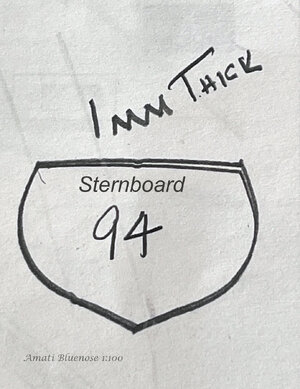
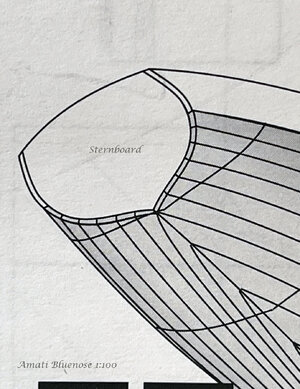
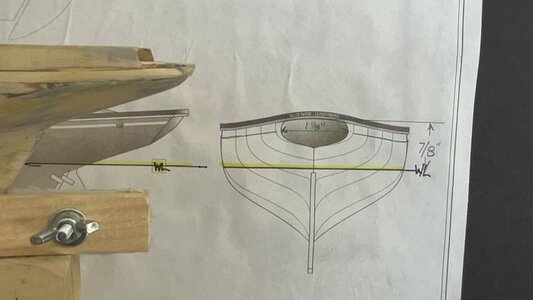
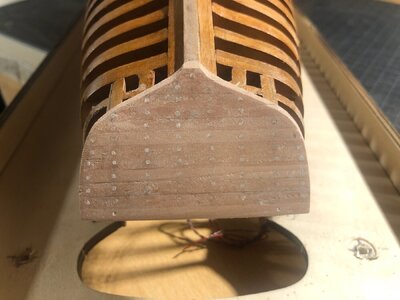
I am looking for a place to purchase 1mm thick hardwood sheet. I do not like to look of the stern transom and wish to scratch build another.
 
To this day I am not sure about the correctness of the YQ Bluenose stern, but this how it looks on my model:
IMG_3697.jpeg

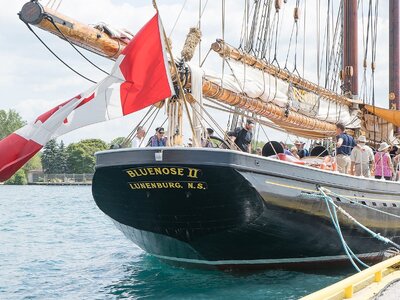
And here how the stern appeared on the Bluenose II (picture is not mine):
IMG_0473.jpeg
 
Last edited:
Great information, love the photographs. I am a visual learner, and photographs and drawings are the best way for me to learn how to complete a task.
That is the reason I always try to do a lot of research before starting a project or element of a project.
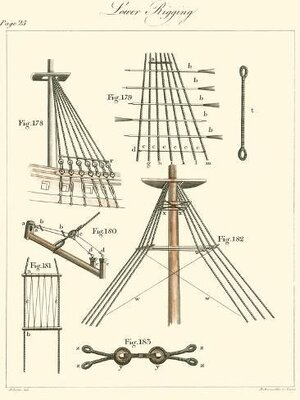
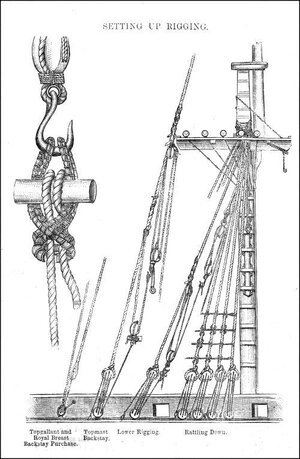
Started the finish planking. Looking forward to the start of deck furniture and rigging. I am compiling data on rigging to study and as reference.

Art Print_ Nautical Details II _ 12x9in.jpg

BN_Construc_045.jpg

BN_Construc_046.jpg

Boy's Manual Of Seamanship And Gunnery - Standing Rigging.jpg
 
Great information, love the photographs. I am a visual learner, and photographs and drawings are the best way for me to learn how to complete a task.
That is the reason I always try to do a lot of research before starting a project or element of a project.
Started the finish planking. Looking forward to the start of deck furniture and rigging. I am compiling data on rigging to study and as reference.

View attachment 443103

View attachment 443104

View attachment 443105

View attachment 443106
If you're looking for a comprehensive example for the Bluenose rigging, see https://suburbanshipmodeler.com/2017/06/23/rigging-begins/ and further. If you're willing to spend some dollars you could also buy https://www.amazon.com/Bluenose-II-...e+great+fishing+schooners+%2Caps%2C399&sr=8-1
 
Back
Top