1/12 scale Alfa Romeo 8c 2300 roadster build log [COMPLETED BUILD]

Joined
Apr 18, 2022
Messages
370
Points
323

Location
Lorraine, QC, Canada
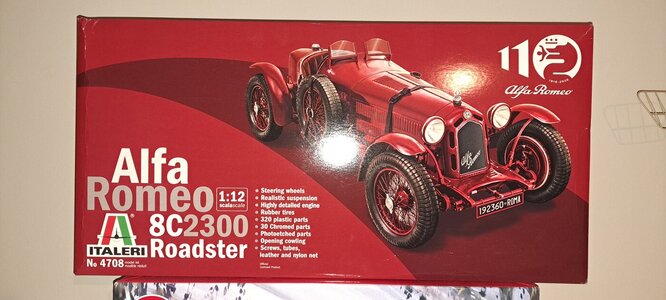
Started a new build today. As stated somewhere in another post, I was awaiting for my birthday gift which I got last saturday. It's an Italeri 1/12 scale Alfa Romeo. 20221204_155247.jpgA very nice kit that, from the get go, is pretty well detailled. I could build it straight out of the box and it would look real fine. But me being me, that's not what I want to do. I'll try to super detail it till the sun don't shine. Once again, the operative word being 'try'. Here are some mods that I would like to do.
1- replace plastic spokes with metal spokes
2- replace plastic leaf springs with brass
3- upholster seat in leather
4- add missing nuts and bolts
5- create a fuel tank (the kit doesn't have one)
6- super detail engine by replacing certain plastic parts with metal ones and adding as much details as possible
7- ....

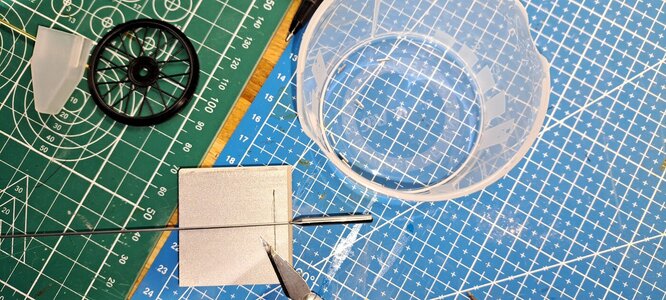
So I decide to start with what will probably be the toughest part of the build, the respoking of the wheels.

My first impression of the task20221205_145524.jpg
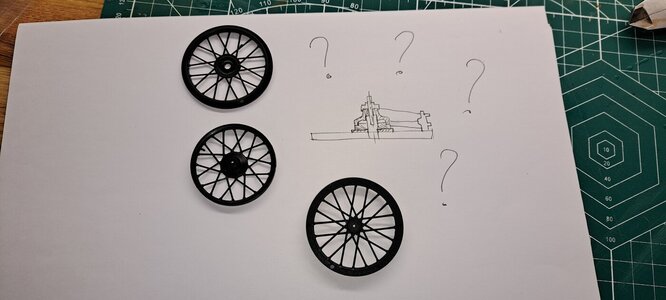
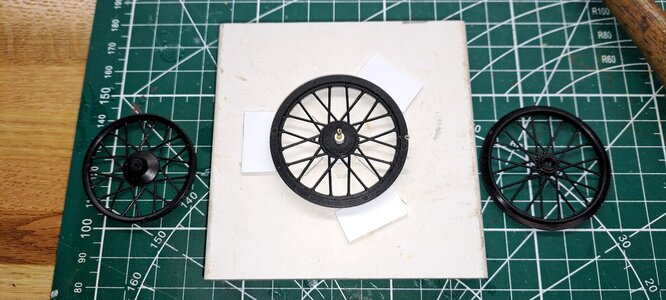
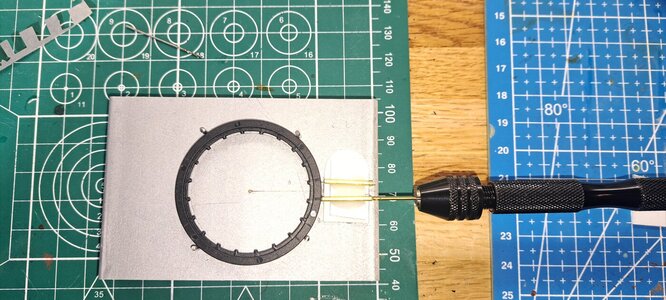
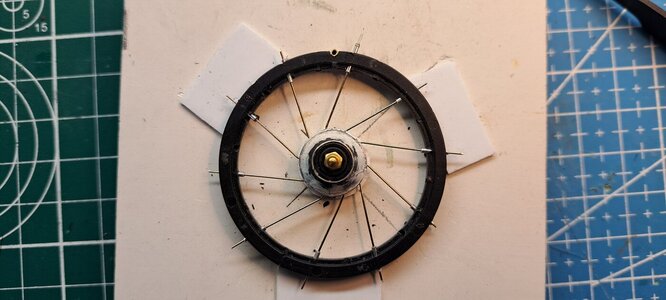
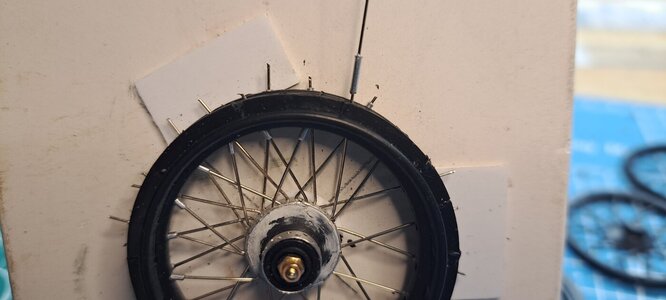
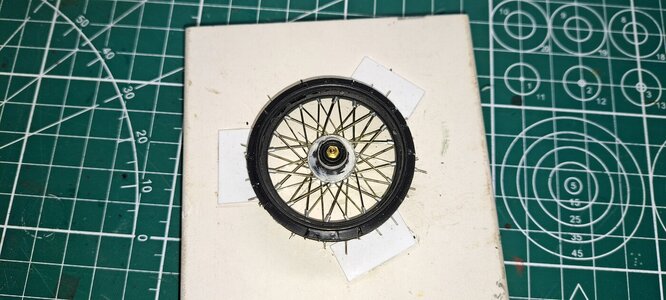
After a few minutes of pondering, I set out to make a jig that will locale and index the different parts of the wheel (the hub and the rims) once the plastic spokes are cut off. I will then have to drill 80 0.5mm dia holes per wheel while respecting a determined pattern and insert 40 metal spokes while respecting the lacing pattern. There are 5 wheels. Yeah, right...20221205_172058~2.jpg20221205_202147.jpg
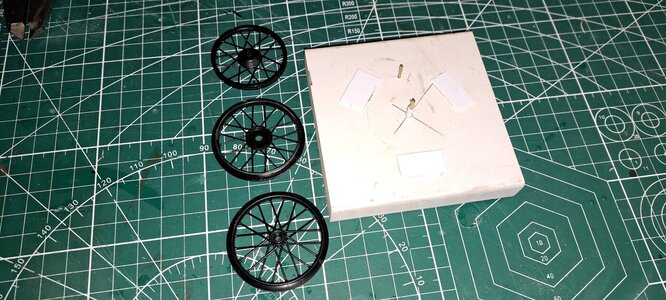
More to come...
 
Started a new build today. As stated somewhere in another post, I was awaiting for my birthday gift which I got last saturday. It's an Italeri 1/12 scale Alfa Romeo. View attachment 344155A very nice kit that, from the get go, is pretty well detailled. I could build it straight out of the box and it would look real fine. But me being me, that's not what I want to do. I'll try to super detail it till the sun don't shine. Once again, the operative word being 'try'. Here are some mods that I would like to do.
1- replace plastic spokes with metal spokes
2- replace plastic leaf springs with brass
3- upholster seat in leather
4- add missing nuts and bolts
5- create a fuel tank (the kit doesn't have one)
6- super detail engine by replacing certain plastic parts with metal ones and adding as much details as possible
7- ....

So I decide to start with what will probably be the toughest part of the build, the respoking of the wheels.

My first impression of the taskView attachment 344163
After a few minutes of pondering, I set out to make a jig that will locale and index the different parts of the wheel (the hub and the rims) once the plastic spokes are cut off. I will then have to drill 80 0.5mm dia holes per wheel while respecting a determined pattern and insert 40 metal spokes while respecting the lacing pattern. There are 5 wheels. Yeah, right...View attachment 344164View attachment 344165

More to come...
Sorry, I posted twice and don't know how to remove it.
 
Last edited:
Nice to see another Alfa Romeo in the garage to build up, François.
It’s nice you shows how you replace the spokes. A deja-vu to build the Pocher spoked wheels.
Regards, Peter
 
Thank you Pete, my first choice would have been a pocher kit but they are way out of my budget. Respoking the wheels will prove to be quite a challenge. I've found many references on respoking the bentley blower wheels (my next projet) but nothing on respoking Alfa wheels. I'm figuring the method as I go along. The techniques are similar but the wheels being molded differently, they don't all apply.
Here what I've done do far.

Respoking jig done20221205_172058~2.jpg

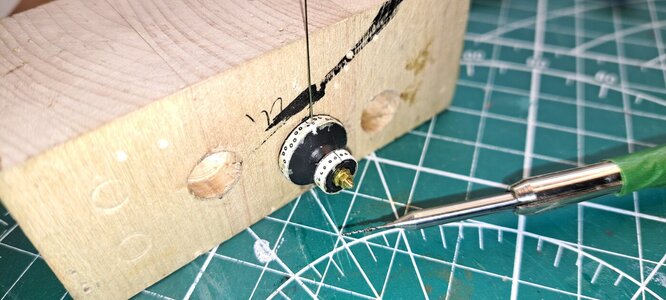
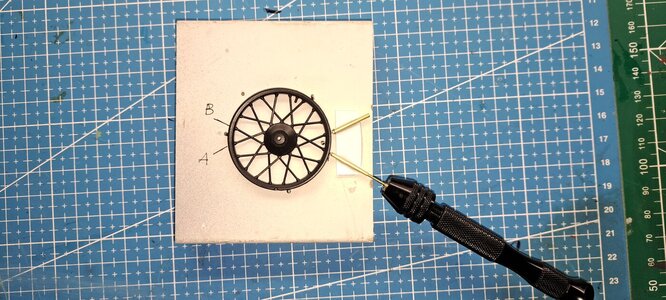
Hub drilling setup20221208_072221.jpg

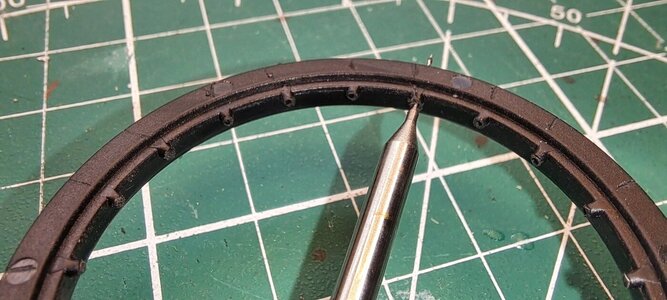
Started drilling the rims using the nipples as guide20221208_072330.jpg
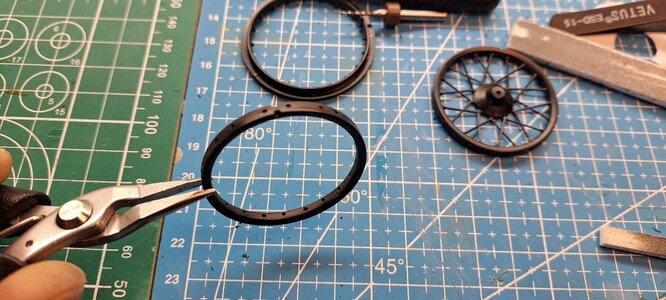
They are 40 spokes per rims, 3 separate rims per wheels and 5 wheels total to respoke. That come to 600 holes to drill!!
Yeah...
 
Are you painting the metal spokes black. And if so, what is the benefit of replacing the plastic ones? If the plastic spokes are grossly out of scale and too large in diameter, then replacing them will result in a more accurate scale representation. Otherwise I can’t see any value in replacing them. But I commend you for your effort either way! ;)
 
Dean, on this particular model, the spokes are fearly close to scale. They represent a spoke of about 3/8 dia. Too big but not so bad. A correct spoke dia should be more in the range of 3/16 to 1/4 dia. That being said, the main reason to try and do this is because it's fun. The kit provides 6 wheels so I have a spare one to try out my method. And besides, it's a good practice for my next project which will be the Airfix Bentley blower. And on that model, the spokes are way out of scale.
 
Ok, wheel update time. First, let me say that I now know why I couldn't find any references on how to modify these specific Italeri Alf Romeo wheels, It's because its freaking hard!! I did find some aftermarket wheels that I could buy but they are different from the ones proposed in the kit (and from real 1:1 Alfa Romeo 8c wheels). And franckly, where's the fun in that. So yes, it is hard to do but very doable.

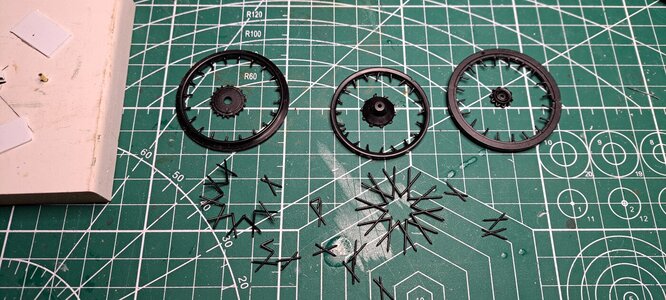
Like I said in a earlier post, I started by doing an assembly jig. Then using a paper template, I drilled all the holes in the hub. That didn't turn out so good. I also tried to drill the rims using the existing nipples as guides. That didn't work either. So I decided to fabricate 2 drilling jig, one for the outter and inner rims and one for the center rim. I made the jigs so that the drilling is done from the outside rather then the inside of the rim and I'm using small tubing as drill guide bushing that I glued at the correct angle and height. Much easier.

outter and inner rim drilling jig
20221210_132930.jpg

center rim drilling jig
20221211_223355.jpg

drilled out center rim
20221211_114250.jpg

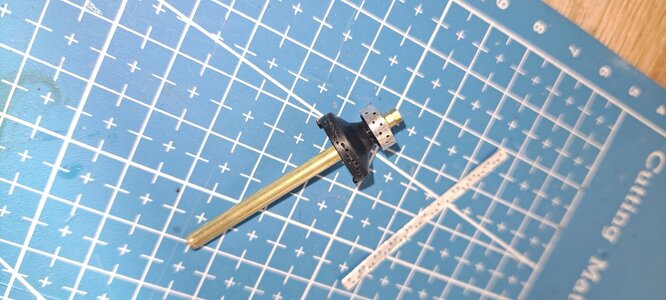
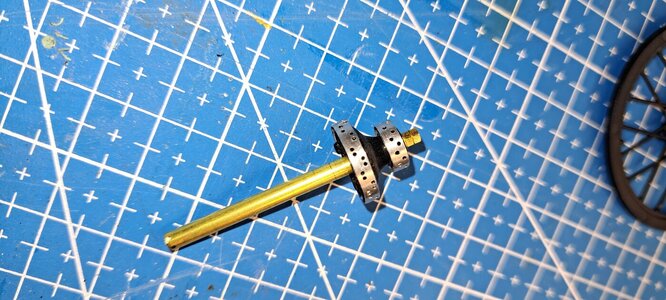
Now for the hub, my paper template didn't work. So I made 2 aluminium strips with a lenght equal to the circonference of the large and small hub dias and, using a paper template, drilled the holes on the still flat alum strip. I then rolled the strips and glued them to the hub. I could then redrill the hub using the alum strips as a guide. Now that worked!!

hub with tooling mandrel
20221209_132953.jpg

drilled out flat stip
20221210_141037.jpg

gluing strips to hub
20221210_142233.jpg

redrilled hub
20221211_093714.jpg


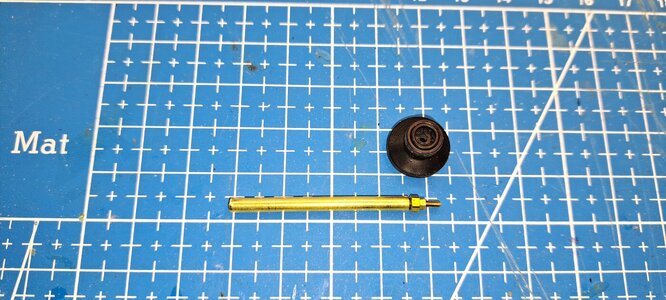
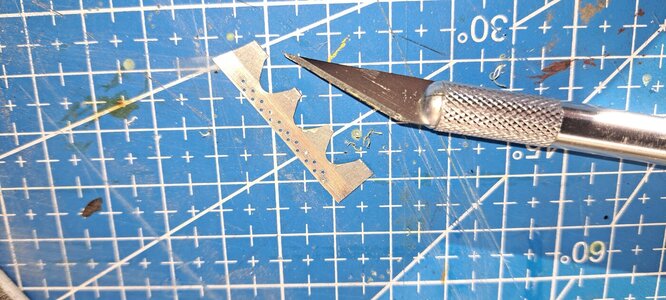
Since the rim drilling is now done from the outside, the moulded nipples can not be used and have to be replaced with aluminium micro tubing cut to the correct lenght. A tedius job be easy to do using an exacto knife.
20221209_132941.jpg


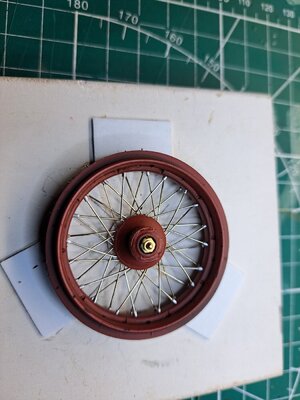
Now comes the lacing. Again fearly easy to do, it,s just long...


20221211_105410.jpg


Nipple insertion (the white on the hub is putty)20221211_172932.jpg

inner rim lacing complet
20221211_190255.jpg


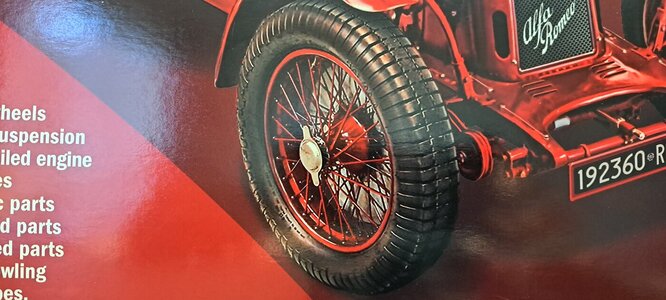
Curiously, the box art shows metal spoke wheel rather then the plastic ones.
20221211_093900.jpg

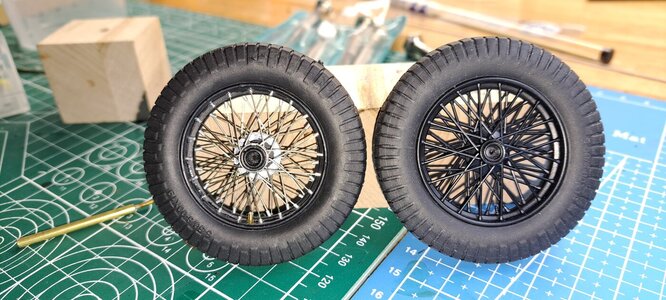
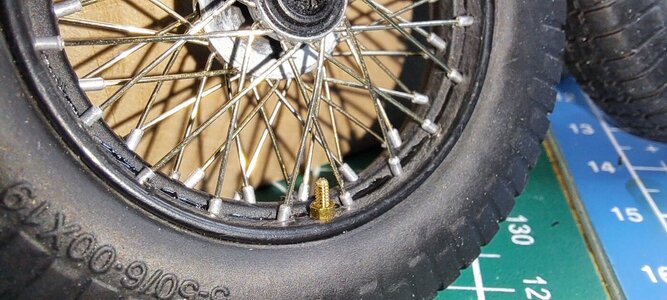
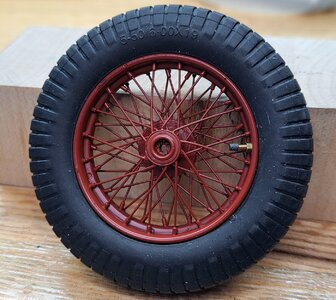
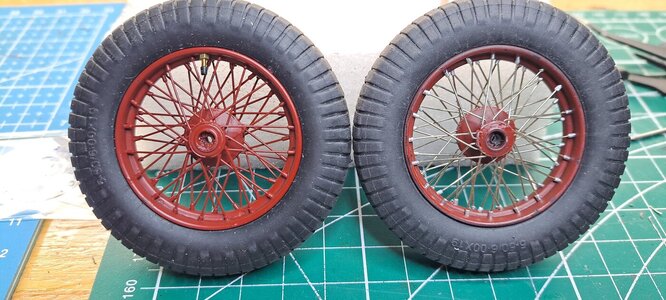
So here is the result. Please keep in mind that this is the first of six wheels (yes, the kit provided 6 wheels, probably a packaging error since nobody that I know of is crazy enough to modify them), so it's not perfect. Hopefully the others will be better. I already have a few ideas on how to modify the drilling jig to get a better result. Also, this one is not painted, I would like only paint the rims and hubs and keep the spoke and nipples on bare metal. I also did the valve stem because the moulded one was located in the center rim and would not be accessible. The respoked wheel (left) is picture next to the kit wheel (right).

20221211_214712.jpg20221211_214742.jpg
 
Last edited:
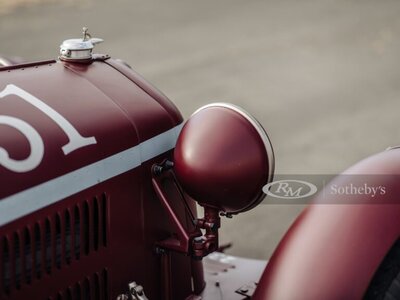
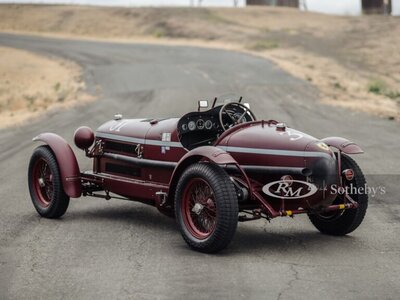
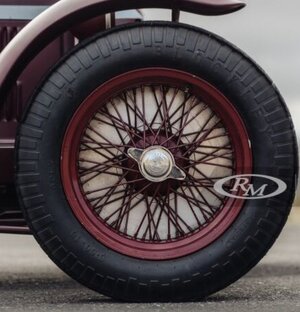
Thank you all. Changed the drilling jig to increase hole accuracy a bit. The processus will become much easier (and faster) with every wheel. I'm doing the second one and already I see a difference. Still not sure if I will go with full painted wheels or if I leave the spokes bare. Any thoughts on that? At least, I think I've settle on the color choice. I will probably go with a traditional red but in a mat finish, a bit like what we see on cars today. This would be my inspiration.Alfa-Romeo-8C-2300-Monza-1932-asta-1-768x576.jpgAlfa-Romeo-8C-2300-Monza-1932-asta-64-768x576.jpgAlfa-Romeo-8C-2300-Monza-1932-asta-73-768x576.jpg
 
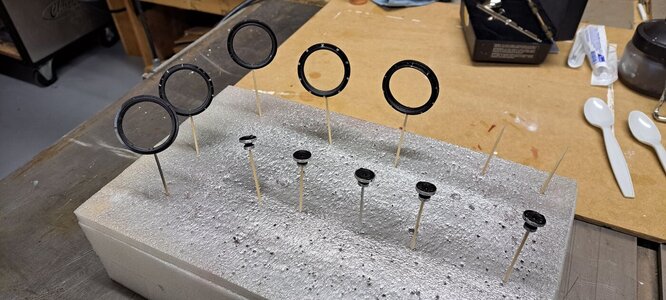
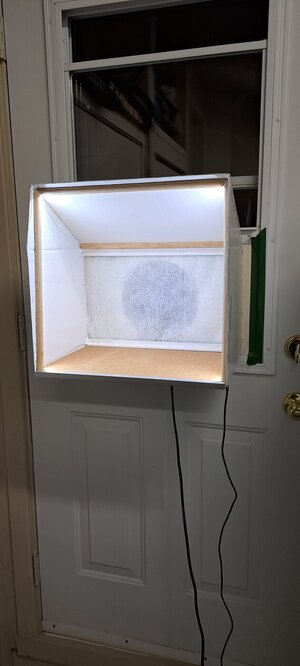
Did some paint test today on the first wheel I did. The color I chose (Tamiya laquer flat dull red) is not exactly the same as the ref car but I think it will be ok as the model will never be next to the ref car. I'lI see if I could find a more burgundy color. Also made a spray booth.

My wheel (love the valve with it's cap)
20221217_122021.jpg
Ref car wheel
Alfa-Romeo-8C-2300-Monza-1932-asta-53-768x576.jpg

Paint booth that is hung on garage side door, complete with exhaust fan and led lights.
20221217_064035.jpg
 
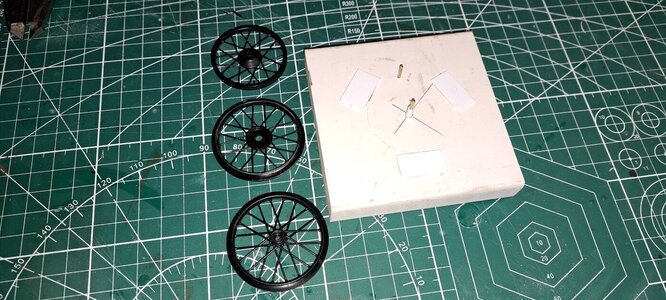
Did some more work on the wheels. All the hubs and rims are drilled and ready for lacing. I laced the second wheel today. I was still debating whether to paint the spokes or leave them bare. After finishing the second wheel and comparing it to the first one that is painted, there was no more questions. It's much nicer looking all painted.

Rims and hubs ready for paint and lacing20221219_083858.jpg

Lacing of wheel number 220221219_163020.jpg

With or without painted spokes... definitely with 20221219_211255.jpg
 
First off, best wishes to everyone. May the coming year bring you joy, happiness and many projets!

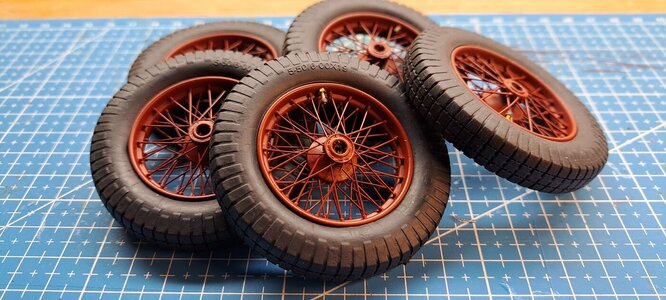
So, all 5 wheels are done and I'm pretty happy with the results.
20221226_203239.jpg


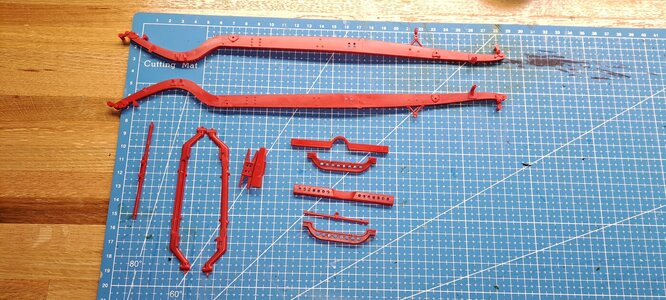
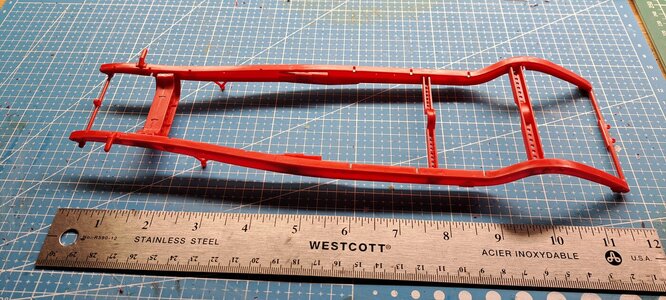
I started the frame assy today, pretty much straight out of the box but a few detail add-ons will be made along the way
20221224_151645.jpg20221226_220910.jpg

Don't now why but I had an urge to start the seat. Maybe it's because my wife gave me her old red leather glove (she got new ones for christmas) and red leather seemed just right for the seat covering.

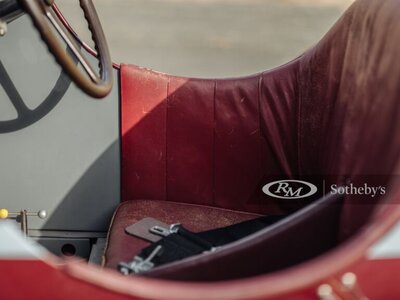
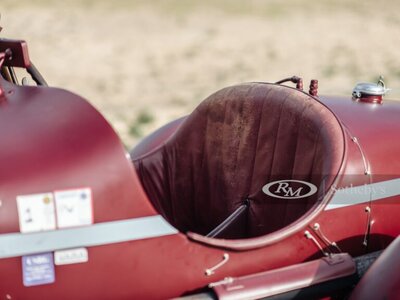
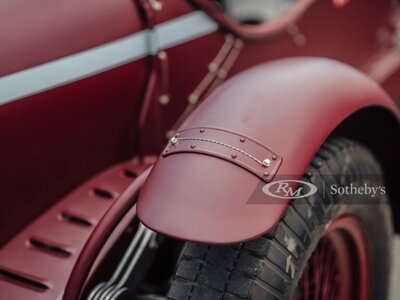
What I'm aiming for
Alfa-Romeo-8C-2300-Monza-1932-asta-9-768x576.jpgAlfa-Romeo-8C-2300-Monza-1932-asta-3-768x576.jpg

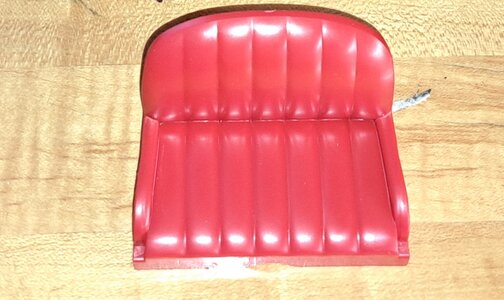
What the kit provides which is kinda boring. People will usually just paint it black
kit seatjpg.jpg

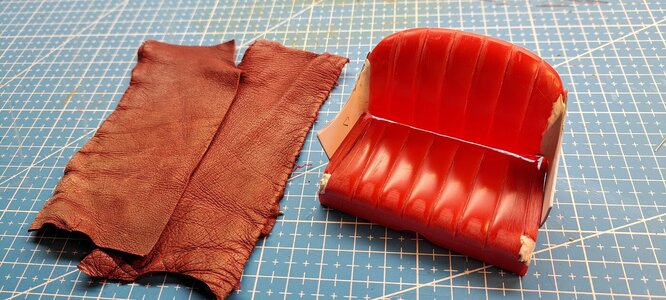
What I started along with the leather I'll be using. Once stretched and glued, the creases should disappear. The photo doesn't really show it but the leather is pretty worned, a bit like on the photo of the ref car shown above
20221226_203357.jpg

more to come...
 
First off, best wishes to everyone. May the coming year bring you joy, happiness and many projets!

So, all 5 wheels are done and I'm pretty happy with the results.
View attachment 347802


I started the frame assy today, pretty much straight out of the box but a few detail add-ons will be made along the way
View attachment 347803View attachment 347804

Don't now why but I had an urge to start the seat. Maybe it's because my wife gave me her old red leather glove (she got new ones for christmas) and red leather seemed just right for the seat covering.

What I'm aiming for
View attachment 347805View attachment 347806

What the kit provides which is kinda boring. People will usually just paint it black
View attachment 347808

What I started along with the leather I'll be using. Once stretched and glued, the creases should disappear. The photo doesn't really show it but the leather is pretty worned, a bit like on the photo of the ref car shown above
View attachment 347809

more to come...
A beautiful set if wheels, François. Well done! Looking forwards to the covering of the seat.
Regards, Peter
 
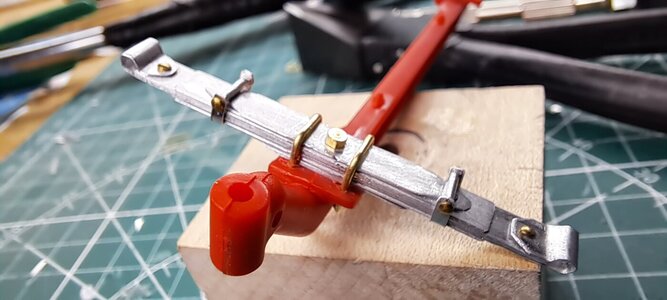
I started on the modification of the leaf springs today. I know I said I would replace the kit's plastic leaf with brass but I went with aluminium because it's alot easier to work with and I have a large sheet of the stuff in a close to correct thickness.

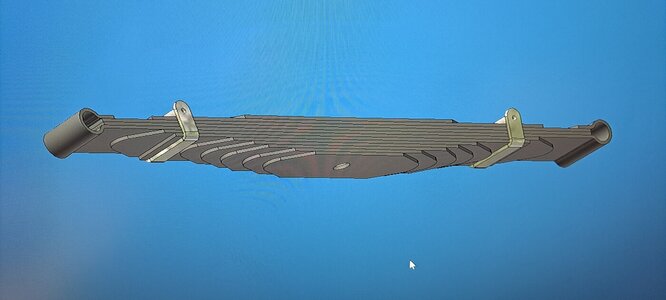
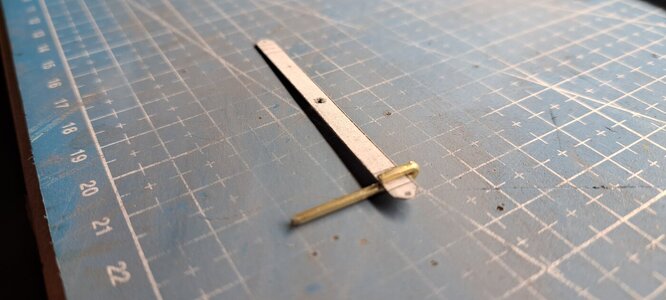
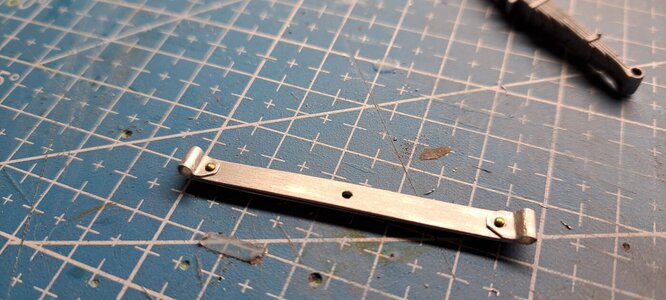
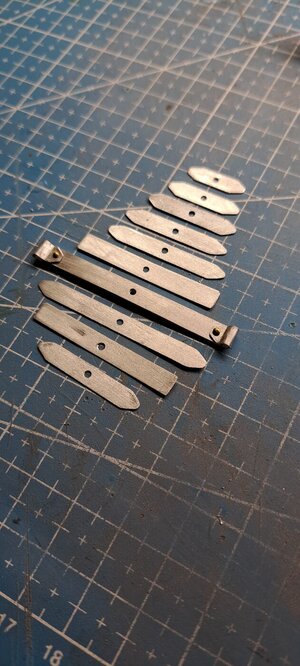
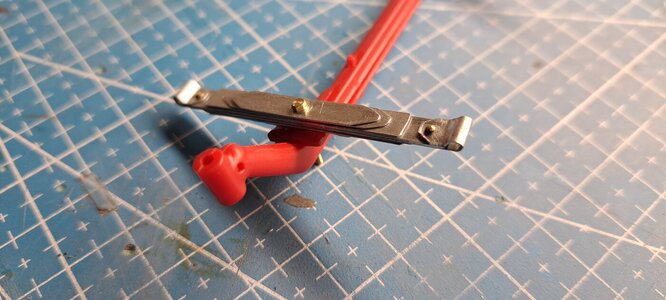
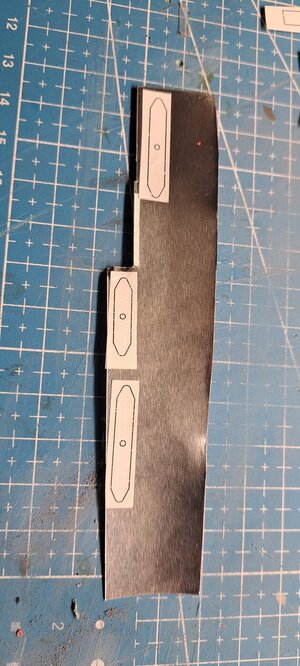
First thing was to 3d model it and print all the different parts on sticky backed paper. I then applied the templates on the aluminium sheet so I could drill, cut and file/sand the parts to shape. Next came the forming of the pivot points using a small bending tool I made. And finally the test fitting on the front axel. Still a few details to finish like the spring clamps. I made one but I don't really like it. Still another leaf spring to make for the front and 2 for the rear. I'll paint everything before final assy. Here are a few pics.

3d model20221228_165307.jpg

Template on aluminium sheet 20221228_174208.jpg

Forming of pivot points 20221228_195232.jpg

Pivot points done and riveted20221228_202446.jpg

All parts done and ready for test fit20221228_203113.jpg
Test fit on front axel20221228_204213.jpg
 
Thank you Walterone, beeing a Triumph Tr6 owner myself, I can certainly relate to the fun and trill of riding in an old car and never beeing sure that you'll get home!

I've completed the test fitting of the first spring set. Everything will be cleaned up at final assy.20221229_083611.jpg

The aftermath of doing the spring set20221229_083642.jpg
 
Back
Top