HMS Enterprize 1/96 by Modelship Dockyard

Progress is slow, but steady.

20240116_231812.jpg

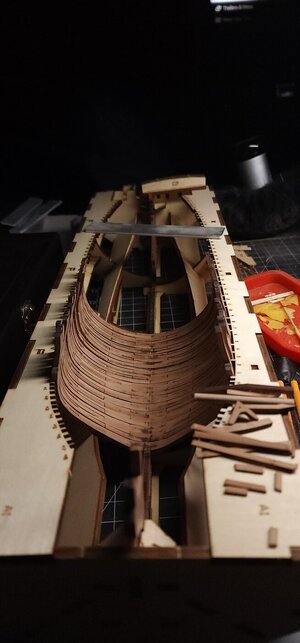
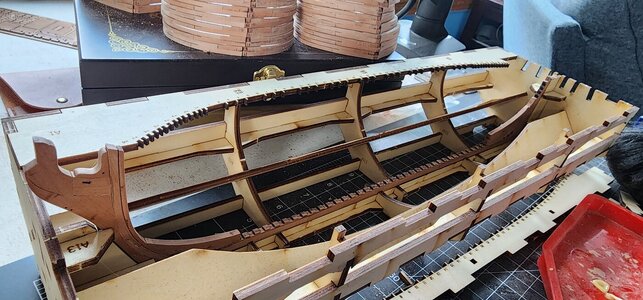
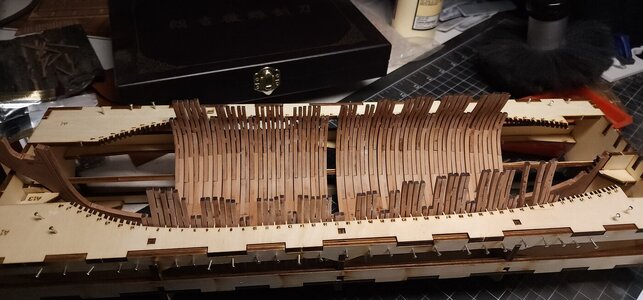
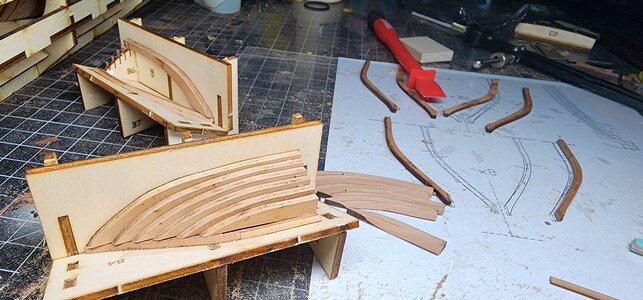
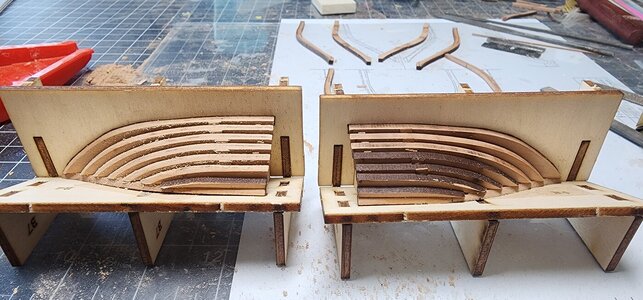
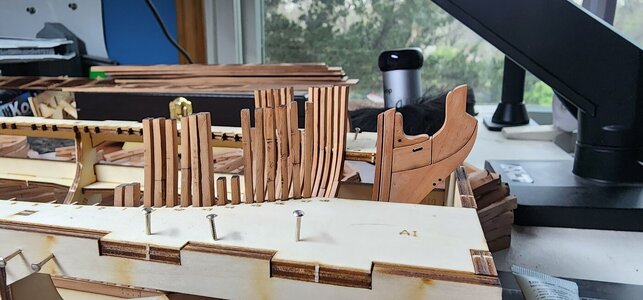
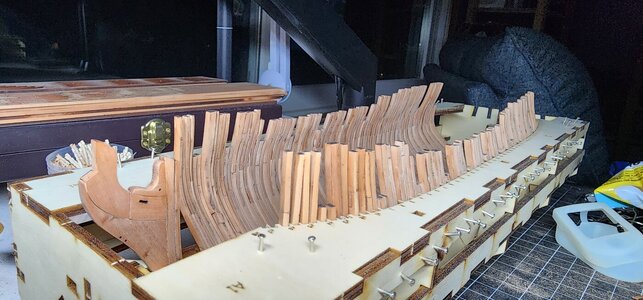
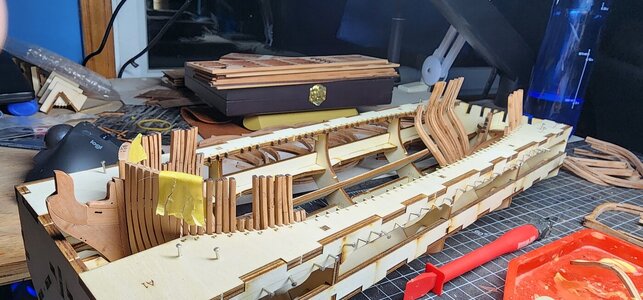
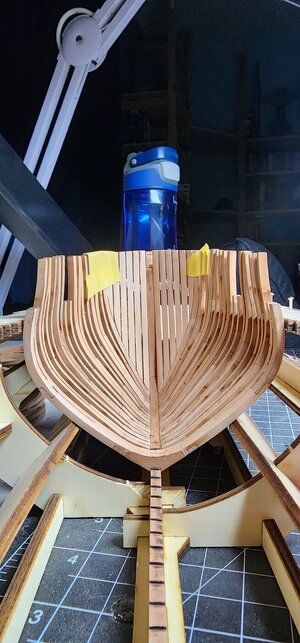
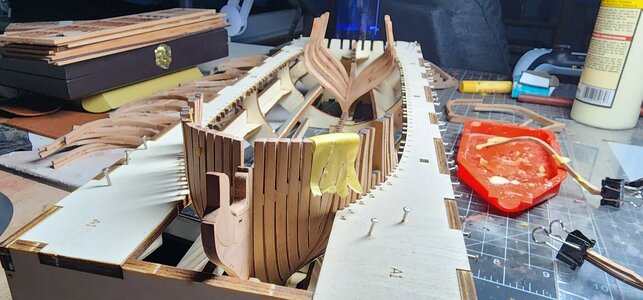
Just past half way with rib 19 of 37. The shape looks pretty good considering the ribs aren't being held in place, this is just them sitting on the keel. Overall ribs seem to be the right height and match up well on both sides.

20240116_231826.jpg

So far shaping all of the ribs with a variety of files. Will go back later and sand them with various levels of grit, probably a combination of paper and sanding sticks.
 
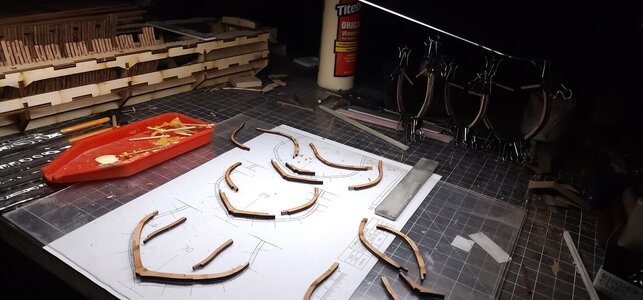
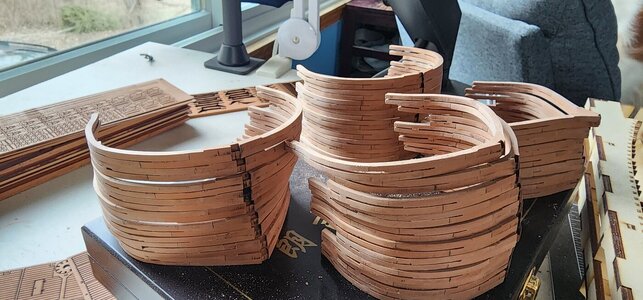
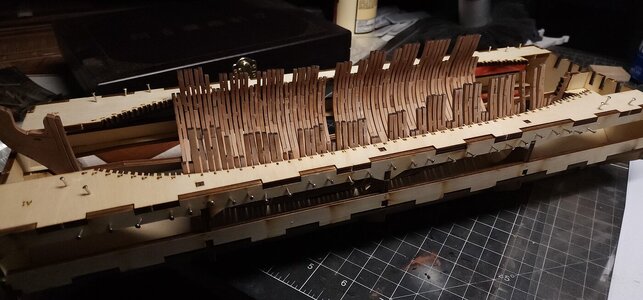
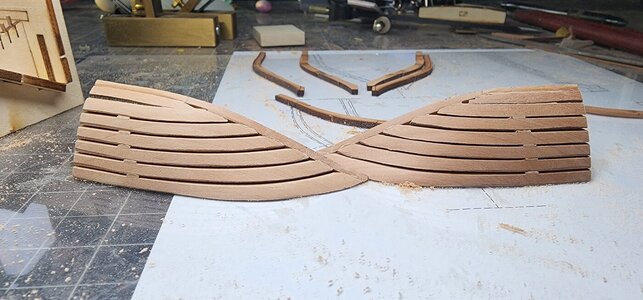
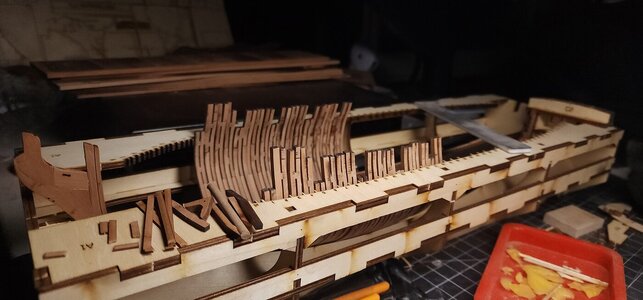
Talk about a long process. I completed assembly of all the full ribs. Then removed them all sanded them down, using a variety of files, tiny planers, and sanding sticks.

20240211_095416.jpg
Also took the opportunity to clean up the keel, had some char still left to remove.

20240211_095424.jpg


I will say I made the mistake of not marking the ribs with their numbers before removing them. That definitely made it more difficult when putting them back in.

20240211_233009.jpg
20240211_232953.jpg

Had an issue with one full rib #15. All the other ribs seem to fit in place after some searching and comparing them to their profiles. But #15 didn't want to work at all. Eventually I accidentally broke it in half and the broken pieces slid right into place. So strange.

I also broke several top portions of the ribs. It was really annoying. They're so thin they easily break if they get caught on something, like putting the ribs in and out of the frame.

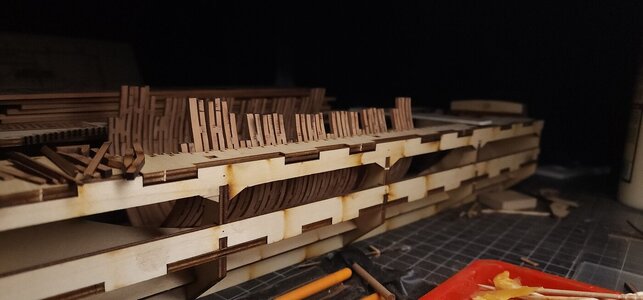
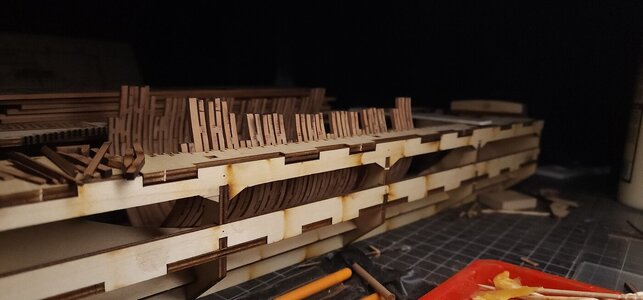
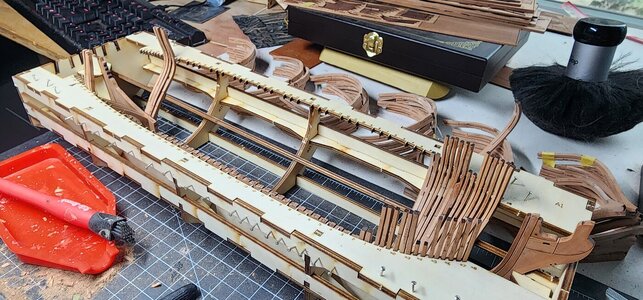
I also added nails to the sides so I can use them to anchor some tiny rubber bands I hope to use to pull the ribs taught with the framing jig. This should hold them in place while I glue the additional support pieces in between the ribs.

I don't typically work in this scale and I am reminded as to why, I tend to break pieces often. At least this portion is almost done and I'll move on to the cant frames, which are already glued and just need to be shaped.
 
Good going on the frames - the hull is taking shape very nicely. For sure a POF build in 1:96 is a challenge, but when completed will make for an impressive display - precisely because of the smaller scale. So, I guess it's a bit of what we gain on the swings we lose on the roundabouts! :)
 
small scale but it is really looking great - but I can imagine that in scale 1:96 everything is half so thick like on my project - the big advantage with wood - you can repair it easily with some glue or scratch parts
Very good job - you are on a very good way
 
Things have been moving a little slowly but progress has been made.

20240122_231904.jpg

All of the full main ribs are complete. Sanded down a little more and closer to their final form. I moved on to the half ribs of the bow and used the template to make the bow pieces.

20240404_220216.jpg

20240406_130517.jpg

20240406_191158.jpg

The jig is really useful. You use some spacers and things fit together nicely. I ended up with a little bit of a gap at the top of the pieces as you can see but those gaps will disappear once the planking is installed.

20240410_184836.jpg

Everything at the bow has been glued in place. Working on building and shaping the stern ribs before gluing those in. Will also wait to do the final shaping and sanding until all the ribs are glued and the support pieces are installed. But so far the shape is looking correct.

20240410_184842.jpg

20240404_220226.jpg
 
Hello!

It has been a long time. I have yet to make any progress on my L'Egyptaine, I just don't have the time currently to sit down and do a full scratch build. So I was extremely excited when I saw this little kit announced. I immediately pre-ordered it and it arrived about a week ago. I'm getting started right away!

One thing I will be altering is I will be using plates from Shipyard Models plans to scratch build the rest of the ship that doesn't come with the kit. Which from I understand is only going to be the masting and rigging.

It was extremely difficult to find these plans in the states and ultimately was able to order them from a small shop in the UK.

View attachment 415839

I've already got them scanned in as they will need resizing. I've never seen plates like this before where different sections are in different scales. And interestingly these plans don't come with any ribs despite having 36 plates included. That's alright though because the kit comes with a full account of all ribs.

View attachment 415840

After an inventory only one piece broke, disappointing of course but impressive none the less.

View attachment 415841

View attachment 415842

The plans are nice enough. I didn't realize the instructions are located on the website, you have to download them separately, the PDF booklet is over 150 pages long. The detailing looks like it might be a little sparse on the instructions but we'll see. I was able to figure out the platform after a few minutes.

View attachment 415843

I ordered the pearwood version, everything looks great out of the box.

View attachment 415844

I'm not sure how I feel about so much photoetch in a wooden boat kit, but I imagine it makes things much easier. I'm sure once the sheet is cleaned, the gold removed, and the parts tarnished black they'll look great.

View attachment 415845

The platform parts came out fairly easy, the laser cutting is smooth and everything fits together surprisingly well.

View attachment 415846

View attachment 415847

View attachment 415848

I'm not sure if I did something wrong but my top pieces didn't fit right if the writing was face up. So all of the nice numbering is hidden underneath. I followed the diagrams but I'm guessing that one of the first diagrams is wrong. The cradle pieces are backwards I think. I could take it all apart and fix it, which I might do. The whole thing sits together nicely but will likely need to be glued together. The instructions recommend tiny nails, but I think I'll stick with superglue.

Anyway, that is complete and next time we'll start breaking out the pearwood. Starting with the keel.
Hallo @Gventura
we wish you all the BEST and a HAPPY BIRTHDAY
Birthday-Cake
Enjoy your special day
 
Many, many mistakes have been made so far. But progress is being made none the less.

20240529_000010.jpg

All the frames have been shaped and are being glued. One of the mistakes made was not gluing in a particular order. At the bow I didn't start by gluing the foremost cant frames and working astern. Mostly because I thought it would be better to work from the first full frame forward. This resulted in some slightly bigger spaces between the last single cant frame and the foremost frames.

20240528_235934.jpg

It's not super noticable on the photos but it may cause a problem when it comes to sanding because the last cant frames don't have much to hang on to and gluing in a space may be kind of tough given how big the gap is.

20240529_000001.jpg

In the stern I've run into the same issue. I glued in the first full frame and worked astern. The problem was that cant frames Y1 required a lot of shaping so I skipped those and glued as I finished them. Turns out that not enough space was left between the full frame and Y2, so my Y1 frames are now too thick to fit. Working on slimming those down. Of course the way I found out they were too thick was by completely destroying one of my Y1 frames.

I'm trying to get frames glued so I can order replacements of the broken ones. I'd like to only have to order replacements once so I'm trying to get things installed first.
 
I will say I made the mistake of not marking the ribs with their numbers before removing them.
That's definitely my worst nightmare... . I sometimes dream of owning a 12 cylinders engine car came with her spark plug cables disconnected and no firing order scheme ... :D. While working on my Hoy, I just feared that numbers drawn by pencil on the frames could fade... . Congrats for your cold bloodied temper.
Regards!
 
Many, many mistakes have been made so far. But progress is being made none the less.

View attachment 450059

All the frames have been shaped and are being glued. One of the mistakes made was not gluing in a particular order. At the bow I didn't start by gluing the foremost cant frames and working astern. Mostly because I thought it would be better to work from the first full frame forward. This resulted in some slightly bigger spaces between the last single cant frame and the foremost frames.

View attachment 450058

It's not super noticable on the photos but it may cause a problem when it comes to sanding because the last cant frames don't have much to hang on to and gluing in a space may be kind of tough given how big the gap is.

View attachment 450060

In the stern I've run into the same issue. I glued in the first full frame and worked astern. The problem was that cant frames Y1 required a lot of shaping so I skipped those and glued as I finished them. Turns out that not enough space was left between the full frame and Y2, so my Y1 frames are now too thick to fit. Working on slimming those down. Of course the way I found out they were too thick was by completely destroying one of my Y1 frames.

I'm trying to get frames glued so I can order replacements of the broken ones. I'd like to only have to order replacements once so I'm trying to get things installed first.
UGH ! This is why many people trial fit the frames before they start using glue. What did you use to glue them with? Would it be easier to remove them and fix them rather than order all new? PVA can be un-glued with a heat gun pretty easy.

Regardless, she is looking great !

Jeff
 
Back
Top