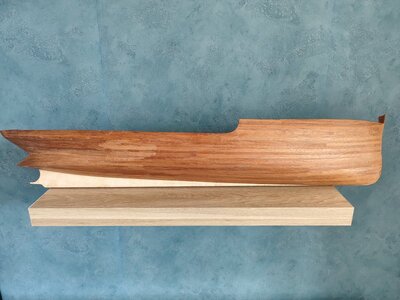
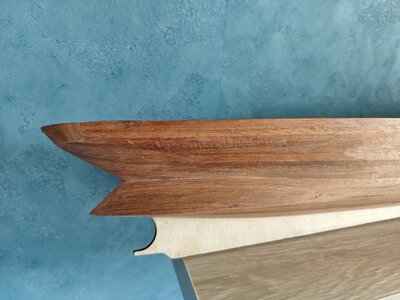
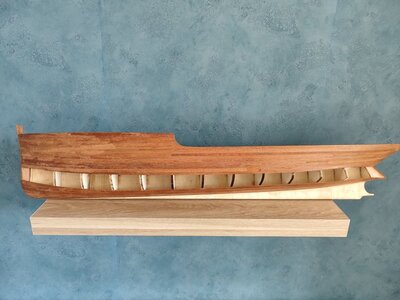
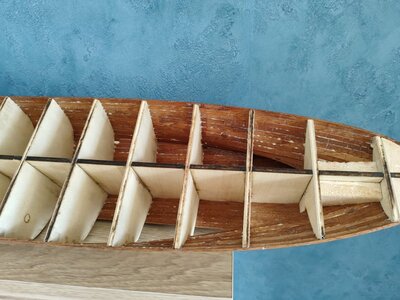
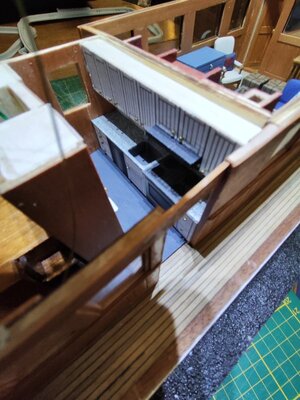
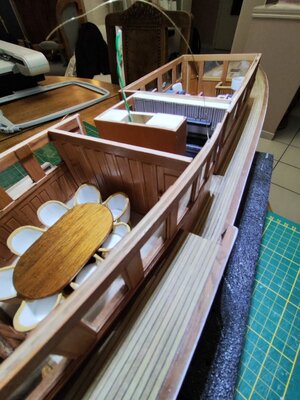
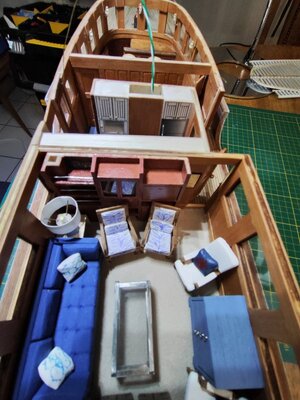
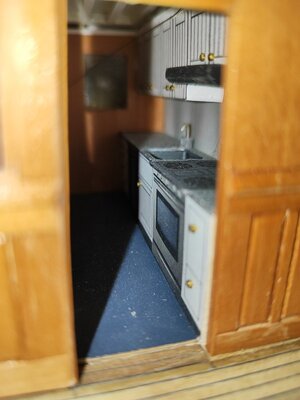
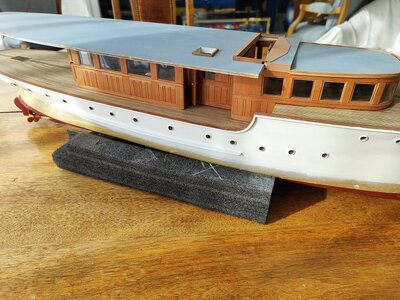
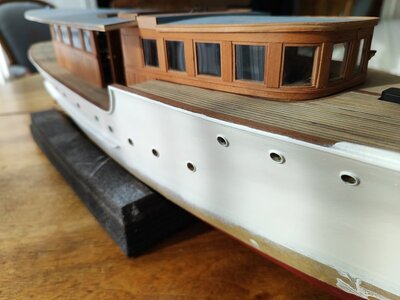
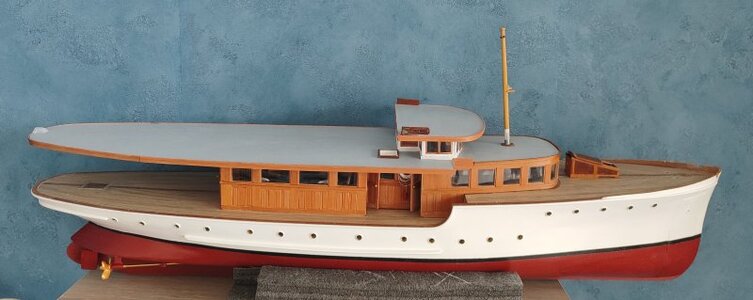
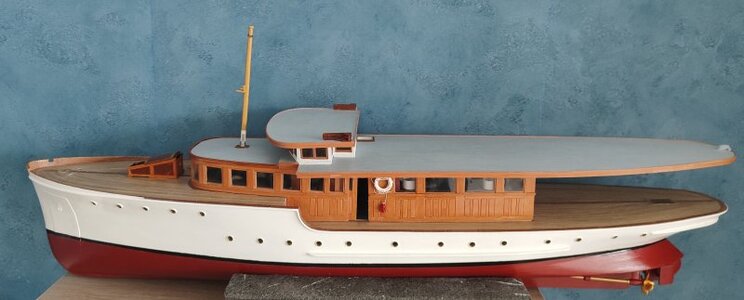
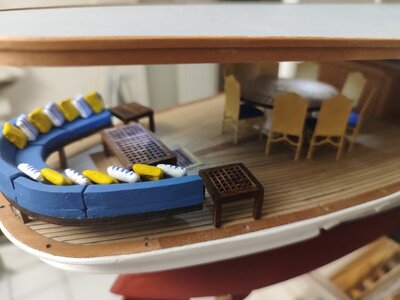
Yacht Olympus - 1929 (scratch 1/33°) [COMPLETED BUILD]

Joined
Apr 13, 2021
Messages
79
Points
143

Location
Grenoble, France
Hi all,
After a summer break following the construction of the Benjamin W. Latham, I am now embarking on a somewhat crazy project: The complete scratch construction of a 1929 American yacht, the Olympus.
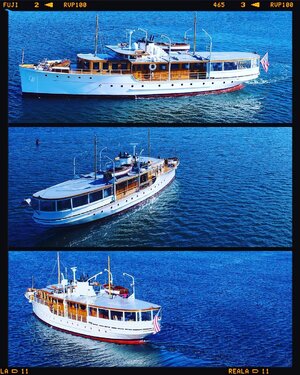
44231993_10155724218020069_5326926806266150912_n.jpg

Why the Olympus you ask me?
First of all because I wanted to build something other than old rigs without it being a too recent boat. Then for a question of size and scale. To be able to produce details I wanted to opt for 1:33 but without the result being too large (less than a meter, for dark reasons of family cohesion)
Finally, because I simply like this yacht.
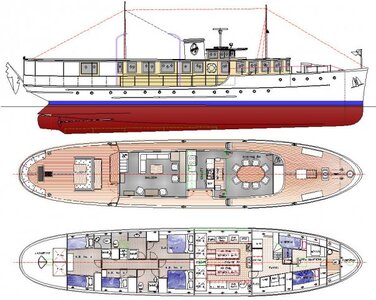
First obstacle and not the least, there is no plan of this boat. His former captain has started a profile and top shot but there is no shot of the couples.
1918886_203385455068_3682539_n.jpg
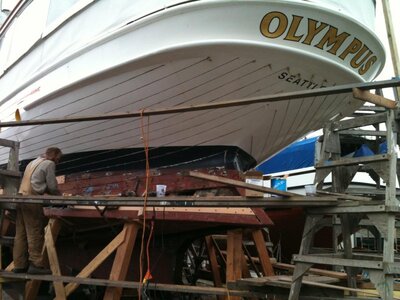
This yacht has long belonged to an owner from Seattle and was recently sold to a New York shipowner who offers private cruises. The name has not changed, only its home port is now New York.

Note that this yacht was initially called the Junaluska. Junaluska is now the name of the Olympus Annex.
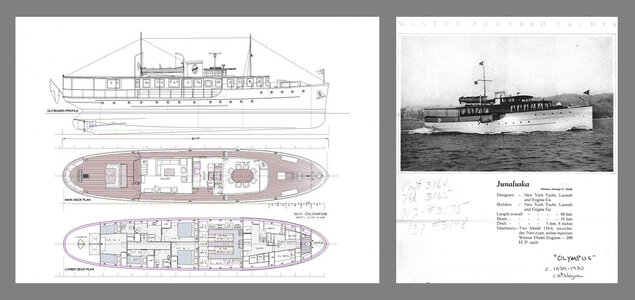
image-asset.jpg

There is a fairly extensive iconography of this yacht on Facebook in particular and a 1:12 model has already been produced by Fred Heim (but it measures more than 2 meters long).

But enough of the chatter, it’s time to start producing.
I struggled to model the hull and I got help from a Cinéma4D expert (thanks Alexis!). Here is the modeling carried out based on the plan above and various photos of the yacht in care:
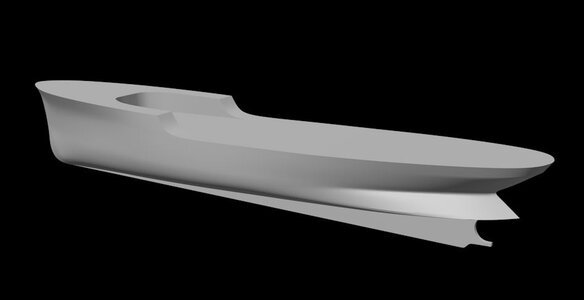
Olympus001.jpg

From this model we quickly obtain the structure of the couples using the “Slicer for Fusion360” software:
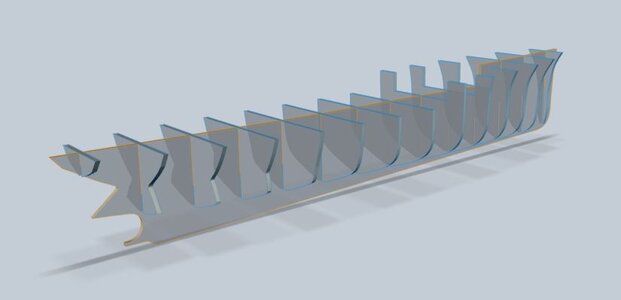
Olympus002.jpg

Then simply export to PDF format and everything is almost ready for laser cutting:
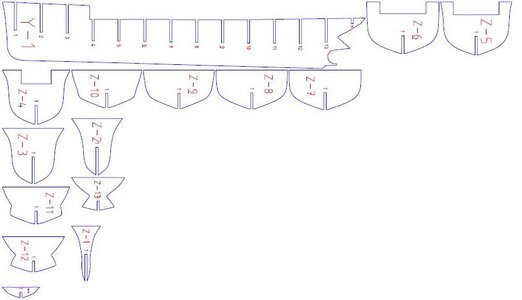
Olympus003.jpg

Laser cutting on TROTEC SP500:

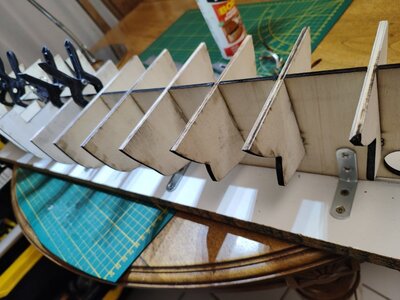
Once the couples have been cut out, all that remains is to assemble them on a basic site. I found in my box of gadgets some small Venetian blind brackets which are perfect for holding the frames at 90° while the glue dries:
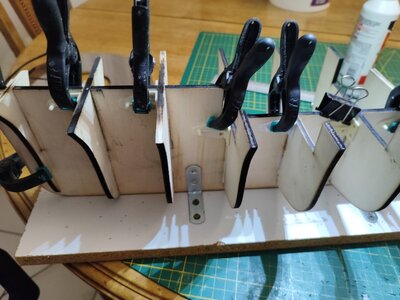
Olympus004.jpg

Olympus005.jpg

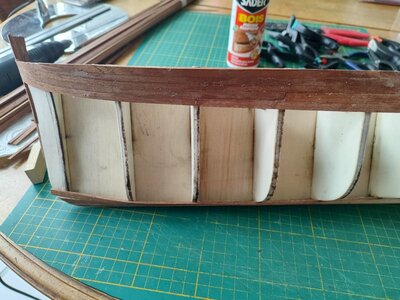
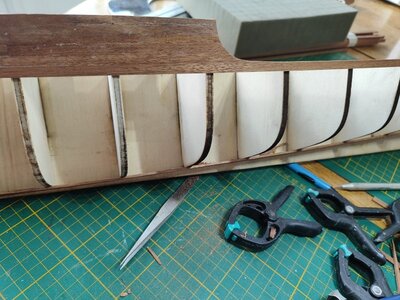
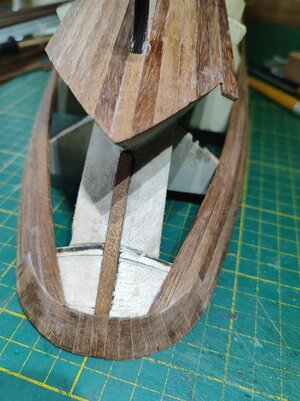
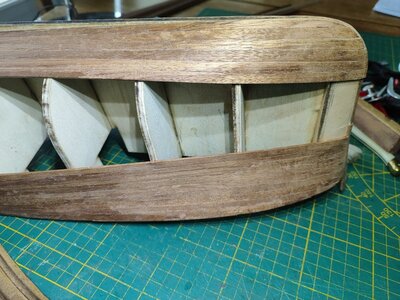
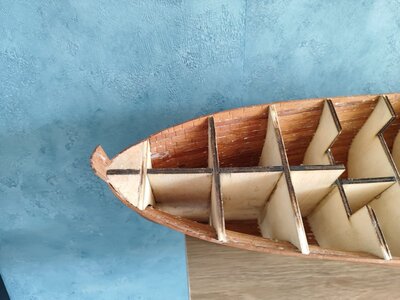
Here are some photos of the start of the planking. I use 6x2mm mahogany sticks (more precisely sapele). It's quite stiff as sticks and for the curves I use the bending pliers.
Where necessary I created balsa apostles:
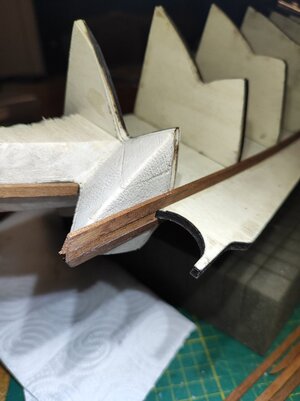
Olympus009.jpg

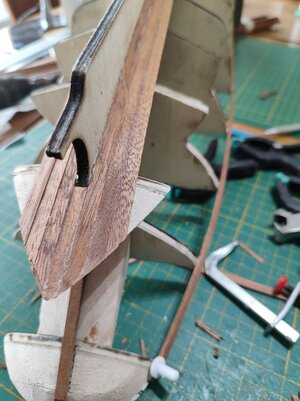
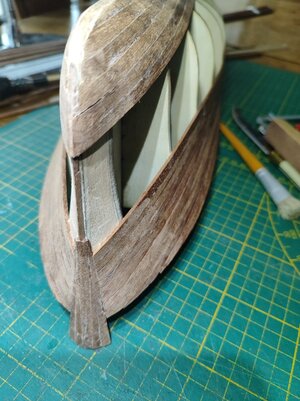
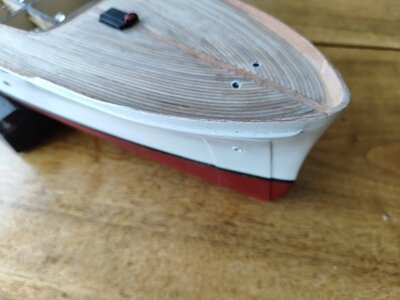
The bow is made up of vertical sticks:
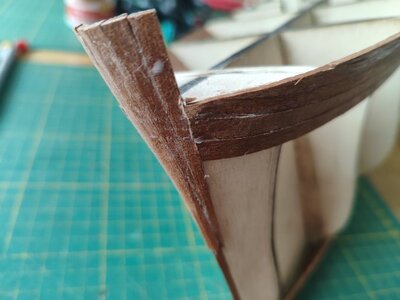
Olympus011.jpg

Olympus010.jpg

Olympus014.jpg

The stern of the Olympus is quite special, that’s what gives it its charm
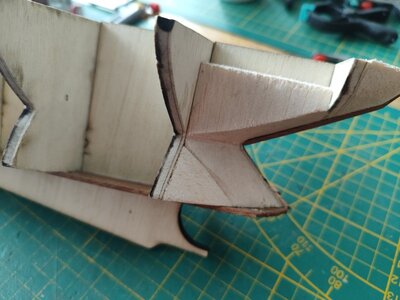
Olympus012.jpg

Olympus015.jpg

At the same time I tackled the windlass. Here is the actual windlass:
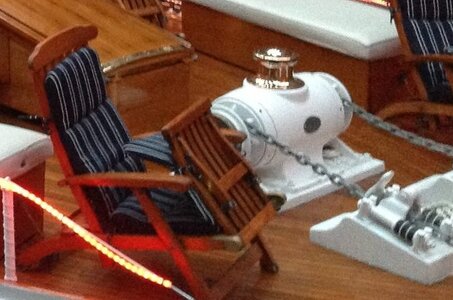
Olympus008.jpg

I modeled this windlass from the few photos I have
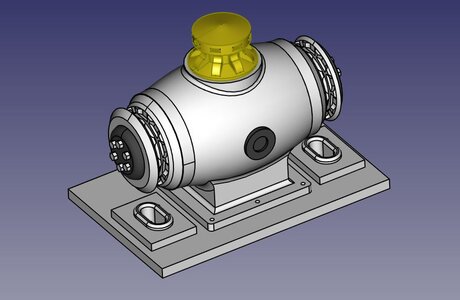
Olympus006.jpg

And I printed the parts in 3D (PLA on Prusa printer):
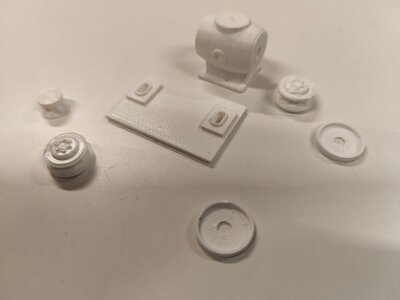
Olympus007.jpg

All that remains is to assemble and paint them. I haven't found any other solution to make this windlass. The base plate measures 2x3cm.
That's all for today.

Best regards
Fred
 
I love your model already - and will love your log in the same way - with highest interest I will folllow your progress on this interesting project
 
Hi all,
The planking of the starboard side is now completed:
Olympus019.jpg

The very specific stern was not easy to build:
Olympus020.jpg

The port side is still under construction:
Olympus021.jpg

The inside of the hull is not very nice but it will be invisible in the end:
Olympus022.jpg

Olympus023.jpg

That's all folks...

Best regards,
Fred
 
Hi all,
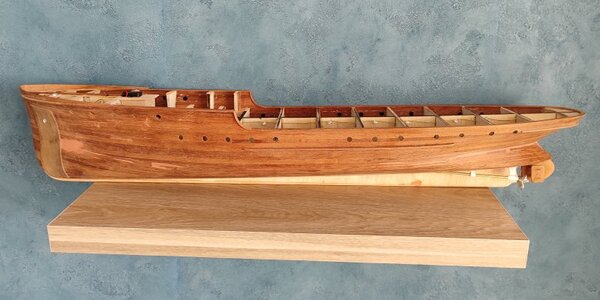
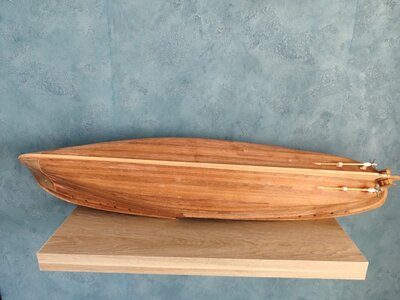
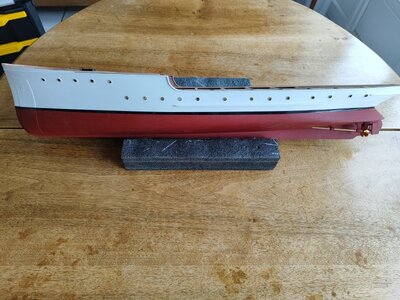
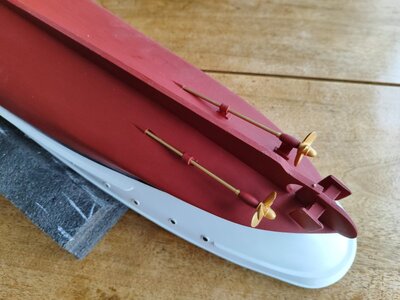
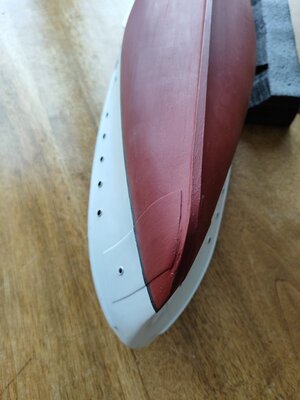
The hull is now completed:
Olympus032.jpg

Olympus033.jpg
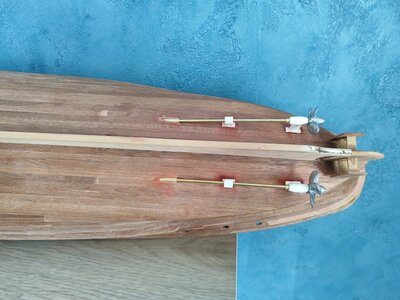
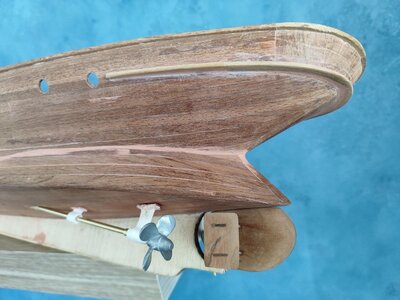
The propeller chairs were 3D printed in PLA. The shafts are made of 3mm brass rod and the entries in the hull are made of 4mm tube:
Olympus034.jpg

Olympus035.jpg

Olympus036.jpg

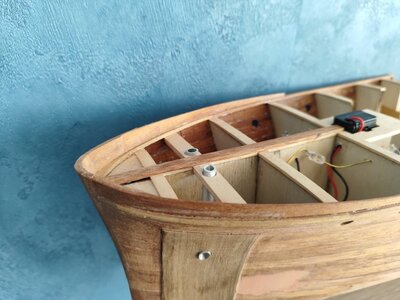
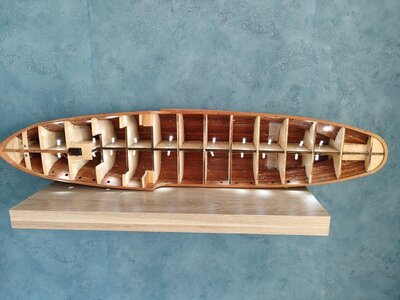
I installed LEDs inside so that light could come through the portholes
Olympus038.jpg

The next step is painting the hull.

Best regards,
Fred
 
Hi all,
Since my last post I have made quite a bit of progress on my Olympus. I did have some problems with the paint, especially the glossy white, but I think I will be able to correct the few remaining defects.
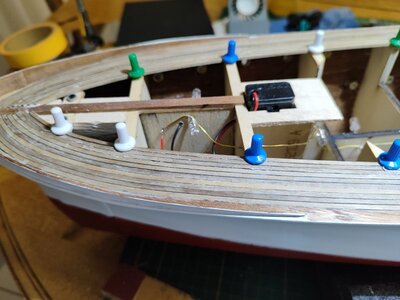
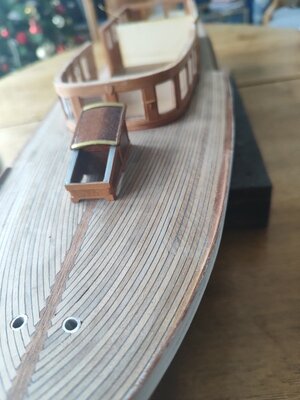
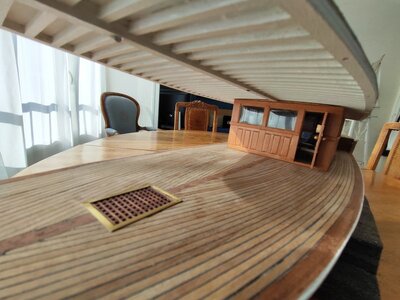
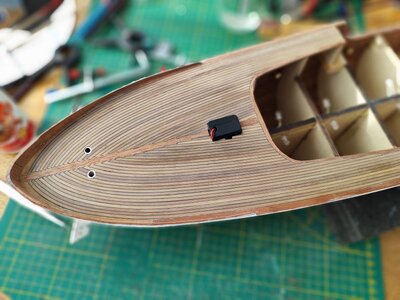
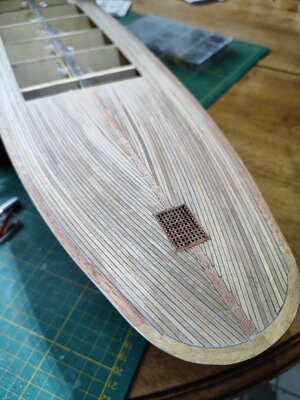
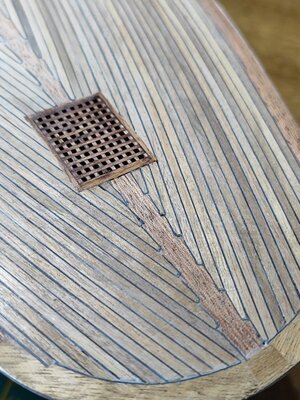
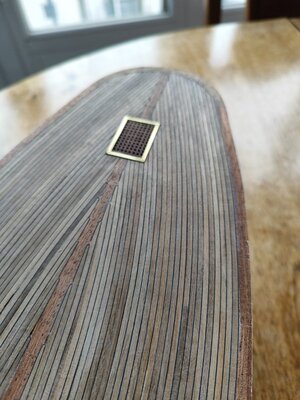
I started planking the walnut deck. The front part is almost finished. There's still some sanding to do.

Here are the photos of the work:

Olympus045.jpg

Olympus046.jpg

Olympus055.jpg

Olympus056.jpg

Olympus057.jpg

Olympus058.jpg

Olympus059.jpg

Olympus060.jpg

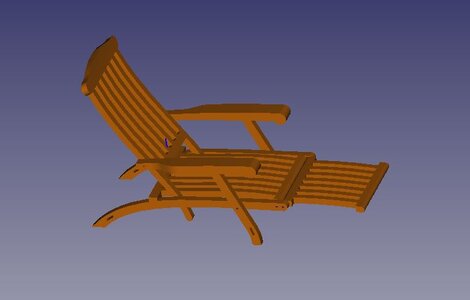
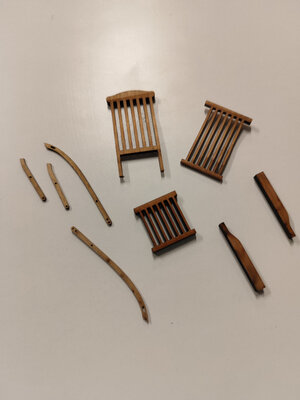
At the same time, I also worked on the deck chairs which will be installed at the bow of the boat. I first modeled them in 3D then I laser cut the different pieces from cherry wood.

Capture.jpg

Olympus052.jpg

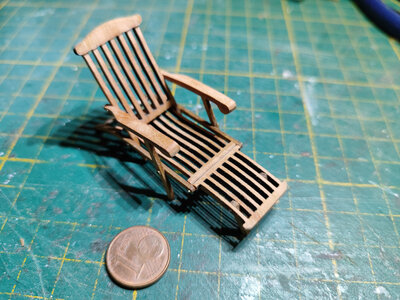
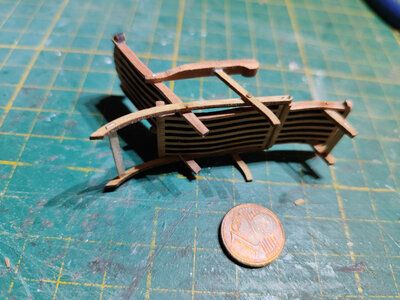
A good sanding was necessary to maintain the different curves and I also added the different axes by hand

Olympus053.jpg

Olympus054.jpg

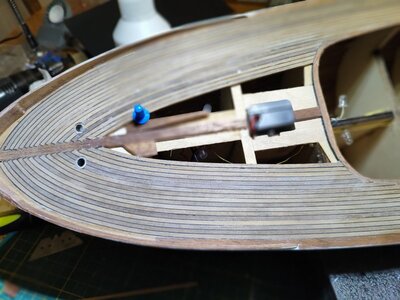
I've already cut out the other three. I still have to sand them and assemble them.

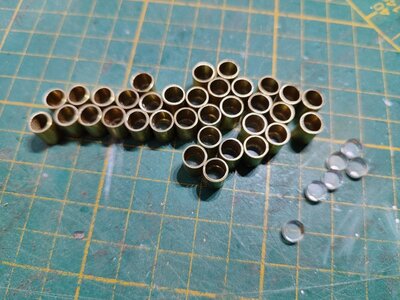
I also made the portholes from brass tube and plexiglass discs:
Olympus042.jpg

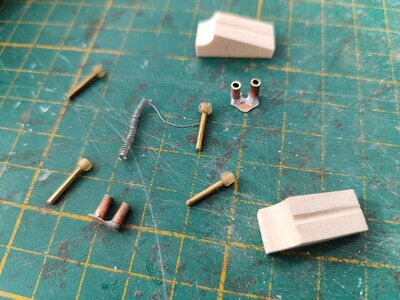
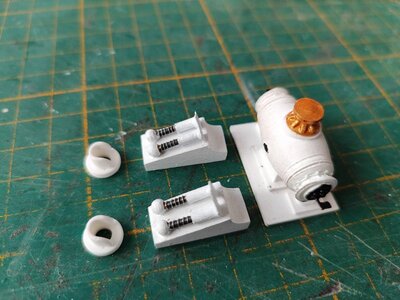
Finally, I modeled and 3D printed the deck hulls and manufactured the anchor chain blockers
Olympus043.jpg

Olympus044.jpg

That's all for now...
Brest regards
Fred
 
The details are amazing - great deck planking - a challenge to make
and this deck-chair -> WOW
 
Hello guys,
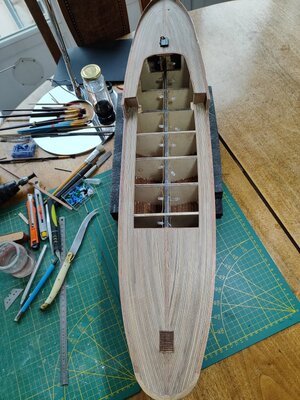
The deck is now complete.
Olympus061.jpg

Olympus062.jpg

Olympus063.jpg


Olympus065.jpg

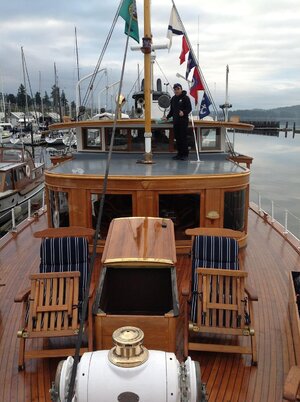
A view of the real boat :
aboat4.jpg
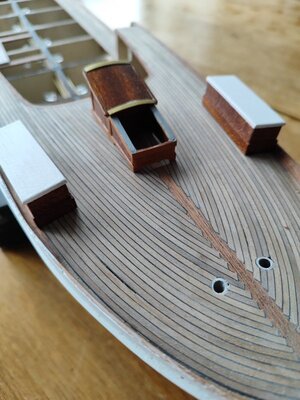
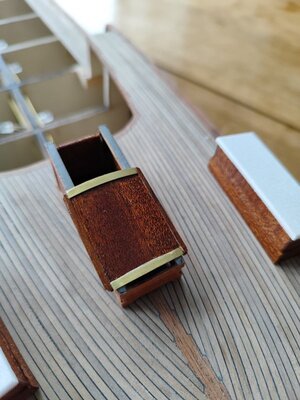
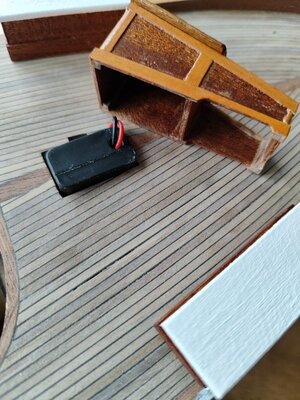
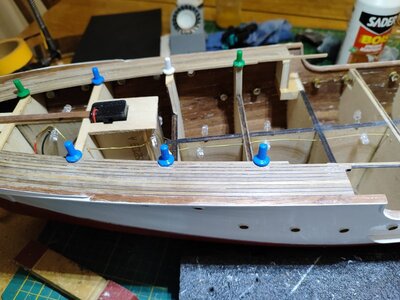
I also built the racks and the front roof. The roof cover slides. It will still remain removable to access the battery box.
Olympus066.jpg

Olympus067.jpg

Olympus069.jpg

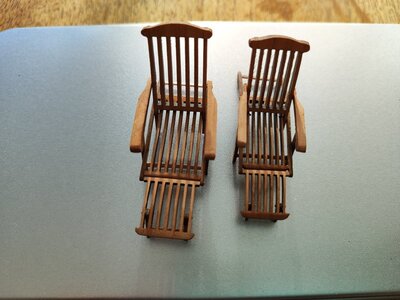
My lounge chairs were too big and I had to redo them, reducing them by about 20%. The photo below shows version 1 and final version 2.
Olympus072.jpg

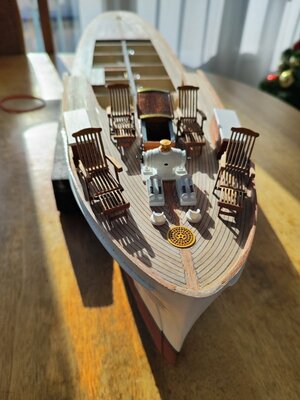
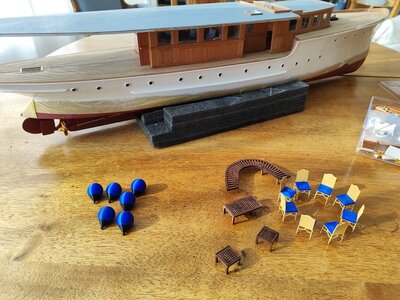
All the furniture and fittings are installed on the foredeck to get an idea of the final result.
The small grid is laser cut from gold decorative cardboard.
Olympus071.jpg

337264_10151038243300069_1685773302_o.jpg
That's all folks...

Best regards
Fred
 
This yacht reminds me of the movie "The Final Countdown" staring the USS Nimitz, about the nuclear powered carrier caught in time tunnel that brings the Nimitz back in history from 1970's to Dec 6/7th 1941, and they see Japanize Zero's shoot and sink a yacht with US Senator Samuel Chapman onboard, the day before the Pearl Harbor attack.
 
Hi all,

Construction has progressed since my last post. Here are the photos of the construction site:

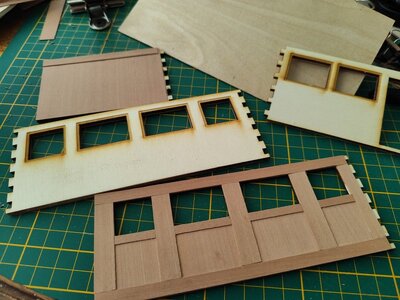
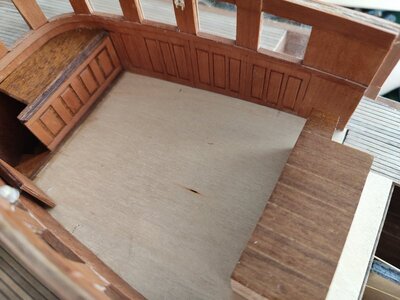
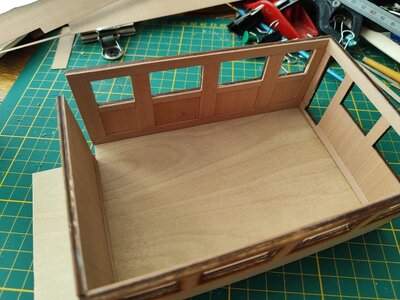
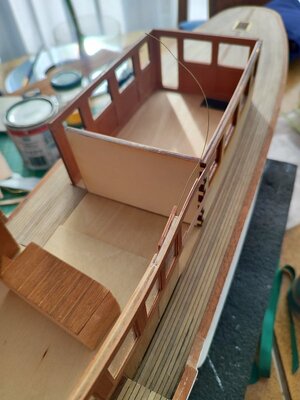
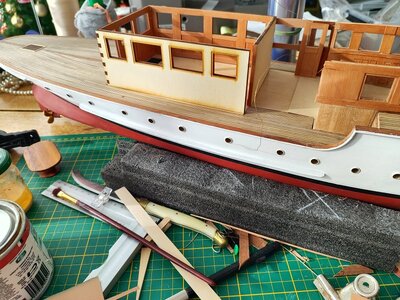
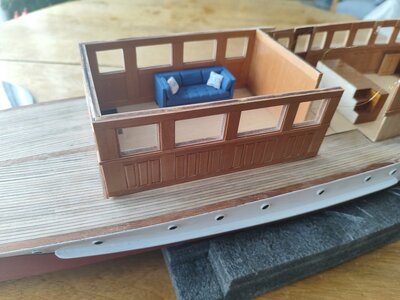
I modeled and laser cut the aft cabin containing the lounge
Olympus078.jpg

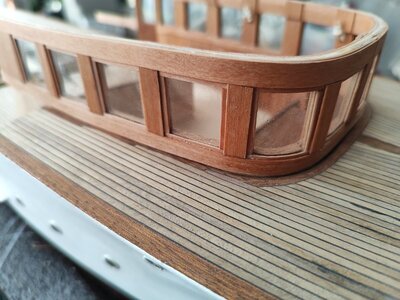
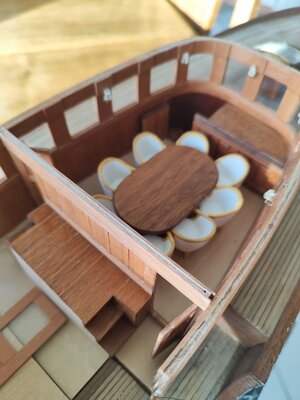
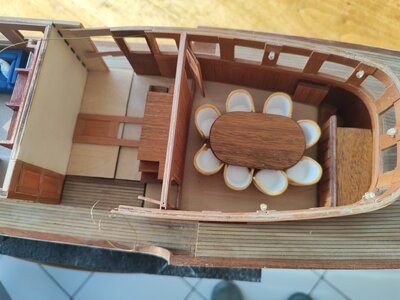
It was much faster than for the forward cabin (the dining room) which caused me a lot of problems because of its curves and its integration into the foredeck.
Olympus079.jpg

The close-up photos still show quite a few flaws :(.
Olympus081.jpg

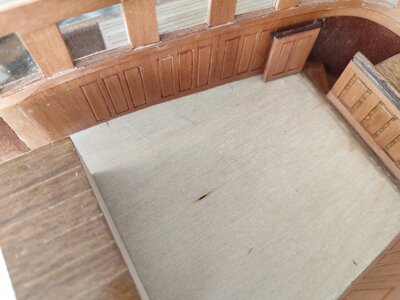
LEDs are integrated into the woodwork to represent the wall lights (we can't see them clearly in this photo)
Olympus080.jpg

Olympus082.jpg

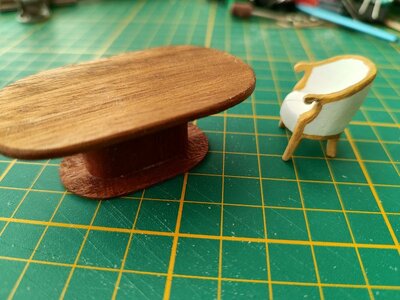
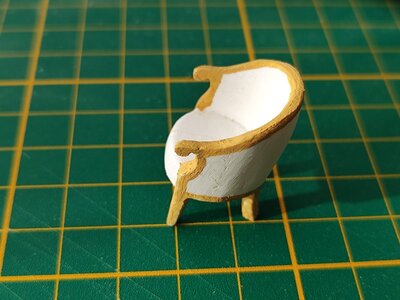
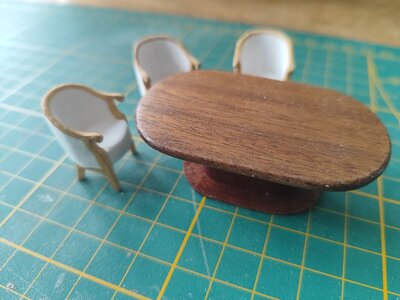
The dining room table and a first prototype of an art deco armchair:
Olympus083.jpg

The armchair is 3D printed. The cutting mat tiles measure 1cm on each side
Olympus084.jpg

Olympus085.jpg

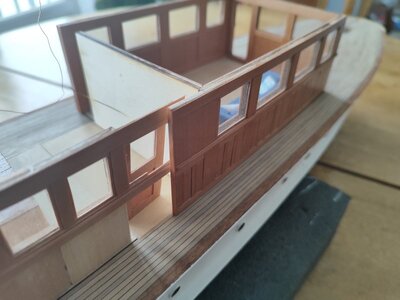
The superstructures are not yet glued:
Olympus086.jpg


That's all for now...

Best regards.
Fred
 
Last edited:
Hi all,
The manufacture of Olympus furniture continues...
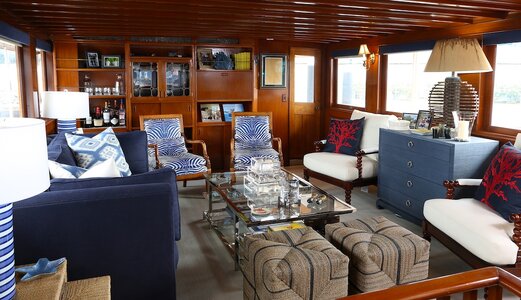
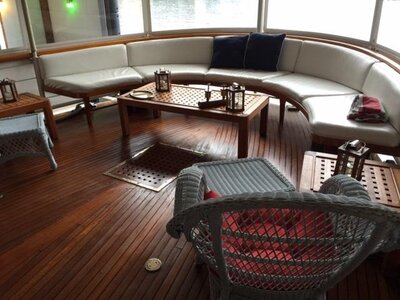
Here is the actual living room that I would like to reproduce:

W34A0792-B.jpg

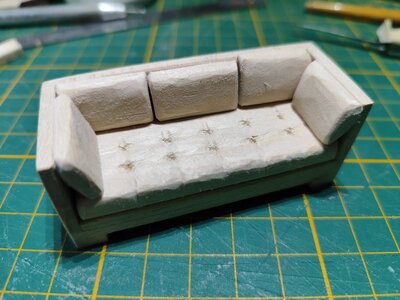
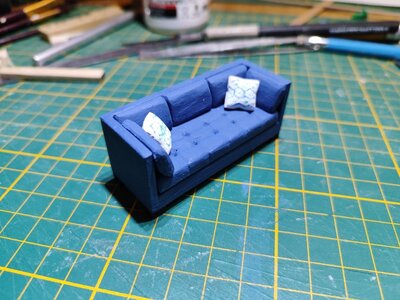
I started with the sofa (solid basswood ;) )
Olympus095.jpgOlympus096.jpg

Olympus091.jpg

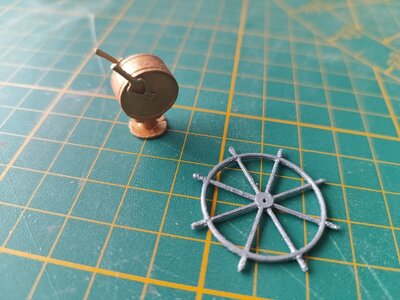
The engine order telegraph (Chadburn) is 3D printed. I then added the brass handles. The wheel is also 3D printed:
Olympus092.jpg

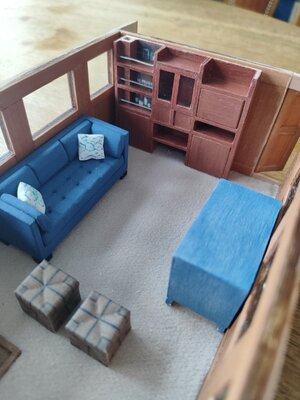
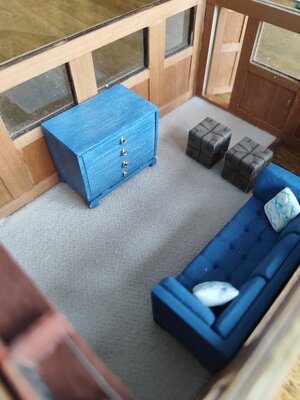
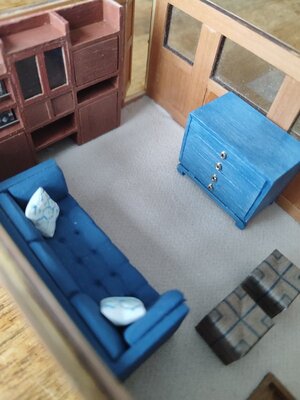
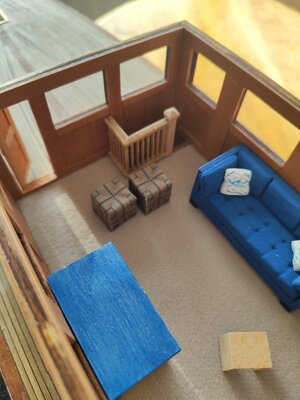
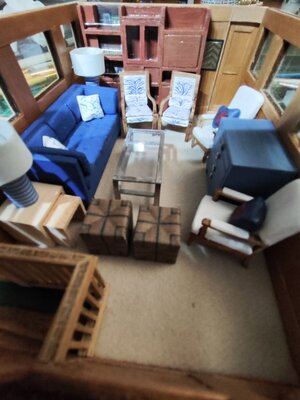
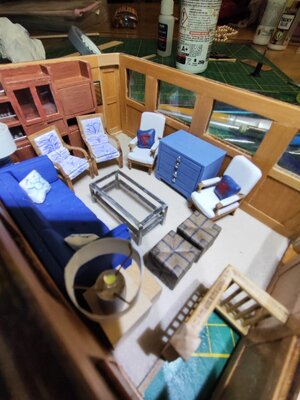
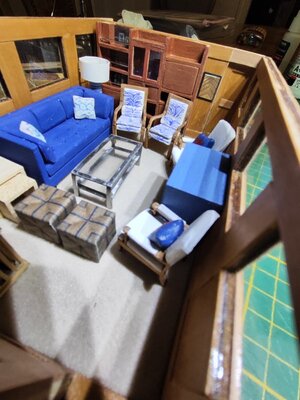
Afterwards, I laid the carpet, made the chest of drawers and the bookcase. The poufs are made of wood covered with printed paper with the texture taken from the photos
Olympus097.jpg

Olympus098.jpg

Olympus099.jpg

Olympus100.jpg

Lamps and all doors are functional
Olympus103.jpg

Olympus101.jpg

The space between the living room and the dining room will be occupied by the kitchen and the cockpit which remain to be built
Olympus102.jpg

Right now I feel more like I'm making a doll's house than an historic yacht :)

But I also did the exterior of the superstructures
Olympus087.jpg

Olympus090.jpg

Olympus089.jpg

Best regards
Fred
 
Hi all,
The manufacture of Olympus furniture continues...
Here is the actual living room that I would like to reproduce:

View attachment 421588

I started with the sofa (solid basswood ;) )
View attachment 421577View attachment 421578

View attachment 421579

The engine order telegraph (Chadburn) is 3D printed. I then added the brass handles. The wheel is also 3D printed:
View attachment 421580

Afterwards, I laid the carpet, made the chest of drawers and the bookcase. The poufs are made of wood covered with printed paper with the texture taken from the photos
View attachment 421581

View attachment 421582

View attachment 421583

View attachment 421584

Lamps and all doors are functional
View attachment 421585

View attachment 421586

The space between the living room and the dining room will be occupied by the kitchen and the cockpit which remain to be built
View attachment 421587

Right now I feel more like I'm making a doll's house than an historic yacht :)

But I also did the exterior of the superstructures
View attachment 421591

View attachment 421592

View attachment 421593

Best regards
Fred
Very nice ad-on’s with very nice details, Fred. And the deck looks great on that last picture!
Regards, Peter
 
I agree fully with the words by Peter - the deck planking is axtremely good work
Nice idea with the interior furniture - These are making the model more interesting
 
Bravo - it is looking very comfortable
"Service please!"
 
Hi all,
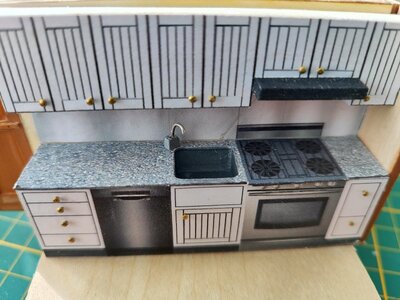
I continue building my Olympus. Here, the kitchen. I only found one photo of the real one and a few of Fred Heim. The fronts are printed on paper. I used photos of household appliances that I modified a little. The sink is 3D printed.
Olympus109.jpg

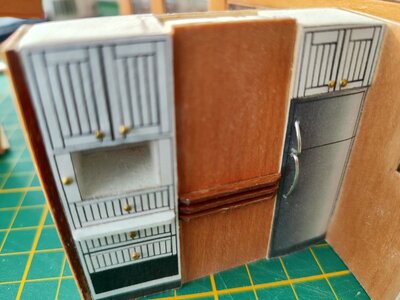
Next to the fridge there is a box which hides the technical ducts and the engine exhaust pipes towards the chimney.
Olympus110.jpg

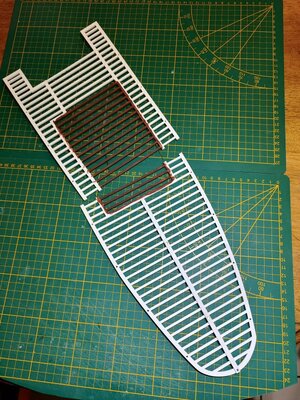
I modeled and laser cut the structure of the living room and aft deck ceiling.
Olympus111.jpg

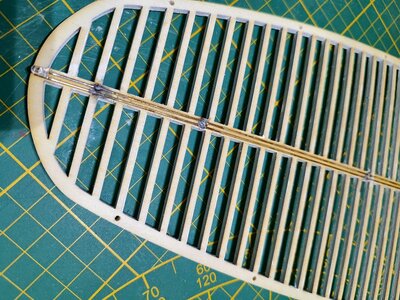
Grooves allow connections for the deck LEDs and rear position light to pass through
Olympus112.jpg

Olympus113.jpg

Olympus114.jpg

Olympus115.jpg

Olympus119.jpg

Olympus123.jpg

Olympus120.jpg

Olympus121.jpg

The start of the construction of the cockpit:
Olympus122.jpg

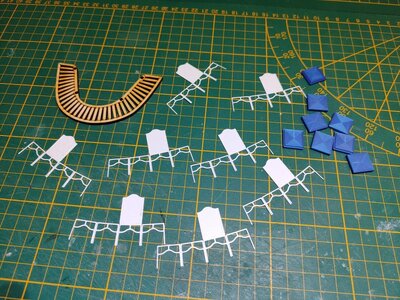
“Flat” 3D modeling and printing of the aft deck chairs.
The stern bench is laser cut
Olympus116.jpg

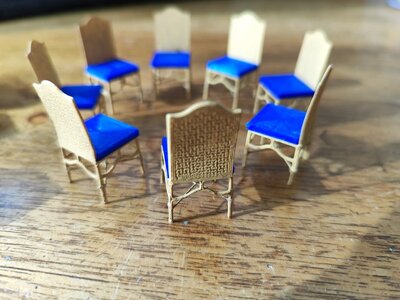
The chairs, once assembled and painted:
Olympus125.jpg

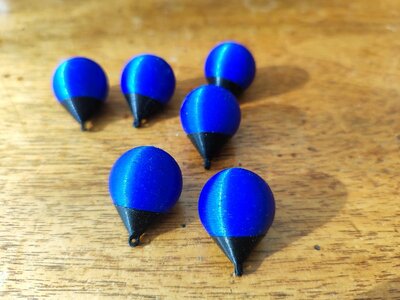
Fenders are also 3D printed
Olympus126.jpg

Olympus127.jpg

That's all folks for now...
See you soon.
Fred
 
Hi all,
A big bunch of photos today because I've made quite a bit of progress on the project

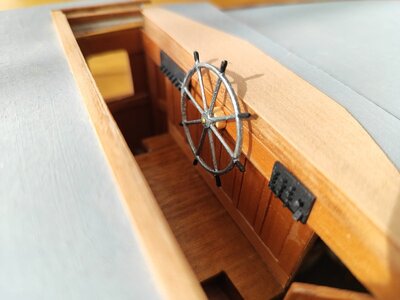
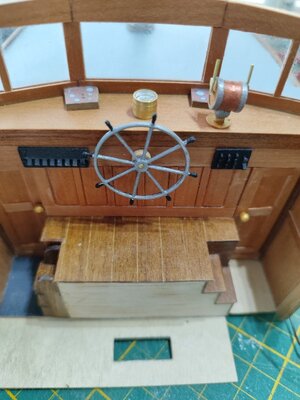
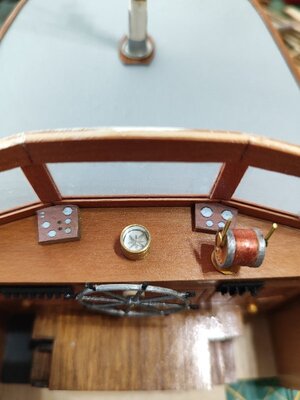
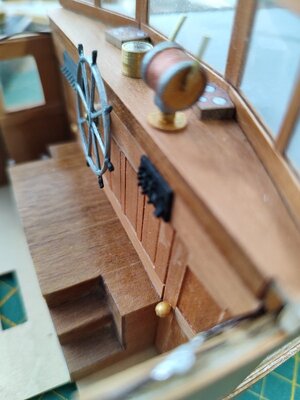
First of all, the cockpit under construction. The steering wheel and the Chadburn (which in this case must simply be the throttle levers) are 3D printed. The contactor panel on the left is made from leftover grating:
Olympus128.jpg

The dials come from photos of vintage boat dashboards that I formatted and printed. The compass is a piece of brass tube with a plexiglass window, leftover from my portholes:
Olympus129.jpg

Olympus130.jpg

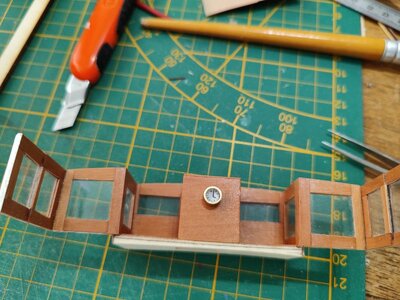
At the rear of the cockpit, there is a clock (in reality there are also two other dials but I left it out):
Olympus131.jpg

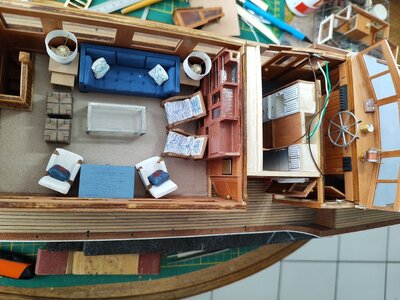
The last view of the interior before permanently fixing the roof :(:
Olympus132.jpg

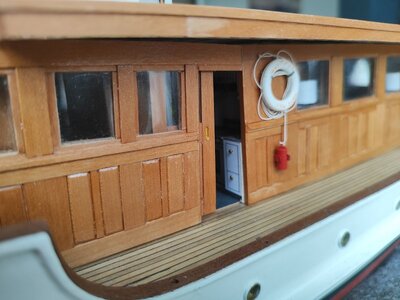
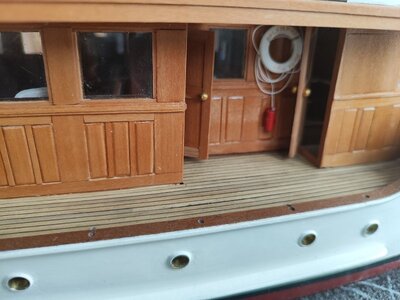
View of the starboard side entrance. On the right the door which leads to the cockpit and the dining room, on the left the door to the living room. All swing doors are functional. The lifebuoy is associated with an AIS beacon. I have already made the holes for the roof support posts and for the railing because once the roof is installed, the drill would not have gone through:
Olympus133.jpg

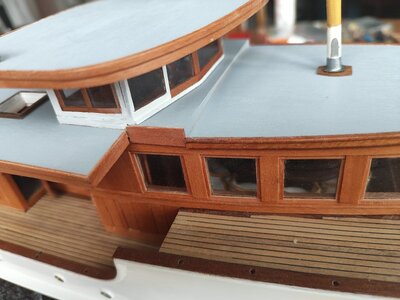
The cockpit once the roof is installed:
Olympus135.jpg

Port side entrance. The sliding door is the only door that is not functional. I didn't know how to make a realistic slide:
Olympus137.jpg

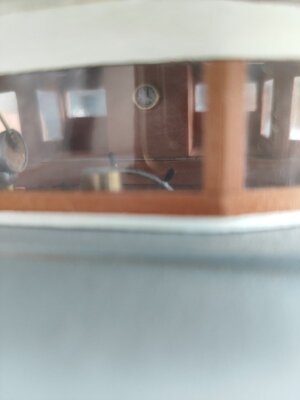
The cockpit seen through the windshield:
Olympus138.jpg

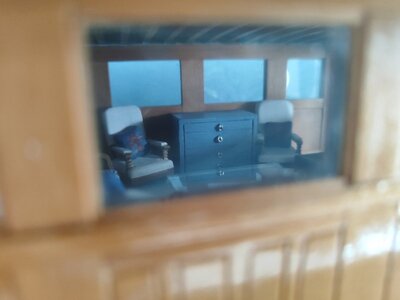
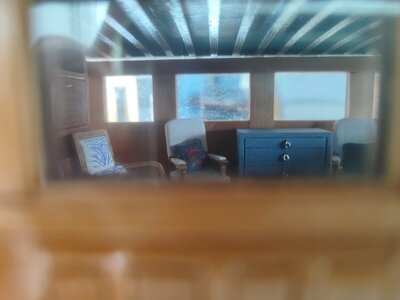
The living room seen from the outside:
Olympus139.jpg

Overview from the starboard side. The deck furniture is not yet installed:
Olympus140.jpg

The other side:
Olympus141.jpg

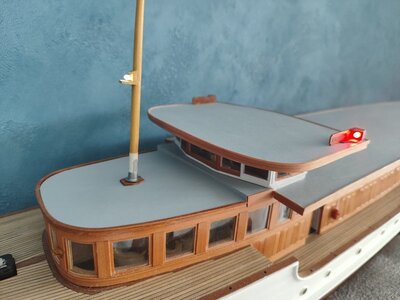
The position lights are on:
Olympus142.jpg

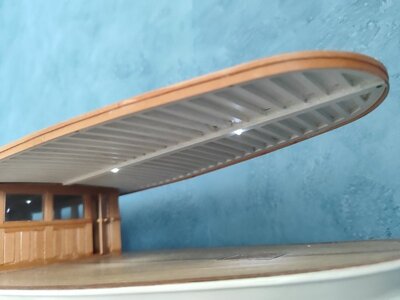
Roof of the aft deck with its lighting:
Olympus143.jpg

Another view of the living room from outside:
Olympus144.jpg

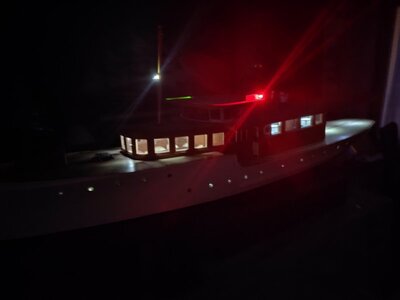
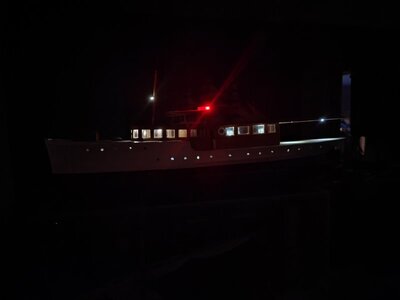
A night view:
Olympus145.jpg

Olympus146.jpg

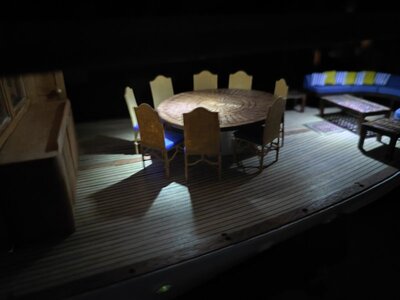
The aft deck equipped with the desert to the left, the table and chairs and the lounge area at the stern
Olympus147.jpg

Another daytime view:
Olympus148.jpg

That's it for today. There is still some work to do to equip the upper deck and the rails but it is starting to take shape...

Friendships.
Fred
 
Hi all,
A big bunch of photos today because I've made quite a bit of progress on the project

First of all, the cockpit under construction. The steering wheel and the Chadburn (which in this case must simply be the throttle levers) are 3D printed. The contactor panel on the left is made from leftover grating:
View attachment 432324

The dials come from photos of vintage boat dashboards that I formatted and printed. The compass is a piece of brass tube with a plexiglass window, leftover from my portholes:
View attachment 432325

View attachment 432326

At the rear of the cockpit, there is a clock (in reality there are also two other dials but I left it out):
View attachment 432327

The last view of the interior before permanently fixing the roof :(:
View attachment 432328

View of the starboard side entrance. On the right the door which leads to the cockpit and the dining room, on the left the door to the living room. All swing doors are functional. The lifebuoy is associated with an AIS beacon. I have already made the holes for the roof support posts and for the railing because once the roof is installed, the drill would not have gone through:
View attachment 432329

The cockpit once the roof is installed:
View attachment 432330

Port side entrance. The sliding door is the only door that is not functional. I didn't know how to make a realistic slide:
View attachment 432331

The cockpit seen through the windshield:
View attachment 432332

The living room seen from the outside:
View attachment 432333

Overview from the starboard side. The deck furniture is not yet installed:
View attachment 432334

The other side:
View attachment 432335

The position lights are on:
View attachment 432336

Roof of the aft deck with its lighting:
View attachment 432337

Another view of the living room from outside:
View attachment 432338

A night view:
View attachment 432339

View attachment 432340

The aft deck equipped with the desert to the left, the table and chairs and the lounge area at the stern
View attachment 432341

Another daytime view:
View attachment 432342

That's it for today. There is still some work to do to equip the upper deck and the rails but it is starting to take shape...

Friendships.
Fred
Beautiful new detail, Fred. And with the lighting on, it looks great.
Regards, Peter
 
Back
Top