USS Essex 1799 Frigate by rlwhitt - Model Shipways - 1:76 [COMPLETED BUILD]

As I have posted before, there are many errors in this kit. I hope that MS will correct them. The complete authority on the ESSEX is the book "The Frigate Essex Papers" by P.C.F. "Chad" Smith. It includes a set of plans as well. I worked with Chad and Bill Baker on researching the ship. I would be happy to provide any modeler with info to correct the errors. I will not be available for a few weeks, but would welcome discussion afterwards.
 
Thanks all, belatedly, for the kind comments, birthday wishes (trying hard to ignore those), and likes!

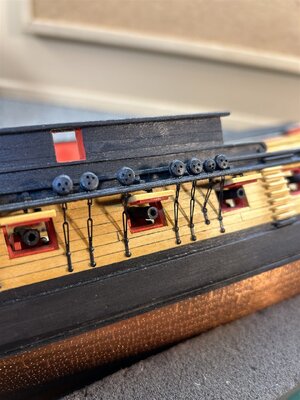
Deadeyes and Head Works

I have done all the deadeyes and chain plates, plus all the gun port doors that sit under the channels. I put these on now since they are a bit protected by the channels, but will wait until near the end to put on the batch that are out in the open. Otherwise I'll just knock them off! This is a sample section:

MS2041-060.JPG

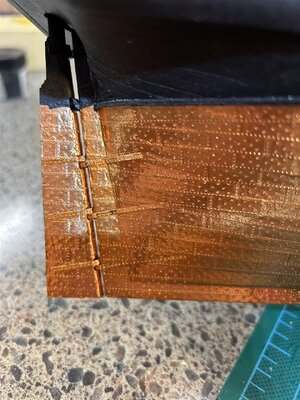
Have also fixed the rudder. I chose to go with copper tape strips for the pintles and gudgeons rather than brass (easier to work with) and some bits of toothpick for the hinges.

MS2041-061.JPG

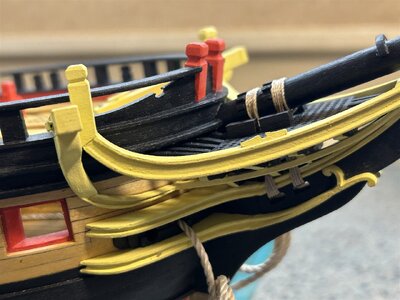
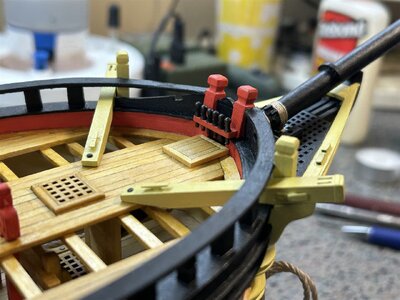
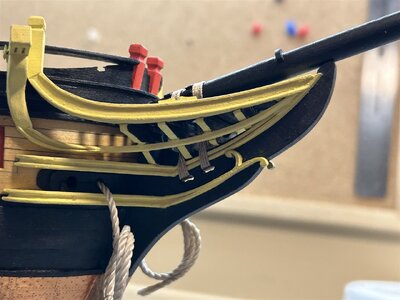
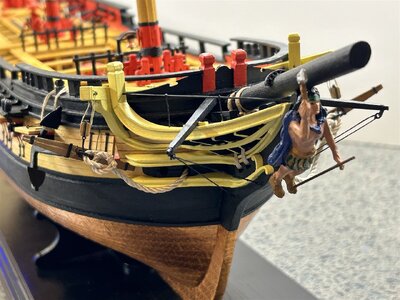
Next up I went back to the Head Works and bowsprit to get most of that area completed. Left to do are the more fragile bits like the boomkins and horse rails - will do those and some of the other more wispy stuff last.

MS2041-062.JPG

MS2041-063.JPG

MS2041-064.JPG
 
Bones

So I've gotten through the basic framing, sans stern framing. A couple of observations. First is that ALL the bulkheads fit quite loose on the keelson/former, even with the char still intact. Some were "rattling loose". So, much shimming was required. As for the vertical fit I only had to adjust a couple by a very small amount to make the top even + bottom right at the rabbet, so that part was good.

As you can see in the first picture, there is a rather big gap at the scarf joint. Since this hull will be coppered on the bottom, this is no big deal. Some scrap wood and filler does the repair deed.

View attachment 380721

The 2015 re-release included an optional "strong back" method to use a couple of thick strip "spines" along the keelson former and through some slots cut into most of the bulkheads. Tricky alignment to get those spines in there, but mine went in pretty easy. I also added some additional stiffeners near the outboard edges of the bulkheads, for more confident fairing. This thing is strong, that's for sure!

The rest is just pictures of the framing so far, including mast blocks and some bow filler, with rough fairing done.

View attachment 380722

View attachment 380723

View attachment 380724
From what I see in the top photo it looks like you have added a spacer strip between the false center keel and the bottom keel strips with the scarf joint. That extra space as the stem goes up is moving it forward causing the gap.
 
From what I see in the top photo it looks like you have added a spacer strip between the false center keel and the bottom keel strips with the scarf joint. That extra space as the stem goes up is moving it forward causing the gap.
Yep, there is a strip. It’s part of the design, and forms the rabbet instead of having to cut it yourself. Pretty clever design, I think.
 
Completion

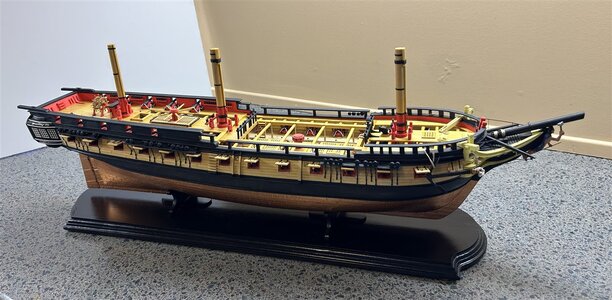
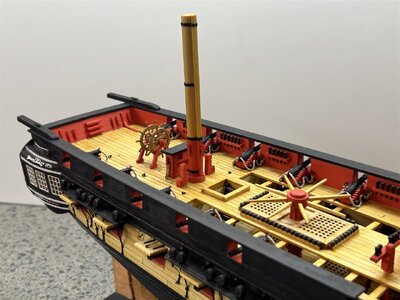
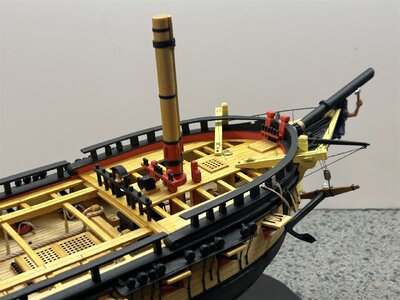
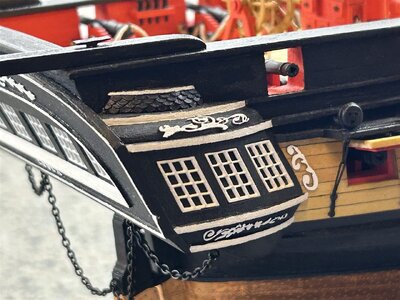
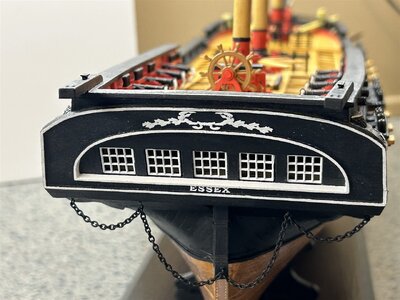
Fini! Well, except for a stern lantern. The britannia metal one in the kit was about as sad as the quarter gallery parts, so had to be replaced. Found one the right style and size from Caldercraft and it's winging it's way from the UK so it'll get fitted (along with some cat head lions) when it gets here.

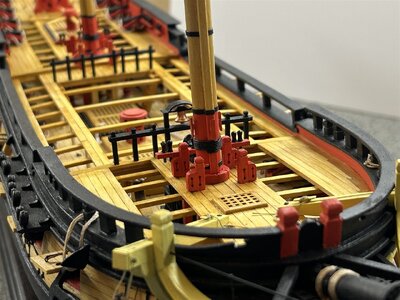
I have not made this a detailed log so I've missed a lot of specific comments on this kit, so I'll try to summarize here. All in all an enjoyable kit to build for me. I'd say there were a number of design issues and plan mismatches (none too big) and some part quality (metal) issues that made it necessary to bash and scratch a little bit. There were a few places where you'd expect a recently designed kit to have some parts laser cut at least a starter but expected you to make from stock. Not a big deal, but if you expect a lot of hand holding and perfect detail in instructions you could get a bit frustrated. Not a beginner project! One nice thing is that where some parts might be a challenge to finish there were ample spares laser cut, and plenty of extra strip stock left over. I strayed a bit in places like not doing the hammock netting (I hate those things). Maybe not as accurate, at least not according to plan, but it pleases me. I also didn't do the ship's boat, but the kit includes one. It has it hanging from the stern davits, but I didn't like the look of it there, obscuring the stern works.

I'm going to take a short breather and build a plastic model of my Miata that I scored at a club raffle, then plow back in with the Shipways Mayflower. That will be a different sort of challenge as I will rig it, but then I'll escape back into hull model world with the USF Confederacy.

Thanks all for the looks, likes, and comments!

MS2041-065.JPGMS2041-066.JPGMS2041-067.JPGMS2041-068.JPGMS2041-069.JPGMS2041-071.JPGMS2041-070.JPG
 
Back
Top