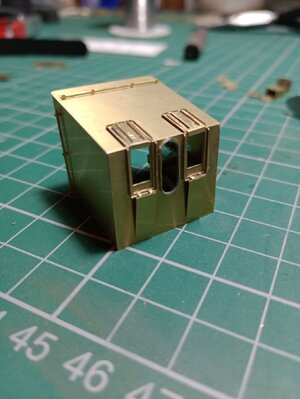
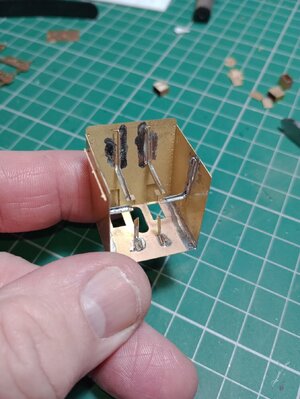
Revell/Matchbox 1/72 Flower Class Corvette with Great Little Ships Upgrade

Joined
Aug 20, 2022
Messages
34
Points
68

Hi folks,

It's a long time since I posted here...some of you may have been following my Trumpeter U-boat build which was stalled after I suffered a hand injury at work. I had to undergo months of physio to get my right thumb working again however, although I still have some issues, I have regained most of my dexterity so am back building again.
I'll get back to the U-boat at some point but to get me back building and in an attempt to push my dexterity recovery further I've dug out a longstanding project that was actually started back in lockdown.
It's the Revell (ex-Matchbox) 1/72 Flower Class Corvette. The one I have is the Platinum Edition that comes with a limited amount of photoetch and some wooden deck overlays however I wont be using those as I also have the David J Parkins Great Little Ships upgrade set which, aside from the hull and main decks, replaces 90% of the kit parts with brass, resin and white metal parts.
Certainly not one for the faint hearted but I have a lot of experience with brass and resin so here goes!
As an introduction I've put a parts breakdown on a video on my YouTube channel which I'll link to, however I will also be documenting everything here in pics....

Parts Breakdown Video
 
Well done Iain, glad to see you back. Check out MicroMaster in NZ, they have a lot of detail parts for the 1/72 Flower Class, well worth a look.
 
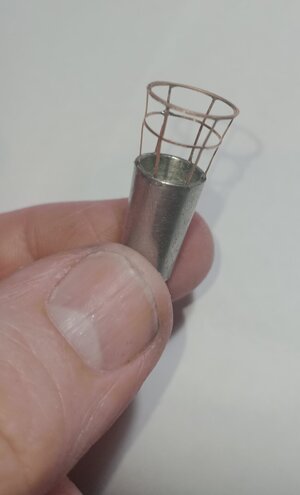
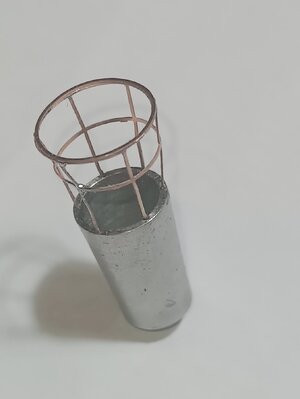
Before I start on the major components I wanted to practice my soldering skills on the brass parts so I started with the crow's nest which is mounted on the main mast. It consists of a white metal tub and a three part etched cage....really fiddly to assemble but got there in the end....

IMG_20240405_011810770_MFNR.jpg IMG_20240405_011850497_MFNR.jpg

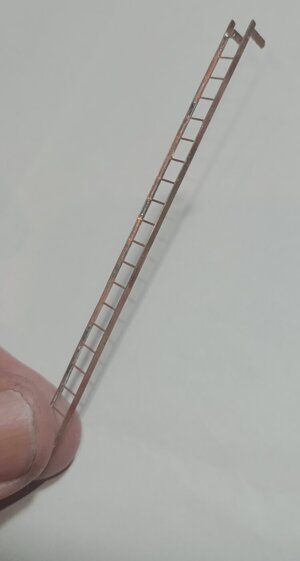
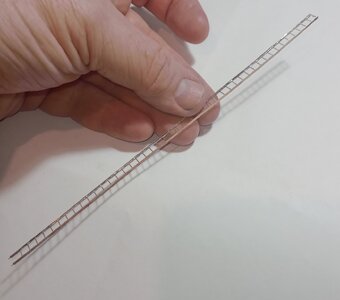
There are also two ladders made up from three pieces each....

IMG_20240405_011736963_MFNR.jpg IMG_20240405_011753638_MFNR.jpg

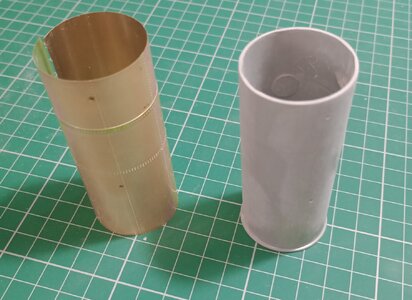
The funnel has to be sanded smooth then covered with a pre-rolled etch skin....

IMG_20240404_143628759_MFNR.jpg

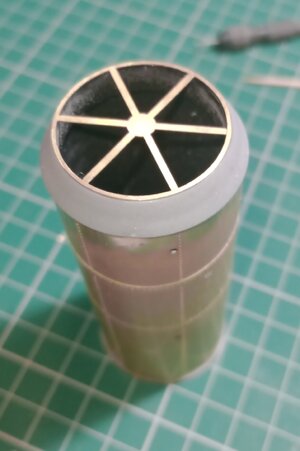
Once the skin was attached, the inside was painted matt black and the funnel top fitted along with it's etched bars

IMG_20240405_011629209_MFNR.jpg

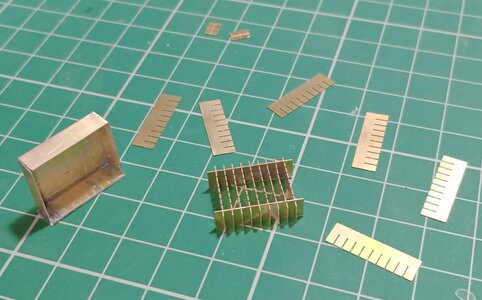
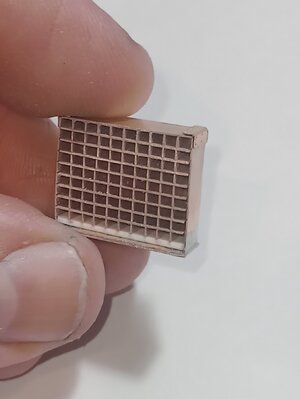
Final test piece was the flag locker which looks very complex but assembles very easily....

IMG_20240404_223547331_MFNR.jpgIMG_20240405_011907021_MFNR.jpgIMG_20240405_011914451_MFNR.jpg
 
Soldering skills - JaJa - here I have also to learn a lot - mine are close to zero
Good work :cool:
 
Do you have a particular ship in mind to build?
Not really....I'm going with the markings for Snowberry but I'm not a stickler for historical accuracy...I want something that looks war-weary and lived in from a weathering perspective
 
Ah, Ok. There are some very good photo's of Snowberry available on the t'internet. They show both sides and above views.
There are also a ton of the other ships that show how they weathered and will give you a good idea of the "look" you are after.
 
I'm working my way round the ship tackling different components in order to practice my soldering skills.
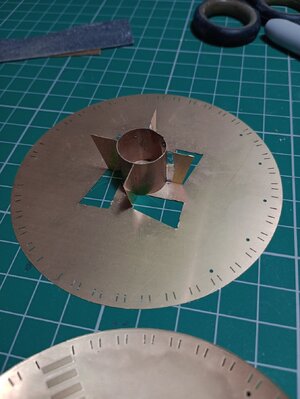
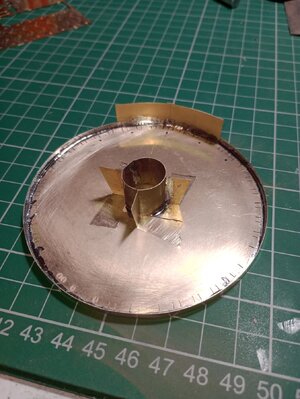
I've moved on to the main gun platform and assembly starts with folding up four flaps and rolling a flat piece of brass into a cylinder which connect to form the plinth...

IMG_20240406_002430519_MFNR.jpg

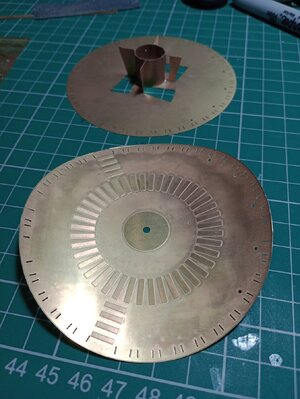
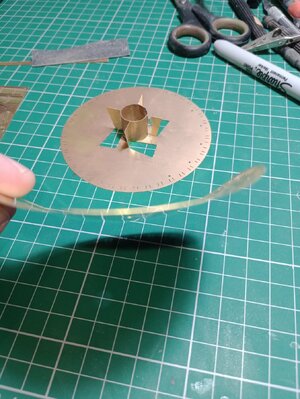
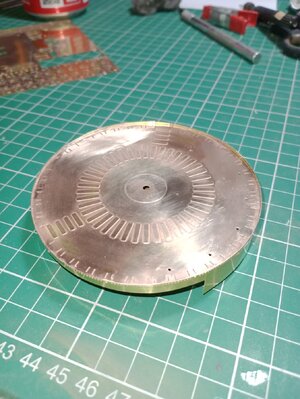
The upper face is a very thin separate piece which curls as soon as it is cut from the fret...this has to carefully lined up with the lower disc and stuck down with CA glue...

IMG_20240406_002435532_MFNR.jpg

The completed disc has to now be edged with a long strip which was soldered in place....

IMG_20240406_002442045_MFNR.jpgIMG_20240406_233828410_MFNR.jpg IMG_20240406_233817727_MFNR.jpg

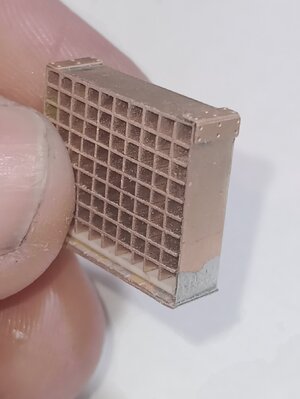
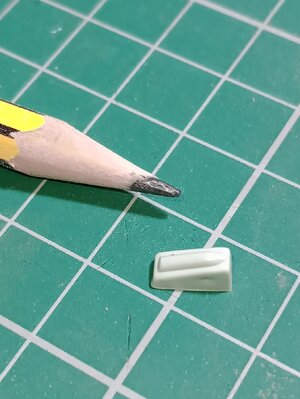
Next is to assemble 36 microscopic cradles for the shells that are spaced around the edge of the gun deck. The parts as supplied by Revell look like this...

IMG_20240407_180119709_MFNR.jpg

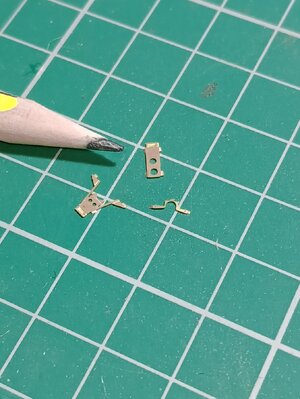
The brass replacements look like this...

IMG_20240407_180055980_MFNR.jpg

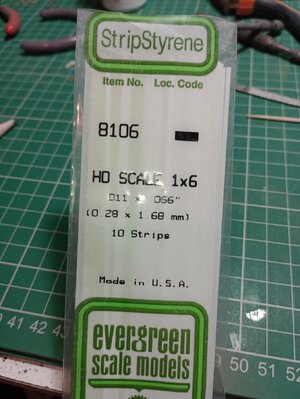
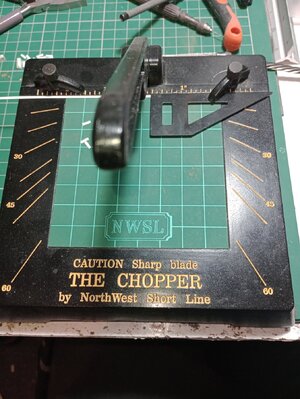
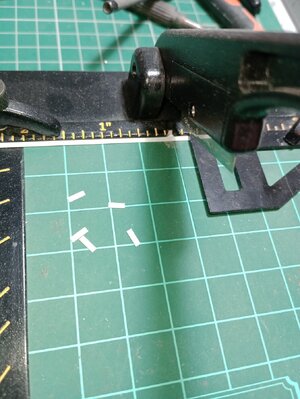
This is the first stage I've come to where I think the etched parts could have been better designed. It's virtually impossible to assemble the parts as supplied. As a compromise, I dug out some Evergreen strip that is the same width as the brass pieces and cut 36 pieces in 5mm lengths...


IMG_20240407_180220451_MFNR.jpgIMG_20240407_180304437_MFNR.jpgIMG_20240407_180312996_MFNR.jpg

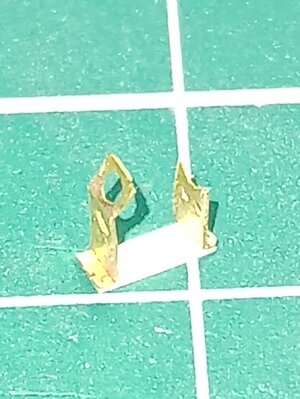
The main brass elements were modified slightly and glued to the styrene strip...Once all of them are together I'll add some struts from thin wire....

IMG_20240407_185205488_MFNR.jpg

I've also added two more videos, one for this section and also a soldering demo....

Gun Deck

Soldering Demo
 
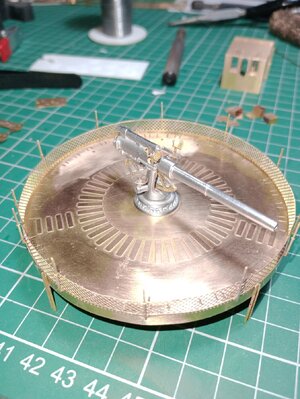
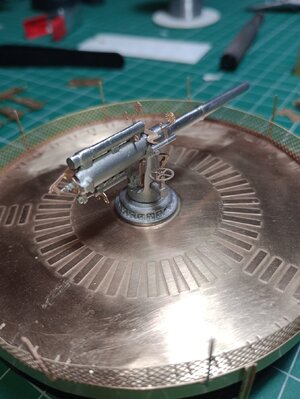
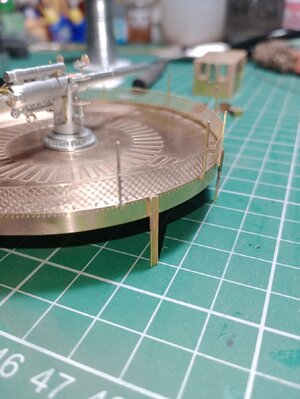
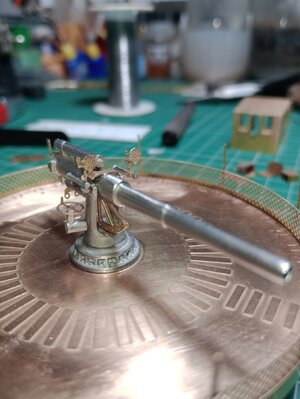
Two or three evenings work has more or less finished the main gun and it's platform....it was a real challenge firstly to get the curved mesh to follow the curve and then to attach the stanchions for the railing. I still need to source some wire thin enough to thread through the microscopic hole at the top of each post...I'm thinking 3amp fuse wire should do it...

IMG_20240411_205646394_MFNR.jpg IMG_20240411_205714780_MFNR.jpg IMG_20240411_205724599_MFNR.jpg

The gun was fiddly to assemble but is lightyears ahead of the original kit part....

IMG_20240411_205658307_MFNR.jpg

The gun shield is a real test of patience but looks great finished...it will just about fit over the assembled gun but I may yet have to trim up some of the brackets...

00002IMG_00002_BURST1712865351721.jpg IMG_20240411_205615487_MFNR.jpg

Just the steps and the 36 shell cradles to attach now and it's ready for paint....
 
Great work there Iain. For the thin wire try fly fishing supply stores. Over here in the States I can get ultra fine thread for rope making, fine wire, lead balls ( cannon balls) , etc, etc. Just think outside the box for uses of their stuff.
J Stockard Fly Fishing is my go-to supplier.
 
Lol, on my GLS set for the gun and shells, the shells actually fit inside the cannon bore! Check yours.
 
Back
Top