You are using an out of date browser. It may not display this or other websites correctly.
You should upgrade or use an alternative browser.
You should upgrade or use an alternative browser.
Marie Jeanne 1:50 by Artesania Latina Build Log [COMPLETED BUILD]
- Joined
- Jun 17, 2021
- Messages
- 1,653
- Points
- 488

Beautiful!
- Joined
- Jan 1, 2023
- Messages
- 73
- Points
- 88

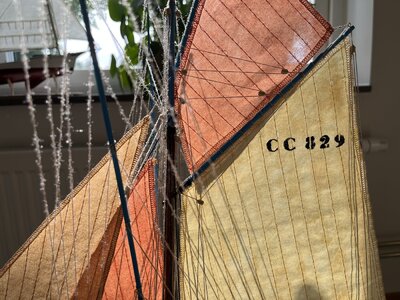
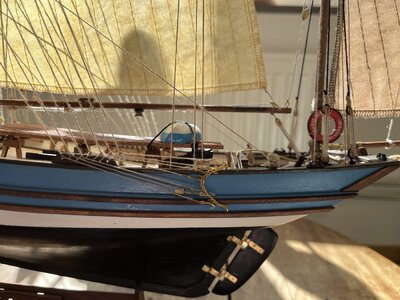
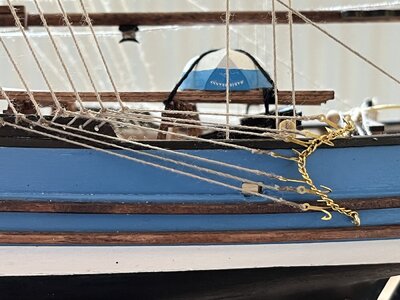
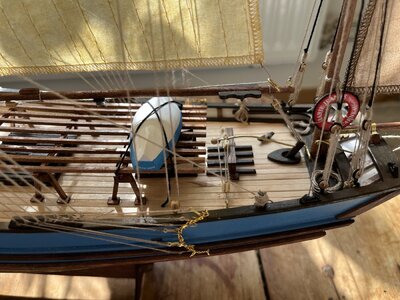
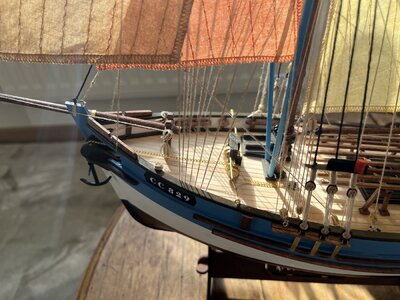
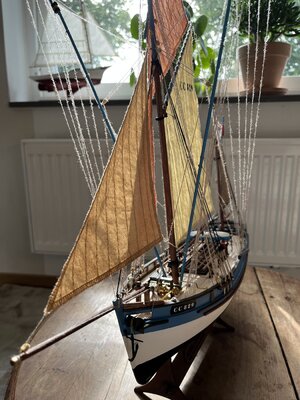
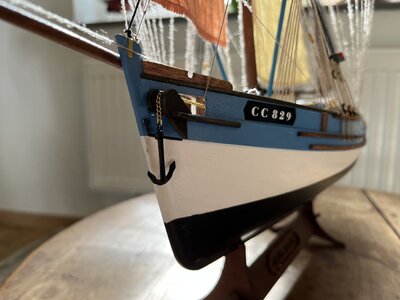
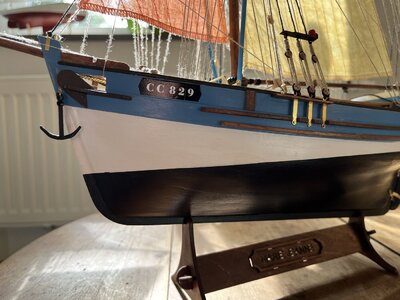
So now it is finished. It was a lot of fun building this model and I am pretty happy with the result, though there are some things I would've done different, such as adding a caulking effect to the deck and using a different glue when fitting the ropes to make it look less wet. I generally felt the model looks very "clean" which makes it nice for decorating the living room, but unfortunately it takes away from the feeling of realism and historical connection of this classic French fishing boat. So in retrospect, I think I should have deviated from the instructions a bit more to add weathering effects and caulking.
In case you are looking at this thread to figure out if the Marie Jeanne from Artesania is something you wanna build, I have some comments to help you. This was my third build and the difficulty level suited me perfectly, giving me a further challenge after learning the basics of ship modeling. The instructions from Artesania feature only pictures (slightly edited with measures, arrows etc.) with no written instructions which I found to be great as it is easy to get lost in long-written text. Would recommend looking through the full instructions ahead as it seems they sometimes later in the build remember to add stuff that should've been done earlier, such as the front bulwark rope rails. Sails came pre-sewn and all I had to do was to add colour to them, which was fine by me who finds sewing the least fun part of the process but you might not. But as we say in Sweden: the taste is like the butt, divided.
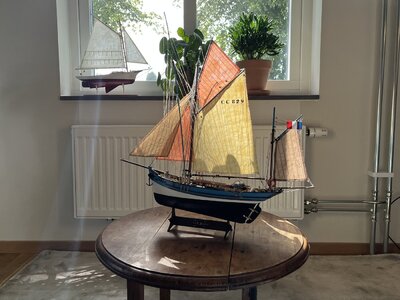
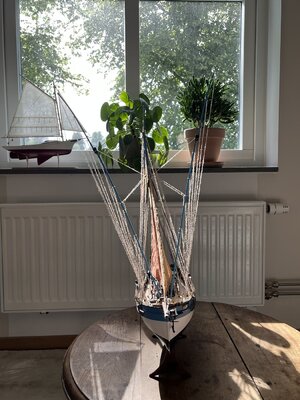
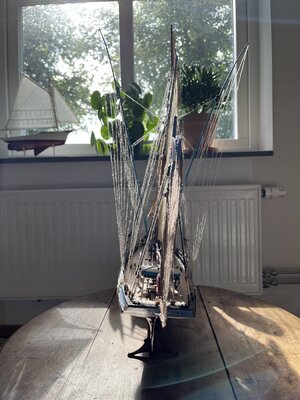
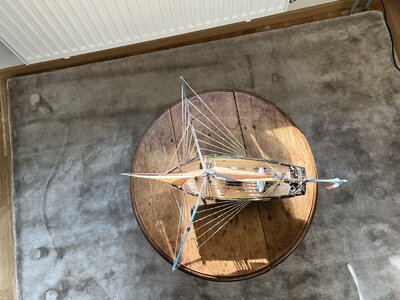
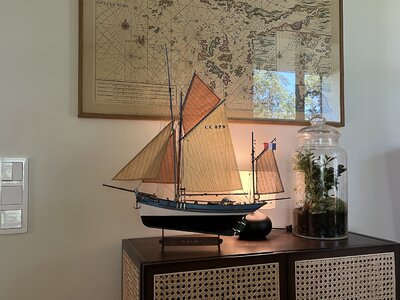
My next build, Amati's HMS Fly will arrive in the mail tomorrow but I haven't decided whether to post it here as there are already lots of build logs by skilled people of this model. But be sure that I am reading all of them.
In case you are looking at this thread to figure out if the Marie Jeanne from Artesania is something you wanna build, I have some comments to help you. This was my third build and the difficulty level suited me perfectly, giving me a further challenge after learning the basics of ship modeling. The instructions from Artesania feature only pictures (slightly edited with measures, arrows etc.) with no written instructions which I found to be great as it is easy to get lost in long-written text. Would recommend looking through the full instructions ahead as it seems they sometimes later in the build remember to add stuff that should've been done earlier, such as the front bulwark rope rails. Sails came pre-sewn and all I had to do was to add colour to them, which was fine by me who finds sewing the least fun part of the process but you might not. But as we say in Sweden: the taste is like the butt, divided.


My next build, Amati's HMS Fly will arrive in the mail tomorrow but I haven't decided whether to post it here as there are already lots of build logs by skilled people of this model. But be sure that I am reading all of them.
Congratulations for finishing this fine model - Bravo - well done
Something else: Please start a building log of your HMS Fly - it is interesting to follow, you can also ask questions if there is any, and others can also learn looking at your photos ..... so please start with the log
Something else: Please start a building log of your HMS Fly - it is interesting to follow, you can also ask questions if there is any, and others can also learn looking at your photos ..... so please start with the log
- Joined
- Jan 1, 2023
- Messages
- 73
- Points
- 88

Thank you Uwe, I will be taking my time with the HMS Fly this time to make it truly worth the money. Been starting to looking into how spin ropes and also ordered the upgrade kit for the cannons so there will be some research done in the start. But I will start posting some new pictures when I have made some initial progress.
- Joined
- Jun 17, 2021
- Messages
- 1,653
- Points
- 488

Gee,.. If you hadn't disabused me of the notion, I'd have said she's just about perfect!
Congratulations on a beautiful model!
Congratulations on a beautiful model!
- Joined
- Jun 17, 2021
- Messages
- 1,653
- Points
- 488

It's out there. But "Don't let the perfect be the enemy of the good".
"A perfectionist is someone who never completes a project."- Poor Peter's Aphorisms
"A perfectionist is someone who never completes a project."- Poor Peter's Aphorisms
Last edited:
Hallo @JcobHello all,
After importing my phone pictures to the computer and finding out it is quite convenient I have decided to start this build log about half way through. This is my third build after HMY Britannia 1:64 by Mamoli and Muscongus Bay Lobster Smack 1:24 by Model Shipways.
The kit is part of Artesania Latina's New Generation of ship models. I do not know what that means exactly, but I am very happy with the kit quality and instructions which features a lot of pictures and is available to download to have on my screen whilst working on the build. It is a nice contrast with the quality and instructions of the Mamoli ship which had me looking more at others' build logs than the actual instructions.
I am relatively new to this and tips/tricks are welcome.
Starting with assembling the "skeleton" of the ship and placing planks on the deck:
View attachment 379938
View attachment 379939
Time jump to finishing the planking and doing the first rough sanding:
View attachment 379944
View attachment 379945
View attachment 379946
View attachment 379943
Painted the hull and put a single coat of half-matte varnish as well as started on the rub rail and other wooden detalis. The wood is painted with a "Burnt Umber" colour or dyed with the "Sapele" colour from Artesania. All paints/dye used are supplied by Artesania for this build.
View attachment 379947
View attachment 379948
View attachment 379949
View attachment 379950
Attached the rudder and here we can see how I made a mistake with making a rough transition to the stern post when planking/sanding/using putty, forcing me to bend the rudder hinges in a sharp angle to fit to the ship. Had to use lots of glue and a hammer which makes the brass look less shiny than I wanted. Thinking about ways to polish this up without damaging the paint.
View attachment 379952
View attachment 379953
Installing the hatches, would be interesting to know what each were used for. Artesania recommends using their micro shapers, but I simply sanded the edges of the planks round:
View attachment 379969
View attachment 379956
View attachment 379957
Fast forward to installing and painting the cap rail, cathead, anchor windlass and other details on the bulwark. Finished everything with a single coat of half-matte varnish to protect it while I work. Started on the bowsprit:
View attachment 379964
View attachment 379967
View attachment 379968
we wish you all the BEST and a HAPPY BIRTHDAY

Do you work already on a new project?
- Joined
- Jan 1, 2023
- Messages
- 73
- Points
- 88

Indeed, there is always a balance to find. Life is comprised of compromises.It's out there. But "Don't let the perfect be the enemy of the good".
"A perfectionist is someone who never completes a project."- Poor Peter's Aphorisms
Thanks Uwek, I just got my HMS Fly in the mail today and started unpacking it. So stay tuned for the next build log in the near future

