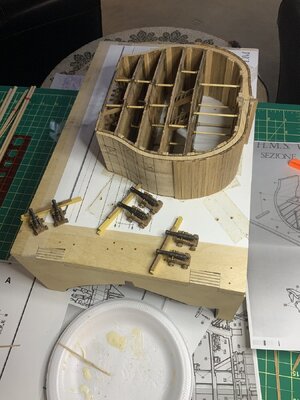
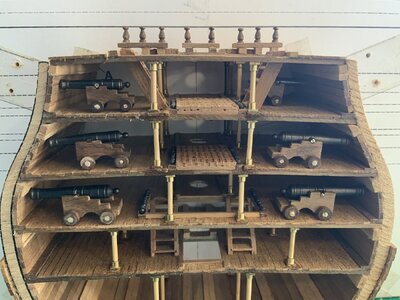
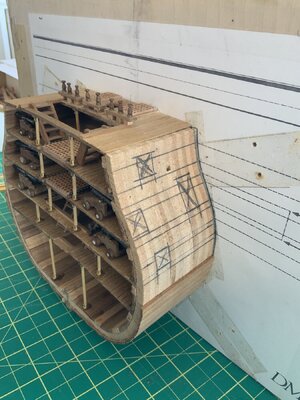
I’ve been enjoying reading all the information posted on SoS for the last couple of years, especially when researching building techniques. I’ve particularly enjoyed the weekly popular posts, what a great way of generating interest in what others are building.
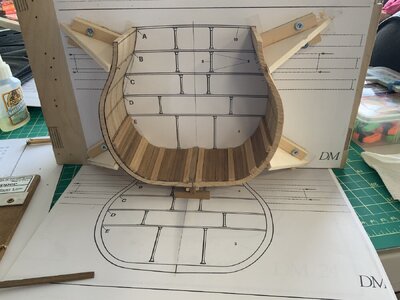
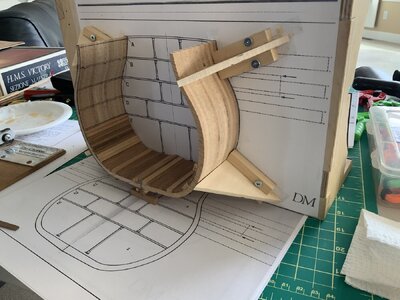
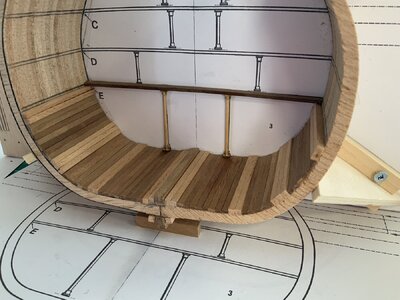
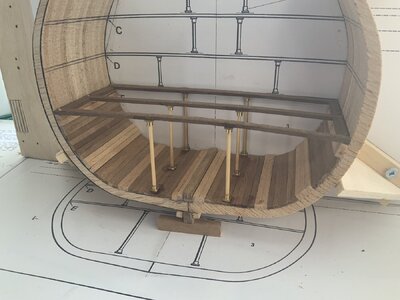
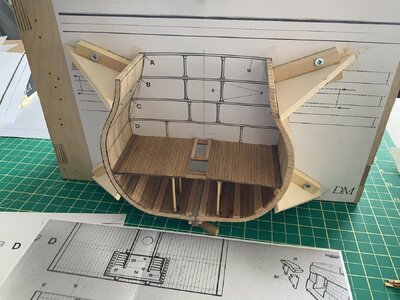
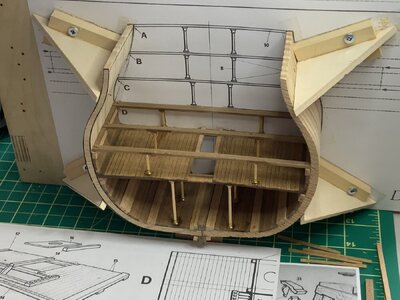
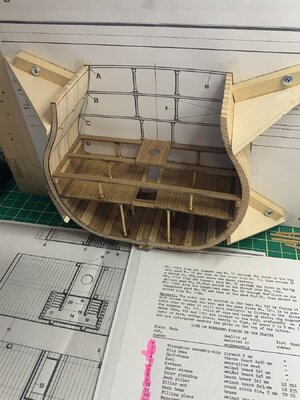
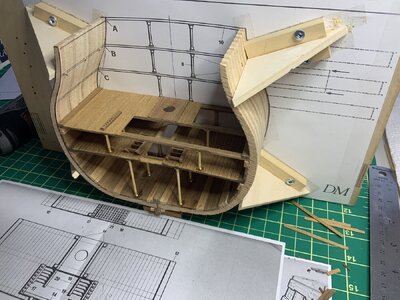
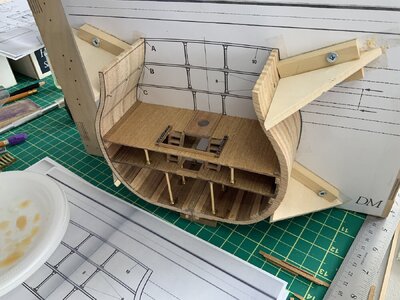
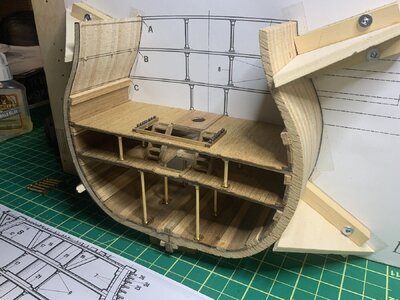
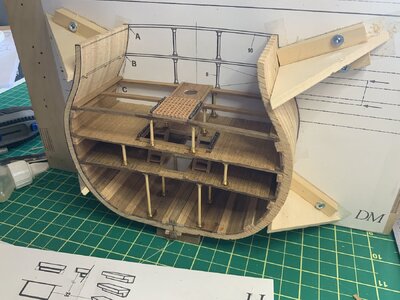
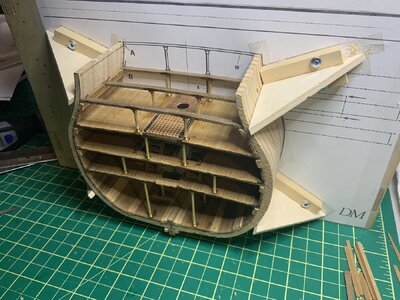
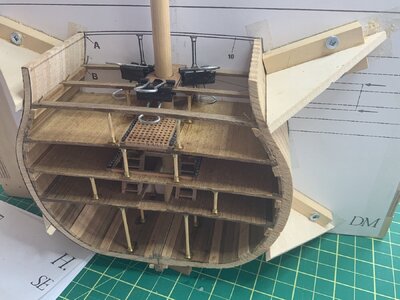
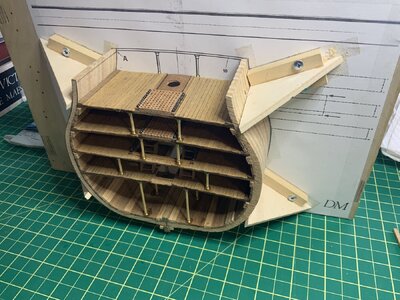
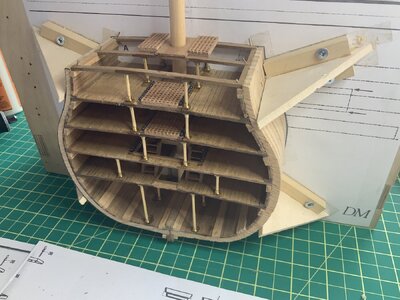
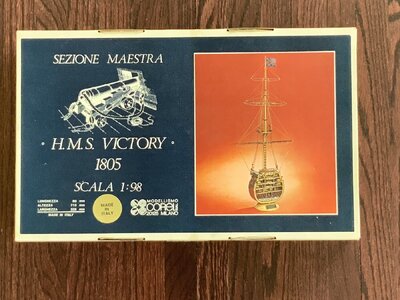
I was looking for a relatively small project after completing a couple of challenging longer term kits so I thought a cross section would be fun. I found a kit locally from a private seller - HMS Victory by Corel (SM 24). It looks like the kit was manufactured in the mid ‘80s but it aged well. My main concern were the 2 plywood hull halves ( look like clam shells ) but they are quite true.
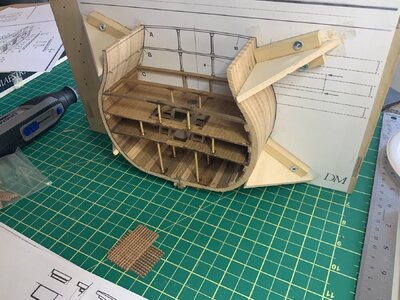
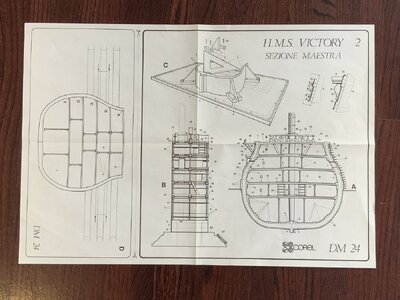
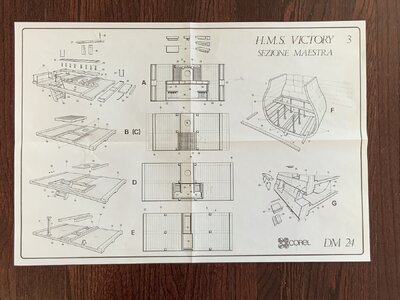
The instructions are pretty good but reflect the standard back in the day ( no photos or videos). I’m just working from a couple of the plans and they’re well designed. So here’s what I’m starting with.


