I like your mini-drill very much
You are using an out of date browser. It may not display this or other websites correctly.
You should upgrade or use an alternative browser.
You should upgrade or use an alternative browser.
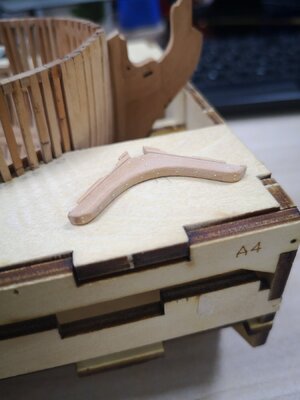
Very good work on the breast hooks - also the bolts are looking very accurate made
Very good work
Very good work
Great - very clean and accurate work
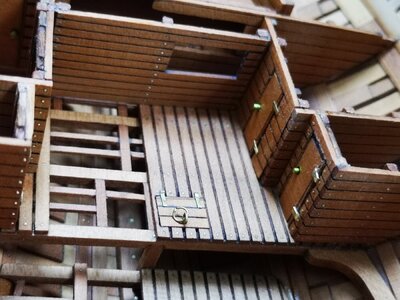
Will you blacken the brass hinches etc. afterwards, or will you keep the "brass-look"?
Will you blacken the brass hinches etc. afterwards, or will you keep the "brass-look"?
铜件可以用化学方式发黑,但我想让它自然氧化,感觉这样会有时间沉淀感
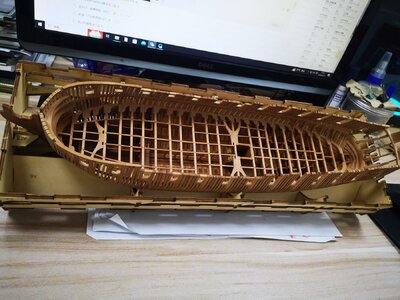
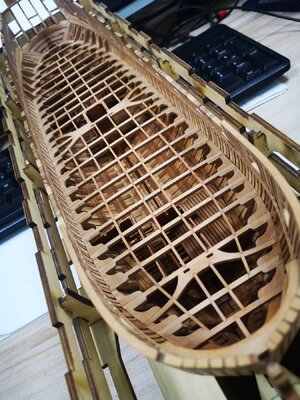
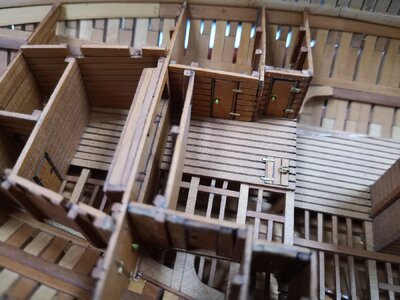
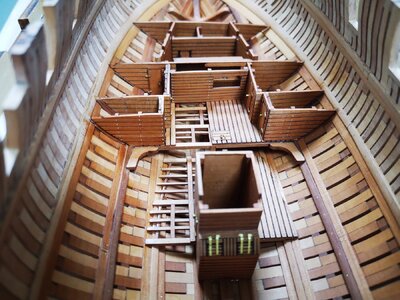
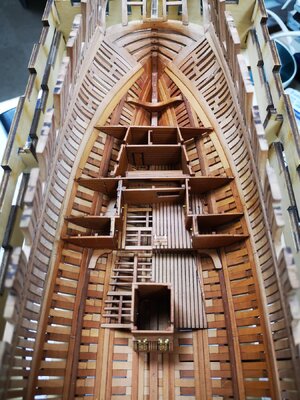
2月中国春节休息近1个月,年后补发一下近期底舱完成的进度
The copper parts can be chemically blackened, but I want it to oxidize naturally, which feels like it will have a settling effect over time.
I will be off for nearly a month during the Chinese New Year in February. I will update you on the progress of the recent completion of the bottom tank after the new year.


Last edited by a moderator:
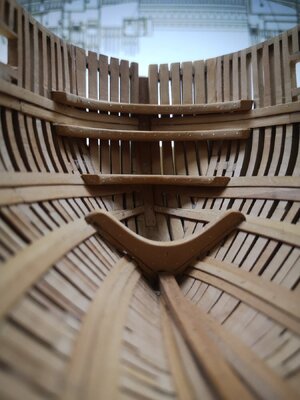
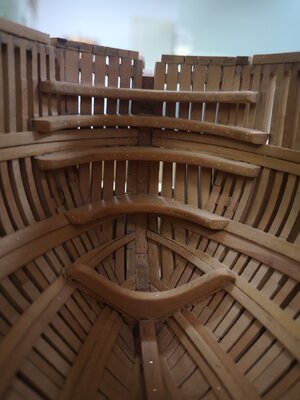
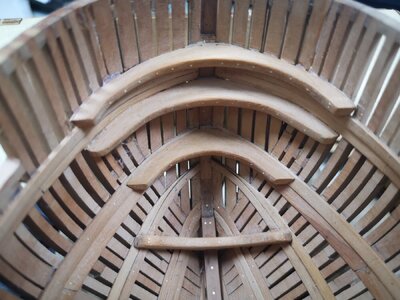
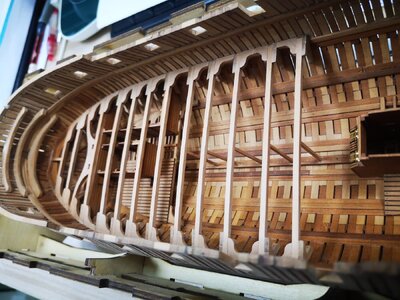
very good work on the interior walls and also thedeck beams 
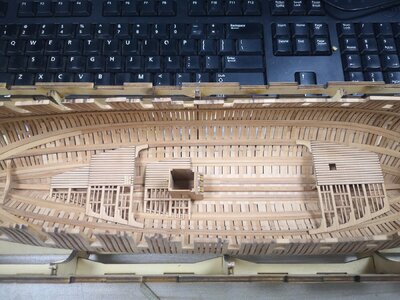
1:96小进取进度更新
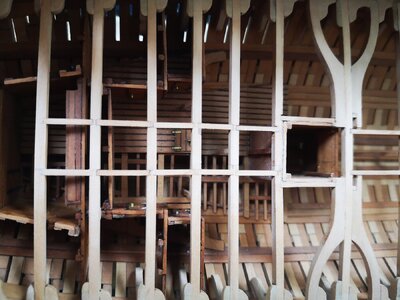
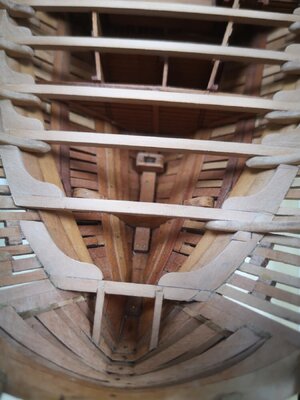
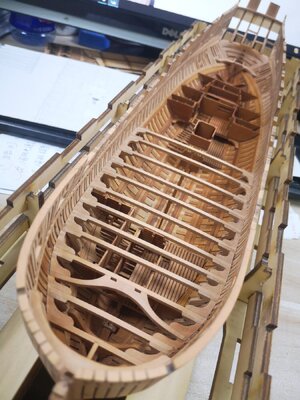
生活甲板横梁搭建到尾部时出现累计误差,宽度有3毫米左右,自行加垫块补偿
船体中间部位的横梁加强梁初期套裁需要自行截断,据说后期版本套件已更正
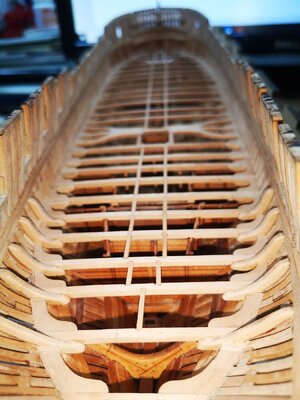
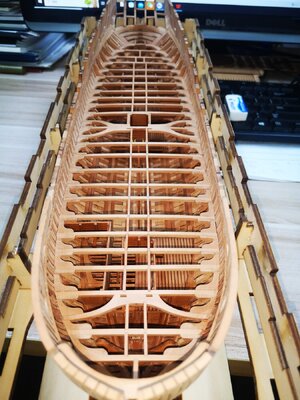
本层横梁搭建完成,开始搭建纵梁,尝试开槽,参考了其它人的制作帖子后,减小了纵梁宽度及抽水机摇柄支架间距,净宽由原来14毫米调整到11毫米
1:96 Small Progress Progress Update
There is a cumulative error when the living deck beam is built to the end. The width is about 3 mm. You need to add pads to compensate.
The crossbeam reinforcement beam in the middle part of the hull needs to be cut off by itself in the initial nesting. It is said that the later version of the kit has been corrected.
The construction of the cross beams on this floor was completed. We started to build the longitudinal beams and tried to make grooves. After referring to other people's production posts, we reduced the width of the longitudinal beams and the distance between the pump crank brackets. The net width was adjusted from the original 14 mm to 11 mm.
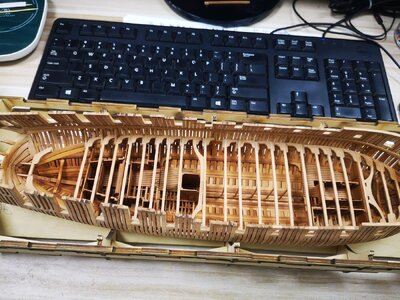
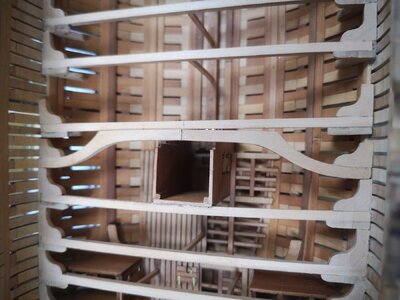
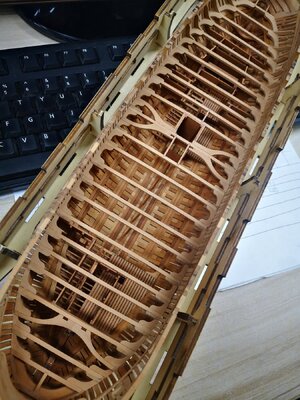
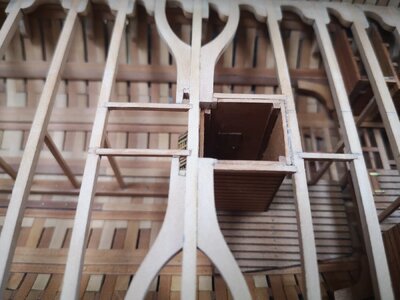


Last edited by a moderator:
quick question: I see the anchor point for the mats at the bow and stern... same in the middle? I can't quite see. Down the road, I would like to add mats and some rigging. Looking for a detail set of plans. I think the size will be great for a rigged version (not too big in the living room).
At this scale you are going to have hard time to add riggingquick question: I see the anchor point for the mats at the bow and stern... same in the middle? I can't quite see. Down the road, I would like to add mats and some rigging. Looking for a detail set of plans. I think the size will be great for a rigged version (not too big in the living room).
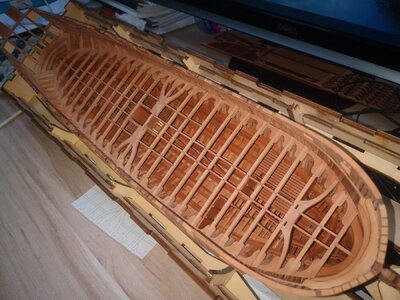
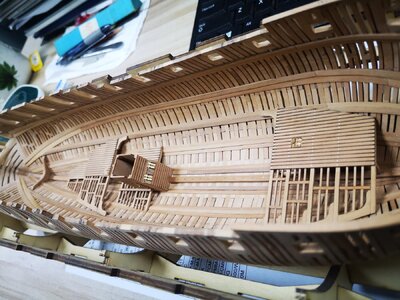
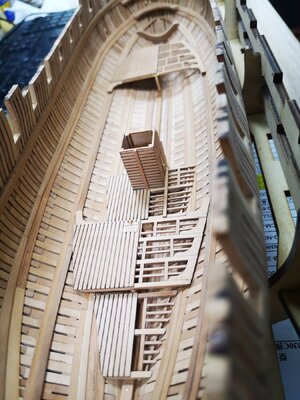
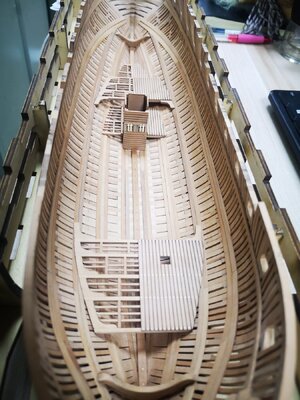
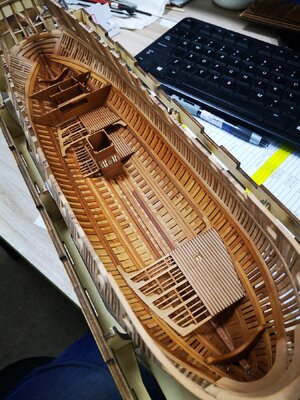
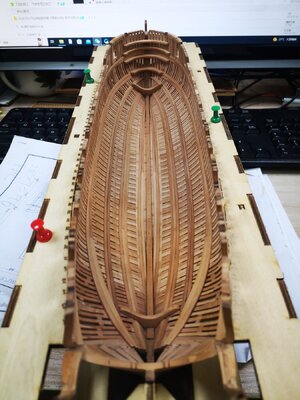
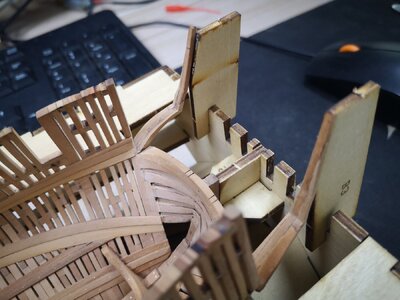
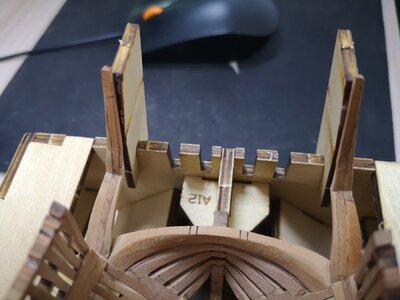
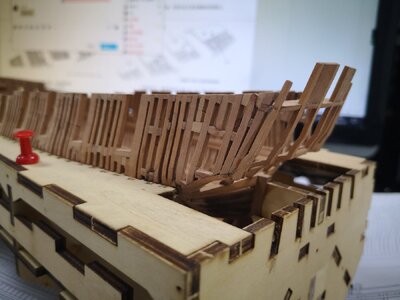
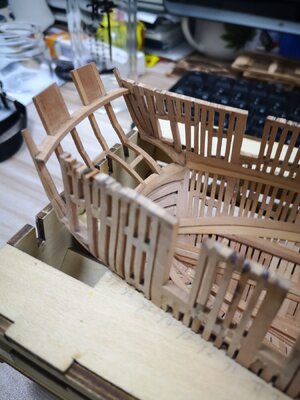
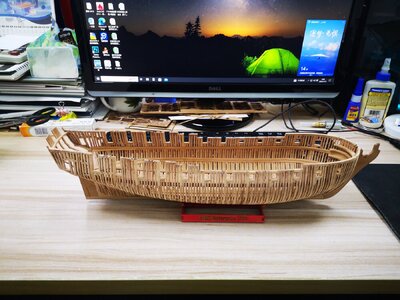
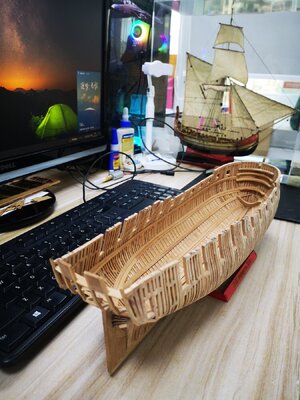
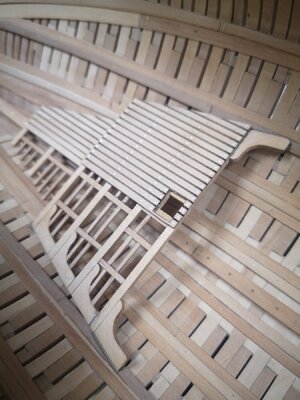
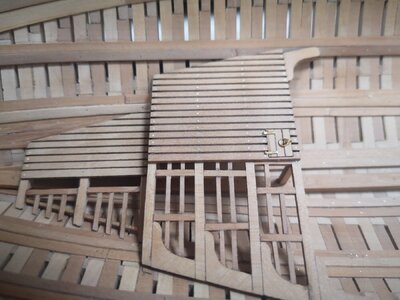
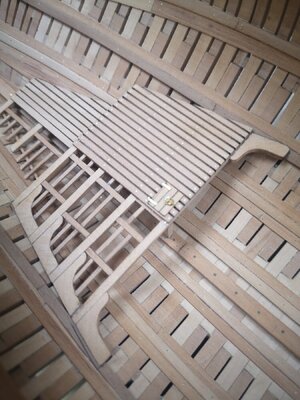
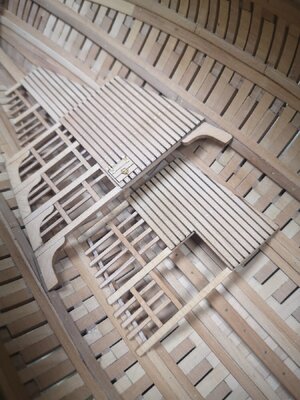
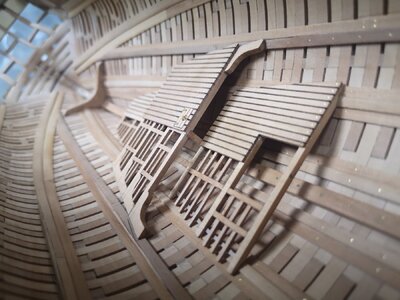
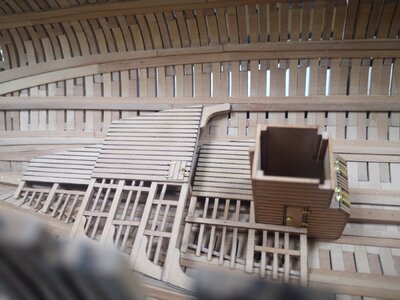
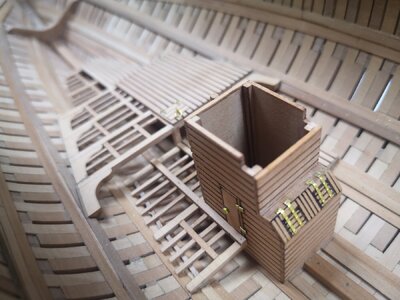
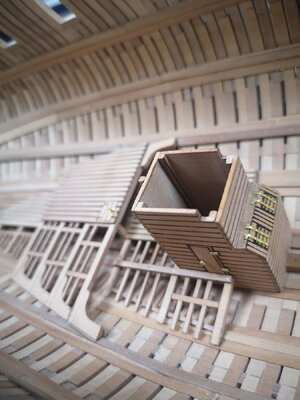
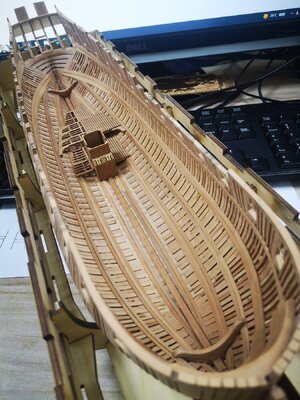
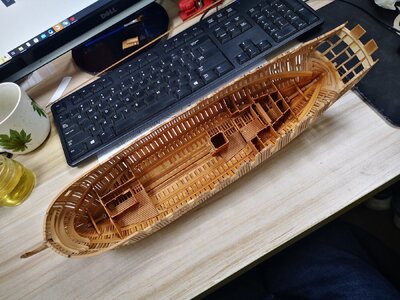
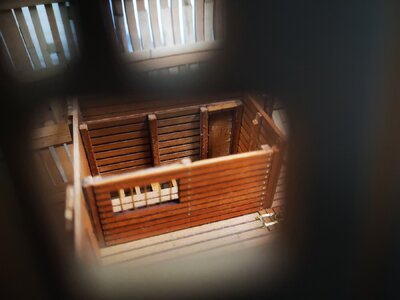
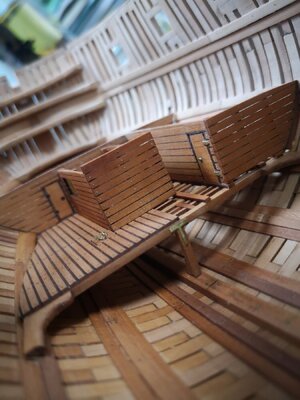
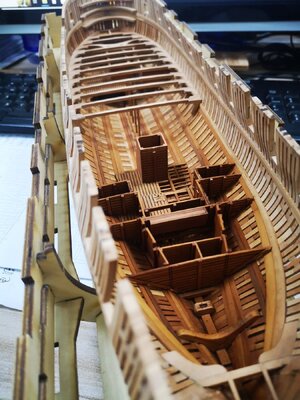
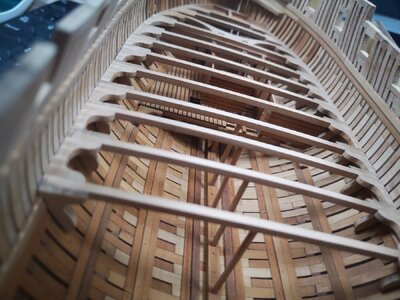
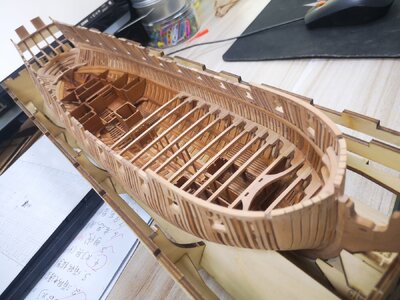
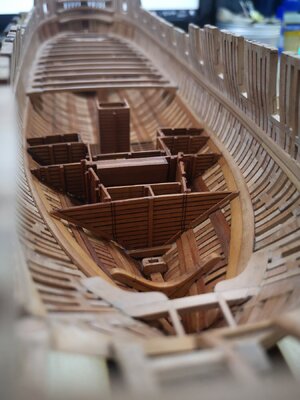
1:进取号继续更新,生活甲板横梁完成,用1.5毫米木条横梁开槽嵌入安装,第一次做开槽,手艺不行45度开斜槽,开槽深度过大,比例失调。 2:进度越来越慢了,一天干不出多少活,完成2部舱底楼梯,把底舱隔板跟横梁补平,没有整料,都是用小碎料拼的,反正在最下面,看不见,另外把生活甲板的舱口完成,随机给舱口加了个盖子,基本都是手机拍的图片,不是很清晰,大家对付着看吧
1: The Enterprise continues to be updated, and the living deck beams are completed. 1.5mm wooden beams are slotted and embedded in the installation. It is the first time to do the slotting. The craftsmanship cannot make a 45-degree inclined slot. The slotting depth is too large and the proportion is out of balance. 2: The progress is getting slower and slower. I can’t do much work in one day. I have completed the two bilge stairs and patched up the bilge partitions and beams. There are no whole materials. They are all made of small scraps. Anyway, they are at the bottom. , invisible. In addition, the hatch of the living deck was completed, and a cover was randomly added to the hatch. These are basically pictures taken by mobile phones. They are not very clear. Please take a look at them.
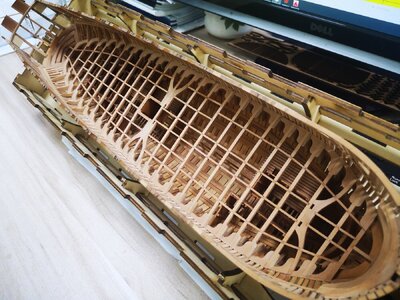
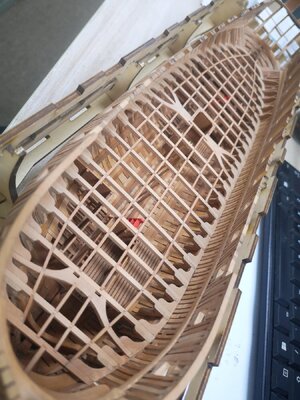
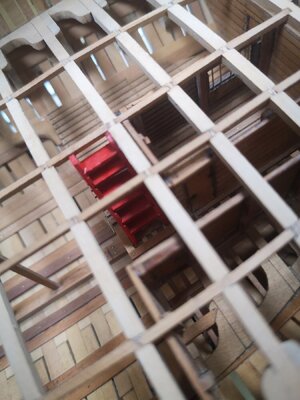
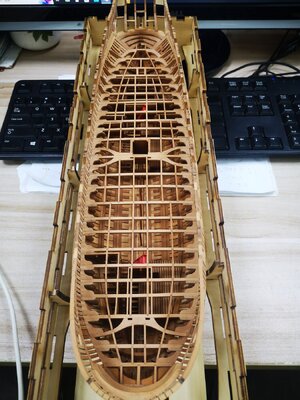
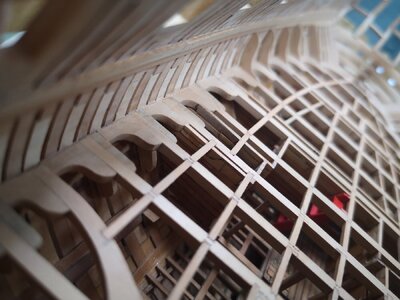
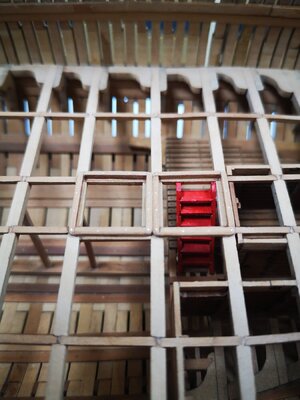
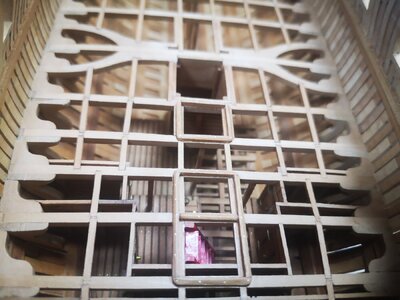
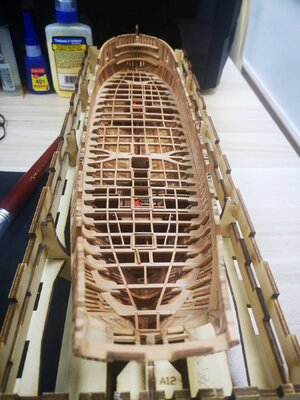
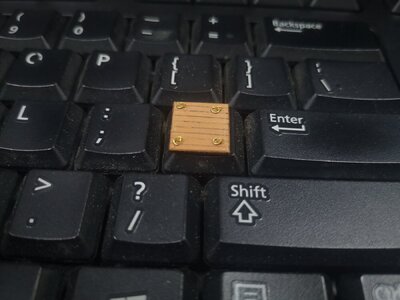
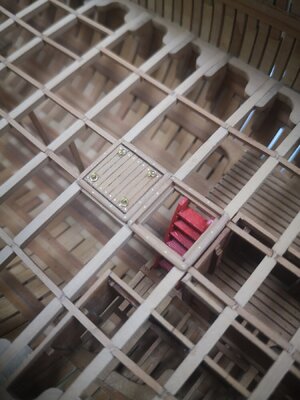
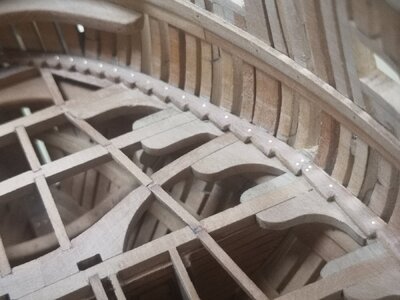
1: The Enterprise continues to be updated, and the living deck beams are completed. 1.5mm wooden beams are slotted and embedded in the installation. It is the first time to do the slotting. The craftsmanship cannot make a 45-degree inclined slot. The slotting depth is too large and the proportion is out of balance. 2: The progress is getting slower and slower. I can’t do much work in one day. I have completed the two bilge stairs and patched up the bilge partitions and beams. There are no whole materials. They are all made of small scraps. Anyway, they are at the bottom. , invisible. In addition, the hatch of the living deck was completed, and a cover was randomly added to the hatch. These are basically pictures taken by mobile phones. They are not very clear. Please take a look at them.


Last edited by a moderator:
A very good looking model - a great kit is done by a very good modeler


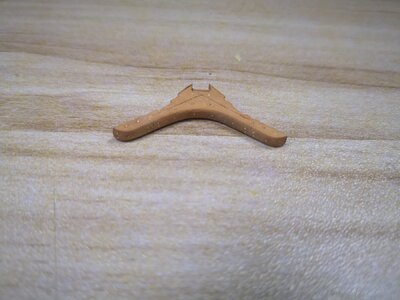
 What finish did you use on the wood?