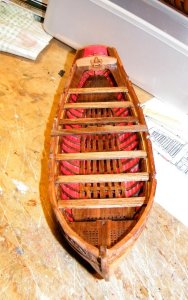
ZHL Royal Caroline Kit, scale 1/30

Thanks Maarten, just fooling around with the knife and clamp for the photo, I don't what happened with No 8 plank, it will be interesting to see if you or Greg have the same problem.

All the best for a happy New Year and a Healthy Prosperous one,

best regards John.
 
445.jpg
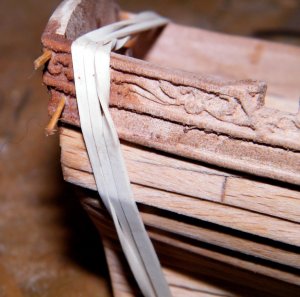
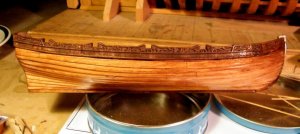
Positioning the carved rail


446.jpg
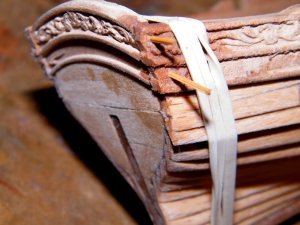
I drilled two 1mm holes through the carved side plank and inserted two 1mm bamboo dowells


447.jpg
Another view


448.jpg
After planking the boats side with 1mm planks, they want you to glue the carved rail on to the top of those planks, I did'nt think it would be secure enough so I glued another plank inside the top of the last plank with enough overlap to attach the carved plank onto.


449.jpg
When preparing these carved planks I soaked them in hot water like they say, but when I started to bend them the port side plank bent OK, but as soon as I started bending the starboard plank it broke at an angle across the narrow width of the plank with no warning, this pic shows the break a couple of inches back from the bow, I managed to get a bend on the broken piece and glued it in place, and then the rest of the plank went on OK, I will have to use some filler and when dry use some Swiss files to clean up the joint. on reflection I should have cut a curve in a piece of wood and after soaking in hot water clamped the plank in between the cut wood.


450.jpg
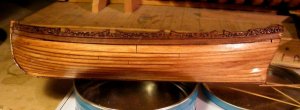
After filling and varnishing, I'm going to have to do a bit of a clean up on the joint.


451.jpg
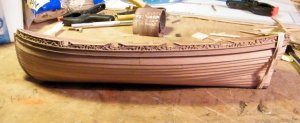
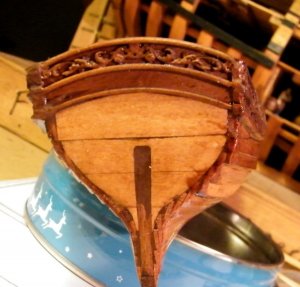
Transom view


452.jpg
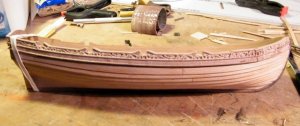
Port side view
 
Last edited:
G'day John
Sorry that I've haven't posted for a week or so. My Parkinson's disease has been playing up and my GP thinks it's because my Crohn's disease is stopping my body to absorb my PD medications. My admiral has ordered my to not get on the computer and REST.:confused:
That hasn't stop me from building my RC, but only in my head THOUGH. I have worked out many problems, :pwith your great help via the phone. Thanks a million.
I havta agree with everyone else about the marvelous job that you are doing on the ship's boat. I'm so GLAD THAT I TALKED YOU INTO DOING THIS BOAT BEFORE ME!

You are making us OZZIE, PROUD.

Havagooday my friend
Greg
 
That's a great looking little boat John, deserves a built log on it's own. You don't notice the join where the plank broke.
Cheers Andy
 
Very interesting building log, which I just went through...(.I am a newbie here in the forum.).
Many thanks for sharing your work, so it is for great help.
 
Thanks guys for all the comments, they are much appreciated,


DSCF9768.jpg
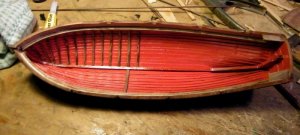
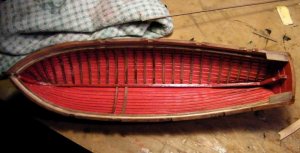
Started to add the ribs


DSCF9778.jpg
One side done


DSCF9786.jpg
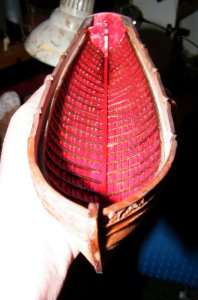
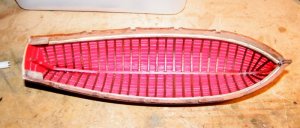
All the ribs added, it looks a bit shiny as I have just given it a coat on Estapol Matt varnish which is glossy till it drys


DSCF9788.jpg
This pic shows the varnish after drying, but the camera flash still makes the red shiny and pinkish looking, I will take a pic tomorrow in the daylight to show the difference.
 
G'day John
She's a little beauty mate. I've got big shoes to follow when I'm doing mine.
Havagooday and talk to you soon.
Greg
 
Thanks guys for all the comments, but I got a confession to make, in my eagerness to start and finish the boat I made stuff up, I attached the rails to the opposite sides to which they were meant to go, it was not till I had the rails firmly glued in place that I realized it, I will explain with the pics below.


A.jpg
Ironically when working out the positioning for the rails I had them on the right sides, this pic shows how the port rail should fit, note the oar position just above my thumb to the very left of the pic, all I can think is that when I was steaming them in the coffee pot that I use, I have taken the starboard rail out of the pot and bent and glued it to the port side by mistake and then done the same with the other rail.
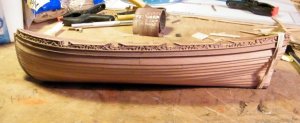


B.jpg
This is how it ended up being glued, the very first oar position to the very left of the boat should approx half way
between where it is and the ships bow.
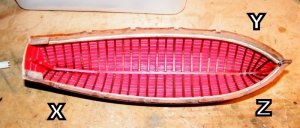


D.jpg
Now the easiest way to solve this problem will be to fill in the position marked X and cut another position marked Z
opposite Y, and hopefully it will be OK, I have to do some measuring etc to make sure all the seats in the boat will fit in with it OK, if not then I will have to try and remove the rails, which I really do not want to attempt.
My Dad used to say that old saying measure twice and cut once, which I did and then went and glued them in the wrong positions, :eek::eek::eek: :mad::mad::mad:
 
My Dad used to say that old saying measure twice and cut once, which I did and then went and glued them in the wrong positions, :eek::eek::eek: :mad::mad::mad:

If something like this happened, my Dad used to say „Ja, Ja, cutted twice, but still too Short“.
Do Not be angry...... You found already two ways of solving the mistake......you will solve it
 
'Oh dear'.​
G'day John,
I bet they were the words that you used when you realized your bo-bo.
Or was it more colourful?
Well John, I know, that you will fix up this slight hiccup!
Havagooday anyway mate. Thanks for sharing, so hopefully I would make the same bo-bo.
Greg
 
461.jpg
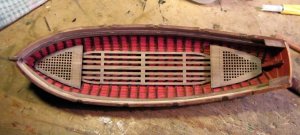
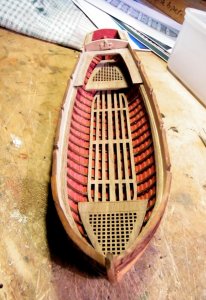
Fore and aft gratings in place along with the floor boards


462.jpg
Have attached the rear seats


463.jpg
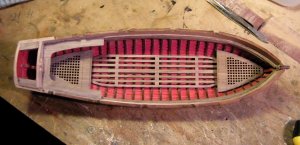
Over head view.


464.jpg
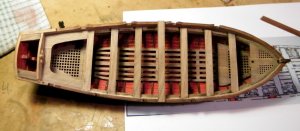
I got this far, started attaching the thwarts and realized that all the cross seats were not going to fit, so I removed that first cross
seat and trimmed some wood off the rear side seats, see next pic.


465.jpg
I think I got it worked out now, I have to fill in the rear most starboard side oar position and cut a new one between the upper
bow grating and the first seat, its not exactly ideal, but apart from re cutting all the oar positions, its the best solution. The middle seat still has to be trimmed and fitted.
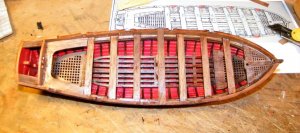


466.jpg
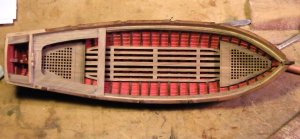
With a coat of Matt varnish, still have to fit the middle seat.


467.jpg
Another view.


460.jpg
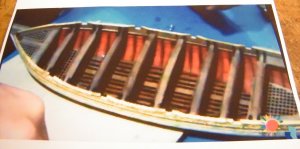
An interesting find on the internet, a pic of the Royal Carolines boat, only this one has eight cross seats and four oar positions each side with the oar position exacly opposite each other, maybe from an earlier prototype.
 
Back
Top